Love this? Save it for later!
Share the inspiration with your friends
“You really have to try mixing coconut cream like this,” my neighbor Mark said one humid summer evening as we gathered around his tiny outdoor grill. I was there to borrow a cup of sugar but ended up watching him whip up what he called a “dairy-free sundae bar.” Honestly, I wasn’t expecting much — I mean, coconut-based ice cream? I had tried those before and usually found them a bit icy or bland. But watching Mark scoop and dollop that rich, creamy base into bowls with a grin on his face got me curious.
The best part? It was totally unplanned. Mark had just come back from a late-night grocery run after realizing he forgot dessert for a small get-together. No fancy ingredients, just a can of coconut cream, a couple of sweeteners, and some toppings he grabbed on impulse. I remember him cracking the can open with a little too much enthusiasm, sending a bit of the thick liquid splattering on the counter — classic Mark moment.
That night, as I tasted that creamy, dreamy coconut ice cream paired with fresh fruit and crunchy nuts, I knew I had to recreate it at home. Maybe you’ve been there too — craving something sweet but dairy-free, something indulgent without the heaviness. This recipe isn’t just a sweet treat; it’s a reminder that sometimes the best desserts come from a bit of improvisation, kindness from neighbors, and a splash of coconut cream magic. Since then, I’ve made this creamy dairy-free ice cream sundae bar with coconut base countless times, and it never loses its charm.
Why You’ll Love This Recipe
This creamy dairy-free ice cream sundae bar with coconut base has seriously won over my kitchen and my guests. Here’s why you’ll want to keep it on your recipe list:
- Quick & Easy: Comes together in under 20 minutes, making it perfect for those spontaneous dessert cravings or last-minute gatherings.
- Simple Ingredients: No complicated shopping needed — just pantry staples like coconut cream and natural sweeteners.
- Perfect for Any Occasion: Whether it’s a summer BBQ, a cozy night in, or a birthday party, this sundae bar fits right in.
- Crowd-Pleaser: I’ve had kids and adults alike reach for seconds (and thirds!) — the creamy texture wins everyone over.
- Unbelievably Delicious: The coconut base is silky smooth, with just the right balance of sweetness and tropical flavor that feels like a treat, not a compromise.
What sets this recipe apart? The secret is in the whipped coconut cream base that’s blended just right — no icy chunks or heavy dairy notes. Plus, the freedom to customize toppings makes it a fun, interactive dessert. Honestly, it’s that kind of recipe that makes you close your eyes after the first bite, savoring the creamy, dreamy flavor.
What Ingredients You Will Need
This recipe uses simple, wholesome ingredients to deliver bold flavor and satisfying texture without the fuss. Most of these are pantry staples that you probably already have at home, and the toppings can be mixed and matched to your liking.
- Coconut Cream (1 can, about 13.5 oz / 400 ml, chilled overnight) – This is the star of the show. I recommend Thai Kitchen brand for a rich, thick cream.
- Maple Syrup (2 tablespoons) – Adds natural sweetness and a subtle depth.
- Vanilla Extract (1 teaspoon) – For that classic ice cream flavor.
- Sea Salt (a pinch) – Balances the sweetness and enhances flavor.
For toppings (all optional, but highly recommended!):
- Fresh berries (strawberries, blueberries, raspberries)
- Chopped nuts (almonds, pecans, or walnuts)
- Dairy-free chocolate chips or shavings
- Toasted coconut flakes
- Drizzle of dairy-free caramel or chocolate sauce
- Crumbled dairy-free cookies or granola
Substitution tips: You can swap maple syrup with agave nectar or honey if not strictly vegan. For coconut cream, a chilled full-fat coconut milk works in a pinch, but the texture will be less thick. If you prefer a lower sugar version, reduce the maple syrup or use a sugar-free syrup.
Equipment Needed
- Mixing Bowl: A large glass or metal bowl works best for whipping the coconut cream.
- Electric Mixer or Whisk: An electric hand mixer makes whipping easier and faster, but a sturdy whisk and some elbow grease can do the job too.
- Spoon or Spatula: For folding ingredients and serving.
- Serving Bowls or Glasses: To create the sundae bar setup with toppings.
- Measuring Spoons: For accuracy with sweeteners and vanilla.
If you don’t have an electric mixer, chilling the coconut cream very well and whipping vigorously by hand can still yield good results, though it may take a bit longer. For a budget-friendly option, a fork can help break up the cream before whisking. Keeping your utensils and bowl cold also helps the cream whip up better.
Preparation Method

- Chill Your Coconut Cream: Place the unopened can of coconut cream in the fridge overnight (or at least 8 hours). This allows the cream to separate and thicken. Avoid shaking the can after chilling.
- Open and Scoop: Carefully open the can without shaking. Scoop out the thickened coconut cream into your mixing bowl, leaving the watery liquid behind (you can save that for smoothies).
- Whip the Cream: Using an electric mixer on medium-high speed, whip the coconut cream until fluffy and soft peaks form. This should take about 3-5 minutes. If you’re whisking by hand, expect around 8-10 minutes of consistent effort.
- Add Sweetener and Flavor: Sprinkle in the maple syrup, vanilla extract, and a pinch of sea salt. Gently fold these in with a spatula to keep the cream light and airy.
- Set Up Your Sundae Bar: Transfer the whipped coconut cream to a serving bowl or individual cups. Arrange your chosen toppings — fresh berries, nuts, chocolate chips, toasted coconut — in small bowls around the table for guests to customize their sundaes.
- Serve Immediately or Chill: You can enjoy your creamy dairy-free ice cream sundae right away or chill it for 10-15 minutes to firm up slightly. If chilling longer, cover the container with plastic wrap to avoid absorbing fridge odors.
- Troubleshooting: If the cream doesn’t whip up well, it’s usually because it wasn’t chilled enough or the can was shaken. Try refrigerating cream and utensils longer next time. Also, don’t throw away the coconut water — it’s great in smoothies or cocktails!
Cooking Tips & Techniques
Whipping coconut cream can feel tricky at first, but a couple of tricks make all the difference. First, chill both the coconut cream and your mixing bowl. Cold cream whips better and faster. I learned the hard way that using room temperature cream leads to a runny mess.
Don’t rush the whipping process. You’re aiming for soft peaks — when the cream holds shape but still looks fluffy. Overwhipping can cause it to separate, turning grainy. If that happens, gently fold in a little more cream to smooth it out.
When adding sweeteners and vanilla, fold them in gently to keep the airiness. You know that feeling when you overmix and lose volume? Yeah, avoid that.
Multi-task by prepping toppings while the cream whips. Toast nuts on the stove or oven for a few minutes to bring out flavor — it’s worth the extra step.
Finally, be generous with texture contrasts. The creamy base paired with crunchy nuts or crispy cookies really makes this sundae bar shine.
Variations & Adaptations
- Chocolate Coconut Sundae: Add 2 tablespoons of cocoa powder to the coconut cream before whipping for a rich chocolate base.
- Berry Swirl: Fold in fresh pureed strawberries or raspberries for a fruity twist that adds a beautiful pink hue.
- Nut-Free Version: Skip nuts and use extra toasted coconut flakes and dairy-free chocolate for allergy-friendly sundaes.
- Frozen Treat: After whipping, freeze the cream in a shallow container for 2-3 hours to create a scoopable coconut ice cream texture.
- Spiced Sundae: Add a pinch of cinnamon or cardamom for cozy, warming notes — especially great in cooler months.
I once tried a tropical version with diced mango and a drizzle of passionfruit syrup — a summer party hit!
Serving & Storage Suggestions
Serve this creamy dairy-free ice cream sundae bar immediately for the best texture and freshness. If you want to prepare ahead, keep the whipped coconut cream covered tightly in the fridge for up to 24 hours. Before serving, give it a gentle whisk to restore fluffiness.
This sundae pairs wonderfully with light, refreshing sides like fresh fruit salad or crisp mint tea. For a fun adult twist, offer a splash of rum or coconut liqueur as a topping choice.
If you have leftovers, freeze the coconut cream in an airtight container for up to 2 weeks. When ready to enjoy, let it thaw in the fridge for 15-20 minutes and stir well.
Over time, the flavors meld nicely, especially if you add a dash of vanilla or cinnamon before storing. Just remember, the texture may firm up, so a quick mix before serving helps.
Nutritional Information & Benefits
This dairy-free ice cream sundae bar is a lighter alternative to traditional ice cream, with approximately 150 calories per serving (1/2 cup). The coconut cream provides healthy medium-chain triglycerides (MCTs), which some studies link to increased energy and metabolism.
It’s naturally gluten-free and suitable for vegan diets, making it inclusive for many dietary needs. Using natural sweeteners like maple syrup keeps it lower on the glycemic index compared to refined sugars.
Keep in mind, coconut cream is high in saturated fat, so enjoying this treat in moderation is key. But honestly, it’s a delicious way to indulge without the dairy-related digestive issues some face.
Conclusion
This creamy dairy-free ice cream sundae bar with coconut base has quickly become a staple in my dessert repertoire. It’s fuss-free, crowd-pleasing, and flexible enough to suit any occasion or taste preference. I love that it’s a dessert you can feel good about sharing, whether with family or friends.
Feel free to customize the toppings and mix-ins to make it your own — that’s the best part about a sundae bar, after all. If you give this recipe a try, I’d love to hear how you added your personal twist!
So next time you want something sweet, creamy, and dairy-free, remember this coconut cream sundae bar. It’s a little scoop of happiness that’s easy to make and impossible to resist.
Frequently Asked Questions about Creamy Dairy-Free Ice Cream Sundae Bar
- Can I use canned coconut milk instead of coconut cream?
Yes, but use the thickest part of full-fat canned coconut milk and chill it well. The texture may be less rich. - How do I prevent the coconut cream from being grainy?
Chill it thoroughly and avoid shaking the can. Whip gently to soft peaks without overmixing. - Can I prepare the sundae bar toppings in advance?
Absolutely! Prepare and store toppings separately in airtight containers until serving. - Is this recipe suitable for kids?
Yes, it’s naturally sweet and creamy with no dairy or allergens if you skip nuts. - How long can I store leftover whipped coconut cream?
Store in an airtight container in the fridge for up to 24 hours. Stir well before serving.
Pin This Recipe!
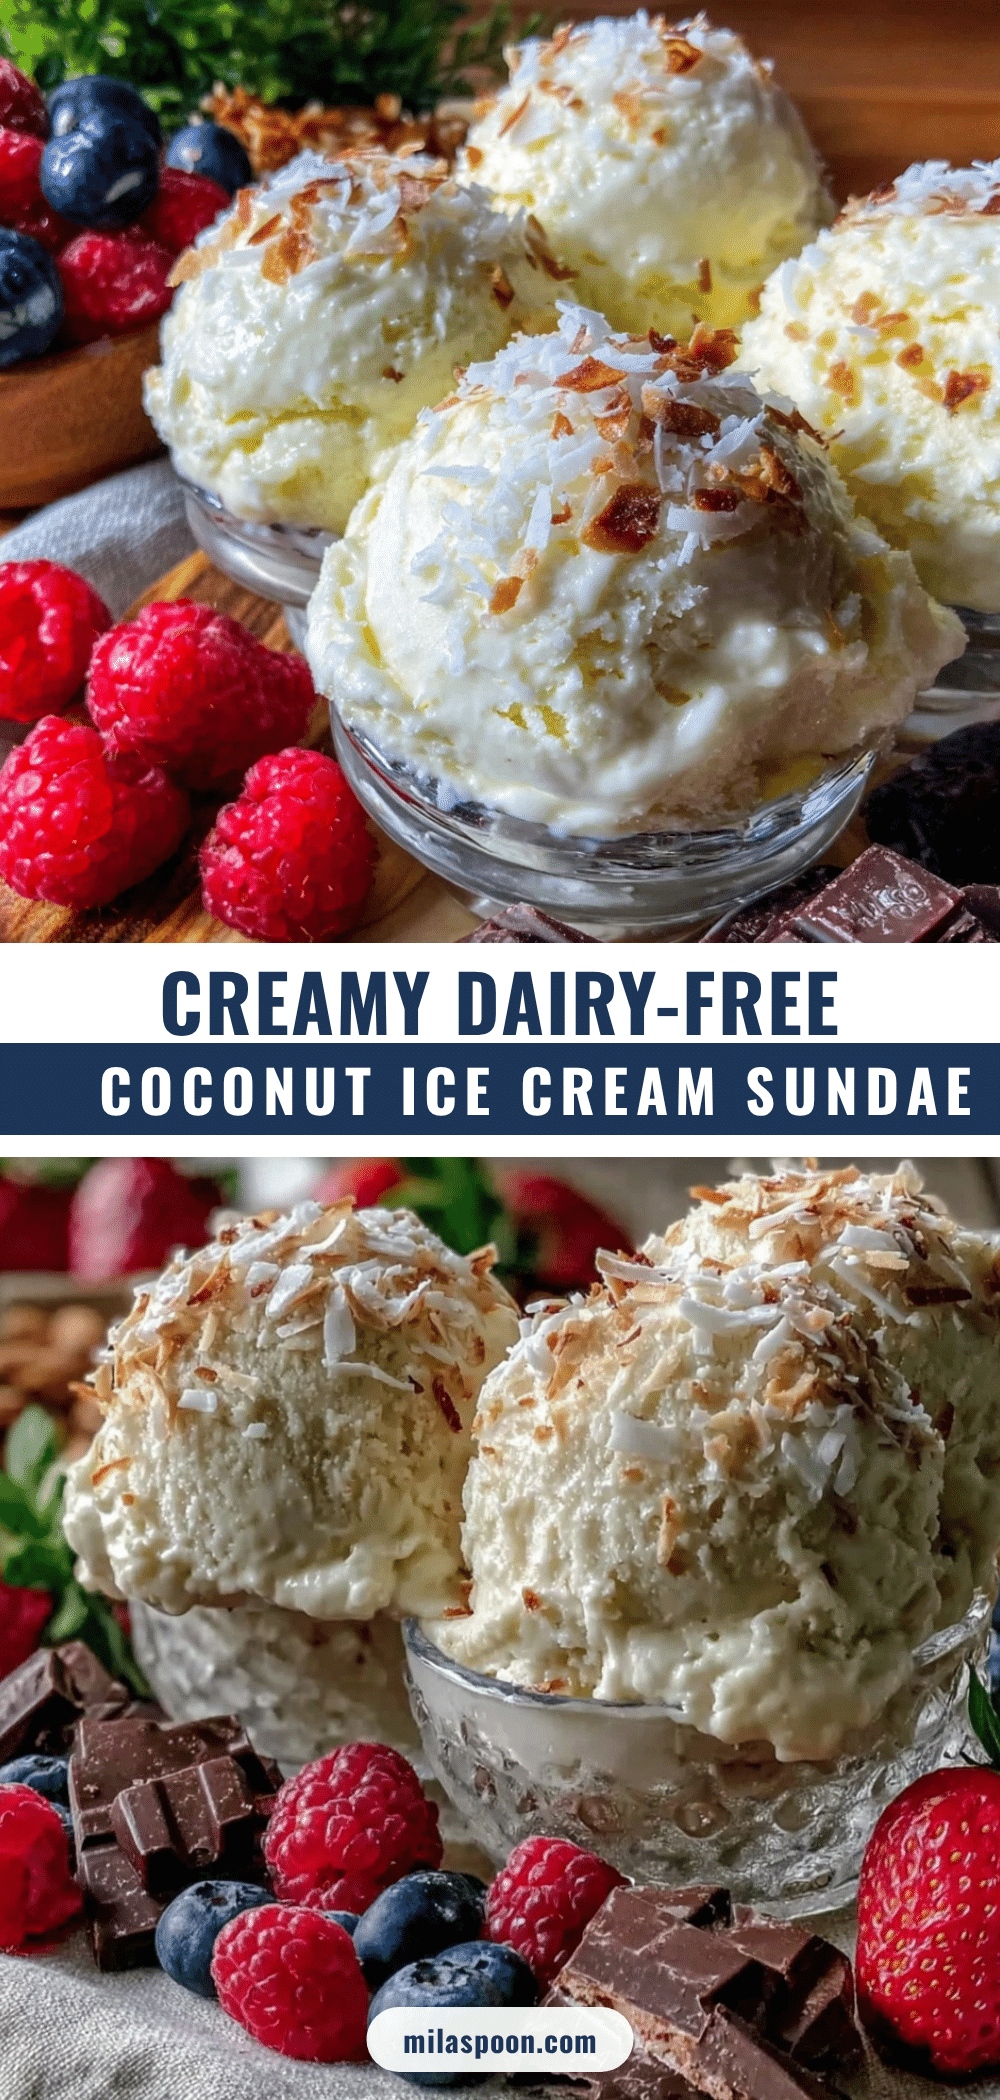
Creamy Dairy-Free Ice Cream Sundae Bar Recipe Easy Coconut Base Treats

A quick and easy dairy-free ice cream sundae bar featuring a silky smooth whipped coconut cream base, perfect for any occasion and customizable with a variety of toppings.
- Prep Time: 8 hours (chilling) + 10 minutes (active prep)
- Cook Time: 0 minutes
- Total Time: 8 hours 10 minutes
- Yield: 6 servings 1x
- Category: Dessert
- Cuisine: Vegan / Dairy-Free
Ingredients
- 1 can (13.5 oz / 400 ml) coconut cream, chilled overnight
- 2 tablespoons maple syrup
- 1 teaspoon vanilla extract
- Pinch of sea salt
- Optional toppings: fresh berries (strawberries, blueberries, raspberries), chopped nuts (almonds, pecans, or walnuts), dairy-free chocolate chips or shavings, toasted coconut flakes, drizzle of dairy-…
Instructions
- Chill the unopened can of coconut cream in the refrigerator overnight (at least 8 hours) to allow the cream to separate and thicken. Avoid shaking the can after chilling.
- Carefully open the can without shaking and scoop out the thickened coconut cream into a mixing bowl, leaving the watery liquid behind (save for smoothies if desired).
- Using an electric mixer on medium-high speed, whip the coconut cream until fluffy and soft peaks form, about 3-5 minutes. If whisking by hand, whip vigorously for 8-10 minutes.
- Add maple syrup, vanilla extract, and a pinch of sea salt to the whipped cream. Gently fold in with a spatula to keep the mixture light and airy.
- Transfer the whipped coconut cream to serving bowls or individual cups. Arrange chosen toppings in small bowls around the table for guests to customize their sundaes.
- Serve immediately or chill for 10-15 minutes to firm up slightly. If chilling longer, cover with plastic wrap to avoid absorbing fridge odors.
- If the cream doesn’t whip well, ensure it was properly chilled and not shaken. Refrigerate cream and utensils longer next time if needed.
Notes
Chill both the coconut cream and mixing bowl for best whipping results. Avoid shaking the can before opening. Whip to soft peaks to prevent grainy texture. Fold in sweeteners gently to maintain airiness. Prepare toppings in advance and toast nuts for extra flavor. Leftover whipped cream can be stored in the fridge up to 24 hours; stir before serving. Freeze whipped cream for 2-3 hours for scoopable texture.
Nutrition
- Serving Size: 1/2 cup whipped coco
- Calories: 150
- Sugar: 5
- Sodium: 20
- Fat: 14
- Saturated Fat: 12
- Carbohydrates: 7
- Fiber: 1
- Protein: 1
Keywords: dairy-free ice cream, coconut cream ice cream, vegan dessert, sundae bar, coconut base, easy dessert, dairy-free sundae, coconut cream recipe


