Love this? Save it for later!
Share the inspiration with your friends
The clock was ticking on a lazy Sunday afternoon when I found myself rummaging through a stack of old cookbooks at a tiny secondhand store on Maple Avenue. Among the dog-eared pages and scribbled notes, a recipe caught my eye — not just any dessert, but a creamy espresso tiramisu cheesecake that promised no-bake ease. I wasn’t expecting much; honestly, I was just killing time between errands. But as I flipped through that page, the smooth blend of espresso and mascarpone whispered, “Give me a shot.”
Now, let me tell you, I’m usually all about classic tiramisu or a traditional cheesecake, but this hybrid? It intrigued me. I grabbed some espresso from my local roaster that afternoon and gave it a whirl. There were a few messy moments (like nearly spilling cream everywhere because I was juggling my phone, the coffee, and the mixer), but that first forkful? Pure magic.
You know that feeling when a recipe just fits your mood — rich, comforting, and a little bit indulgent but without the fuss of the oven? This creamy espresso tiramisu cheesecake no-bake delight quickly earned its spot on my “must-make” list. Maybe you’ve been there, craving something fancy but needing it fast, or just wanting to impress without breaking a sweat. That’s exactly where this recipe shines, and I can’t wait to share why it became an instant favorite in my kitchen.
Why You’ll Love This Creamy Espresso Tiramisu Cheesecake Recipe
Having tested this recipe countless times (and trust me, I’ve tasted every batch), I can confidently say it’s a keeper for anyone who loves a mix of bold coffee flavor and silky cheesecake texture. Here’s what makes this no-bake tiramisu cheesecake stand out:
- Quick & Easy: Ready in under 30 minutes, this is perfect for busy weeknights or last-minute dessert emergencies.
- Simple Ingredients: Uses everyday pantry staples plus a couple of coffee essentials—no fancy or hard-to-find items.
- Perfect for Entertaining: Whether it’s a casual dinner or a dinner party, this dessert impresses without stress.
- Crowd-Pleaser: Kids, adults, and even the picky coffee skeptics give this rave reviews every time.
- Unbelievably Delicious: The creamy texture paired with espresso-soaked layers is seriously next-level comfort food.
What sets this recipe apart is the luscious balance it strikes by blending the classic tiramisu flavors into a cheesecake form—without turning on the oven. I use a special whipping technique to get the mascarpone ultra-smooth, and the espresso-soaked ladyfingers add just the right punch of coffee without overpowering the creaminess. Honestly, after the first bite, you might just want to close your eyes and savor the moment—it’s that good.
What Ingredients You Will Need
This recipe relies on simple, wholesome ingredients to deliver a bold flavor and satisfyingly smooth texture without any fuss. Most are pantry staples, and substitutions are easy if you want to tweak things.
- For the crust and layers:
- 1 ½ cups (150g) crushed ladyfingers or sponge cake crumbs (for that authentic tiramisu texture)
- ½ cup (120ml) strong brewed espresso, cooled (I prefer Intelligentsia for a rich, smooth coffee)
- 2 tablespoons coffee liqueur (optional, but adds a nice depth)
- For the creamy filling:
- 16 oz (450g) cream cheese, softened (Philadelphia brand works great for smoothness)
- 1 cup (240ml) heavy cream, chilled (cold cream whips better)
- ¾ cup (150g) granulated sugar
- 8 oz (225g) mascarpone cheese, room temperature (look for small-curd, fresh mascarpone for best texture)
- 1 teaspoon pure vanilla extract
- For garnish:
- Unsweetened cocoa powder for dusting
- Dark chocolate shavings (optional, but a lovely touch)
Substitution tips: Use coconut cream and dairy-free cream cheese if you want a dairy-free version. Almond flour or gluten-free ladyfingers work well for gluten-free adaptations. For a sweeter twist, swap granulated sugar with honey or maple syrup, but reduce the liquid slightly.
Equipment Needed
Making this creamy espresso tiramisu cheesecake no-bake delight doesn’t require fancy tools, which is part of the charm.
- 9-inch (23 cm) springform pan or a deep pie dish (springform makes unmolding easier)
- Electric mixer or a sturdy hand whisk (I used a stand mixer for smooth mascarpone blending)
- Mixing bowls (preferably glass or stainless steel)
- Measuring cups and spoons for accuracy
- Spatula for folding ingredients gently
- Sieve for dusting cocoa powder evenly
If you don’t have a springform pan, you can use a regular cake pan lined with parchment paper. Just be gentle when removing the cheesecake. Also, a handheld milk frother can help whip the cream if you don’t want to drag out your mixer.
Preparation Method
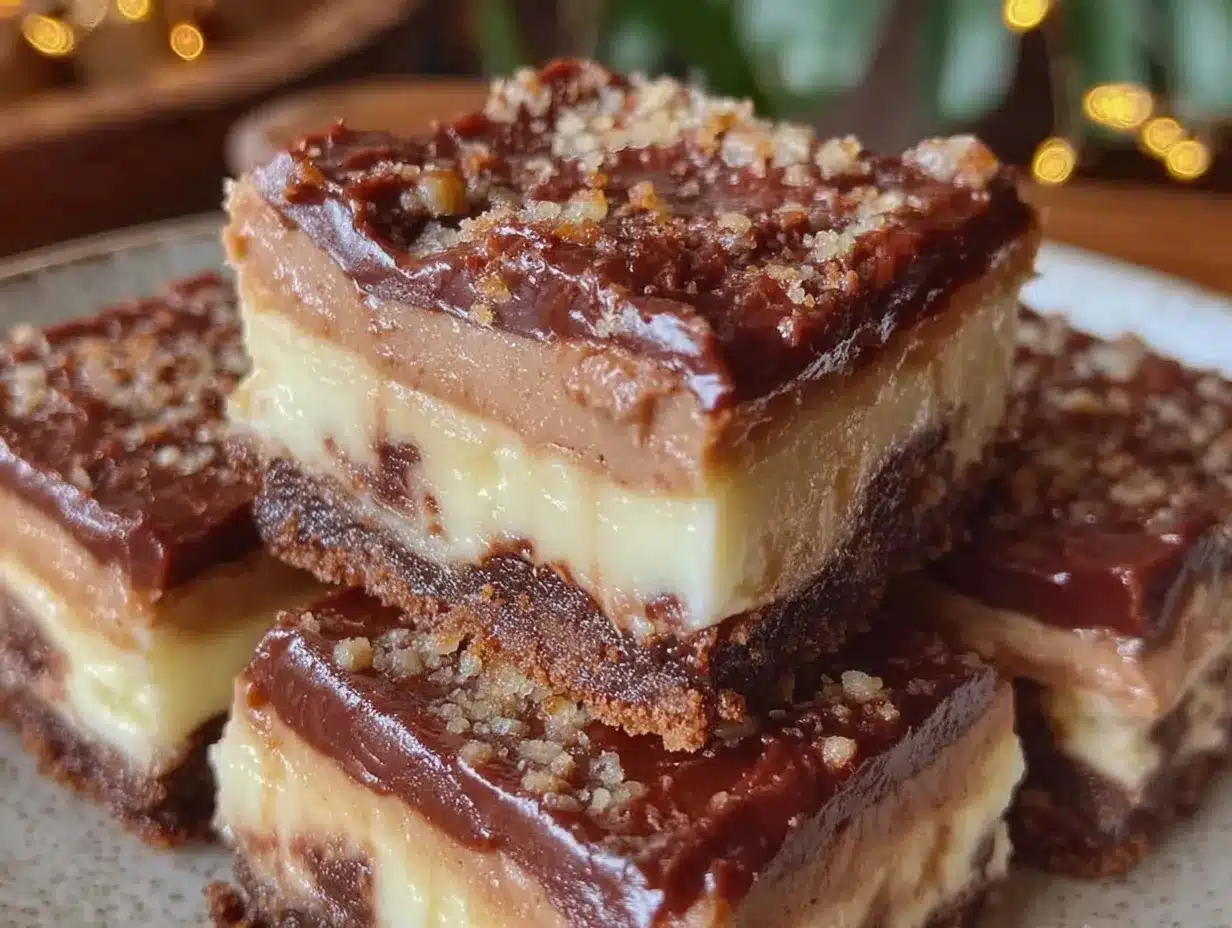
- Prepare the espresso soak: Brew strong espresso (about ½ cup or 120ml) and let it cool completely. Mix in coffee liqueur if using. This will soak the ladyfingers and infuse that signature coffee flavor. (5 minutes)
- Crush the ladyfingers: Place the ladyfingers in a zip-top bag and crush them gently with a rolling pin or pulse a few times in a food processor until fine crumbs form. (3 minutes)
- Form the crust layer: In your springform pan, press half the crushed ladyfingers evenly on the bottom. Lightly sprinkle with 2 tablespoons of the espresso mixture to moisten without soaking. Set aside. (5 minutes)
- Whip the cream cheese and mascarpone: In a large bowl, beat the softened cream cheese and mascarpone on medium speed until smooth and creamy, about 2-3 minutes. Add the sugar and vanilla extract, and continue mixing until fully incorporated. (7 minutes)
- Whip the heavy cream: In a separate chilled bowl, whip the heavy cream to stiff peaks. Be careful not to overwhip or it will turn grainy. (5 minutes)
- Fold the whipped cream: Gently fold the whipped cream into the cream cheese mixture in batches, using a spatula to keep it light and airy. This makes the cheesecake filling incredibly smooth and fluffy. (4 minutes)
- Assemble layers: Spread half of the creamy filling over the crust layer. Then sprinkle the remaining ladyfinger crumbs, and drizzle with the rest of the espresso mixture, again distributing evenly but not soaking too much. Top with the remaining cream cheese mixture, smoothing the surface with a spatula. (10 minutes)
- Chill: Cover the cheesecake with plastic wrap and refrigerate for at least 4 hours, preferably overnight. This allows the flavors to meld and the cheesecake to firm up perfectly. (4+ hours)
- Finish and serve: Just before serving, dust the top generously with unsweetened cocoa powder and scatter dark chocolate shavings if you like. Slice with a warm knife for clean cuts. (5 minutes)
Pro tip: If the espresso is too hot or the ladyfingers too soggy, the crust might get soggy—let the espresso cool fully and apply it sparingly. Also, remember to soften your cream cheese at room temperature for a lump-free filling.
Cooking Tips & Techniques
Making this creamy espresso tiramisu cheesecake no-bake delight is easier than it looks, but a few tricks make it foolproof:
- Softening Cream Cheese: Don’t rush this step. Let cream cheese sit out 30 minutes before mixing for a smooth, lump-free batter.
- Whipping the Cream: Chill your bowl and beaters beforehand to get fluffy whipped cream quickly. Stop whipping once stiff peaks form to avoid overwhipping.
- Folding Technique: Fold whipped cream into the cream cheese mixture gently with a spatula to keep airiness. Overmixing deflates the batter and changes texture.
- Espresso Soak: Cool espresso fully before drizzling over ladyfingers to prevent sogginess. Lightly coat rather than soak.
- Chilling Time: Patience is key. The cheesecake needs at least 4 hours in the fridge to set well and develop flavor.
- Cutting the Cake: Warm your knife under hot water and wipe it dry before slicing for neat pieces.
I once rushed chilling time and ended with a runny mess—lesson learned! Taking your time during each step guarantees that creamy, dreamy texture every time.
Variations & Adaptations
This creamy espresso tiramisu cheesecake is flexible—tailor it to your taste or diet:
- Chocolate Lover’s Version: Add a layer of melted dark chocolate between the crust and filling or swirl cocoa powder into the filling for a mocha twist.
- Gluten-Free: Use gluten-free ladyfingers or crushed almond flour cookies for the crust.
- Dairy-Free: Swap mascarpone and cream cheese with vegan cream cheese, and use coconut cream for whipping.
- Seasonal Twist: Replace espresso with spiced chai tea for a warm, cozy flavor during fall.
- Extra Boozy: For grown-ups, brush the ladyfingers with a splash of coffee liqueur or dark rum.
One time, I tried blending in some orange zest, which gave the cheesecake a surprising but delightful brightness—definitely worth experimenting with!
Serving & Storage Suggestions
Serve this creamy espresso tiramisu cheesecake chilled, straight from the fridge. The flavors are best enjoyed cold with the smooth texture intact. I like to present it on a simple cake stand dusted with cocoa powder for that classic tiramisu look.
Pair it with a cup of fresh espresso or a creamy latte to complement the coffee notes perfectly. For a lighter finish, a glass of sparkling water with lemon is refreshing alongside.
Store leftovers covered tightly in the refrigerator for up to 3 days. The flavors actually deepen overnight, so if you can wait, it gets even better! For longer storage, this cheesecake freezes well—wrap it securely and thaw overnight in the fridge before serving.
When reheating, avoid microwaves; instead, let it come to room temperature naturally to keep the creamy texture intact.
Nutritional Information & Benefits
This creamy espresso tiramisu cheesecake recipe offers a rich indulgence, but it can fit into a balanced lifestyle when enjoyed in moderation. Each serving (based on 12 slices) roughly contains:
| Nutrient | Amount |
|---|---|
| Calories | 310 kcal |
| Fat | 22g |
| Protein | 5g |
| Carbohydrates | 20g |
| Sugar | 15g |
The espresso provides antioxidants, while mascarpone and cream cheese offer calcium and protein. Using real ingredients and avoiding artificial additives makes this a dessert you can feel good about treating yourself to now and then.
For those mindful of allergens, this recipe contains dairy and gluten, but the suggested substitutions can make it accessible for many dietary needs.
Conclusion
If you’ve been hunting for a no-bake dessert that marries the rich, bold flavors of espresso tiramisu with the creamy bliss of cheesecake, this recipe is your new best friend. It’s easy to make, simple to customize, and guaranteed to satisfy those coffee and dessert cravings alike.
Personally, I love how it feels both special and approachable — like a gentle indulgence after a long day. Plus, no oven means less cleanup and more time to enjoy. Give it a shot, tweak it your way, and don’t forget to savor every luscious bite.
I’d love to hear how your version turns out or any fun twists you add—drop a comment below, share your photos, or just say hi. Let’s keep creating sweet moments in the kitchen together!
FAQs About Creamy Espresso Tiramisu Cheesecake No-Bake Delight
Can I make this cheesecake ahead of time?
Absolutely! In fact, chilling it overnight helps the flavors meld beautifully and firms up the texture perfectly.
What if I don’t have mascarpone cheese?
You can substitute with extra cream cheese or blend cream cheese with a bit of sour cream for a similar creamy texture.
Is coffee liqueur necessary?
Not at all. It adds depth but you can skip it or replace it with a splash of vanilla extract if you prefer no alcohol.
Can I use instant coffee instead of brewed espresso?
Yes, dissolve strong instant coffee in hot water and let it cool; it works well for soaking the ladyfingers.
How do I prevent the crust from getting soggy?
Make sure the espresso is completely cooled and lightly drizzle over ladyfingers instead of soaking them. This keeps the crust intact and delicious.
Pin This Recipe!
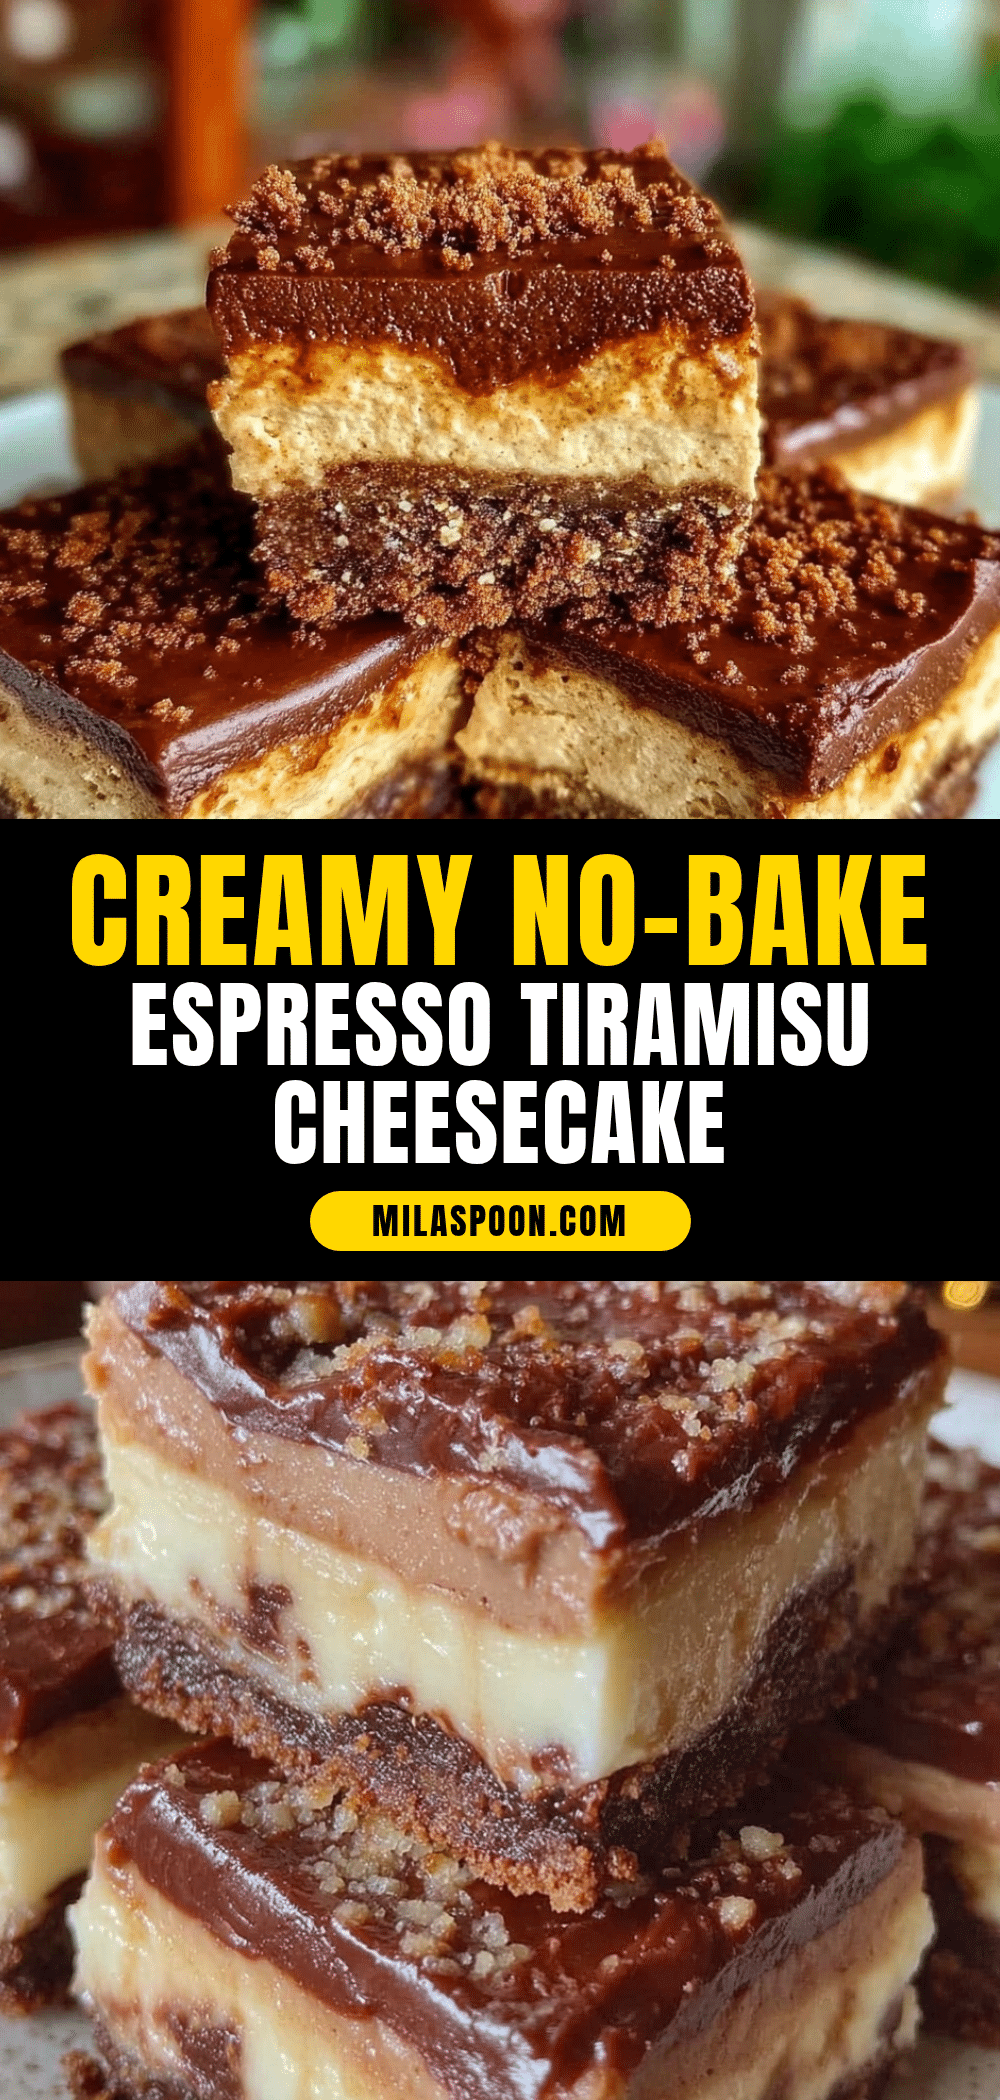
Creamy Espresso Tiramisu Cheesecake Recipe Easy No-Bake Delight
A rich and indulgent no-bake cheesecake combining bold espresso flavors with creamy mascarpone and cream cheese layers, perfect for quick and impressive desserts.
- Prep Time: 20 minutes
- Cook Time: 0 minutes
- Total Time: 4 hours 20 minutes
- Yield: 12 servings 1x
- Category: Dessert
- Cuisine: Italian-inspired
Ingredients
- 1 ½ cups (150g) crushed ladyfingers or sponge cake crumbs
- ½ cup (120ml) strong brewed espresso, cooled
- 2 tablespoons coffee liqueur (optional)
- 16 oz (450g) cream cheese, softened
- 1 cup (240ml) heavy cream, chilled
- ¾ cup (150g) granulated sugar
- 8 oz (225g) mascarpone cheese, room temperature
- 1 teaspoon pure vanilla extract
- Unsweetened cocoa powder for dusting
- Dark chocolate shavings (optional)
Instructions
- Brew strong espresso (about ½ cup or 120ml) and let it cool completely. Mix in coffee liqueur if using.
- Place the ladyfingers in a zip-top bag and crush them gently with a rolling pin or pulse a few times in a food processor until fine crumbs form.
- In your springform pan, press half the crushed ladyfingers evenly on the bottom. Lightly sprinkle with 2 tablespoons of the espresso mixture to moisten without soaking. Set aside.
- In a large bowl, beat the softened cream cheese and mascarpone on medium speed until smooth and creamy, about 2-3 minutes. Add the sugar and vanilla extract, and continue mixing until fully incorporated.
- In a separate chilled bowl, whip the heavy cream to stiff peaks. Be careful not to overwhip or it will turn grainy.
- Gently fold the whipped cream into the cream cheese mixture in batches, using a spatula to keep it light and airy.
- Spread half of the creamy filling over the crust layer. Then sprinkle the remaining ladyfinger crumbs, and drizzle with the rest of the espresso mixture, distributing evenly but not soaking too much. Top with the remaining cream cheese mixture, smoothing the surface with a spatula.
- Cover the cheesecake with plastic wrap and refrigerate for at least 4 hours, preferably overnight.
- Just before serving, dust the top generously with unsweetened cocoa powder and scatter dark chocolate shavings if desired. Slice with a warm knife for clean cuts.
Notes
Let espresso cool fully before drizzling to prevent soggy crust. Soften cream cheese at room temperature for lump-free filling. Chill cheesecake at least 4 hours or overnight for best texture. Use a warm knife for clean slicing.
Nutrition
- Serving Size: 1 slice (1/12th of c
- Calories: 310
- Sugar: 15
- Fat: 22
- Carbohydrates: 20
- Protein: 5
Keywords: espresso tiramisu cheesecake, no-bake cheesecake, tiramisu dessert, creamy cheesecake, coffee dessert, easy no-bake dessert