Love this? Save it for later!
Share the inspiration with your friends
“The school lunch deadline was in just under an hour, and here I was, staring at a fridge that looked like a tornado had passed through. Everyone else in the Zoom chat was sharing their elaborate bento boxes or homemade pasta salads, and I’d completely forgotten to plan anything special. Honestly, I had no time, no fancy ingredients, and just a battered thermos that my kid claimed was “the coolest thing ever.”
So, I threw together what I could: some ground beef, a handful of spices, and soft tortillas. The plan? Cozy smash burger tacos packed into that trusty thermos for a piping-hot lunch at school. I was half-expecting a lunchroom disaster, but you know what? That simple, thrown-together meal stole the show. It was warm, comforting, and just the right size to fuel a busy kid through afternoon classes.
Maybe you’ve been there—racing against the clock, juggling a million things, and needing something quick but satisfying. This recipe stuck with me because it’s exactly that: no-fuss, cozy, and genuinely delicious. It’s the kind of lunch that warms you up on the inside, even when you’re scrambling to get it done. Let me tell you, those smash burger tacos in a thermos became a secret weapon in my lunchbox arsenal—and they might just be yours too.”
Why You’ll Love This Recipe
After testing and tweaking this recipe more times than I can count, I can honestly say it’s a winner for busy parents and anyone who needs a hot school lunch solution that doesn’t require hours of prep. Here’s why you’ll want to keep this one in your back pocket:
- Quick & Easy: Ready in under 30 minutes, perfect for busy mornings or last-minute lunch preps.
- Simple Ingredients: Uses everyday pantry staples and basic fresh produce, so no special shopping trips needed.
- Perfect for Hot School Lunches: Designed to stay warm in a thermos, making those cold cafeteria days a little cozier.
- Crowd-Pleaser: Kids love the comforting smash burger flavor in fun taco form, and adults won’t mind sneaking a bite either.
- Unbelievably Delicious: That crispy seared edge on the beef patties paired with melty cheese and warm tortillas is just next-level comfort.
This isn’t just another taco or burger recipe. The key is the “smash” technique, which crisps up the beef beautifully, locking in flavor and texture. Plus, assembling it all in a thermos keeps everything cozy without turning soggy. I’ve served these at after-school events and casual potlucks, and people keep asking how I managed to get that juicy warmth in a lunchbox.
Honestly, this recipe feels like a little hug in a thermos—perfect for those rushed mornings when you want to send your kid off with something homemade, warm, and totally satisfying.
What Ingredients You Will Need
This recipe uses simple, wholesome ingredients to deliver bold flavor and satisfying texture without the fuss. Most of these are pantry staples, and substitutions are easy if needed.
- Ground beef (80/20 lean-to-fat ratio recommended for juiciness; about 1 lb or 450 g)
- Salt and pepper (to taste, for seasoning the beef)
- Garlic powder (1/2 tsp for extra flavor)
- Onion powder (1/2 tsp to round out the seasoning)
- Cheddar cheese, shredded (1 cup or 100 g; sharp or mild, depending on preference)
- Small flour tortillas (6-8, about 6-inch diameter; soft and pliable ones work best)
- Butter (1 tbsp, for toasting tortillas and adding richness)
- Ketchup and mustard (optional, for serving)
- Pickles, sliced (optional, adds a tangy crunch)
- Thermos (to pack the tacos warm; preheated with hot water before filling)
If you want to swap out the flour tortillas for corn or gluten-free options, that works just fine. For a dairy-free version, skip the cheese or use a plant-based alternative. I usually grab my ground beef from a trusted local butcher, but good quality supermarket brands work well here too. The key is not to overload the patties—smash them thin and let them crisp!
Equipment Needed
- Non-stick or cast-iron skillet (for making the smash burgers; cast iron gives the best sear)
- Spatula (a sturdy, wide one for smashing and flipping the patties)
- Mixing bowl (to season the ground beef)
- Cheese grater (if shredding your own cheese)
- Thermos (wide-mouth recommended for easy filling and eating)
- Small plate or cutting board (for assembling tacos)
If you don’t have a cast-iron skillet, a heavy-bottomed non-stick pan will do just fine. I’ve found that a wide spatula makes smashing the patties easier without them sticking or falling apart. For a budget-friendly thermos, look for ones with good insulation reviews—trust me, the warmth retention makes all the difference.
Preparation Method
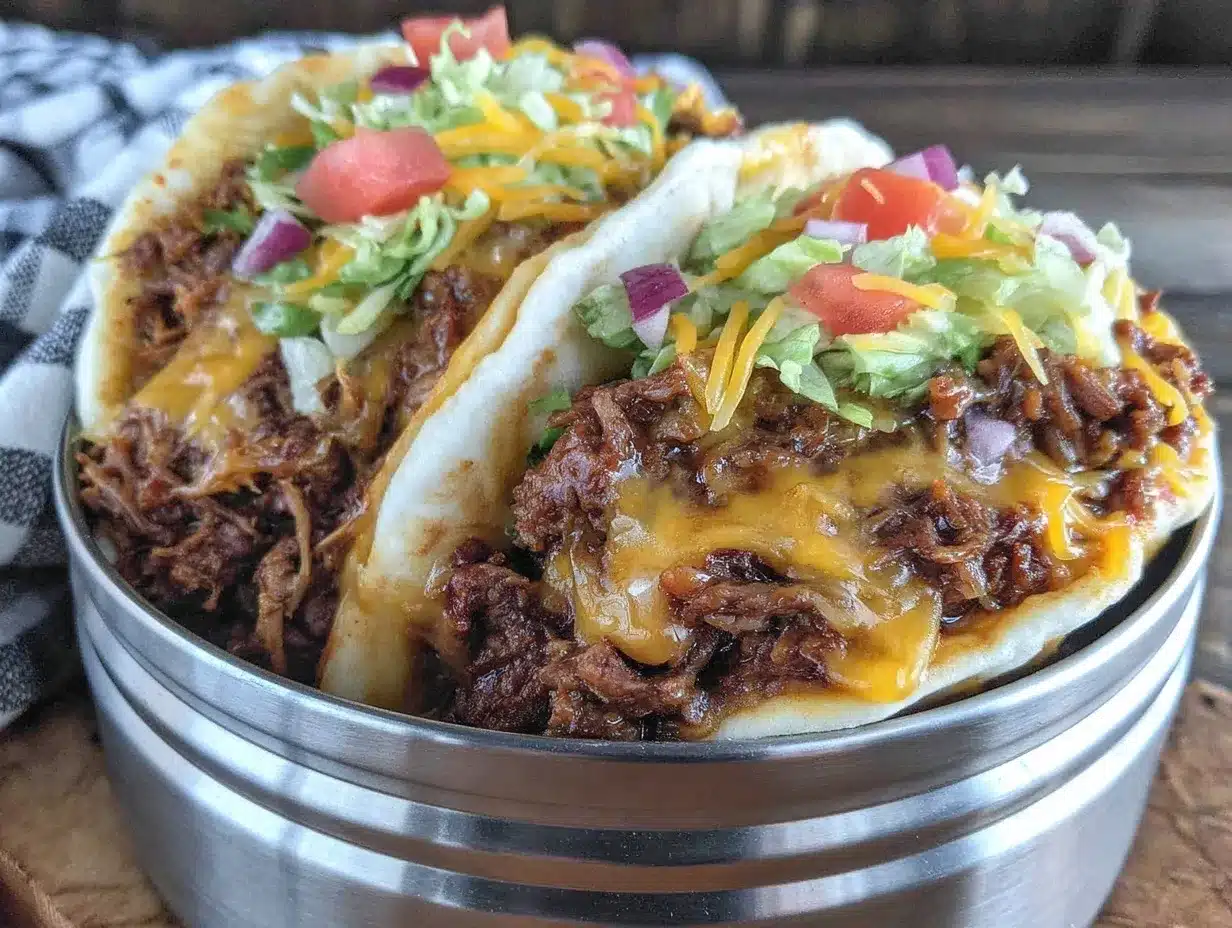
- Preheat your skillet: Heat your cast-iron or non-stick skillet over medium-high heat for about 3-4 minutes until it’s really hot. This helps get that crispy crust on the smash burgers.
- Season the beef: In a mixing bowl, combine 1 lb (450 g) ground beef with 1/2 tsp salt, 1/4 tsp pepper, 1/2 tsp garlic powder, and 1/2 tsp onion powder. Mix gently but thoroughly. Be careful not to overwork the meat or it’ll get tough.
- Divide and shape the beef: Portion the beef into 6-8 equal balls (about 2 oz / 60 g each). Don’t flatten yet—that happens in the pan.
- Cook the patties: Place a beef ball in the hot skillet, then immediately press down firmly with the spatula to flatten into a thin patty (about 1/4 inch or 6 mm thick). Hold the press for 15-20 seconds to get a good sear. Cook for 2 minutes without moving.
- Flip and add cheese: Flip the patty carefully and immediately sprinkle shredded cheddar cheese (about 2 tbsp per patty) on top. Cook for another 1-2 minutes until the cheese melts and the burger is cooked through.
- Toast the tortillas: While the patties cook, melt 1 tbsp butter in a separate pan over medium heat. Warm the tortillas one at a time for 20-30 seconds per side until soft and slightly golden.
- Assemble the tacos: Layer each tortilla with a cheesy smash burger patty. Add ketchup, mustard, and pickles if using.
- Prepare the thermos: Fill the thermos with boiling water, close the lid, and let it sit for 5 minutes to heat up. Empty the water, then carefully place the assembled tacos inside, stacking gently. Seal tightly.
- Pack and enjoy: The thermos keeps the tacos warm and cozy until lunchtime. When ready to eat, your kid can enjoy a hot, fresh-tasting meal straight from the thermos.
If your skillet isn’t hot enough, you won’t get that signature crust, so be patient with heating. Also, don’t overcrowd the pan—cook in batches if needed. I’ve learned the hard way that smashing the patties too thin can dry them out, so aim for about 1/4 inch thick.
Cooking Tips & Techniques
Here’s the scoop from my kitchen adventures to help you nail these smash burger tacos every time:
- The Smash Technique: Pressing the beef balls immediately on the hot skillet is key to that crispy, caramelized crust. You want the edges to get slightly charred while locking in the juices.
- Don’t Overmix the Meat: Handle the ground beef gently when seasoning. Overworking it tightens the protein and makes the patties tough.
- Thermos Temperature: Preheating your thermos with boiling water is a small step that makes a big difference for keeping the tacos warm.
- Timing: Cook the patties in batches if necessary, so the pan stays hot and you get consistent searing. I usually multitask by toasting tortillas while burgers finish cooking.
- Prevent Soggy Tacos: Toasting the tortillas with butter adds flavor and helps them hold up better inside the thermos.
I once tried skipping the butter on the tortillas to save time—and the tacos came out limp and sad. Lesson learned! Also, if you’re making these ahead, assembling them just before packing keeps everything tasting fresh.
Variations & Adaptations
Feeling adventurous? Here are some ways to switch things up to suit your tastes or dietary needs:
- Vegetarian Option: Swap ground beef with plant-based burger crumbles or seasoned mashed black beans for a cozy meatless taco.
- Spice It Up: Add a pinch of smoked paprika or cayenne to the beef seasoning for a subtle smoky heat.
- Seasonal Veggies: Toss in some sautéed peppers or onions with the burger for extra flavor and nutrients.
- Gluten-Free: Use corn tortillas or gluten-free wraps instead of flour tortillas.
- Dairy-Free: Skip the cheese or use a non-dairy cheese substitute to keep it allergy-friendly.
Personally, I love adding a quick slaw of shredded cabbage and carrot dressed with lime juice for crunch and brightness. It’s my go-to twist when I want a bit of freshness in the mix.
Serving & Storage Suggestions
These smash burger tacos are best enjoyed warm, straight from the thermos. For a satisfying lunch, encourage your kid to let the thermos sit upright a minute or two after opening before digging in—this helps cool it just enough for easy eating.
Pair the tacos with a simple side like carrot sticks, apple slices, or a small fruit cup to round out the meal. A cold bottle of water or juice helps balance the warmth and richness.
If you have leftovers (not likely, but it happens), store the patties and tortillas separately in airtight containers in the fridge for up to 2 days. Reheat patties in a skillet or microwave, and warm tortillas in a pan or microwave before assembling.
Flavors actually deepen a bit if the patties sit overnight, but the texture is definitely best fresh. So plan accordingly if you want to prep in advance.
Nutritional Information & Benefits
This recipe offers a balanced mix of protein, fats, and carbs to keep energy steady through the school day. A typical serving (2 tacos) contains approximately:
| Calories | 450-500 kcal |
|---|---|
| Protein | 28 g |
| Fat | 30 g |
| Carbohydrates | 25 g |
Ground beef provides essential iron and zinc, important for growing kids. The cheese adds calcium, while the tortillas provide energy-sustaining carbs. This recipe is naturally gluten-containing but easily adapted for gluten-free needs by swapping tortillas.
From a wellness perspective, it’s a solid homemade option compared to processed school lunch alternatives, and the warm thermos keeps the meal comforting and satisfying, which matters on chilly school days.
Conclusion
If you’re looking for a hot school lunch that’s quick, budget-friendly, and genuinely delicious, these cozy smash burger tacos in a thermos are going to be your new favorite go-to. They’re easy to customize, kid-friendly, and perfect for those mornings when time is tight but you still want to send something homemade and satisfying.
I still make these regularly, especially when my schedule gets crazy or I need a fuss-free lunch that feels special. You can tweak the seasonings or toppings based on what’s in your fridge or your kid’s preferences—it’s a flexible recipe that always delivers.
Give it a try, and don’t forget to share how you make it your own! I love hearing about new twists or favorite tweaks.
Here’s to warm lunches and happy kids!
Frequently Asked Questions
Can I prepare these smash burger tacos the night before?
It’s best to assemble and pack them the morning of for maximum freshness and warmth, but you can cook the patties ahead and store them separately in the fridge for up to 2 days.
What kind of thermos works best for keeping tacos warm?
A wide-mouth thermos with good insulation is ideal. Preheat it with boiling water before filling to keep the tacos cozy longer.
Can I make these tacos gluten-free?
Yes! Simply swap the flour tortillas for corn or gluten-free wraps, and check that your seasonings and condiments are gluten-free as well.
Is there a vegetarian version of this recipe?
Absolutely. Use plant-based burger crumbles or spiced mashed beans as a substitute for the ground beef, and skip or replace cheese with a vegan alternative.
How do I prevent the tortillas from getting soggy inside the thermos?
Toasting the tortillas lightly with butter before assembling creates a barrier that helps keep them from getting soggy, plus it adds great flavor.
Pin This Recipe!
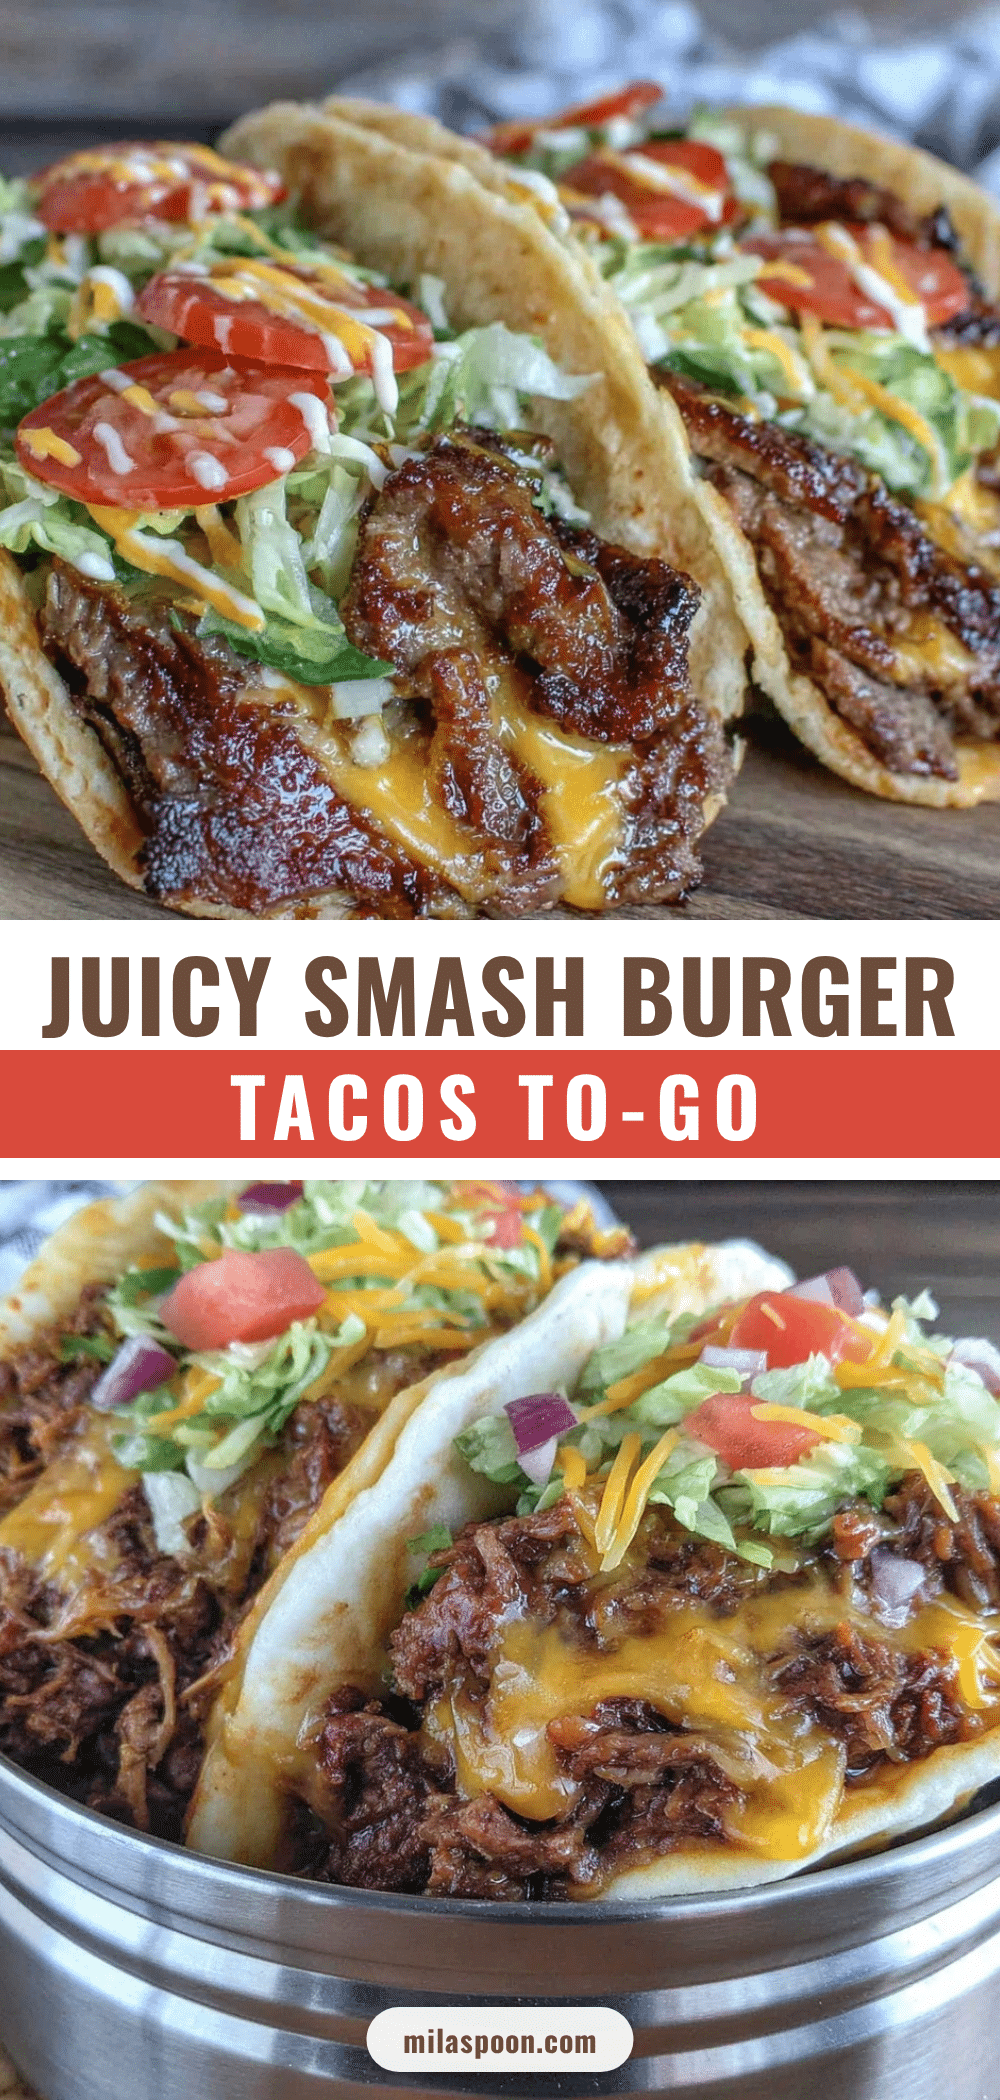
Smash Burger Tacos in a Thermos Easy Hot School Lunch Recipe
A quick and easy recipe for warm, comforting smash burger tacos packed in a thermos, perfect for hot school lunches and busy mornings.
- Prep Time: 10 minutes
- Cook Time: 15 minutes
- Total Time: 25 minutes
- Yield: 6-8 tacos (about 3-4 servings) 1x
- Category: Main Course
- Cuisine: American
Ingredients
- 1 lb ground beef (80/20 lean-to-fat ratio recommended)
- Salt and pepper to taste
- 1/2 tsp garlic powder
- 1/2 tsp onion powder
- 1 cup shredded cheddar cheese (about 100 g)
- 6–8 small flour tortillas (about 6-inch diameter)
- 1 tbsp butter
- Ketchup (optional)
- Mustard (optional)
- Pickles, sliced (optional)
- Thermos (preheated with hot water before filling)
Instructions
- Preheat your cast-iron or non-stick skillet over medium-high heat for 3-4 minutes until very hot.
- In a mixing bowl, combine ground beef with salt, pepper, garlic powder, and onion powder. Mix gently but thoroughly without overworking the meat.
- Divide the beef into 6-8 equal balls (about 2 oz each). Do not flatten yet.
- Place a beef ball in the hot skillet and immediately press down firmly with a spatula to flatten into a thin patty about 1/4 inch thick. Hold the press for 15-20 seconds to get a good sear. Cook for 2 minutes without moving.
- Flip the patty carefully and immediately sprinkle about 2 tbsp shredded cheddar cheese on top. Cook for another 1-2 minutes until cheese melts and burger is cooked through.
- While patties cook, melt butter in a separate pan over medium heat. Warm tortillas one at a time for 20-30 seconds per side until soft and slightly golden.
- Assemble tacos by layering each tortilla with a cheesy smash burger patty. Add ketchup, mustard, and pickles if desired.
- Preheat the thermos by filling it with boiling water, closing the lid, and letting it sit for 5 minutes. Empty the water.
- Carefully place the assembled tacos inside the thermos, stacking gently, and seal tightly.
- Pack and enjoy. The thermos keeps the tacos warm until lunchtime.
Notes
Preheat the skillet well to get a crispy crust on the patties. Do not overwork the meat to keep patties tender. Toast tortillas with butter to prevent sogginess in the thermos. Assemble tacos just before packing for best freshness. Cook patties in batches if needed to maintain pan heat.
Nutrition
- Serving Size: 2 tacos
- Calories: 475
- Sugar: 2
- Sodium: 550
- Fat: 30
- Saturated Fat: 12
- Carbohydrates: 25
- Fiber: 1
- Protein: 28
Keywords: smash burger, tacos, thermos lunch, school lunch, quick recipe, easy lunch, kid-friendly, ground beef, warm lunch


