Love this? Save it for later!
Share the inspiration with your friends
The butter was starting to smell like toasted hazelnuts when I realized I’d promised to bring cookies to a thing. Not just any thing—a thing where people actually know what good food tastes like. My fridge had half a can of pumpkin puree from a previous project, and my pantry was looking sad. No chocolate chips. No nuts. Just the usual baking suspects and a jar of cinnamon that was dangerously close to empty.
So I did what any reasonable person does when they’re out of options: I started browning butter and hoped for the best. The apartment filled with that nutty, warm smell, and I figured I could at least make snickerdoodles. But then my eyes landed on that pumpkin. And I thought—why not? I mean, honestly, what’s the worst that could happen? A batch of weird cookies that I’d eat myself while watching reality TV.
What came out of the oven was something else entirely. These Best Brown Butter Pumpkin Snickerdoodle Cookies were soft, pillowy, and absolutely wrecked with that brown butter depth. The pumpkin kept them tender. The cinnamon-sugar coating gave them that classic snickerdoodle crackle. And the brown butter? It tied everything together in a way that made me close my eyes after the first bite. I brought them to the thing, and within twenty minutes, the plate was empty. Someone asked for the recipe before they’d even finished chewing. That’s how I knew this one was sticking around.
Why You’ll Love This Recipe
Look, I’ve tested a lot of cookie recipes. Like, a lot. Some come out dry. Some spread into flat, sad discs. Some taste good but require a trip to three different grocery stores. These cookies? They’re none of those things. Here’s why they work:
- Brown butter magic: That nutty, caramelized flavor adds a depth you just can’t get with regular butter. It’s the secret weapon here.
- Pumpkin keeps them soft: The pumpkin puree adds moisture without making the cookies cakey. They’re tender but still chewy in the center.
- No mixer required: You can whisk everything by hand. No hauling out the stand mixer for a quick cookie fix.
- Simple pantry ingredients: Butter, flour, sugar, pumpkin, eggs, cinnamon. You probably have most of this already.
- That classic snickerdoodle crackle: The cinnamon-sugar coating gives you that beautiful, crinkly top that makes snickerdoodles so satisfying.
- Perfect for fall: But honestly? I make these year-round. They’re that good.
What makes these different from every other pumpkin cookie recipe out there? It’s the brown butter. Most recipes just use melted butter or oil. Taking those extra few minutes to brown the butter changes everything. It adds a toasty, nutty flavor that complements the pumpkin and cinnamon perfectly. Plus, I’ve tweaked the flour-to-pumpkin ratio so you get a cookie that holds its shape and doesn’t spread into a puddle. These are the kind of cookies that make people say “whoa” after the first bite. And isn’t that what we’re all after?
What Ingredients You Will Need
This recipe uses straightforward ingredients, but a few of them do some heavy lifting. Let’s talk about what you need and why each one matters.
- 1 cup unsalted butter (2 sticks) — This gets browned, so don’t skip that step. The browning transforms the butter from plain to nutty and complex. I use unsalted so I can control the salt level.
- 1 cup granulated sugar — Adds sweetness and helps with that crackly top.
- ½ cup packed light brown sugar — Adds moisture and a hint of molasses flavor that pairs beautifully with the brown butter.
- ½ cup pumpkin puree — Not pumpkin pie filling. Make sure you grab 100% pure pumpkin puree. I like Libby’s for consistency, but store brands work fine too. Pat the pumpkin with a paper towel to remove excess moisture—this is crucial for preventing spread.
- 1 large egg — Room temperature. This helps everything emulsify better.
- 1 teaspoon vanilla extract — Pure vanilla, not imitation. It makes a difference.
- 2 cups all-purpose flour — Spoon and level your flour. Scooping directly from the bag packs in too much flour and makes dry cookies.
- 1 teaspoon baking soda — Helps the cookies spread just enough and gives them lift.
- ½ teaspoon baking powder — Extra lift for a softer, thicker cookie.
- ½ teaspoon salt — Balances the sweetness and enhances the brown butter flavor.
- 1½ teaspoons ground cinnamon — The main spice. Use fresh cinnamon for the best flavor.
- ½ teaspoon ground nutmeg — Freshly grated if you have it. It’s worth the extra effort.
- ¼ teaspoon ground ginger — Adds warmth without being overpowering.
- ¼ teaspoon ground cloves — Just a pinch. Cloves are strong, so don’t overdo it.
For the cinnamon-sugar coating:
- ¼ cup granulated sugar
- 1 tablespoon ground cinnamon
A quick note on substitutions: You can use gluten-free all-purpose flour blend (the kind with xanthan gum) if needed. For a dairy-free version, use vegan butter—just note that the browning process will be slightly different, and the flavor won’t be as nutty. I’ve tested it with coconut oil, and honestly? Stick with the butter. That brown butter flavor is the whole point.
Equipment Needed
You don’t need a ton of fancy equipment for these cookies. Here’s what I use:
- Light-colored saucepan — Browning butter in a dark pan makes it hard to see the color change. Use a light-colored pan so you can watch the butter transform from yellow to golden to that perfect amber.
- Large mixing bowl — For the wet ingredients and the dough.
- Whisk — For mixing. A wooden spoon works too, but a whisk is easier for incorporating the pumpkin.
- Rubber spatula — For scraping down the bowl and folding in dry ingredients.
- Baking sheets — Two standard 13×18-inch sheets. Line them with parchment paper or silicone baking mats.
- Cookie scoop — I use a 1.5-tablespoon scoop for consistent cookies. A rounded tablespoon works too.
- Cooling rack — Lets air circulate so the cookies cool evenly and don’t get soggy on the bottom.
- Small shallow bowl — For the cinnamon-sugar coating.
If you don’t have a cookie scoop, just use two spoons to portion the dough. The cookies won’t be perfectly uniform, but they’ll taste the same. I’ve made these with a cheap baking sheet and they still turned out great. The most important tool is that light-colored saucepan—don’t skip that.
Preparation Method
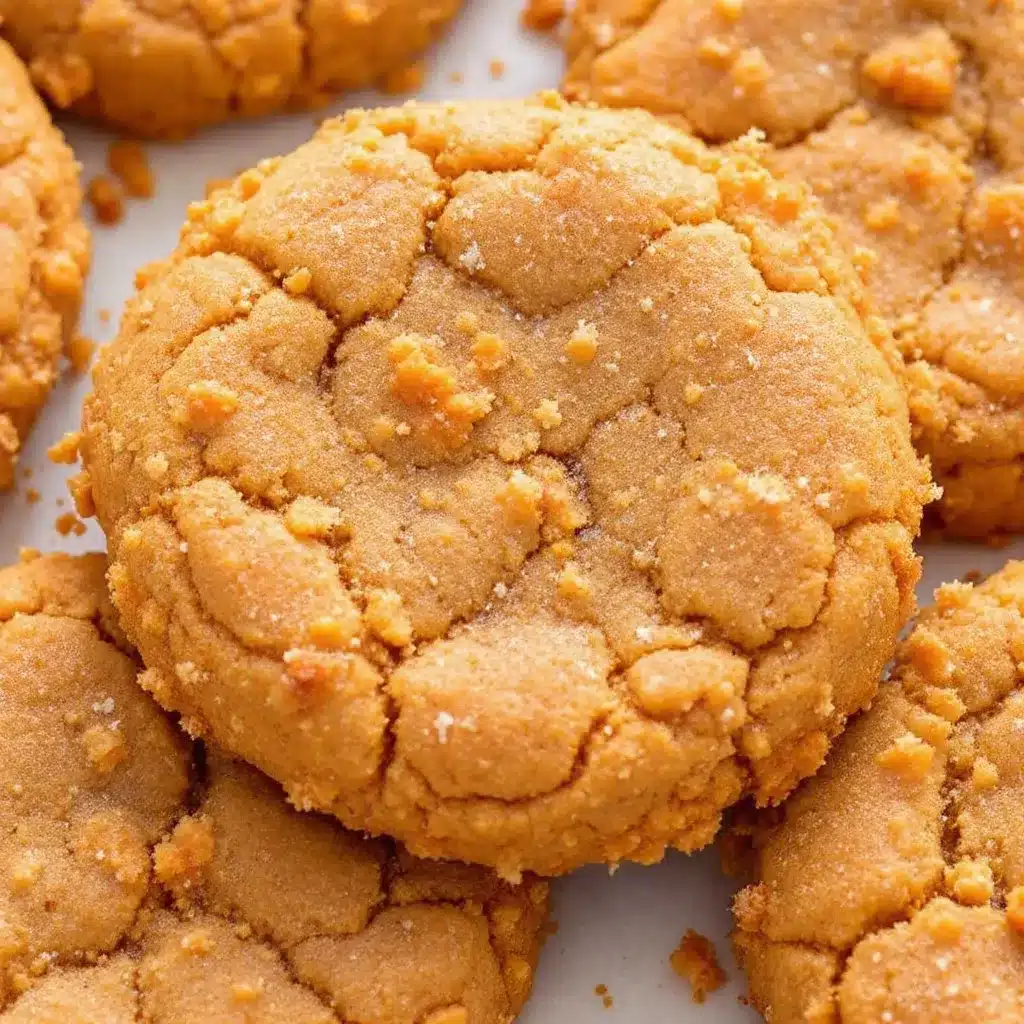
Let’s make these cookies. The process is straightforward, but there are a few key moments where paying attention really pays off.
- Brown the butter. Cut the butter into pieces and add them to a light-colored saucepan over medium heat. Stir constantly with a rubber spatula or wooden spoon. The butter will melt, then foam, then start to crackle and pop. Keep stirring. After about 5-7 minutes, you’ll see brown specks forming at the bottom of the pan. The butter will smell nutty and toasty. As soon as it reaches a deep amber color, remove it from the heat immediately. Pour it into a heatproof bowl to stop the cooking process. Let it cool for 10-15 minutes—you want it warm, not hot, when you add it to the sugar.
- Pat the pumpkin. While the butter cools, spread the pumpkin puree on a paper towel-lined plate. Place another paper towel on top and press gently. Let it sit for a few minutes. This removes excess moisture that would make the cookies spread too much. You’ll lose about a tablespoon of liquid, but it’s worth it.
- Mix the wet ingredients. In a large bowl, whisk together the cooled brown butter, granulated sugar, and brown sugar until well combined. It should look like wet sand. Add the egg, vanilla extract, and the patted-dry pumpkin puree. Whisk until smooth and glossy.
- Combine the dry ingredients. In a separate bowl, whisk together the flour, baking soda, baking powder, salt, cinnamon, nutmeg, ginger, and cloves. Make sure everything is evenly distributed.
- Make the dough. Add the dry ingredients to the wet ingredients in two additions, folding gently with a rubber spatula after each addition. Mix just until no streaks of flour remain. Overmixing will make the cookies tough. The dough will be soft and slightly sticky—that’s normal.
- Chill the dough. Cover the bowl with plastic wrap and refrigerate for at least 30 minutes, or up to 24 hours. Chilling is non-negotiable here. It firms up the butter, prevents excessive spreading, and allows the flavors to meld. I’ve made these without chilling, and they spread into thin, crispy discs. Still tasty, but not what we’re going for.
- Preheat and prepare. About 10 minutes before you’re ready to bake, preheat your oven to 350°F (175°C). Line two baking sheets with parchment paper or silicone mats.
- Make the coating. In a small shallow bowl, whisk together the ¼ cup granulated sugar and 1 tablespoon cinnamon.
- Shape and coat. Scoop the chilled dough into 1.5-tablespoon portions. Roll each portion into a smooth ball between your palms. Drop the ball into the cinnamon-sugar mixture and roll to coat evenly. Place on the prepared baking sheet, spacing them about 2 inches apart. They don’t spread much, so you can fit 12 cookies per sheet.
- Bake. Bake one sheet at a time for 10-12 minutes. The cookies should look puffed, slightly cracked on top, and golden brown around the edges. The centers will look soft and slightly underdone—that’s exactly what you want. They’ll continue to set on the hot baking sheet.
- Cool. Let the cookies rest on the baking sheet for 5 minutes. This allows them to firm up without overbaking. Then transfer them to a wire rack to cool completely. If you try to move them too soon, they’ll fall apart.
One more thing—if you want thicker cookies, chill the dough for a full hour. If you’re in a rush, 30 minutes works, but the longer chill gives you a better texture. Trust me on this.
Cooking Tips & Techniques
I’ve made these cookies at least a dozen times, and I’ve learned a few things the hard way. Here’s what I wish someone had told me:
Don’t walk away from the browning butter. I know it sounds dramatic, but butter goes from perfectly browned to burnt in about 30 seconds. Stay at the stove, keep stirring, and watch for that amber color. The smell is also a good cue—when it smells like toasted nuts, you’re there. I once got distracted by a phone call and ended up with black butter. The cookies tasted like regret.
Patting the pumpkin is not optional. I know it’s an extra step, but pumpkin puree is mostly water. If you don’t remove some of that moisture, your cookies will spread into flat, sad pancakes. I learned this the hard way when I made a batch for a party and ended up with cookie crisps. They still tasted good, but they looked like a mistake.
Chill the dough on the baking sheet. If you’re short on time, you can scoop the dough onto the baking sheet and refrigerate the whole sheet for 20 minutes. This works in a pinch, though the flavors won’t develop as much as with a longer chill.
Use a cookie scoop for consistent size. Uniform cookies bake evenly. If some are bigger than others, you’ll end up with a mix of underdone and overdone. A cookie scoop is cheap and makes the process so much faster.
Rotate the baking sheet halfway through. Ovens have hot spots. Halfway through baking, turn the sheet 180 degrees. This ensures even browning and prevents one side from getting too dark.
Variations & Adaptations
One of the best things about this recipe is how adaptable it is. Here are some variations I’ve tried and loved:
Pumpkin Chocolate Chip Snickerdoodles: Add ½ cup of semi-sweet chocolate chips to the dough after mixing. The chocolate pairs beautifully with the brown butter and pumpkin. I made these for a friend who claimed she didn’t like pumpkin desserts, and she ate four of them.
Gluten-Free Version: Swap the all-purpose flour for a 1:1 gluten-free baking flour blend that contains xanthan gum. I’ve tested this with Bob’s Red Mill and King Arthur Measure for Measure, and both worked well. The cookies will be slightly more delicate, so handle them gently.
Vegan Version: Use vegan butter (I like Miyoko’s for browning) and a flax egg (1 tablespoon ground flaxseed mixed with 3 tablespoons water, let sit for 5 minutes). The texture will be a bit less tender, but the flavor is still excellent.
Spice It Up: Add ¼ teaspoon of cardamom or allspice to the dry ingredients for a more complex spice profile. I once added a pinch of black pepper to the cinnamon-sugar coating, and it was surprisingly good—just a tiny hint of heat that made the cookies more interesting.
Maple Glaze Drizzle: Whisk together ½ cup powdered sugar, 1 tablespoon maple syrup, and 1-2 teaspoons milk until smooth. Drizzle over cooled cookies. It adds a lovely sweetness and makes them look fancy. I did this for a holiday cookie exchange, and they were the first to disappear.
If you love brown butter and pumpkin together, you should also try my Brown Butter Maple Snickerdoodles—they have a similar vibe with a maple twist. And for another pumpkin treat, these Moist Pumpkin Cream Cheese Swirl Muffins are absolutely divine.
Serving & Storage Suggestions
These cookies are best served slightly warm, when the centers are still soft and the edges are just a little crisp. Let them cool on the baking sheet for 5 minutes, then transfer to a wire rack. If you can wait that long, they’re perfect at room temperature too.
For a cozy fall presentation, arrange the cookies on a wooden board with a few cinnamon sticks and star anise. They pair beautifully with a cup of hot apple cider, chai tea, or a simple latte. If you’re feeling indulgent, serve them with a scoop of vanilla ice cream or a drizzle of caramel sauce.
Storage: Keep the cookies in an airtight container at room temperature for up to 5 days. Place a slice of bread in the container to help maintain moisture—the bread absorbs excess air and keeps the cookies soft. Replace the bread every other day if needed.
Freezing: These cookies freeze beautifully. You can freeze the baked cookies in a single layer on a baking sheet, then transfer them to a freezer-safe bag for up to 3 months. Thaw at room temperature for about 20 minutes. Or freeze the unbaked dough balls on a baking sheet, then transfer to a freezer bag. Bake from frozen, adding 2-3 minutes to the baking time. I always keep a batch in the freezer for unexpected guests or late-night cravings.
The flavors actually deepen after a day or two. The brown butter becomes more pronounced, and the spices settle into something wonderfully cohesive. If you can resist eating them all on day one, day two is even better.
Nutritional Information & Benefits
Let’s be real—these are cookies, not health food. But they do have some redeeming qualities. Here’s the approximate nutritional breakdown per cookie (based on 24 cookies):
| Nutrient | Amount |
|---|---|
| Calories | 145 |
| Total Fat | 8g |
| Saturated Fat | 5g |
| Cholesterol | 25mg |
| Sodium | 95mg |
| Total Carbohydrates | 18g |
| Dietary Fiber | 1g |
| Sugars | 11g |
| Protein | 2g |
Pumpkin puree is a good source of vitamin A and fiber, and the cinnamon has anti-inflammatory properties. The brown butter adds a small amount of vitamin A and healthy fats. These cookies are also nut-free and can be made gluten-free or vegan with the substitutions mentioned above. They contain dairy and eggs in the standard version.
I’m not one to pretend cookies are health food, but I do feel better about eating a pumpkin cookie than a plain sugar cookie. The pumpkin adds nutrients and moisture, and the spices make them feel more substantial. Plus, the fiber content means they’re slightly more filling than your average cookie. You do you.
Conclusion
These Best Brown Butter Pumpkin Snickerdoodle Cookies are the kind of recipe that makes you look like a genius with minimal effort. The brown butter adds a nutty, sophisticated depth that elevates a simple cookie into something special. The pumpkin keeps them soft and tender. And that cinnamon-sugar coating? It’s pure nostalgia with a grown-up twist.
I love this recipe because it’s forgiving. You can tweak the spices, add chocolate chips, or skip the chilling step in a pinch (though I don’t recommend it). It’s a cookie that works for a casual weekend bake, a holiday cookie exchange, or a last-minute dessert when you need to impress. And honestly, the smell of brown butter and cinnamon filling your kitchen is reason enough to make them.
I’d love to hear how these turn out for you. Did you add any twists? Did they disappear as fast as mine did? Drop a comment below and let me know. And if you’re looking for more cozy fall baking, don’t miss my Cozy Brown Butter Zucchini Bread—it has that same nutty brown butter magic. Happy baking, friends!
Frequently Asked Questions
Can I use pumpkin pie filling instead of pumpkin puree?
No, please don’t. Pumpkin pie filling is pre-sweetened and spiced, and it will throw off the balance of the recipe. Stick with 100% pure pumpkin puree for the best results.
Why did my cookies spread too much?
This usually happens for one of three reasons: the dough wasn’t chilled long enough, the pumpkin wasn’t patted dry, or the butter was too warm when you mixed it. Make sure to chill the dough for at least 30 minutes and pat the pumpkin dry before adding it.
Can I make the dough ahead of time?
Absolutely. You can refrigerate the dough for up to 24 hours before baking. The flavors actually improve with time. You can also freeze the dough balls for up to 3 months—just bake from frozen, adding a couple of minutes to the baking time.
How do I know when the cookies are done?
Look for puffed, slightly cracked tops and golden brown edges. The centers will look soft and slightly underdone. They’ll continue to set on the hot baking sheet for 5 minutes after you take them out of the oven. Don’t overbake—that’s the number one mistake people make.
Can I double this recipe?
Yes, it doubles beautifully. Just make sure you brown the butter in batches—crowding the pan makes it harder to control the browning process. And if you’re baking multiple sheets, rotate them between racks halfway through for even baking.
Pin This Recipe!
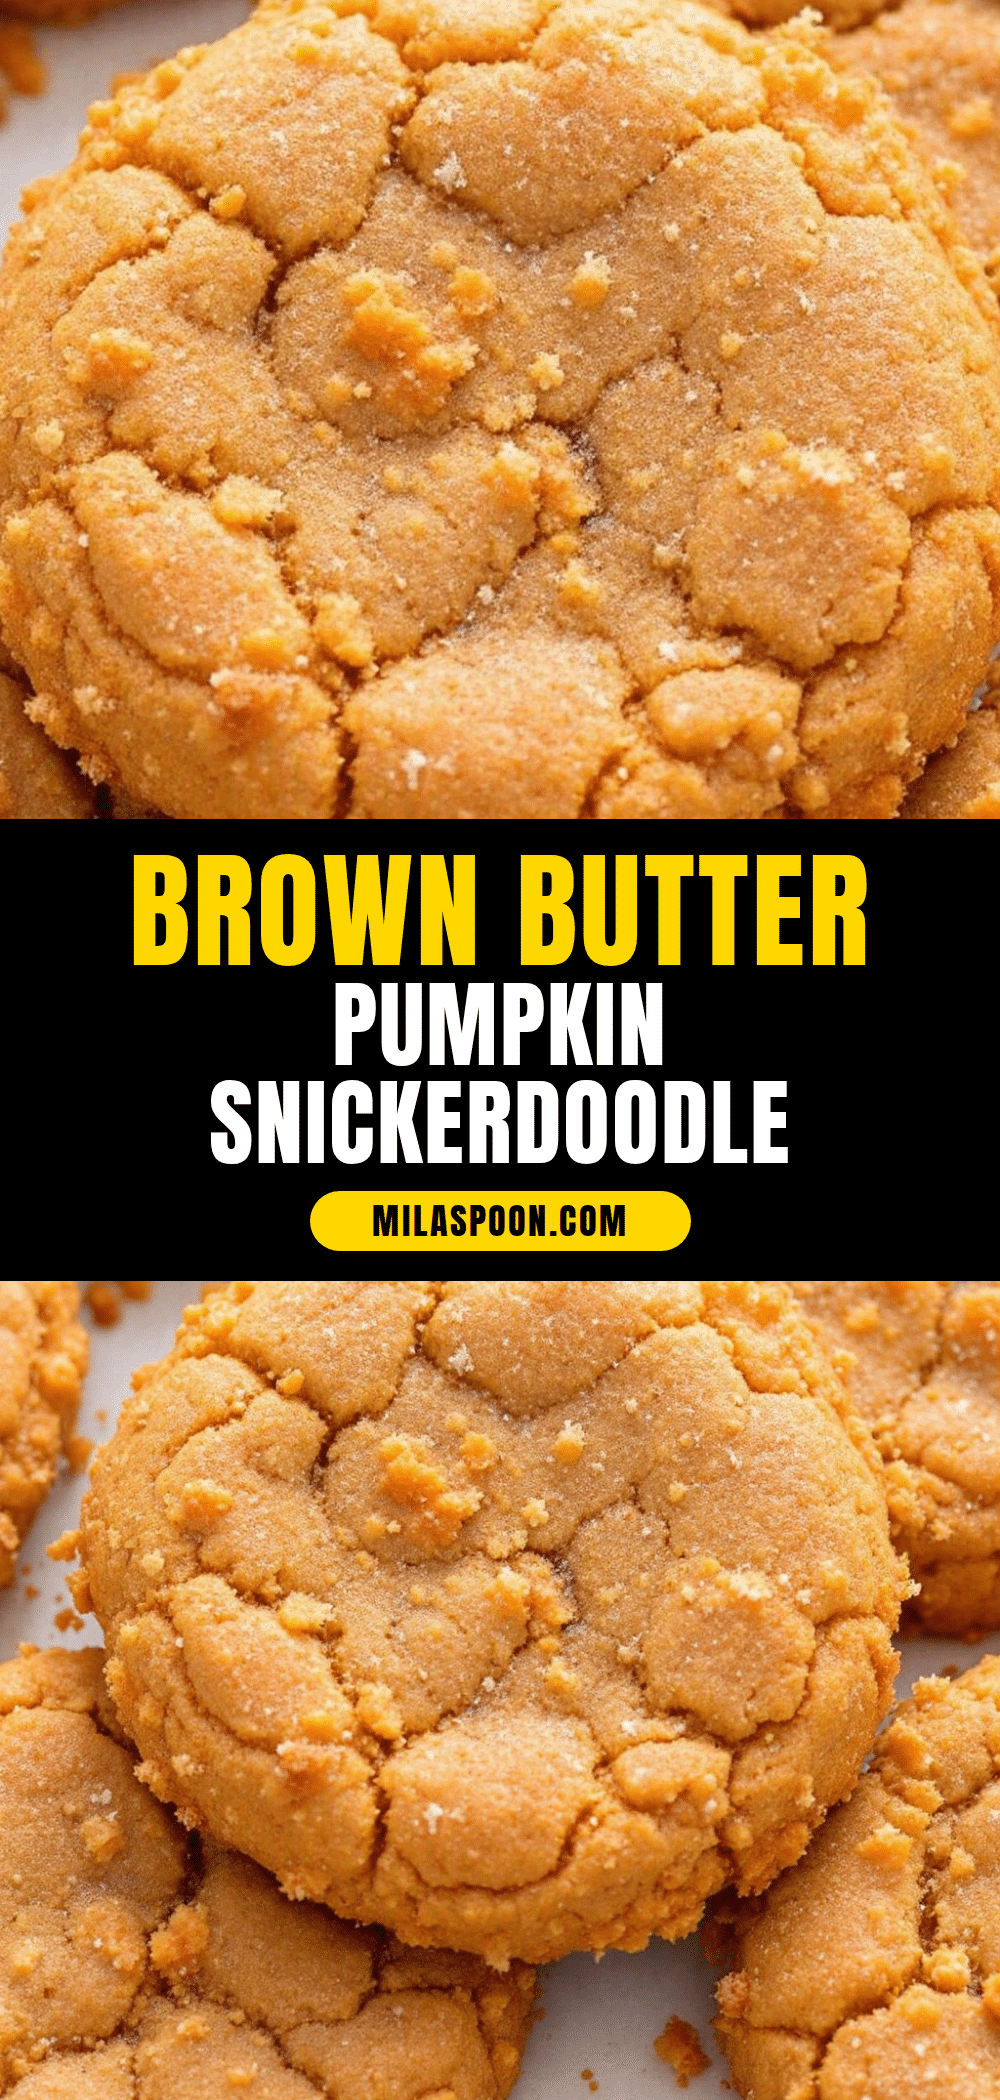
Best Brown Butter Pumpkin Snickerdoodle Cookies
Soft, pillowy snickerdoodle cookies with nutty brown butter and pumpkin puree, coated in cinnamon-sugar for a classic crackle. These easy, no-mixer cookies are perfect for fall baking and disappear fast.
- Prep Time: 20 minutes
- Cook Time: 12 minutes
- Total Time: 1 hour 2 minutes (includes 30 minutes chilling)
- Yield: 24 cookies 1x
- Category: Dessert
- Cuisine: American
Ingredients
- 1 cup unsalted butter (2 sticks)
- 1 cup granulated sugar
- ½ cup packed light brown sugar
- ½ cup pumpkin puree (100% pure, not pie filling)
- 1 large egg (room temperature)
- 1 teaspoon vanilla extract (pure)
- 2 cups all-purpose flour (spooned and leveled)
- 1 teaspoon baking soda
- ½ teaspoon baking powder
- ½ teaspoon salt
- 1½ teaspoons ground cinnamon
- ½ teaspoon ground nutmeg
- ¼ teaspoon ground ginger
- ¼ teaspoon ground cloves
- ¼ cup granulated sugar (for coating)
- 1 tablespoon ground cinnamon (for coating)
Instructions
- Brown the butter: Cut butter into pieces and add to a light-colored saucepan over medium heat. Stir constantly until butter melts, foams, and turns deep amber with brown specks (about 5-7 minutes). Remove from heat immediately and pour into a heatproof bowl. Let cool for 10-15 minutes until warm, not hot.
- Pat the pumpkin: Spread pumpkin puree on a paper towel-lined plate, cover with another paper towel, and press gently to remove excess moisture. Let sit for a few minutes.
- Mix wet ingredients: In a large bowl, whisk together cooled brown butter, granulated sugar, and brown sugar until combined (like wet sand). Add egg, vanilla extract, and patted-dry pumpkin puree. Whisk until smooth and glossy.
- Combine dry ingredients: In a separate bowl, whisk together flour, baking soda, baking powder, salt, cinnamon, nutmeg, ginger, and cloves until evenly distributed.
- Make the dough: Add dry ingredients to wet ingredients in two additions, folding gently with a rubber spatula after each addition. Mix just until no streaks of flour remain. Dough will be soft and slightly sticky.
- Chill the dough: Cover bowl with plastic wrap and refrigerate for at least 30 minutes, or up to 24 hours.
- Preheat and prepare: About 10 minutes before baking, preheat oven to 350°F (175°C). Line two baking sheets with parchment paper or silicone mats.
- Make the coating: In a small shallow bowl, whisk together ¼ cup granulated sugar and 1 tablespoon cinnamon.
- Shape and coat: Scoop chilled dough into 1.5-tablespoon portions. Roll each into a smooth ball, then roll in cinnamon-sugar mixture to coat evenly. Place on prepared baking sheets, spacing 2 inches apart (12 cookies per sheet).
- Bake: Bake one sheet at a time for 10-12 minutes, until puffed, slightly cracked on top, and golden brown around the edges. Centers will look soft and slightly underdone.
- Cool: Let cookies rest on baking sheet for 5 minutes, then transfer to a wire rack to cool completely.
Notes
Chilling the dough is non-negotiable to prevent spreading. Patting the pumpkin dry removes excess moisture. Brown butter can burn quickly—watch carefully. For thicker cookies, chill dough for a full hour. Cookies can be frozen baked or unbaked for up to 3 months.
Nutrition
- Serving Size: 1 cookie
- Calories: 145
- Sugar: 11
- Sodium: 95
- Fat: 8
- Saturated Fat: 5
- Carbohydrates: 18
- Fiber: 1
- Protein: 2
Keywords: brown butter, pumpkin, snickerdoodle, cookies, fall baking, cinnamon sugar, easy cookie recipe


