Love this? Save it for later!
Share the inspiration with your friends
I have never actually enjoyed a store-bought pudding cup. The texture is always a little too slick for me, and the flavor has that artificial vanilla thing going on that I just can’t get past. So when my nephew asked me to make something “spooky but not scary” for his Halloween class party, I almost reached for the packaged snacks. But then I remembered a graveyard dessert I saw years ago at a potluck—the one with the crushed cookies that looked exactly like dirt. I figured I could make the pudding part from scratch, skip the box mix, and see if I could build something that tasted as good as it looked. Honestly, the first batch was a disaster. The pudding was too thin and the “dirt” got soggy within an hour. But the second time? Something clicked. The texture was right, the chocolate was rich, and those little gummy worms peeking out of the Oreo crumbs looked genuinely mischievous. I realized I had accidentally created a dessert that kids would lose their minds over and adults would secretly love. That is the thing about this easy no-bake Oreo graveyard pudding cups recipe—it looks like a project, but it is actually the simplest thing you will make all season. You get the satisfaction of a homemade chocolate pudding, the crunch of Oreo crumbs, and the joy of decorating a tiny graveyard all in one cup. No oven required. No fancy techniques. Just a little patience and a lot of crushed cookies.
Why You’ll Love This Recipe
Let me tell you why this easy no-bake Oreo graveyard pudding cups recipe has become my go-to for every Halloween gathering. First off, it is genuinely no-bake. You do not turn on the oven, you do not melt chocolate over a double boiler, and you do not stand over a hot stove stirring forever. The stovetop time for the pudding is about eight minutes, and then the fridge does the rest of the work. That is it.
- Quick & Easy: From start to finish, active prep is under 20 minutes. The hardest part is waiting for the pudding to chill. I usually make the pudding the night before and assemble the cups the next day. Perfect for busy weeknights or last-minute Halloween parties.
- Simple Ingredients: You likely have most of the ingredients in your kitchen right now. Milk, sugar, egg yolks, cornstarch, cocoa powder, butter, vanilla, Oreos, and a few gummy worms. No specialty baking aisle trips required.
- Perfect for Halloween: These cups are the star of any spooky spread. They work for classroom parties, trunk-or-treat events, or just a fun weekend project with the kids. They also travel well if you keep them chilled.
- Crowd-Pleaser: I have served these to kids, adults, and even picky eaters. Everyone loves digging into the “dirt” and finding the gummy worms. The homemade pudding is what wins over the adults—it is rich, silky, and nothing like the boxed stuff.
- Unbelievably Delicious: The combination of creamy chocolate pudding, crunchy Oreo crumbs, and chewy gummy worms is textural perfection. Each spoonful gives you a little bit of everything. It is comfort food dressed up in a spooky costume.
What makes this recipe different from the other graveyard desserts out there is the pudding. Most recipes use instant pudding mix, which works fine but has that artificial aftertaste. This version uses a stovetop chocolate pudding that is rich, dark, and silky smooth. It is the kind of pudding that makes you close your eyes after the first bite. And because you control the sweetness, you can dial it back so the Oreo crumbs do not make everything cloying. It is comfort food reimagined—homemade but still fast, spooky but not scary, and perfect for impressing guests without any stress.
What Ingredients You Will Need
This recipe uses simple, everyday ingredients to create something that feels special. The magic is in the homemade pudding, which uses basic pantry staples to deliver deep chocolate flavor and a silky texture. Here is what you need:
For the Chocolate Pudding
- 2 cups whole milk (do not use skim—the fat is essential for creaminess)
- 1/2 cup granulated sugar
- 1/4 cup unsweetened cocoa powder (I prefer Ghirardelli or Hershey’s Special Dark for a deeper flavor)
- 2 tablespoons cornstarch
- 1/4 teaspoon salt
- 2 large egg yolks (room temperature, so they whisk in smoothly)
- 2 tablespoons unsalted butter (cut into small pieces, softened)
- 1 teaspoon vanilla extract (use pure, not imitation, for the best flavor)
For the Graveyard Assembly
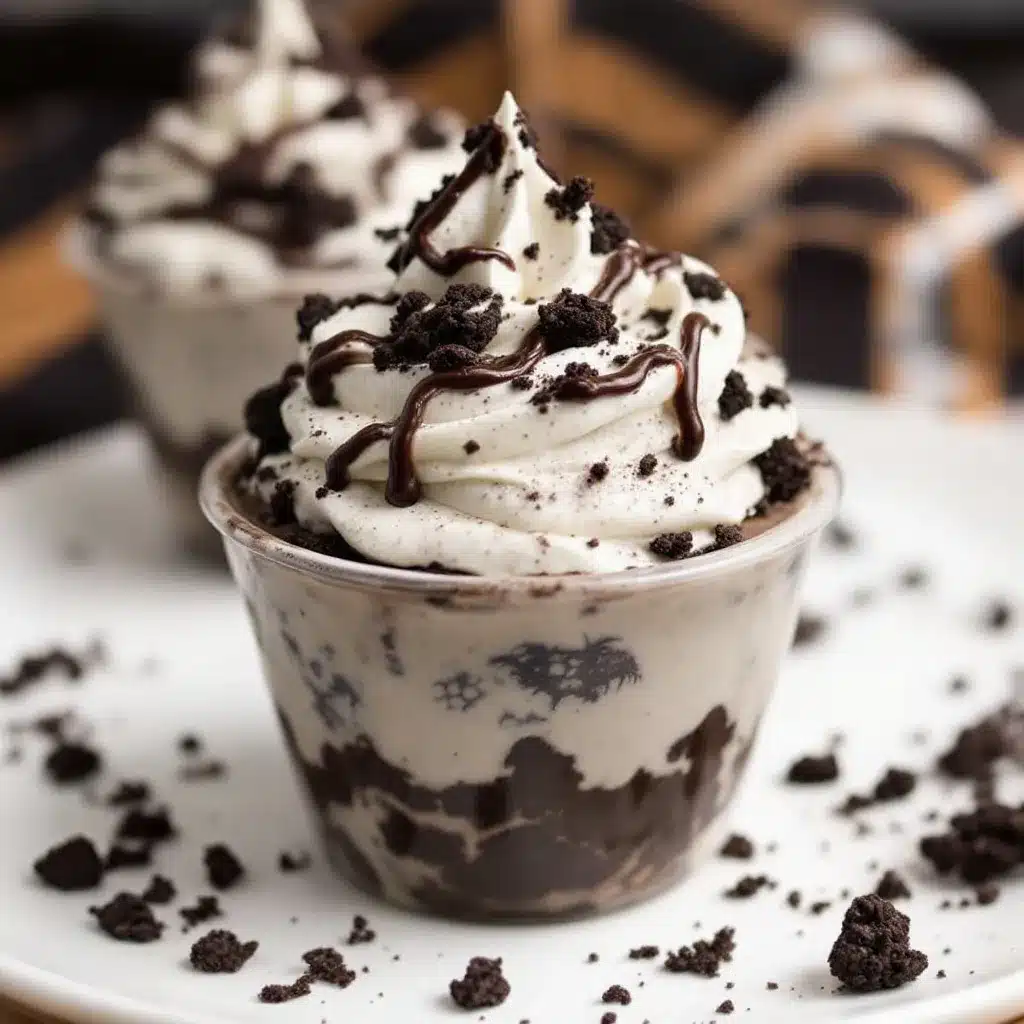
- 24 Oreo cookies (about half a standard package—you will crush them into “dirt”)
- 4 clear cups or jars (8-ounce capacity works best for layering)
- Gummy worms (about 8-12 worms, depending on how many you want per cup)
- 4 small cookie tombstones (store-bought or homemade—I use Milano cookies with “RIP” written in black icing)
Ingredient Selection Tips: For the milk, whole milk gives the pudding its signature richness. If you need a dairy-free option, use full-fat oat milk or canned coconut milk—just know the texture will be slightly less firm. For the Oreos, do not use the double-stuf version. The extra filling makes the “dirt” clump instead of staying crumbly. Regular Oreos crush perfectly into that soil-like texture you want.
Substitution Guidance: If you are gluten-free, use gluten-free chocolate sandwich cookies. They crush the same way and taste nearly identical. For the gummy worms, check the label—some brands contain gelatin, so look for vegetarian gummy worms if needed. And if you cannot find cookie tombstones, just write “RIP” on small rectangles of dark chocolate with white icing. It works perfectly.
Equipment Needed
You do not need any fancy equipment for this easy no-bake Oreo graveyard pudding cups recipe. Here is what you will use:
- Medium saucepan (heavy-bottomed is best to prevent scorching the pudding)
- Whisk (a balloon whisk works better than a flat whisk for smooth pudding)
- Mixing bowls (one medium for the egg yolks, one large for crushing the Oreos)
- Measuring cups and spoons
- Ziploc bag or food processor (for crushing the Oreos into fine crumbs)
- Rolling pin (if using the Ziploc bag method—my preferred approach because it is oddly satisfying)
- 4 clear cups or jars (8-ounce capacity—glass jars show off the layers beautifully)
- Spatula (for scraping every last bit of pudding into the cups)
- Fine-mesh strainer (optional but helpful if you want extra-smooth pudding with no lumps)
I have made this recipe with both a food processor and a Ziploc bag for the Oreo crumbs. The food processor is faster, but the bag method gives you more control over the texture. Plus, it is a great job for kids. Just seal the bag well—trust me, you do not want Oreo dust all over your kitchen. I learned that lesson the hard way.
Preparation Method
Follow these steps carefully, and you will have perfect graveyard pudding cups every time. The pudding takes about 10 minutes of active time, then the fridge does the rest.
- Make the chocolate pudding base: In a medium saucepan, whisk together the sugar, cocoa powder, cornstarch, and salt. Make sure there are no lumps of cocoa or cornstarch. This dry mix is your foundation, so take an extra 30 seconds to get it smooth.
- Add the milk: Slowly pour in the milk while whisking constantly. Keep whisking until the mixture is completely smooth and the dry ingredients are fully dissolved. You should not see any streaks of cocoa powder at this point.
- Temper the egg yolks: In a separate small bowl, whisk the egg yolks lightly. Slowly drizzle about 1/2 cup of the warm milk mixture into the yolks while whisking constantly. This raises the temperature of the yolks gradually so they do not scramble when you add them to the pot. Pour the yolk mixture back into the saucepan, whisking to combine.
- Cook the pudding: Place the saucepan over medium heat and cook, whisking constantly, until the mixture thickens and comes to a gentle simmer. This takes about 6-8 minutes. You will feel the pudding start to resist your whisk—that is when you know it is working. Once you see a few bubbles break the surface, cook for 1 more minute, then remove from heat. The pudding will look thick but still pourable.
- Finish the pudding: Remove the saucepan from the heat. Add the butter pieces and vanilla extract, whisking until the butter is completely melted and the pudding is glossy. If you want extra-smooth pudding, pour it through a fine-mesh strainer into a bowl to catch any tiny lumps. I usually skip this step, but it is worth doing if you are serving these to guests.
- Cool the pudding: Let the pudding sit at room temperature for 10 minutes, stirring occasionally to release steam. Then press a piece of plastic wrap directly onto the surface of the pudding. This prevents a skin from forming. Refrigerate for at least 2 hours, or until completely chilled and set. I prefer making the pudding the night before and letting it chill overnight.
- Crush the Oreos: While the pudding chills, make your “dirt.” Place the Oreos in a large Ziploc bag and seal it tightly. Use a rolling pin to crush them into fine crumbs. You want a mix of fine dust and tiny pebbles—not completely pulverized, but close. If you prefer using a food processor, pulse the Oreos in short bursts until you reach the desired texture. Set the crumbs aside.
- Assemble the cups: When the pudding is fully set, take it out of the fridge. Spoon about 1/4 cup of pudding into the bottom of each clear cup. Add a layer of Oreo crumbs on top—about 2 tablespoons per cup. Press a gummy worm into the crumbs so it peeks out, as if it is crawling out of the dirt. Add another layer of pudding, then another layer of Oreo crumbs. You want at least two visible layers of “dirt.”
- Add the tombstones: Place a cookie tombstone at the back of each cup, pressing it gently into the top layer of crumbs. Add a few more gummy worms around the base of the tombstone for effect. The cups should look like tiny graveyard scenes.
- Chill before serving: Refrigerate the assembled cups for at least 30 minutes before serving. This allows the flavors to meld and the “dirt” to settle slightly. Serve cold, straight from the fridge.
Sensory Cues: When the pudding is cooking, you will smell a deep, toasty chocolate aroma right before it starts to simmer. The pudding is ready when it coats the back of a spoon and leaves a clear trail when you run your finger through it. The Oreo crumbs should look like damp soil—dark, crumbly, and slightly clumping when pressed.
Cooking Tips & Techniques
I have made this easy no-bake Oreo graveyard pudding cups recipe more times than I care to count, and I have learned a few things along the way. Here are the tips that make a real difference:
Whisk constantly. This is the most important rule of stovetop pudding. If you stop whisking even for 30 seconds, the mixture will scorch on the bottom of the pan. You will get brown flecks in your pudding, and the flavor will be slightly burnt. Set a timer and commit to whisking the entire time. I usually put on a podcast and just zone out with the whisk.
Do not rush the chilling. I once tried to speed up the process by putting the pudding in the freezer for 30 minutes. The edges froze while the center stayed warm, and the texture turned grainy. Let the pudding chill in the refrigerator for the full 2 hours. Overnight is even better because the flavors deepen and the texture becomes silkier.
Crush the Oreos just before assembling. If you crush them too early, the filling will start to soften the crumbs, and you will lose that crunchy texture. I crush my Oreos right before I assemble the cups, while the pudding is finishing its chill time. The contrast between the creamy pudding and the crunchy “dirt” is what makes this dessert special.
Use clear cups. This is not just about aesthetics—though the layers do look fantastic. Clear cups let you see the graveyard scene from all angles. Kids especially love seeing the gummy worms “buried” in the dirt. I use 8-ounce glass jars from a craft store, but any clear cup works.
Make extra pudding. The recipe makes exactly enough for 4 cups, but I always double it. The extra pudding is perfect for snacking, and if any of the cups get damaged during assembly, you have a backup. Plus, leftover chocolate pudding on its own is a fantastic breakfast—do not judge me.
Variations & Adaptations
This recipe is endlessly adaptable. Here are some variations I have tried and loved:
Peanut Butter Graveyard: Add 2 tablespoons of creamy peanut butter to the pudding after you remove it from the heat. Whisk until smooth. The peanut butter adds a savory note that pairs beautifully with the chocolate. Use peanut butter sandwich cookies instead of Oreos for the dirt. This version is dangerously good.
Vegan Version: Use full-fat oat milk or canned coconut milk instead of whole milk. Replace the butter with coconut oil. Use vegan chocolate sandwich cookies and vegan gummy worms. The pudding will be slightly less firm but still creamy and delicious. I have made this for a vegan friend, and she said it was better than the original.
Spicy Chocolate Graveyard: Add 1/4 teaspoon of cayenne pepper and 1/2 teaspoon of cinnamon to the dry ingredients before adding the milk. The warmth of the spices cuts through the richness of the pudding and adds a subtle heat that lingers. This version is great for adults—kids might find it too intense.
Mini Graveyard Bites: Instead of 8-ounce cups, use 2-ounce shot glasses or small mason jars. Layer the pudding and crumbs in tiny portions. These are perfect for parties where guests want a small treat. You will get about 12 mini cups from one batch of pudding.
Cookie-Free Dirt: If you do not have Oreos, use crushed chocolate graham crackers or chocolate wafer cookies. The texture is slightly different—more sandy than crumbly—but it still works. I have also used crushed chocolate-covered espresso beans for a grown-up version, but that is definitely not for kids.
Serving & Storage Suggestions
These graveyard pudding cups are best served cold, straight from the refrigerator. The contrast between the chilled pudding and the crunchy Oreo crumbs is what makes every bite exciting. I recommend serving them within 4 hours of assembly for the best texture.
Serving Temperature: Serve cold, but let the cups sit at room temperature for about 5 minutes before serving. This takes the chill off the pudding and allows the flavors to open up. Do not let them sit out longer than 30 minutes, or the “dirt” will start to soften.
Presentation Ideas: Arrange the cups on a black platter or a wooden board. Add a few extra gummy worms around the base of the cups for a spooky effect. You can also stick a small plastic spider or bat on the rim of each cup. For a Halloween party, I like to label each cup with a tiny tombstone that says “RIP” and the name of a guest—it is a silly touch, but everyone loves it.
Complementary Dishes: These cups pair beautifully with a warm drink like hot apple cider or a pumpkin spice latte. If you are serving a full Halloween spread, try them alongside pumpkin cream cheese swirl muffins or roasted tomato basil soup for a savory-sweet balance. For a completely spooky dessert table, add chocolate-covered pretzel rods for crunch.
Storage Instructions: Store assembled cups in the refrigerator, covered with plastic wrap or a lid, for up to 3 days. The pudding will stay creamy, but the Oreo crumbs will soften over time. If you want to prep ahead, make the pudding and crush the Oreos separately. Store the pudding in the fridge and the crumbs in an airtight container at room temperature. Assemble the cups up to 4 hours before serving.
Freezer Instructions: I do not recommend freezing assembled cups. The pudding will become icy and the texture will be ruined. However, you can freeze the chocolate pudding on its own for up to 2 months. Thaw it in the refrigerator overnight, whisk it to restore the texture, and then assemble the cups fresh.
Flavor Development: The pudding actually tastes better on the second day. The chocolate flavor deepens and the texture becomes even silkier. If you are making these for a party, I recommend making the pudding 1-2 days in advance. Just wait to assemble the cups until the day of the event.
Nutritional Information & Benefits
Here is the estimated nutritional information for one graveyard pudding cup (based on 4 servings):
| Nutrient | Amount per Serving |
|---|---|
| Calories | 385 |
| Total Fat | 18g |
| Saturated Fat | 9g |
| Cholesterol | 115mg |
| Sodium | 320mg |
| Total Carbohydrates | 52g |
| Dietary Fiber | 3g |
| Sugars | 36g |
| Protein | 6g |
Health Benefits: While this is definitely a treat, the cocoa powder in the pudding is rich in antioxidants called flavonoids, which can support heart health. The milk provides calcium and vitamin D for bone health. The egg yolks add a small amount of choline, which is important for brain function. And the Oreos? Well, they provide a moment of pure joy, which has its own health benefits.
Dietary Considerations: This recipe contains dairy, eggs, gluten, and soy. For a gluten-free version, use gluten-free chocolate sandwich cookies. For a dairy-free version, use oat milk and coconut oil. For an egg-free version, you can try using 2 tablespoons of cornstarch mixed with 3 tablespoons of water as a replacement for the egg yolks, but the texture will be slightly different.
Potential Allergens: This recipe contains milk, eggs, wheat, and soy. The gummy worms may contain gelatin, which is derived from animal products. Always check labels if you are serving to guests with allergies.
Personal Wellness Perspective: I believe in balance. These graveyard pudding cups are not health food, and they are not meant to be. They are a fun, festive treat that brings people together. I make them once a year for Halloween, and I enjoy every single bite without guilt. Life is too short to skip dessert.
Conclusion
This easy no-bake Oreo graveyard pudding cups recipe has become a Halloween tradition in my house, and I think it deserves a spot in yours too. It is the kind of dessert that looks impressive but requires almost no effort—the perfect combination for busy holiday seasons. The homemade chocolate pudding is rich and silky, the Oreo “dirt” is crunchy and satisfying, and the gummy worms add a playful touch that kids and adults both love.
I encourage you to make this recipe your own. Add more gummy worms. Use different cookie flavors. Experiment with the spices. The beauty of this dessert is that it is forgiving and adaptable. You cannot really mess it up, and even if you do, it will still taste delicious.
If you make these graveyard pudding cups, I would love to hear about it. Leave a comment below and tell me how they turned out. Did you add any creative touches? Did the kids help you assemble them? Share your photos on social media and tag me—I love seeing your spooky creations. And if you are looking for more Halloween dessert ideas, check out my funfetti school bus sugar cookies or brown butter chocolate chip cookies for another easy treat. Happy Halloween, and happy eating!
Frequently Asked Questions
Can I use instant pudding mix instead of homemade?
Yes, you can absolutely use instant pudding mix. Just prepare it according to the package directions and let it set in the refrigerator. The texture will be slightly different—less rich and a bit more artificial tasting—but it will still work for the graveyard cups. If you go this route, use whole milk for the pudding mix to get a creamier result.
How far in advance can I make these?
You can make the pudding up to 3 days in advance and store it in the refrigerator. Crush the Oreos up to 1 week in advance and keep them in an airtight container at room temperature. Assemble the cups no more than 4 hours before serving for the best texture. The “dirt” will soften over time, so fresh assembly is key.
Can I make these without eggs?
Yes, you can make an egg-free version of the pudding. Replace the 2 egg yolks with 2 tablespoons of cornstarch mixed with 3 tablespoons of cold water. Whisk this slurry into the milk mixture before cooking. The pudding will be slightly less rich but still creamy and delicious. This version also works well for those with egg allergies.
How do I prevent the pudding from getting lumps?
Lumps usually form when the cornstarch is not fully dissolved before cooking, or when the heat is too high. Make sure to whisk the dry ingredients together thoroughly before adding the milk. Cook over medium heat, not high heat, and whisk constantly. If you do end up with lumps, pour the finished pudding through a fine-mesh strainer to remove them.
Can I use a different type of cookie for the dirt?
Absolutely. Chocolate graham crackers, chocolate wafer cookies, or even crushed chocolate cereal work well. Each option gives a slightly different texture. Chocolate graham crackers create a finer, sandier dirt. Chocolate wafer cookies are crunchier. And chocolate cereal adds a fun, airy texture. Just make sure whatever you use is chocolate-based to maintain the dark “dirt” look.
Pin This Recipe!
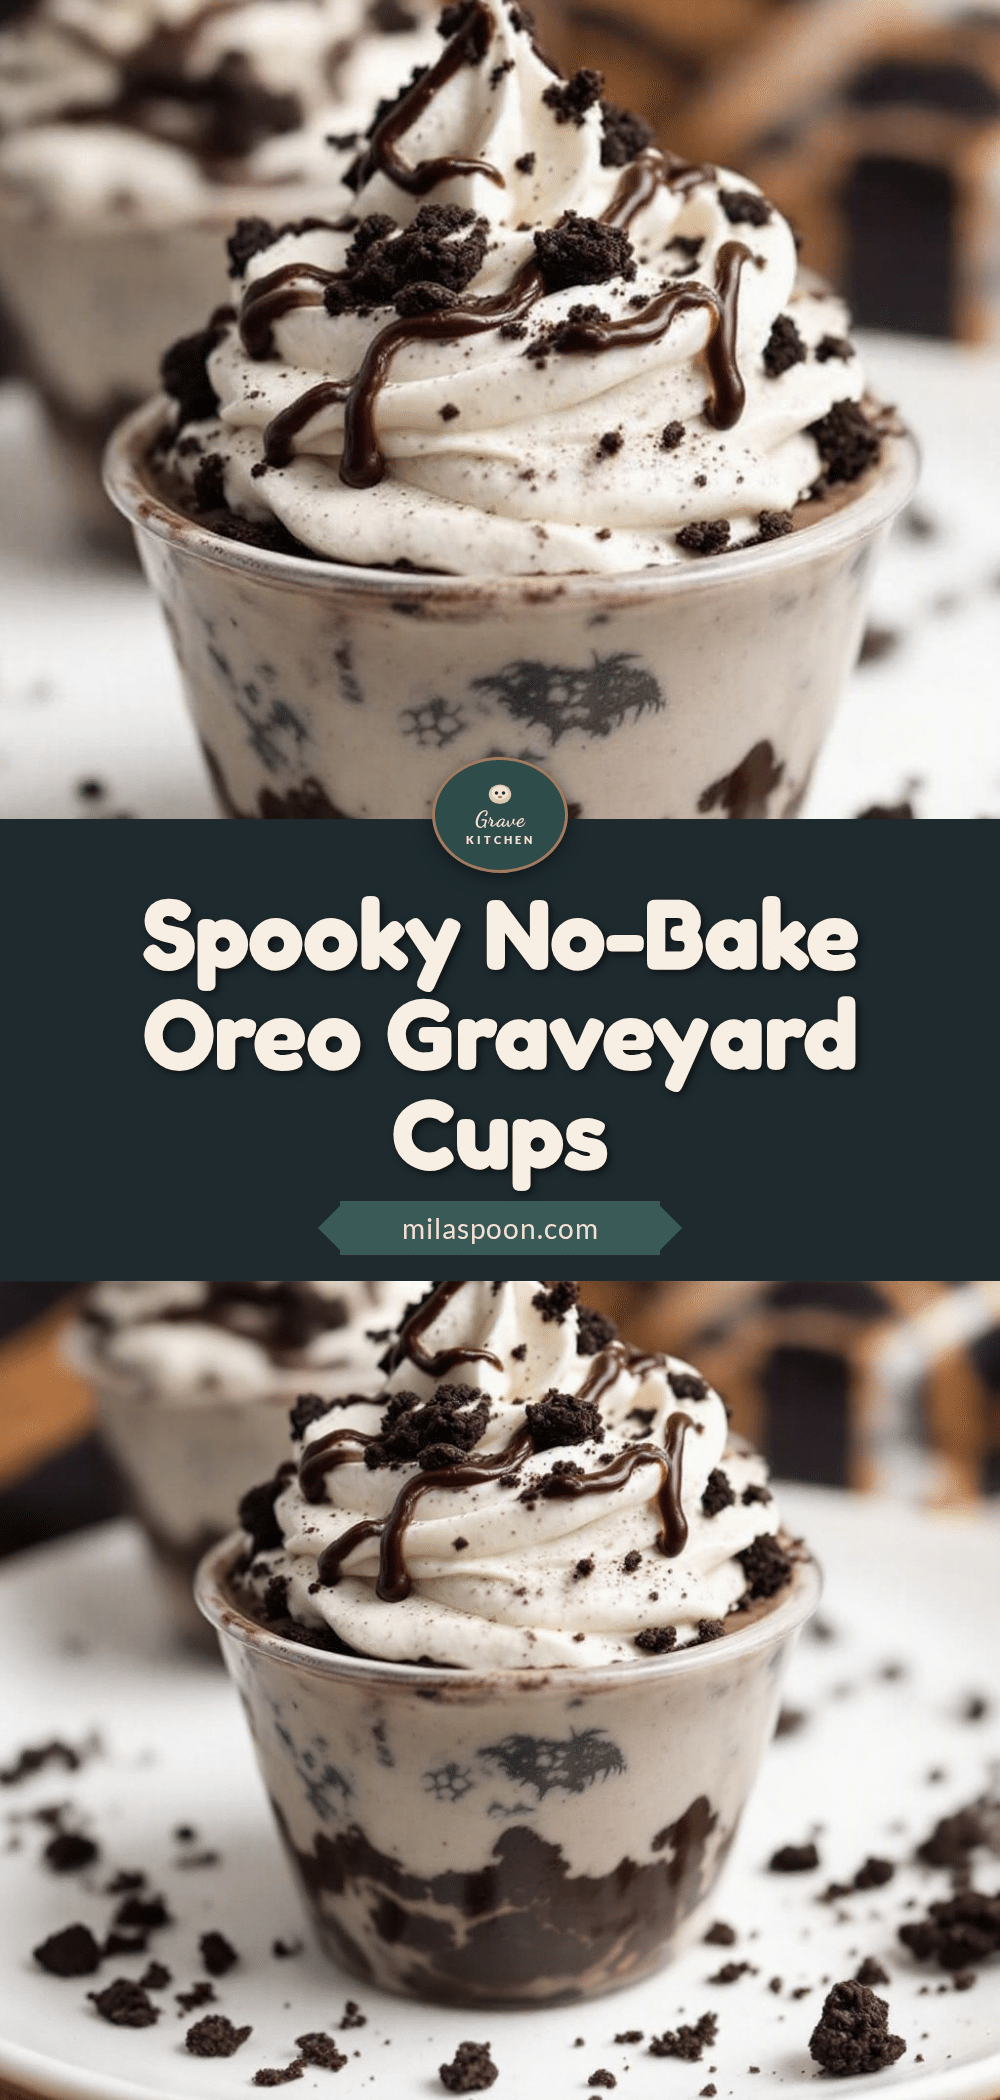
Easy No-Bake Oreo Graveyard Pudding Cups Recipe

These spooky yet fun no-bake Oreo graveyard pudding cups feature a rich homemade chocolate pudding, crunchy Oreo ‘dirt,’ and playful gummy worms. Perfect for Halloween parties, they are quick to assemble and sure to delight both kids and adults.
- Prep Time: 20 minutes
- Cook Time: 8 minutes
- Total Time: 2 hours 28 minutes (includes chilling time)
- Yield: 4 servings 1x
- Category: Dessert
- Cuisine: American
Ingredients
- 2 cups whole milk
- 1/2 cup granulated sugar
- 1/4 cup unsweetened cocoa powder
- 2 tablespoons cornstarch
- 1/4 teaspoon salt
- 2 large egg yolks, room temperature
- 2 tablespoons unsalted butter, softened and cut into small pieces
- 1 teaspoon vanilla extract
- 24 Oreo cookies (about half a standard package)
- 4 clear cups or jars (8-ounce capacity)
- 8–12 gummy worms
- 4 small cookie tombstones (store-bought or homemade)
Instructions
- Make the chocolate pudding base: In a medium saucepan, whisk together the sugar, cocoa powder, cornstarch, and salt until no lumps remain.
- Add the milk: Slowly pour in the milk while whisking constantly until the mixture is completely smooth and the dry ingredients are fully dissolved.
- Temper the egg yolks: In a separate small bowl, whisk the egg yolks lightly. Slowly drizzle about 1/2 cup of the warm milk mixture into the yolks while whisking constantly. Pour the yolk mixture back into the saucepan, whisking to combine.
- Cook the pudding: Place the saucepan over medium heat and cook, whisking constantly, until the mixture thickens and comes to a gentle simmer, about 6-8 minutes. Once you see a few bubbles break the surface, cook for 1 more minute, then remove from heat.
- Finish the pudding: Remove the saucepan from the heat. Add the butter pieces and vanilla extract, whisking until the butter is completely melted and the pudding is glossy. For extra-smooth pudding, pour through a fine-mesh strainer into a bowl.
- Cool the pudding: Let the pudding sit at room temperature for 10 minutes, stirring occasionally. Press a piece of plastic wrap directly onto the surface of the pudding to prevent a skin from forming. Refrigerate for at least 2 hours, or until completely chilled and set.
- Crush the Oreos: Place the Oreos in a large Ziploc bag and seal tightly. Use a rolling pin to crush them into fine crumbs (a mix of fine dust and tiny pebbles). Alternatively, pulse in a food processor in short bursts. Set aside.
- Assemble the cups: Spoon about 1/4 cup of pudding into the bottom of each clear cup. Add a layer of Oreo crumbs (about 2 tablespoons per cup). Press a gummy worm into the crumbs so it peeks out. Add another layer of pudding, then another layer of Oreo crumbs.
- Add the tombstones: Place a cookie tombstone at the back of each cup, pressing it gently into the top layer of crumbs. Add a few more gummy worms around the base of the tombstone.
- Chill before serving: Refrigerate the assembled cups for at least 30 minutes before serving. Serve cold.
Notes
Whisk constantly while cooking the pudding to prevent scorching. Do not rush the chilling time; overnight is best for deeper flavor and silkier texture. Crush Oreos just before assembling to maintain crunch. Use clear cups to show off the layers. The pudding tastes even better on the second day.
Nutrition
- Serving Size: 1 cup
- Calories: 385
- Sugar: 36
- Sodium: 320
- Fat: 18
- Saturated Fat: 9
- Carbohydrates: 52
- Fiber: 3
- Protein: 6
Keywords: no-bake, Oreo, graveyard, pudding cups, Halloween, chocolate pudding, easy dessert, spooky, gummy worms


