Love this? Save it for later!
Share the inspiration with your friends
The first Saturday of November, and the only thing my four-year-old wanted to do was dig in the dirt. Not plant anything, not look for worms—just dig. The backyard was a cold, muddy mess, and I was not about to let her track it through the kitchen. So I did what any tired mom would do: I told her we could make our own dirt. Inside. With pudding. And gummy worms.
That was the moment these Easy No-Bake Pumpkin Patch Dirt Pudding Cups were born. Honestly, I was just trying to avoid a meltdown, but something clicked. She sat on the counter, stirring crushed cookies into a bowl of creamy pumpkin pudding, and for twenty whole minutes, she was completely still. That never happens.
These little cups are the kind of dessert that feels like a project and a treat all at once. They look like a tiny pumpkin patch, complete with chocolate “dirt,” gummy worms, and a cute little pumpkin on top. No oven required, no fancy skills, and you probably have most of the ingredients in your pantry right now. They’re the kind of thing you make with kids, but honestly, I’ve caught myself sneaking one from the fridge after they go to bed. No judgment here.
Why You’ll Love This Recipe
I’ve tested this recipe about six times to get the texture just right. The first batch was too runny. The second was too thick. But this version? It’s the Goldilocks of dirt pudding cups—creamy, set perfectly, and not overly sweet.
- No-Bake & Easy: You don’t even need to turn on the stove. Just mix, layer, and chill. Perfect for hot days or when you just don’t feel like dealing with the oven.
- Simple Ingredients: Pumpkin puree, cream cheese, instant pudding mix, and a few pantry staples. Nothing weird or hard to find.
- Perfect for Fall Gatherings: These are a hit at Halloween parties, Thanksgiving dinners, or just a random Tuesday when you need something fun. They look impressive but take almost no effort.
- Crowd-Pleaser: Kids love the gummy worms and the “dirt.” Adults love the creamy pumpkin flavor. Everyone wins.
- Unbelievably Delicious: The combination of creamy pumpkin cheesecake-like filling with crunchy chocolate cookie crumbs is next-level comfort food. It’s like eating a pumpkin pie and a dirt cup at the same time.
What makes this recipe different from all the other pumpkin desserts out there is the texture. I use a trick—blending the cream cheese with a splash of heavy cream before adding the pumpkin—that makes the filling extra smooth and luxurious. No lumps, no graininess. Just silky, spiced perfection.
This is the kind of dessert that makes you close your eyes after the first bite. It’s comfort food reimagined—faster, no-bake, but with the same soul-soothing satisfaction as a slice of pumpkin pie. Perfect for impressing guests without stress, or turning a simple afternoon into something memorable.
What Ingredients You Will Need
This recipe uses simple, wholesome ingredients to deliver bold pumpkin flavor and a satisfying creamy texture without the fuss. Most of these are pantry staples or easy to find at any grocery store.
- Pumpkin Puree (1 cup / 240g): Not pumpkin pie filling. Make sure you grab 100% pure pumpkin puree. I recommend Libby’s for consistent texture and flavor. The puree adds moisture and that signature earthy sweetness.
- Cream Cheese (4 oz / 113g, softened): Full-fat cream cheese gives the filling its rich, tangy base. Let it sit out for 30 minutes before mixing so it blends smoothly. Philadelphia is my go-to brand.
- Heavy Cream (¼ cup / 60ml): This is my secret for an ultra-smooth texture. It thins the cream cheese just enough without making it runny. You can substitute with half-and-half if needed.
- Vanilla Extract (1 tsp): Pure vanilla extract adds warmth and depth. Imitation works fine, but pure is better.
- Instant Vanilla Pudding Mix (1 box, 3.4 oz / 96g): This is what sets the filling and gives it that mousse-like consistency. Do not use cook-and-serve pudding—it won’t work the same way. Jell-O brand is reliable.
- Cold Milk (1 cup / 240ml): Whole milk works best for creaminess, but 2% is fine. Use it cold straight from the fridge to help the pudding set properly.
- Pumpkin Pie Spice (1 tsp): You can buy it pre-mixed or make your own with cinnamon, nutmeg, ginger, and cloves. This is where the fall flavor comes from.
- Ground Cinnamon (½ tsp): Extra warmth because you can never have too much cinnamon in a pumpkin dessert.
- Chocolate Sandwich Cookies (about 20 cookies): Oreos are the classic choice. You’ll crush them into fine crumbs to create the “dirt.” Remove the cream filling if you want a darker dirt color, but I leave it in for extra sweetness.
- Gummy Worms (about 12-15): The fun part! Use sour or regular gummy worms. I like the sour ones for a little tangy contrast against the sweet pudding.
- Miniature Pumpkin Candies (6-8): These are optional but make the cups look adorable. You can find them at most grocery stores around Halloween. If you can’t find them, use a small candy corn or a pinch of orange sprinkles instead.
- Whipped Topping (optional, for garnish): A dollop on top makes it look extra fancy. I use Cool Whip or homemade whipped cream.
Equipment Needed
The beauty of this recipe is that you don’t need much. Here’s what you’ll need to pull it together:
- Mixing Bowls: One large bowl for the pudding filling and one medium bowl for the cookie crumbs. Any size works.
- Electric Hand Mixer or Stand Mixer: You can whisk by hand, but a mixer makes the cream cheese blend silky smooth without lumps. I’ve done it both ways, and the mixer is worth the extra two minutes of cleanup.
- Food Processor or Rolling Pin: To crush the cookies into fine crumbs. A food processor gives you the most consistent texture, but a zip-top bag and a rolling pin work just as well if you need to release some frustration.
- Small Clear Cups or Jars (6-8 oz each): I use 8-ounce mason jars or clear plastic cups so you can see the layers. It makes the “dirt” effect pop. You can also use small glass bowls or even ramekins.
- Spatula: For scraping every last bit of that creamy filling. A rubber spatula is your best friend here.
- Measuring Cups and Spoons: Standard set for accurate measurements.
- Refrigerator: This is the most important piece of equipment. The cups need at least 2 hours to set, preferably overnight.
If you don’t have a food processor, don’t stress. I’ve crushed cookies with the bottom of a glass on a cutting board more times than I can count. It’s a little messy, but it works.
Preparation Method
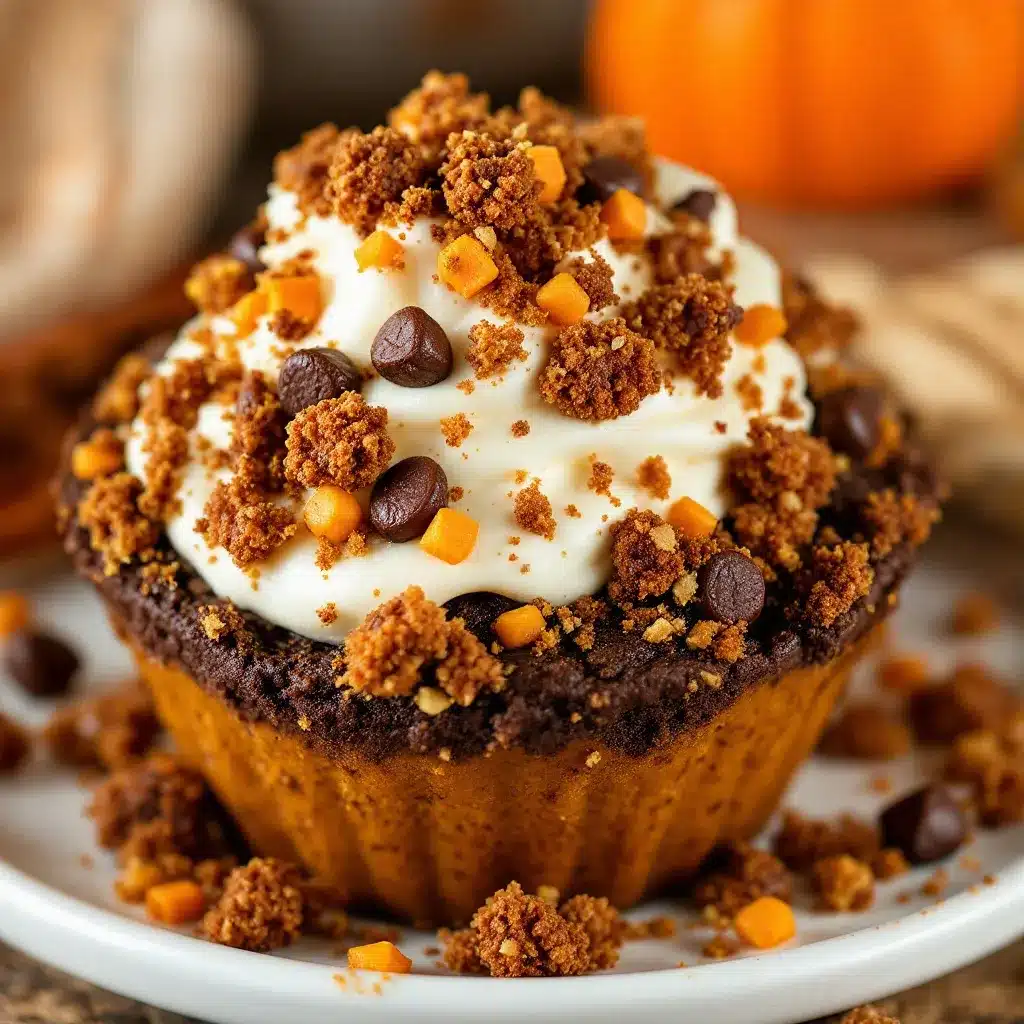
Let me walk you through this step by step. I’ve made these cups so many times that I’ve got the process down to a science. Follow along, and you’ll have a perfect pumpkin patch in under 30 minutes of active work.
Step 1: Make the Cookie Dirt
Start by crushing your chocolate sandwich cookies. If using a food processor, pulse them until they become fine crumbs with no large chunks. If using a bag and rolling pin, place the cookies in a zip-top bag, seal it, and roll over them until they’re crushed. You want a texture similar to potting soil—some slightly larger pieces are okay, they add texture. Set the crumbs aside in a bowl.
Step 2: Prepare the Pumpkin Pudding Filling
In a large mixing bowl, beat the softened cream cheese with an electric mixer on medium speed until it’s smooth and fluffy, about 2 minutes. Scrape down the sides of the bowl with a spatula. Add the heavy cream and vanilla extract, and beat for another minute until well combined. The mixture should look silky and light.
Add the pumpkin puree, pumpkin pie spice, and cinnamon. Mix on low speed until just combined. Don’t overmix—you don’t want to incorporate too much air.
Step 3: Make the Pudding Base
In a separate small bowl, whisk together the instant vanilla pudding mix and cold milk. Whisk vigorously for about 2 minutes until the pudding starts to thicken. It will be thick but still pourable. Immediately add this pudding mixture to the pumpkin-cream cheese mixture.
Mix on low speed until everything is fully combined and smooth. The color should be a beautiful, rich orange. Taste it. I dare you not to lick the spatula.
Step 4: Layer the Cups
Now for the fun part. Grab your cups or jars. Start with a layer of cookie crumbs at the bottom of each cup—about 1½ tablespoons. Press it down gently with the back of a spoon. This creates the base “dirt” layer.
Spoon or pipe the pumpkin pudding mixture on top of the cookie crumbs, filling the cup about halfway. Tap the cup gently on the counter to settle the pudding and remove any air bubbles.
Add another layer of cookie crumbs on top of the pudding—about another 1½ tablespoons. Then add more pudding until the cup is about three-quarters full. Finish with a final generous layer of cookie crumbs on top, completely covering the pudding. It should look like a little cup of dirt.
Step 5: Add the Gummy Worms
This is where it gets fun. Gently poke 2-3 gummy worms into the top layer of cookie crumbs so they look like they’re crawling out of the dirt. Some can be half-buried, some fully on top. Let them peek out a little—it makes the presentation so much cuter.
Step 6: Garnish and Chill
If you have the miniature pumpkin candies, place one on top of each cup near the edge. If you’re using whipped cream, add a small dollop first, then place the pumpkin candy on top. The whipped cream adds a nice contrast to the dark “dirt.”
Place the cups in the refrigerator for at least 2 hours, but overnight is better. The pudding needs time to set fully, and the flavors meld together beautifully. The texture becomes firmer and more mousse-like as it chills. Trust me on this—don’t rush it.
Cooking Tips & Techniques
I’ve learned a few things the hard way so you don’t have to. Here are my best tips for perfect dirt pudding cups every time:
Don’t skip softening the cream cheese. I once tried to mix cold cream cheese straight from the fridge. It was a lumpy disaster. Let it sit on the counter for 30 minutes, or microwave it in 10-second bursts until soft but not melted. Smooth cream cheese = smooth filling.
Use cold milk for the pudding mix. The instant pudding needs cold liquid to activate properly. If your milk is warm, the pudding won’t set and you’ll end up with soup. Keep it in the fridge until you’re ready.
Crush the cookies finely enough. If the crumbs are too chunky, they won’t look like dirt and they’ll be hard to eat. You want a uniform, fine texture. A food processor is ideal, but a rolling pin and some elbow grease works too. Just make sure there are no large cookie shards.
Let the cups chill fully. I know it’s tempting to dig in right away, but the first time I made these, I served them after only an hour. The pudding was still loose, and the layers mixed together into a muddy mess. Give them at least 2 hours, preferably overnight. The texture transforms completely.
Pipe the pudding for cleaner layers. If you want those Instagram-worthy distinct layers, transfer the pudding to a piping bag or a zip-top bag with the corner snipped off. It gives you more control and keeps the cookie crumbs from mixing into the pudding.
Make extra cookie crumbs. I always double the cookie portion because someone (usually me) will snack on the crumbs while assembling. Plus, having extra means you can add a thicker dirt layer if you want.
Variations & Adaptations
One of the best things about this recipe is how easy it is to tweak. Here are some variations I’ve tried and loved:
Gluten-Free Version: Use gluten-free chocolate sandwich cookies. There are several brands available now that taste just as good as the original. The rest of the ingredients are naturally gluten-free, so you’re good to go.
Dairy-Free Version: Substitute the cream cheese with a dairy-free cream cheese alternative, use coconut cream instead of heavy cream, and swap the milk for almond or oat milk. The texture will be slightly less rich, but still delicious. I’ve used Kite Hill cream cheese with good results.
Lower Sugar Version: Use sugar-free instant pudding mix and sugar-free cookies. You can also reduce the amount of cookie crumbs on top. The filling is sweet enough from the pumpkin and cream cheese, so you won’t miss the extra sugar.
Pumpkin Cheesecake Cups: For a more decadent version, add a layer of crushed graham crackers between the cookie crumbs and the pudding. It gives a subtle cheesecake crust texture. I tried this for Thanksgiving last year, and it was a hit.
Chocolate Pumpkin Twist: Use chocolate instant pudding instead of vanilla for a deeper chocolate flavor that pairs beautifully with the pumpkin. The color will be darker, but the taste is incredible—like a pumpkin chocolate mousse.
Adult Version: Add a tablespoon of bourbon or dark rum to the pudding mixture before chilling. The warm spice notes complement the pumpkin perfectly. Just make sure you label them clearly if kids are around.
Serving & Storage Suggestions
These cups are best served cold, straight from the fridge. The chilled pudding is firm but creamy, and the cookie crumbs stay slightly crunchy on top. I like to serve them in clear cups so everyone can see the layers—it’s part of the fun.
For a party, set up a DIY dirt cup bar. Lay out the pudding, cookie crumbs, gummy worms, and toppings, and let guests assemble their own. It’s interactive and always gets people talking. I did this for a Halloween party last fall, and the kids (and adults) loved it.
Storage: Cover each cup with plastic wrap or a lid and store in the refrigerator for up to 3 days. The cookie crumbs will soften over time, which actually makes them taste more like a traditional dirt dessert. If you prefer crunchy crumbs, add a fresh layer of crumbs just before serving.
Freezing: I don’t recommend freezing these cups. The pudding texture changes when thawed and becomes watery. These are best made fresh and eaten within a few days.
Reheating: Do not reheat. These are meant to be served cold. If you want a warm pumpkin dessert, try my Easy Skillet Peach Crisp with Oat Streusel and Brown Sugar Topping instead—it’s a completely different vibe but equally satisfying.
The flavors actually develop and deepen after a day in the fridge. The pumpkin spice melds with the cream cheese, and the cookies soften into a cake-like texture. I actually prefer them on day two.
Nutritional Information & Benefits
Here’s the approximate nutritional breakdown per serving (based on 6 servings, using full-fat ingredients):
| Nutrient | Amount per Serving |
|---|---|
| Calories | 385 |
| Total Fat | 18g |
| Saturated Fat | 10g |
| Cholesterol | 45mg |
| Sodium | 420mg |
| Total Carbohydrates | 52g |
| Dietary Fiber | 2g |
| Sugars | 35g |
| Protein | 5g |
| Vitamin A | 120% DV |
| Calcium | 8% DV |
Pumpkin is packed with Vitamin A, which is great for eye health and immune function. It’s also a good source of fiber, which helps keep you full. The cream cheese adds calcium and protein, while the cookies are, well, a treat. But that’s okay—dessert is supposed to be fun.
This recipe is vegetarian and can easily be made gluten-free or dairy-free with the substitutions mentioned above. It contains dairy, gluten (from the cookies), and soy (in some cookie brands), so keep that in mind if you have allergies.
I’m not a nutritionist, but I believe in balance. These cups are a special treat, not an everyday snack. And honestly, the joy they bring is worth every calorie.
Conclusion
These Easy No-Bake Pumpkin Patch Dirt Pudding Cups are more than just a dessert—they’re an experience. They’re the kind of thing you make with your kids on a rainy Saturday, or bring to a fall potluck and watch everyone’s face light up. They’re silly, they’re fun, and they taste incredible.
I love that this recipe doesn’t take itself too seriously. It’s not about perfect technique or fancy ingredients. It’s about making something that feels special with minimal effort. The creamy pumpkin filling, the crunchy chocolate dirt, the gummy worms peeking out—it all comes together in a way that feels both nostalgic and new.
If you make these, don’t be afraid to get creative. Use different candies, add a layer of caramel, or top them with whipped cream and a sprinkle of cinnamon. Make them your own. And if your kids end up with chocolate on their faces and gummy worm crumbs on the floor, consider it a win.
I’d love to hear how yours turn out. Leave a comment below, tag me in your photos, or share your own twist on this recipe. Did you add something unexpected? Did your kids help? Did you eat three in one sitting? No judgment here. Happy fall baking, friends!
Frequently Asked Questions
Can I make these ahead of time?
Absolutely! These cups actually taste better the next day. You can assemble them up to 2 days in advance and keep them covered in the fridge. Just add the gummy worms and any garnishes right before serving to keep them looking fresh.
Can I use homemade pumpkin puree instead of canned?
Yes, but you’ll need to strain it first. Homemade pumpkin puree tends to be more watery than canned. Place it in a cheesecloth or a fine-mesh strainer over a bowl for about an hour to remove excess liquid. Otherwise, your pudding might be too loose to set properly.
Why is my pudding not setting?
This usually happens for one of three reasons: your milk wasn’t cold enough, you didn’t whisk the pudding mix long enough, or you didn’t let it chill long enough. Make sure your milk is straight from the fridge, whisk for a full 2 minutes, and give the cups at least 2 hours in the fridge. Overnight is best.
Can I use a different type of cookie for the dirt?
Of course! Chocolate wafer cookies, graham crackers, or even ginger snaps work well. Ginger snaps add a nice spicy kick that complements the pumpkin. Just crush them into fine crumbs the same way you would with Oreos.
How do I keep the gummy worms from bleeding color into the pudding?
This can happen with brightly colored gummy worms, especially red and green ones. To prevent it, add the gummy worms just before serving instead of during assembly. If you want to add them ahead of time, use clear or brown gummy worms, or pat them dry with a paper towel before placing them in the cups.
Pin This Recipe!
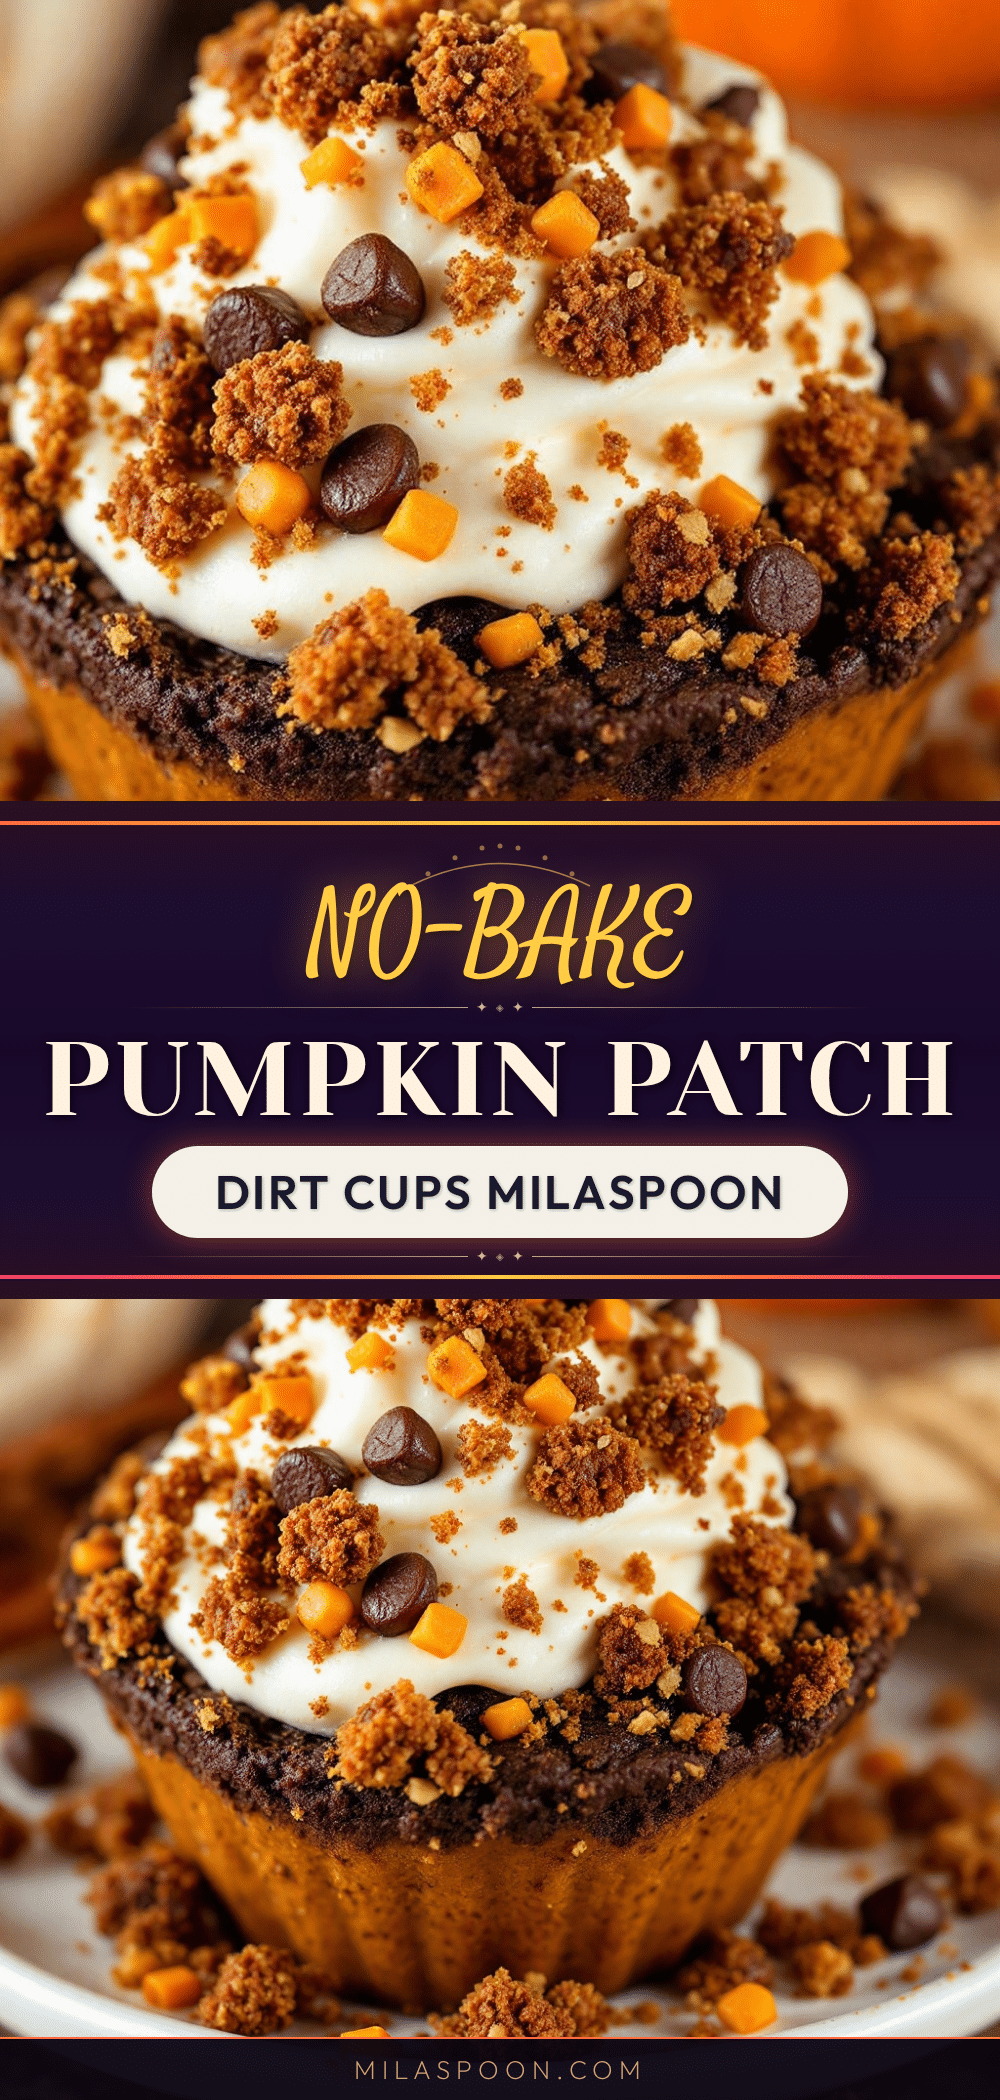
Easy No-Bake Pumpkin Dirt Pudding Cups

These no-bake pumpkin dirt pudding cups are a fun and easy fall dessert that looks like a tiny pumpkin patch. With creamy pumpkin pudding, chocolate cookie ‘dirt,’ and gummy worms, they’re perfect for kids and adults alike.
- Prep Time: 20 minutes
- Cook Time: 0 minutes
- Total Time: 2 hours 20 minutes (includes chilling time)
- Yield: 6 servings 1x
- Category: Dessert
- Cuisine: American
Ingredients
- 1 cup (240g) pumpkin puree (not pumpkin pie filling)
- 4 oz (113g) cream cheese, softened
- 1/4 cup (60ml) heavy cream
- 1 tsp vanilla extract
- 1 box (3.4 oz / 96g) instant vanilla pudding mix
- 1 cup (240ml) cold milk (whole milk preferred)
- 1 tsp pumpkin pie spice
- 1/2 tsp ground cinnamon
- About 20 chocolate sandwich cookies (e.g., Oreos), crushed into fine crumbs
- 12–15 gummy worms
- 6–8 miniature pumpkin candies (optional)
- Whipped topping (optional, for garnish)
Instructions
- Crush the chocolate sandwich cookies into fine crumbs using a food processor or a zip-top bag and rolling pin. Set aside in a bowl.
- In a large mixing bowl, beat the softened cream cheese with an electric mixer on medium speed until smooth and fluffy, about 2 minutes. Scrape down the sides.
- Add the heavy cream and vanilla extract, and beat for another minute until well combined and silky.
- Add the pumpkin puree, pumpkin pie spice, and cinnamon. Mix on low speed until just combined. Do not overmix.
- In a separate small bowl, whisk together the instant vanilla pudding mix and cold milk for about 2 minutes until thickened but still pourable.
- Immediately add the pudding mixture to the pumpkin-cream cheese mixture. Mix on low speed until fully combined and smooth. The color should be a rich orange.
- Layer the cups: Start with about 1½ tablespoons of cookie crumbs at the bottom of each cup. Press down gently.
- Spoon or pipe the pumpkin pudding mixture on top of the cookie crumbs, filling the cup about halfway. Tap the cup gently to settle.
- Add another layer of cookie crumbs (about 1½ tablespoons), then more pudding until the cup is about three-quarters full.
- Finish with a final generous layer of cookie crumbs on top, completely covering the pudding.
- Gently poke 2-3 gummy worms into the top layer of cookie crumbs so they look like they’re crawling out of the dirt.
- If using, place a miniature pumpkin candy on top of each cup, optionally on a small dollop of whipped cream.
- Refrigerate for at least 2 hours, preferably overnight, to allow the pudding to set and flavors to meld.
Notes
For best results, soften cream cheese to room temperature and use cold milk. Crush cookies finely for a dirt-like texture. Chill for at least 2 hours, preferably overnight, for the pudding to set properly. For cleaner layers, pipe the pudding using a piping bag or zip-top bag with a snipped corner. Add gummy worms just before serving to prevent color bleeding. Store covered in the refrigerator for up to 3 days; cookie crumbs will soften over time.
Nutrition
- Serving Size: 1 cup (about 8 oz)
- Calories: 385
- Sugar: 35
- Sodium: 420
- Fat: 18
- Saturated Fat: 10
- Carbohydrates: 52
- Fiber: 2
- Protein: 5
Keywords: no-bake pumpkin dessert, dirt pudding cups, pumpkin patch dessert, fall dessert, easy pumpkin recipe, kid-friendly dessert, Halloween dessert, Thanksgiving dessert


