Love this? Save it for later!
Share the inspiration with your friends
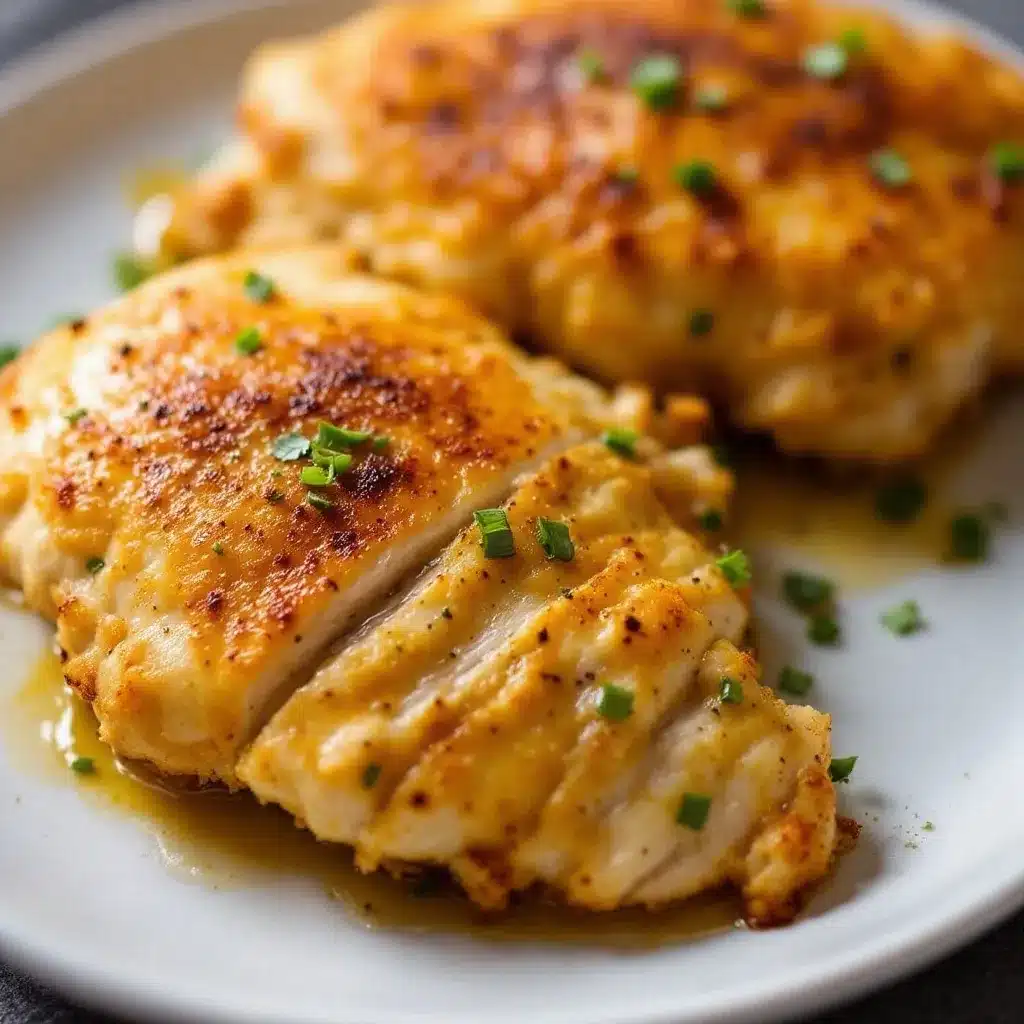
I was staring into the fridge at a pack of chicken breasts that I’d defrosted with zero plan, and honestly, the last thing I wanted was another sad, dry piece of baked chicken. My kids were already circling, hungry and impatient, and I had about twenty minutes before the mood turned ugly. I grabbed the garlic, the block of Parmesan, and my air fryer—because when in doubt, you air fry. I tossed the chicken in a quick mix of mayo and seasonings (don’t knock it, it’s the secret), dredged it in cheesy breadcrumbs, and hoped for the best. What came out of that basket was so crispy, so golden, and so ridiculously flavorful that we ate the first batch standing up in the kitchen. This crispy air fryer garlic Parmesan chicken breasts recipe was born out of pure desperation, and now it’s the dinner I actually look forward to making.
There’s something about the crunch you get from the air fryer that just hits different. It’s not greasy, it’s not heavy—it’s just perfectly crisp on the outside and juicy on the inside. And the garlic Parmesan coating? It smells like heaven while it’s cooking. I’ve made this recipe more times than I can count, and it never gets old. It’s the kind of meal that feels fancy but takes almost no effort, which is exactly what I need on a busy Tuesday night.
Why You’ll Love This Recipe
I’ve tested this recipe about a dozen times to get the coating just right—crispy enough to shatter when you bite into it, but not so thick that it falls off. The combination of Parmesan and garlic is classic for a reason, and the air fryer does all the heavy lifting. Here’s why this one’s a keeper:
- Ready in under 30 minutes: From fridge to table in about 25 minutes. Perfect for those nights when you’re hangry and need food now.
- Simple pantry ingredients: You probably have most of this stuff already. No fancy shopping trips required.
- Kid-approved and adult-approved: My kids fight over the crispy bits, and my husband goes back for seconds every single time.
- No deep frying mess: The air fryer gives you that same crunch without the oil splatter or the lingering smell in your kitchen.
- Endlessly versatile: Serve it with pasta, salad, roasted veggies, or slice it up for sandwiches. It works for everything.
What makes this recipe different from the rest is the technique. Using a thin layer of mayonnaise as the binder might sound weird, but trust me—it keeps the chicken incredibly moist while helping the breadcrumb mixture stick perfectly. I’ve tried egg washes and buttermilk dips, and nothing works as well as this little trick. It’s not just another air fryer chicken recipe; it’s the one you’ll come back to again and again.
Honestly, this is the kind of dinner that makes you feel like you’ve got your life together, even when you’re just winging it. It’s comfort food that’s actually easy, and that’s a win in my book.
What Ingredients You Will Need
This recipe uses simple, everyday ingredients that come together to create something seriously delicious. The key is using fresh garlic and real Parmesan—the stuff in the green can just won’t give you the same flavor or texture. Here’s what you’ll need:
For the Chicken
- 2 large boneless, skinless chicken breasts (about 1.5 pounds total) – Look for even thickness so they cook at the same rate. If they’re really thick, butterfly them or pound them to about ¾ inch.
- 3 tablespoons mayonnaise – This is the secret weapon. It keeps the chicken moist and helps the coating stick better than egg or buttermilk. I use full-fat for best results, but light works too.
- 2 cloves garlic, minced – Fresh garlic is non-negotiable here. It adds that punchy flavor that makes the whole dish sing.
- ½ teaspoon salt
- ¼ teaspoon black pepper
- ½ teaspoon paprika – Adds a little color and a subtle smoky sweetness.
For the Coating
- ½ cup panko breadcrumbs – Panko gives you that ultra-crispy texture. Regular breadcrumbs work, but they won’t be as crunchy.
- ¼ cup freshly grated Parmesan cheese – Please grate it yourself. The pre-shredded stuff has anti-caking agents that mess with the texture. I like using a microplane for that fine, fluffy grate.
- 1 teaspoon garlic powder – Double down on the garlic flavor.
- ½ teaspoon dried Italian seasoning – Or a mix of dried oregano, basil, and thyme.
- ¼ teaspoon salt
- Olive oil spray – For spritzing the chicken before air frying. Avocado oil spray works great too.
You can find panko breadcrumbs in the regular baking aisle or the Asian food section of most grocery stores. I usually grab the Kikkoman brand, but store brands work just fine. For the Parmesan, I always buy a block of Parmigiano-Reggiano and grate it fresh—it makes a noticeable difference in flavor and meltability.
If you’re out of mayonnaise, you can substitute Greek yogurt or sour cream. The texture will be slightly different, but it still works. And if you don’t have panko, crush up some cornflakes or use regular breadcrumbs—just know the crunch won’t be quite as dramatic.
Equipment Needed
You don’t need a ton of fancy gear for this recipe, which is part of why I love it. Here’s what you’ll need:
- Air fryer: Any size works, but a basket-style air fryer (like the Cosori or Ninja) gives the best even browning. I have a 5.8-quart model and it fits two chicken breasts perfectly without overcrowding.
- Cutting board and sharp knife: For trimming the chicken and mincing the garlic. A good chef’s knife makes prep so much faster.
- Meat mallet or rolling pin: For pounding the chicken to even thickness. If you don’t have one, just use the bottom of a heavy skillet.
- Two shallow bowls: One for the mayo mixture, one for the breadcrumb coating. I use pie plates—they’re the perfect size.
- Tongs: For handling the chicken without making a mess.
- Instant-read thermometer: This is optional but highly recommended. It takes the guesswork out of knowing when the chicken is done. I love my Thermapen, but any reliable digital thermometer works.
- Olive oil sprayer: A pump-style mister is better than aerosol cans. It gives a fine, even mist without propellants.
If you’re new to air frying, don’t stress. The first time I used mine, I burned everything. You’ll get the hang of it after a couple tries. Just remember that air fryers cook faster than ovens, so keep an eye on things.
Preparation Method
Let’s get cooking. This whole process takes about 25 minutes from start to finish, and most of that is hands-off air frying time. Here’s how to do it:
- Prep the chicken: Place the chicken breasts on your cutting board. If they’re really thick on one end, cover them with plastic wrap and gently pound them to an even thickness—about ¾ inch all the way across. This ensures they cook evenly. Pat them dry with paper towels. (Wet chicken won’t hold the coating well.)
- Make the mayo mixture: In a small bowl, combine the mayonnaise, minced garlic, salt, pepper, and paprika. Stir until smooth. It should look like a thick, creamy paste. Taste it—it should be garlicky and well-seasoned.
- Prepare the coating: In a separate shallow bowl, mix together the panko breadcrumbs, grated Parmesan, garlic powder, Italian seasoning, and salt. Use a fork to combine everything evenly. The Parmesan should be distributed throughout, not clumped together.
- Coat the chicken: Using a brush or your hands (I use my hands—it’s faster), spread the mayo mixture all over each chicken breast. Don’t be shy; cover every surface. Then, one at a time, press each breast into the breadcrumb mixture, turning to coat all sides. Pat the coating on gently so it sticks. The chicken should look like it’s wearing a thick, shaggy coat.
- Preheat the air fryer: Set your air fryer to 375°F (190°C) and let it preheat for 3-5 minutes. Preheating helps the coating start crisping immediately, which gives you a better crust.
- Air fry the chicken: Lightly spray the air fryer basket with olive oil spray. Place the coated chicken breasts in the basket in a single layer, leaving a little space between them for air circulation. Don’t overcrowd—if they’re touching, they won’t get crispy. Spray the tops of the chicken with a light mist of oil. This helps the panko brown and crisp up.
- Cook: Air fry at 375°F for 12-14 minutes, flipping halfway through. At the 6-minute mark, carefully flip the chicken using tongs and spray the other side lightly with oil. The chicken is done when the internal temperature reaches 165°F (74°C) in the thickest part, and the coating is deep golden brown and crispy.
- Rest: Let the chicken rest in the air fryer basket (turned off) for 2-3 minutes. This lets the juices redistribute and the coating set. Don’t skip this step—cutting into it too soon will make the juices run out and the coating might slide off.
A few things to watch for: If your chicken breasts are on the smaller side, check them at 10 minutes. If they’re huge, you might need 16-18 minutes. The air fryer can vary by brand, so use that thermometer. You’re looking for that perfect moment when the coating is crunchy and the inside is still juicy.
Cooking Tips & Techniques
I’ve made this recipe enough times to know exactly where things can go wrong—and how to fix them. Here are my best tips for perfect results every time:
Don’t skip the mayo. I know it sounds weird, but mayonnaise is basically just oil and eggs, which means it bastes the chicken as it cooks. It keeps the meat incredibly moist and helps the breadcrumbs form a beautiful golden crust. I’ve tried olive oil and buttermilk, and nothing works as well.
Pound that chicken evenly. This is the number one mistake people make. If one end is twice as thick as the other, the thin end will be dry and overcooked by the time the thick end is done. Take 30 seconds to pound it flat. Your future self will thank you.
Don’t overcrowd the basket. The air fryer works by circulating hot air around the food. If you cram the chicken in there, it’ll steam instead of crisp. Cook in batches if you need to. The extra 10 minutes is worth it for that crunch.
Spray, don’t drown. A light mist of oil is all you need. Too much oil will make the coating soggy. I use a pump sprayer and give each breast two quick passes. That’s it.
Flip halfway through. This ensures both sides get equal exposure to the hot air. If you forget, the bottom side will be pale and soft. Set a timer if you need to.
One time I forgot to preheat the air fryer, and the coating came out pale and not nearly as crispy. Learn from my mistake. Preheating makes a real difference.
Variations & Adaptations
This recipe is super flexible, and I’ve tried quite a few variations over the months. Here are some of my favorites:
Spicy version: Add ½ teaspoon of cayenne pepper or red pepper flakes to the mayo mixture. It gives the chicken a nice kick without being overwhelming. I make this version when I’m craving something with heat.
Herb crust: Mix in 2 tablespoons of finely chopped fresh parsley or basil with the panko mixture. It adds a fresh, bright flavor that’s perfect for spring and summer. I did this last July and served it with a simple tomato salad—it was amazing.
Gluten-free option: Use gluten-free panko breadcrumbs (like Ian’s brand) and make sure your Parmesan is gluten-free. The texture is almost identical to the regular version.
Dairy-free adaptation: Swap the Parmesan for nutritional yeast (use about 3 tablespoons) and use a dairy-free mayonnaise. The flavor changes slightly, but it’s still delicious and crispy.
Lemon garlic twist: Add the zest of one lemon to the breadcrumb mixture and a squeeze of lemon juice to the mayo. It brightens up the whole dish and pairs beautifully with roasted vegetables.
If you’re feeding a crowd, you can easily double or triple this recipe. Just cook the chicken in batches so you don’t crowd the basket. The cooked chicken stays crispy in a 200°F oven for about 20 minutes while you finish the rest.
Serving & Storage Suggestions
This crispy air fryer garlic Parmesan chicken is incredibly versatile when it comes to serving. Here’s how I like to enjoy it:
Serving temperature: Serve it hot, straight from the air fryer. That’s when the coating is at its crispiest. Let it rest for 2-3 minutes, then slice it or serve it whole.
What to serve with it: I love pairing this chicken with a simple side like roasted asparagus, a fresh green salad, or some buttery egg noodles. It’s also fantastic sliced over a bed of mixed greens with cherry tomatoes and a light vinaigrette. If you’re in the mood for something heartier, serve it alongside some creamy one pan Tuscan chicken for a double-dose of comfort food.
Storage: Leftover chicken keeps in the fridge for up to 4 days in an airtight container. The coating will soften a bit, but it’s still delicious. I usually slice it up and use it in salads or sandwiches the next day.
Reheating: The air fryer is your best friend here. Reheat at 350°F for 3-4 minutes, flipping halfway. It brings back most of the crunch. The microwave will make it soggy, so avoid that if you can.
Freezing: You can freeze the cooked chicken for up to 3 months. Let it cool completely, then wrap each breast individually in plastic wrap and place them in a freezer bag. To reheat, thaw in the fridge overnight and then air fry at 350°F for 5-6 minutes.
The flavors actually meld together nicely overnight, so leftovers are never a disappointment. I’ve been known to make an extra batch just for lunch the next day.
Nutritional Information & Benefits
This recipe is a great option when you want something satisfying without going overboard. Here’s the approximate nutritional breakdown per serving (one chicken breast):
- Calories: 385
- Protein: 42g
- Fat: 18g
- Carbohydrates: 12g
- Fiber: 1g
- Sugar: 1g
Chicken breast is a lean source of high-quality protein, which is great for muscle repair and keeping you full. Parmesan cheese adds calcium and a little extra protein, while garlic offers anti-inflammatory benefits. Using the air fryer instead of deep frying cuts down on oil significantly, so you get that crispy texture with less fat.
If you’re watching your sodium, you can reduce the salt in the coating or use a low-sodium Parmesan. The garlic and herbs add plenty of flavor even with less salt. This recipe is naturally low-carb and can be made gluten-free with a simple swap, making it adaptable for different dietary needs.
I’m not a nutritionist, but I do pay attention to what I put in my body. This recipe makes me feel good—satisfied but not weighed down. That’s a win in my book.
Conclusion
This crispy air fryer garlic Parmesan chicken breasts recipe has become a staple in my kitchen for good reason. It’s fast, it’s foolproof, and it delivers that satisfying crunch we all crave without the hassle of deep frying. The garlic and Parmesan combination is just timeless, and the mayo trick is something I genuinely think everyone should know about.
I love that this recipe is a blank canvas—you can spice it up, keep it simple, or dress it down with your favorite sides. It’s perfect for busy weeknights, but fancy enough to serve to guests. Honestly, it’s the kind of meal that makes you look like you tried harder than you actually did.
I’d love to hear how it turns out for you. Did you try a variation? Serve it with something unexpected? Drop a comment below and let me know. And if you’re looking for more easy dinner inspiration, check out this easy tender Mississippi pot roast for another set-it-and-forget-it meal. Happy cooking, friends!
Frequently Asked Questions
Can I use chicken thighs instead of breasts?
Absolutely! Boneless, skinless chicken thighs work great. They might need an extra minute or two of cooking time since they’re a bit thicker and have more fat. The coating will still get nice and crispy.
Do I have to use mayonnaise?
No, but it really is the best option for moisture and sticking power. You can substitute Greek yogurt or sour cream in a pinch. The texture will be slightly different, but it still works.
How do I keep the coating from falling off?
Make sure your chicken is patted dry before applying the mayo mixture. Press the breadcrumb coating on firmly, and don’t skip the resting step after cooking. Letting it sit for a few minutes helps the coating set.
Can I make this recipe in a regular oven?
Yes! Place the coated chicken on a wire rack set over a baking sheet. Bake at 400°F for 20-25 minutes, flipping halfway, until the internal temperature reaches 165°F. The coating won’t be quite as crispy as the air fryer version, but it’s still delicious.
How do I know when the chicken is fully cooked?
The most reliable way is to use an instant-read thermometer. Insert it into the thickest part of the breast—it should read 165°F (74°C). If you don’t have a thermometer, cut into the thickest part and check that the juices run clear and there’s no pink inside.
Pin This Recipe!
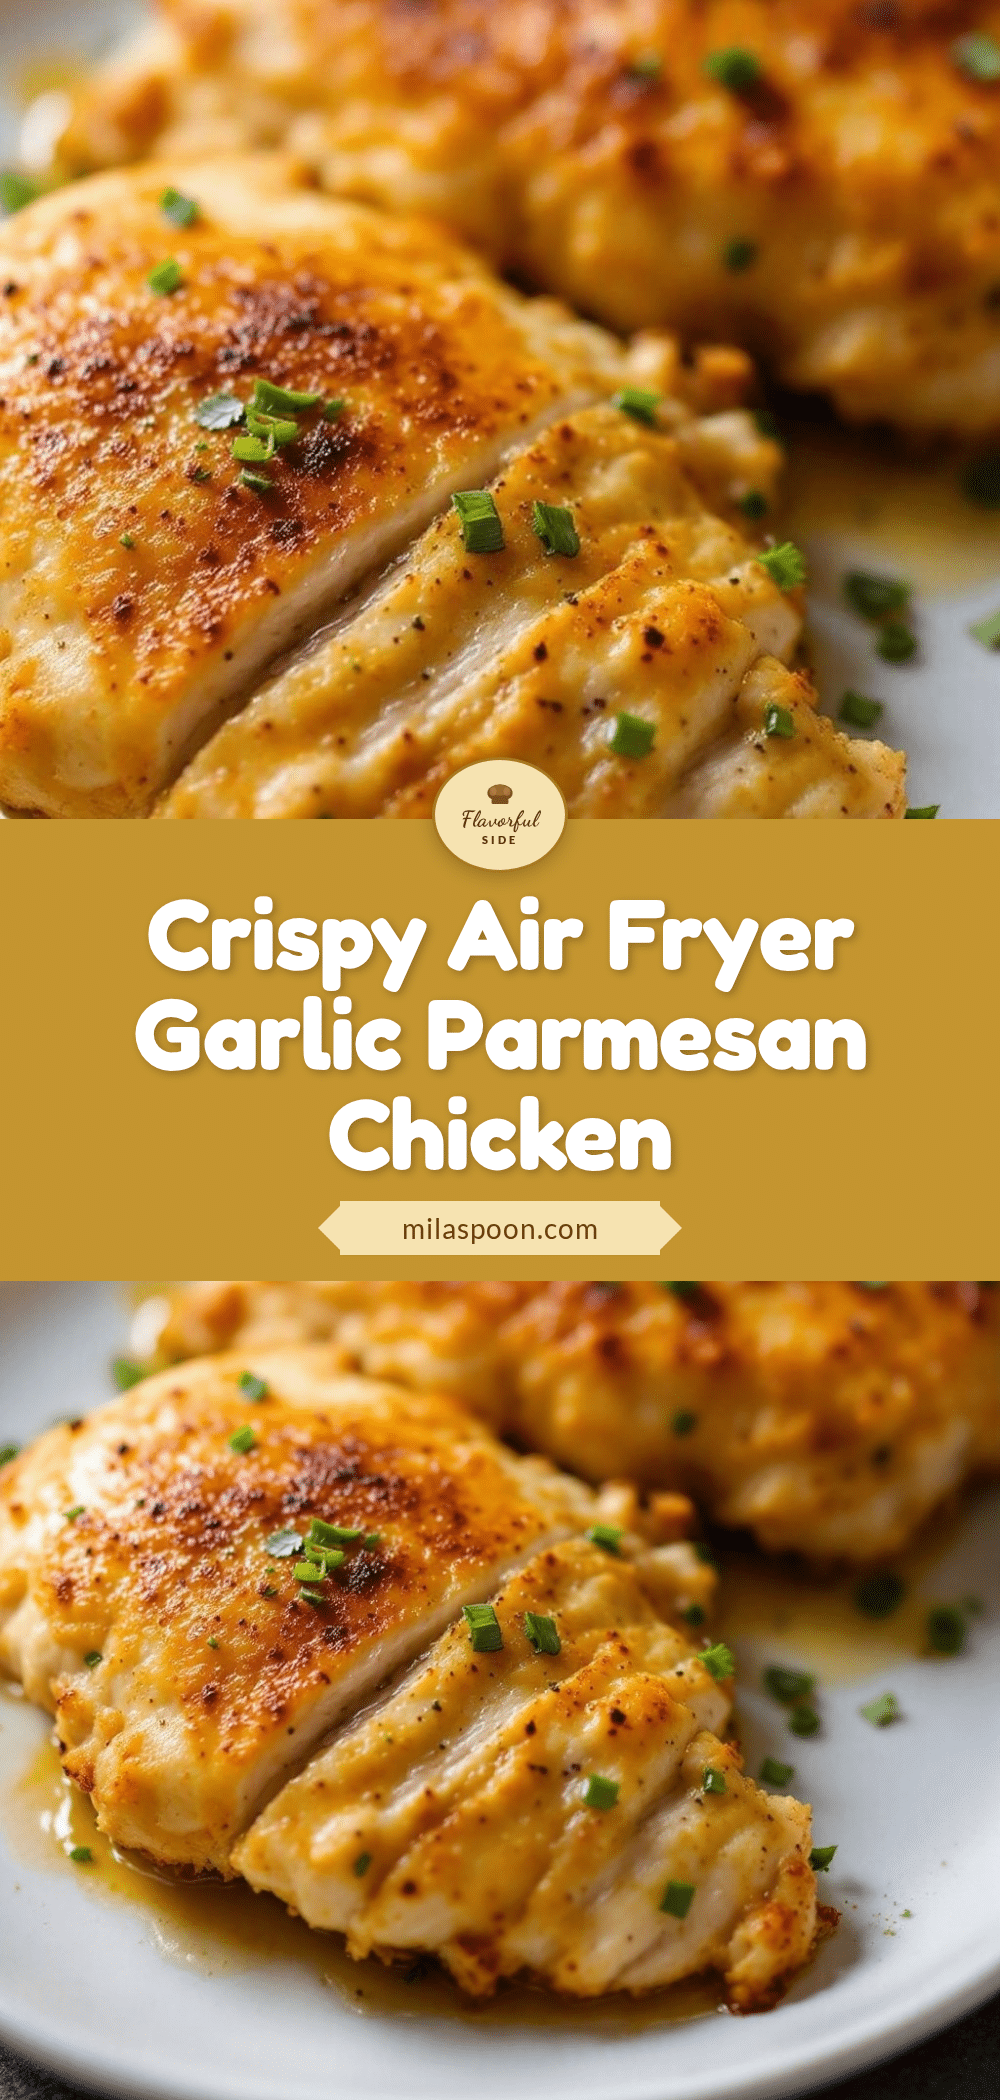
Crispy Air Fryer Garlic Parmesan Chicken Breasts – Easy Dinner Recipe

This crispy air fryer garlic Parmesan chicken breasts recipe is fast, foolproof, and delivers that satisfying crunch without deep frying. The garlic and Parmesan combination is timeless, and the mayo trick keeps the chicken incredibly moist.
- Prep Time: 10 minutes
- Cook Time: 14 minutes
- Total Time: 24 minutes
- Yield: 2 servings 1x
- Category: Main Course
- Cuisine: American
Ingredients
- 2 large boneless, skinless chicken breasts (about 1.5 pounds total)
- 3 tablespoons mayonnaise
- 2 cloves garlic, minced
- ½ teaspoon salt
- ¼ teaspoon black pepper
- ½ teaspoon paprika
- ½ cup panko breadcrumbs
- ¼ cup freshly grated Parmesan cheese
- 1 teaspoon garlic powder
- ½ teaspoon dried Italian seasoning
- ¼ teaspoon salt
- Olive oil spray
Instructions
- Prep the chicken: Place the chicken breasts on your cutting board. If they’re really thick on one end, cover them with plastic wrap and gently pound them to an even thickness—about ¾ inch all the way across. Pat them dry with paper towels.
- Make the mayo mixture: In a small bowl, combine the mayonnaise, minced garlic, salt, pepper, and paprika. Stir until smooth.
- Prepare the coating: In a separate shallow bowl, mix together the panko breadcrumbs, grated Parmesan, garlic powder, Italian seasoning, and salt. Use a fork to combine everything evenly.
- Coat the chicken: Using a brush or your hands, spread the mayo mixture all over each chicken breast. Then, one at a time, press each breast into the breadcrumb mixture, turning to coat all sides. Pat the coating on gently so it sticks.
- Preheat the air fryer: Set your air fryer to 375°F (190°C) and let it preheat for 3-5 minutes.
- Air fry the chicken: Lightly spray the air fryer basket with olive oil spray. Place the coated chicken breasts in the basket in a single layer, leaving a little space between them. Spray the tops of the chicken with a light mist of oil.
- Cook: Air fry at 375°F for 12-14 minutes, flipping halfway through. At the 6-minute mark, carefully flip the chicken using tongs and spray the other side lightly with oil. The chicken is done when the internal temperature reaches 165°F (74°C) in the thickest part.
- Rest: Let the chicken rest in the air fryer basket (turned off) for 2-3 minutes before serving.
Notes
Don’t skip the mayo—it keeps the chicken moist and helps the coating stick. Pound the chicken evenly to ensure even cooking. Don’t overcrowd the air fryer basket. Spray lightly with oil, not too much. Flip halfway through for even crispiness. Preheating the air fryer makes a real difference.
Nutrition
- Serving Size: 1 chicken breast
- Calories: 385
- Sugar: 1
- Sodium: 800
- Fat: 18
- Saturated Fat: 4
- Carbohydrates: 12
- Fiber: 1
- Protein: 42
Keywords: air fryer chicken, garlic parmesan chicken, crispy chicken, easy dinner, chicken breast recipe


