Love this? Save it for later!
Share the inspiration with your friends
Introduction
“You really don’t need sugar to make a great strawberry jam,” my neighbor Lisa said one afternoon as we stood by the garden fence, her hands stained pink from squeezing fresh berries. I was skeptical—honestly, I’d always thought jam had to be sweet and sticky, loaded with sugar to taste right. But Lisa’s enthusiasm was contagious, and she promised me a recipe that was not only sugar-free but also easy enough for a busy weeknight jam session.
That afternoon, I took a chance on her method, swapping my usual sugary preserves for her version sweetened with stevia. The kitchen smelled like summer—bright, fruity, and fresh—and the texture was just right. I forgot to set a timer and almost burned the first batch, but even that imperfect jar found its way on toast the next morning. Maybe you’ve been there, juggling kitchen mishaps while chasing a healthier choice.
Since then, this healthy sugar-free strawberry jam with stevia has become a staple in my pantry. It’s the kind of recipe that makes you close your eyes after the first bite and smile, knowing you nailed something wholesome and delicious. Let me tell you, it’s perfect for anyone who loves fruit preserves but wants to skip the sugar crash.
Why You’ll Love This Recipe
- Quick & Easy: Ready in under 30 minutes, this jam fits into even the busiest days.
- Simple Ingredients: Uses fresh strawberries and natural stevia—no complicated additives.
- Perfect for Breakfast & Snacks: Spread on toast, dollop on yogurt, or swirl into oatmeal for a fresh fruity boost.
- Crowd-Pleaser: Family-approved and surprisingly sweet without the sugar overload.
- Unbelievably Delicious: The natural strawberry flavor shines, with a smooth, jammy texture that’s not too runny or thick.
This isn’t just any jam recipe. It’s a healthier take that respects the fruit’s natural sweetness while cutting back on refined sugars. The stevia adds just the right touch of sweetness without aftertaste, and the method keeps the strawberry flavor bright and fresh. I’ve tried versions with pectin and without, but this one hits the sweet spot for texture and ease.
Honestly, it’s a recipe that makes you feel good about what you’re eating—whether you’re sharing with kids or just treating yourself to a guilt-free spread. Plus, it’s a great way to preserve those beautiful summer strawberries without the sugar crash. If you love homemade preserves but want to keep things wholesome, this one’s for you.
What Ingredients You Will Need
This recipe uses simple, wholesome ingredients to deliver bold flavor and satisfying texture without the fuss. Most are pantry staples or easy to find fresh at any farmer’s market. Here’s what you’ll need:
- Fresh Strawberries: About 4 cups (about 600 grams), hulled and halved if large. Choose ripe, fragrant berries for best flavor.
- Stevia Powder: 1 to 1.5 teaspoons, depending on your sweetness preference. I recommend a pure stevia extract like SweetLeaf for a clean taste.
- Lemon Juice: 2 tablespoons (freshly squeezed). Adds brightness and helps with natural preservation.
- Chia Seeds: 2 tablespoons. These act as a natural thickener and add a boost of fiber and omega-3s.
- Water: 1/4 cup (60 ml), to help the berries cook down smoothly.
Optional ingredients for variation:
- Vanilla Extract: 1/2 teaspoon for a warm, aromatic note.
- Fresh Mint Leaves: A few finely chopped, for a refreshing twist.
If you prefer, you can swap chia seeds with ground flaxseeds, though chia gives a better gel-like texture. Also, stevia amounts can be adjusted based on brand potency—start smaller to avoid bitterness.
Equipment Needed
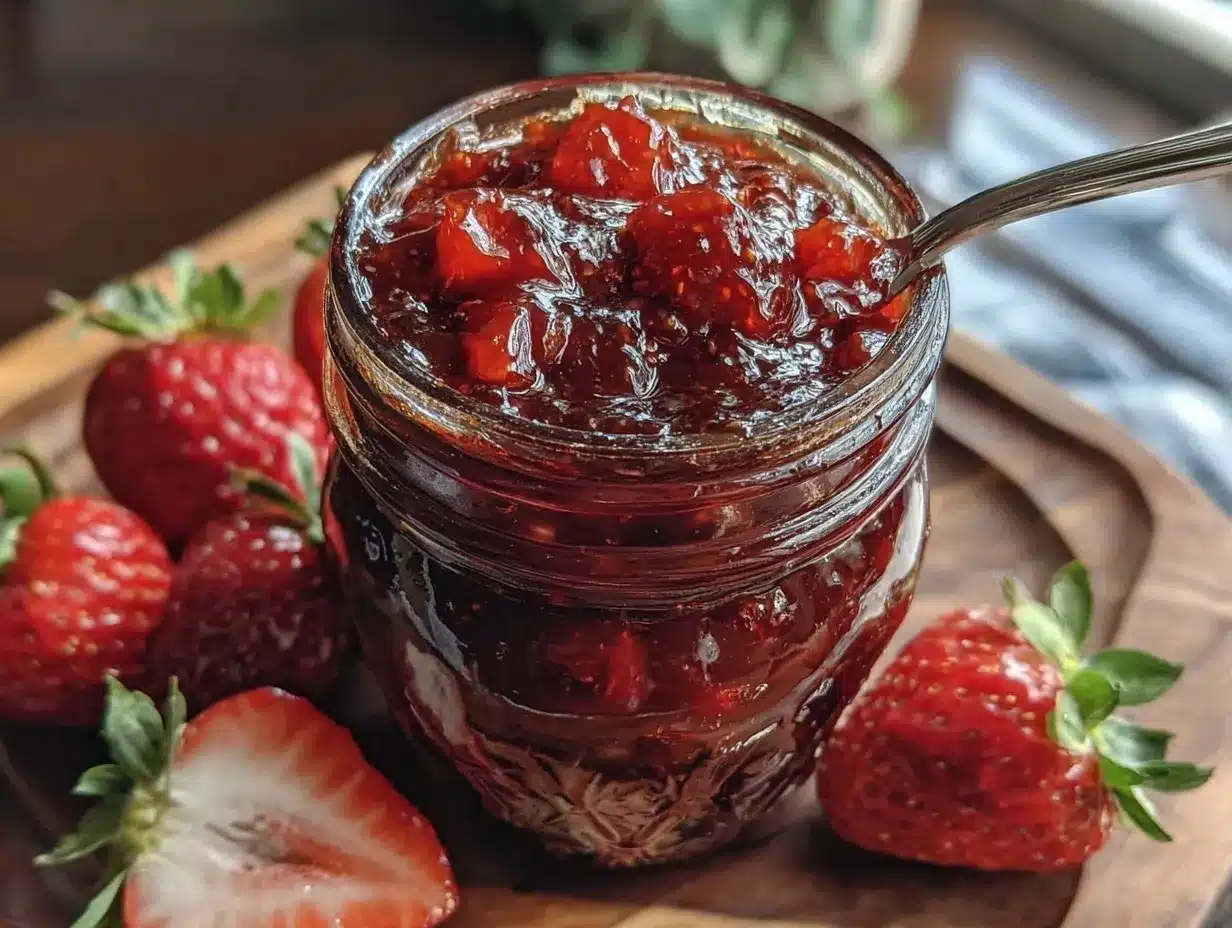
- Medium Saucepan: A 2-quart (2-liter) pan works well for simmering the jam without spilling over.
- Spoon or Spatula: For stirring the jam as it cooks.
- Measuring Cups and Spoons: For precise ingredient amounts.
- Glass Jars or Airtight Containers: To store the finished jam. Mason jars are ideal.
- Optional: A potato masher to crush berries if you prefer chunkier jam.
If you don’t have a saucepan, a deep skillet with sides will do. I’ve used both; just keep an eye on the heat to prevent burning. When it comes to jars, sterilizing them in boiling water helps prolong shelf life, but I often skip this step for quick fridge storage.
Preparation Method
- Prep the strawberries: Rinse and hull about 4 cups (600 g) of fresh strawberries. If your berries are large, halve or quarter them to help them break down faster.
- Combine ingredients: In your saucepan, add the strawberries, 1/4 cup (60 ml) water, and 2 tablespoons fresh lemon juice. Stir to mix.
- Cook the fruit: Bring the mixture to a gentle boil over medium heat, stirring occasionally to prevent sticking. Once boiling, reduce to a simmer and cook for about 10 minutes. The berries should start to soften and release their juices.
- Mash the berries: Use a potato masher or the back of a spoon to crush the strawberries to your desired consistency. For a smoother jam, mash thoroughly; for chunkier, leave some pieces whole.
- Add stevia and chia seeds: Stir in 1 to 1.5 teaspoons stevia powder and 2 tablespoons chia seeds. Mix well to combine. The chia seeds will thicken the jam as it cools.
- Simmer again: Let the mixture simmer gently for another 5–7 minutes, stirring often. You’ll notice the jam thickening slightly. If using, add vanilla extract or mint leaves now.
- Cool and store: Remove the pan from heat and let the jam cool for 10–15 minutes. Transfer to clean glass jars or containers. The jam will continue to thicken as it cools.
- Refrigerate: Cover and refrigerate. It’s best after at least 4 hours but delicious right away.
If the jam seems too runny after cooling, stir in an additional teaspoon of chia seeds and let it sit longer. I once forgot the lemon juice, and the jam turned out a bit flat—so don’t skip that step! The acidity really brightens the flavor and helps with preservation.
Cooking Tips & Techniques
Using fresh, ripe strawberries is key—unripe berries won’t give you the natural sweetness you want. I learned this the hard way one spring when my batch was too tart, and no amount of stevia could fix it.
When adding stevia, start small. It’s easy to overdo it and end up with that bitter aftertaste. Taste as you go, and remember you can always add more later.
Chia seeds are a brilliant thickener here, but if you prefer the traditional pectin method, you can substitute 1 tablespoon of powdered pectin (follow package instructions) instead of chia.
Keep stirring while simmering to prevent the jam from sticking and burning. I like to keep the heat moderate rather than high; slow cooking helps preserve the fresh strawberry flavor.
If you want a perfectly smooth jam, blend the cooked mixture briefly with an immersion blender before adding chia seeds. For chunkier texture, skip this step.
Multi-tasking tip: While the jam simmers, clean up your prep area or toast some bread. It makes the whole process feel less like a chore.
Variations & Adaptations
- Low-Carb Option: Keep the stevia amount minimal, or swap it for monk fruit sweetener if you prefer a different sugar-free option.
- Berry Mix: Swap half the strawberries for raspberries or blueberries for a mixed berry jam with a unique flavor profile.
- Herbal Infusion: Add fresh basil or lavender during cooking for a floral twist. Just strain out the herbs before storing.
- Cooked vs. Raw: For a “raw” jam, mash strawberries with stevia and lemon juice, then stir in chia seeds and refrigerate overnight to thicken without cooking.
- Personal Favorite: I love adding a pinch of cinnamon to the jam at the end for a warm spice note that pairs beautifully with morning toast.
Adjusting sweetness is super easy here—feel free to tweak the stevia to your taste buds. Also, you can make this jam in small batches to test flavors or scale up when strawberries are in season.
Serving & Storage Suggestions
This healthy sugar-free strawberry jam is best served chilled or at room temperature. Spread it generously on warm toast, swirl it into Greek yogurt, or spoon it over cottage cheese for a wholesome snack.
It pairs wonderfully with almond flour pancakes or even drizzled over vanilla ice cream for a guilt-free treat. Fresh herbs or a sprinkle of nuts add nice texture contrasts.
Store the jam in airtight containers in the refrigerator for up to two weeks. For longer storage, freeze in small jars or freezer-safe bags for up to three months. Thaw overnight in the fridge before using.
Reheating isn’t usually necessary, but if you like warm jam, gently heat it in a saucepan on low, stirring constantly to avoid scorching.
Over time, the flavors meld and deepen, so if you can wait a day or two before digging in, the taste will be even better.
Nutritional Information & Benefits
Each serving (about 2 tablespoons) of this sugar-free strawberry jam contains approximately:
| Calories | 25 |
|---|---|
| Carbohydrates | 6 g |
| Fiber | 2 g |
| Protein | 0.5 g |
| Fat | 0.1 g |
Strawberries are rich in vitamin C and antioxidants, supporting immune health and skin vitality. The chia seeds add fiber and omega-3 fatty acids, contributing to heart health. Stevia provides sweetness without raising blood sugar, making this jam a low-glycemic choice that fits many diets including keto and diabetic-friendly plans.
For anyone watching carbs or cutting back on sugar, this jam offers a wholesome option without sacrificing flavor. Just note, those with seed allergies or sensitivities should be cautious with chia seeds or substitute accordingly.
Conclusion
This healthy sugar-free strawberry jam with stevia is proof that you don’t need sugar to enjoy a delicious, fruity spread. It’s simple, fresh, and feels like a little celebration of summer in a jar. I love how versatile it is—whether on toast, stirred into oatmeal, or as a topping for desserts, it always adds that perfect touch of sweetness without the guilt.
Feel free to customize the sweetness and texture to fit your taste and lifestyle. Honestly, this recipe has become my go-to for homemade preserves, and I hope it finds a place in your kitchen too.
Give it a try, tweak it, and come back to share how it turned out! I’d love to hear your variations or any happy kitchen accidents you discover along the way. Here’s to wholesome, easy jams that make mornings brighter and snacks tastier!
FAQs
Can I use frozen strawberries instead of fresh?
Absolutely! Just thaw and drain excess liquid before cooking. Frozen berries might produce a slightly thinner jam, so you can add an extra tablespoon of chia seeds to thicken.
How long does this jam last in the refrigerator?
Stored in an airtight container, it should keep fresh for up to two weeks. Always check for any off smells or mold before use.
Is stevia the only sweetener I can use?
No, you can substitute with monk fruit sweetener or erythritol if you prefer. Just adjust the quantity as these sweeteners have different sweetness levels.
Can I make this jam without chia seeds?
You can, but the texture will be more like a syrup than jam. If you want thicker jam without chia, consider adding a natural pectin or cook it longer to reduce liquid.
Do I need to sterilize jars before storing the jam?
If you plan to store the jam for more than a few weeks or want to shelf-stabilize it, sterilizing is recommended. For short-term fridge storage, clean jars are sufficient.
Pin This Recipe!
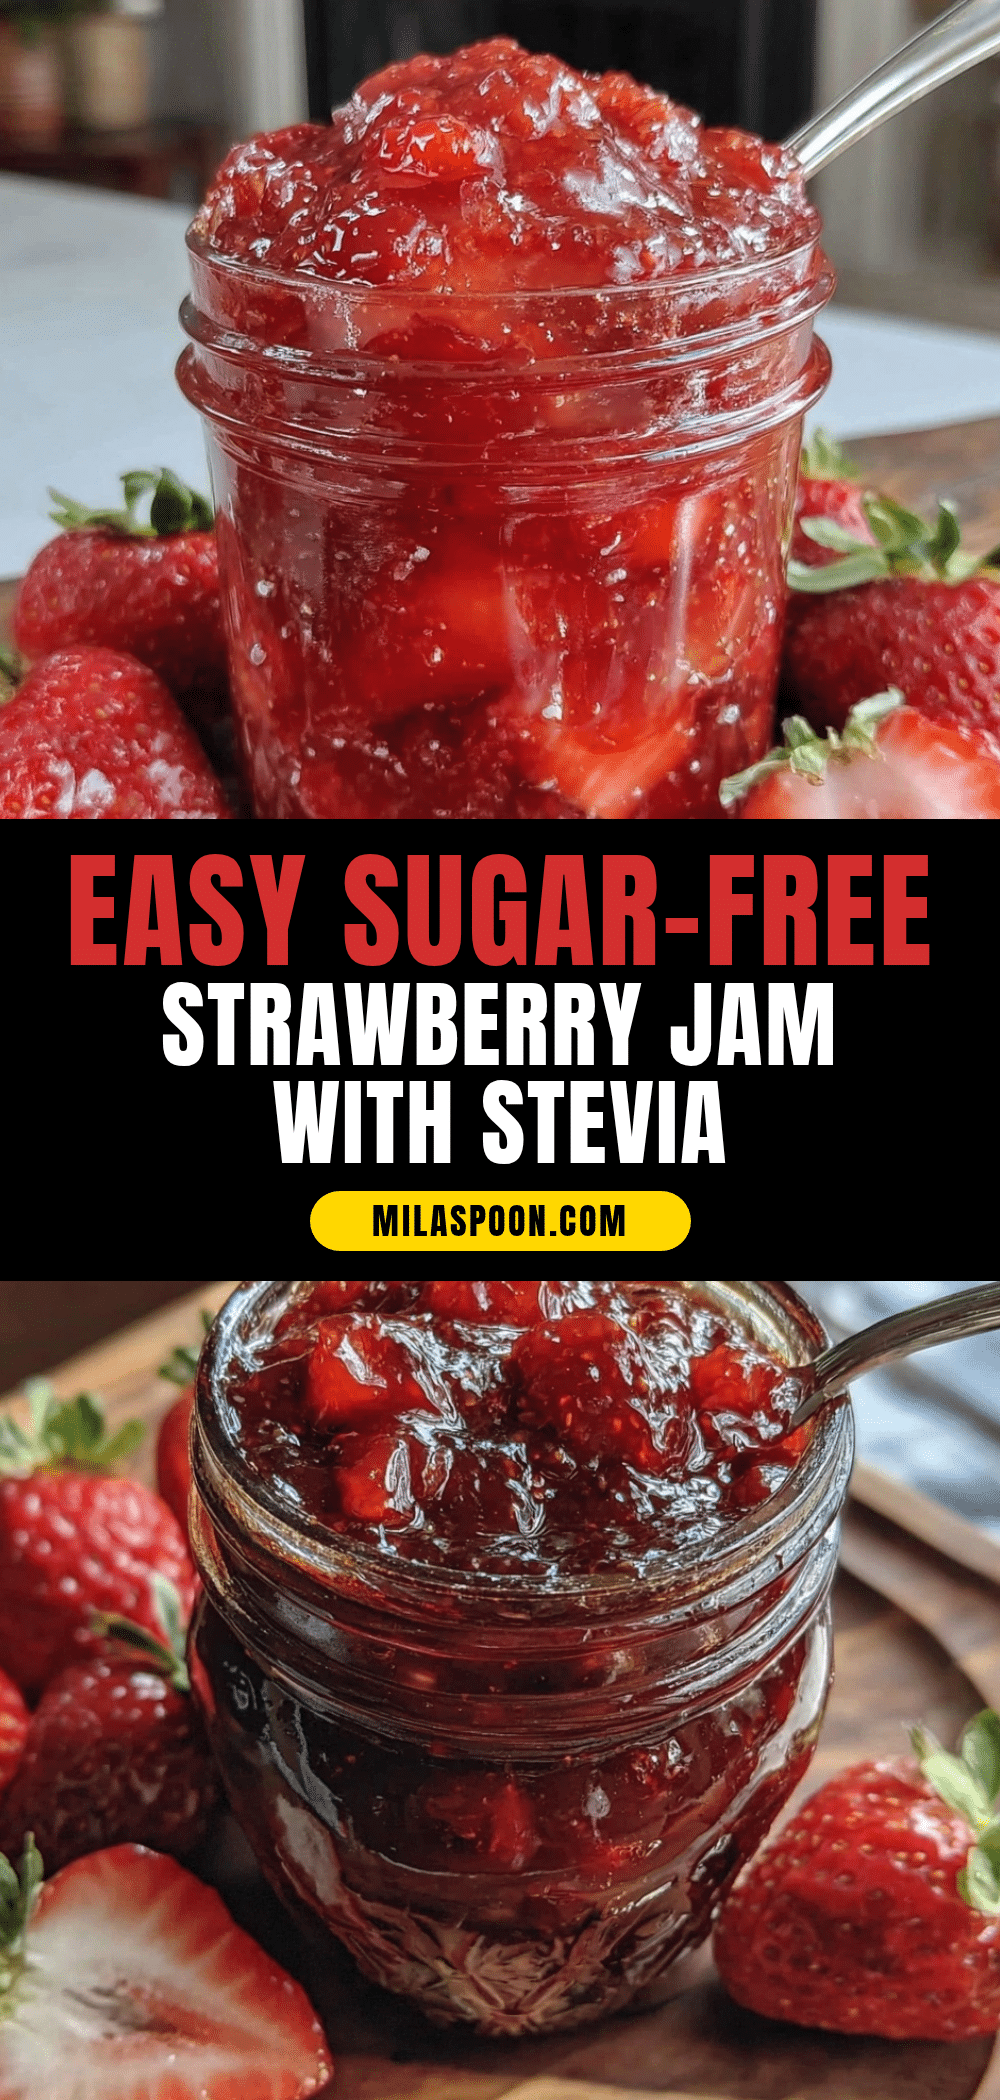
Healthy Sugar-Free Strawberry Jam Recipe with Stevia Easy and Wholesome
A quick and easy sugar-free strawberry jam sweetened with natural stevia and thickened with chia seeds, perfect for a wholesome breakfast or snack.
- Prep Time: 10 minutes
- Cook Time: 20 minutes
- Total Time: 30 minutes
- Yield: About 1 to 1.5 cups (8 to 12 servings of 2 tablespoons each) 1x
- Category: Preserves
- Cuisine: American
Ingredients
- 4 cups fresh strawberries (about 600 grams), hulled and halved if large
- 1 to 1.5 teaspoons stevia powder (pure stevia extract recommended)
- 2 tablespoons freshly squeezed lemon juice
- 2 tablespoons chia seeds
- 1/4 cup water (60 ml)
- Optional: 1/2 teaspoon vanilla extract
- Optional: a few finely chopped fresh mint leaves
Instructions
- Rinse and hull about 4 cups (600 g) of fresh strawberries. Halve or quarter large berries to help them break down faster.
- In a medium saucepan, add the strawberries, 1/4 cup (60 ml) water, and 2 tablespoons fresh lemon juice. Stir to mix.
- Bring the mixture to a gentle boil over medium heat, stirring occasionally to prevent sticking. Once boiling, reduce to a simmer and cook for about 10 minutes until berries soften and release juices.
- Use a potato masher or the back of a spoon to crush the strawberries to your desired consistency.
- Stir in 1 to 1.5 teaspoons stevia powder and 2 tablespoons chia seeds. Mix well to combine.
- Simmer gently for another 5–7 minutes, stirring often. Add vanilla extract or mint leaves if using.
- Remove from heat and let the jam cool for 10–15 minutes. Transfer to clean glass jars or airtight containers.
- Cover and refrigerate. Best after at least 4 hours but delicious right away.
Notes
Use ripe, fragrant strawberries for best flavor. Start with less stevia to avoid bitterness and adjust sweetness to taste. Chia seeds thicken the jam as it cools; add more if jam is too runny. Lemon juice is important for brightness and preservation. For a smoother jam, blend before adding chia seeds. Sterilize jars if storing long term; otherwise, clean jars suffice for refrigeration.
Nutrition
- Serving Size: 2 tablespoons
- Calories: 25
- Fat: 0.1
- Carbohydrates: 6
- Fiber: 2
- Protein: 0.5
Keywords: sugar-free jam, strawberry jam, stevia jam, healthy jam, low-carb jam, chia seed jam, homemade preserves, diabetic-friendly jam