Love this? Save it for later!
Share the inspiration with your friends
“Hand me that bowl,” my neighbor said without much fuss, as I dropped by to borrow some sugar for my morning coffee. Before I even stepped fully inside, the warm, sweet scent of melting chocolate and toasted oats wrapped around me like a cozy blanket. Honestly, I wasn’t expecting anything special—just a quick favor. But there she was, casually mixing up what looked like the simplest batch of homemade granola bars. No big deal, just her afternoon snack prep. Yet, the way those chewy granola bars with chocolate chips came together, with just a few humble ingredients, felt like watching magic happen right in her tiny kitchen.
She didn’t gush or brag about the recipe. No fancy gadgets or elaborate steps—just an easy, no-nonsense approach that somehow resulted in these perfect snack bars. I mean, who knew something this chewy and chocolatey could come from ingredients I usually toss in my pantry without much thought? Maybe you’ve been there—stumbling on a recipe that’s so straightforward it’s almost criminal, but the taste sticks with you forever. That’s exactly why I keep making these chewy homemade granola bars with chocolate chips. They’re the kind of snack that feels like a little treat and a solid energy boost all at once, no matter the day.
Why You’ll Love This Recipe
After testing this recipe countless times (and yes, sneakily munching a few bars along the way), I can say it truly hits all the right notes. Here’s why this chewy homemade granola bars with chocolate chips recipe has earned a permanent spot in my snack arsenal:
- Quick & Easy: Comes together in under 30 minutes, perfect for busy mornings or those last-minute snack cravings.
- Simple Ingredients: No fancy or hard-to-find items—just pantry staples you likely already have.
- Perfect for On-the-Go: Great for packing in lunchboxes, taking on hikes, or quick office snacks.
- Crowd-Pleaser: Kids, adults, picky eaters—everyone asks for more.
- Unbelievably Delicious: The chewy texture combined with melty chocolate chips is just pure comfort in every bite.
What sets this recipe apart is the balance of chewy oats with just the right hint of sweetness and gooey chocolate pockets. I’ve tweaked the ratio of honey to nut butter a few times to get that perfect stickiness without it being overly sweet or crumbly. Plus, the no-bake step means you’re not heating up the whole kitchen, which honestly makes it a win during summer afternoons. These bars aren’t just snacks—they’re like a small moment of joy you can carry around. They’ve become my go-to when I want something fast, satisfying, and homemade without the fuss.
What Ingredients You Will Need
This recipe uses simple, wholesome ingredients to deliver bold flavor and that satisfying chewy texture without any fuss. Most of these are pantry staples, and you can easily swap a few depending on what you have on hand.
- Old-fashioned rolled oats (2 cups / 180g) – The chewy base; I recommend Bob’s Red Mill for the best texture.
- Nut butter (1 cup / 240g; peanut or almond) – Acts as the binder and adds richness.
- Honey (1/2 cup / 120ml) – Natural sweetener and sticky agent.
- Vanilla extract (1 tsp) – For subtle warmth and depth.
- Mini chocolate chips (3/4 cup / 130g) – The melty, chocolatey surprise in every bar.
- Salt (1/4 tsp) – Balances sweetness and enhances flavors.
- Chopped nuts (1/2 cup / 60g; optional) – Adds crunch and texture (walnuts or pecans work great).
- Ground flaxseed (2 tbsp; optional) – Boosts nutrition and helps hold bars together.
You can swap the honey with maple syrup for a vegan version, and if you want gluten-free bars, make sure to use certified gluten-free oats. For a nut-free adaptation, sunflower seed butter works well, too. The mini chocolate chips melt more evenly, but regular-size chips are fine if that’s what you’ve got. Plus, if it’s summer and fresh berries are on hand, try tossing in some dried ones instead of nuts for a fruity twist.
Equipment Needed
- Mixing bowl: A large bowl for combining ingredients works best; glass or stainless steel preferred.
- Measuring cups and spoons: Accuracy helps keep the texture just right.
- Spatula or wooden spoon: For mixing sticky ingredients without losing your patience.
- 8×8-inch baking pan: To press and shape your bars evenly; lined with parchment paper for easy removal.
- Microwave-safe bowl (optional): For gently warming nut butter and honey if needed.
If you don’t have an 8×8 pan, a similarly sized square or rectangular dish will do. I’ve even used a loaf pan when desperate, though bars come out thicker. Parchment paper is a game changer here—makes cleanup a breeze and prevents sticking. No fancy gadgets required, which is part of what makes this recipe so approachable.
Preparation Method
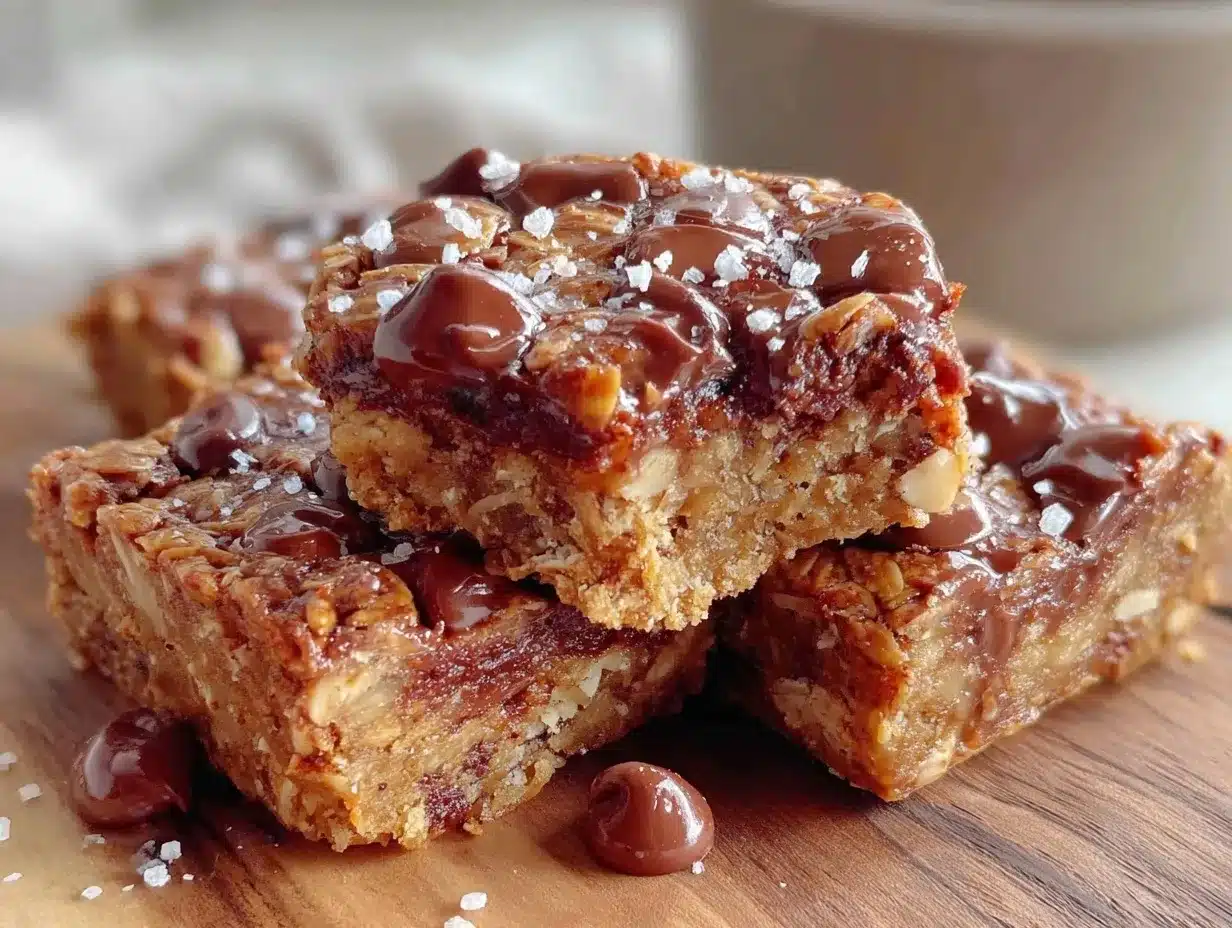
- Warm the nut butter and honey: In a microwave-safe bowl, gently heat 1 cup nut butter and 1/2 cup honey for about 30 seconds until they’re soft and easily combined. Stir well. (If you don’t have a microwave, warm them slowly in a small saucepan over low heat.)
- Mix dry ingredients: In a large mixing bowl, combine 2 cups rolled oats, 1/2 cup chopped nuts (if using), 2 tbsp ground flaxseed, and 1/4 tsp salt. Stir to mix evenly. This step ensures everything is distributed before adding the wet mix.
- Combine wet and dry: Pour the warm nut butter and honey mixture into the dry ingredients along with 1 tsp vanilla extract. Stir with a spatula until all oats are coated and sticky. The mixture should feel thick and hold together when pressed. If it’s too dry, add a teaspoon of water or a little more honey; if too wet, add a bit more oats.
- Fold in chocolate chips: Add 3/4 cup mini chocolate chips and gently fold them in. Be careful not to overmix, or the chips will start melting from the warmth.
- Press into pan: Line an 8×8-inch baking pan with parchment paper, leaving some overhang for easy lifting. Transfer the mixture to the pan and press down firmly with your hands or the back of a spatula to create an even, compact layer. This step is key for chewy bars that hold together.
- Chill and set: Refrigerate the pan for at least 2 hours (or up to overnight) to let the bars firm up. This step is crucial—don’t skip it! You’ll know they’re ready when the edges pull cleanly away from the pan.
- Slice and serve: Use the parchment paper to lift the set granola slab out of the pan. Place on a cutting board and slice into 10-12 bars, depending on your preferred size. Store extras in an airtight container in the fridge.
If your bars crumble when slicing, try chilling a bit longer or pressing them more firmly before refrigerating. The texture should be chewy but hold together nicely. I usually make a batch on Sunday and have snacks ready for the week—just saying, it’s a lifesaver.
Cooking Tips & Techniques
Here are some tips I picked up after a few too many crumbly batches and a few “oops” moments in the kitchen:
- Warm the nut butter and honey gently: This makes mixing easier and helps everything stick together better. Just don’t overheat or it can get too runny.
- Press firmly: When transferring to the pan, really press the mixture down evenly and tightly. This step determines how chewy and cohesive your bars will be.
- Use parchment paper: It’s not just for cleanup; it helps lift the bars out cleanly without breaking.
- Don’t skip chilling: Letting the bars set in the fridge is essential for the right texture and easier slicing.
- Mix chocolate chips last: Adding them after the wet and dry ingredients are combined prevents them from melting prematurely.
- Experiment with nuts and add-ins: I once tossed in shredded coconut, and it gave these bars a lovely chew and extra flavor.
Honestly, the biggest trick is patience with chilling time. I used to rush it and end up with messy crumbs everywhere. Now I just plan ahead, and it makes all the difference. Plus, these bars are forgiving—you can tweak sweetness or nut butter type without losing the chewy magic.
Variations & Adaptations
This basic chewy homemade granola bars with chocolate chips recipe is a great canvas for all sorts of tweaks:
- Nut-free variation: Swap nut butter for sunflower seed butter and skip nuts. Use dairy-free chocolate chips for allergy-friendly bars.
- Seasonal fruit twist: Add 1/3 cup dried cranberries, cherries, or chopped apricots for a fruity pop. In summer, try dried blueberries for a fresh flavor.
- Protein boost: Stir in 1/4 cup protein powder (vanilla or unflavored) for extra staying power—just add a splash of plant milk if mixture gets too dry.
- Spiced up: Add 1 tsp cinnamon or pumpkin spice for warm fall vibes.
- Cooking method adjustment: While this recipe is no-bake, you can press the mixture into a pan and bake at 325°F (165°C) for 10-12 minutes for a slightly toasted flavor and firmer bars.
I once made a batch with almond butter and added chopped dark chocolate chunks instead of chips—total game changer for a richer, more indulgent snack. Feel free to mix and match based on what’s in your pantry or your mood.
Serving & Storage Suggestions
These chewy granola bars are best served cold or at room temperature. The fridge keeps them firm and chewy, but if you prefer a softer bite, let a bar sit out for 10 minutes before eating.
They pair wonderfully with a cup of coffee or a cold glass of milk. For a snack boost, try pairing with fresh fruit like apple slices or a handful of nuts for extra crunch and nutrition.
Store bars in an airtight container in the refrigerator for up to 1 week. They also freeze beautifully—wrap individually in parchment or plastic wrap and freeze up to 3 months. Thaw at room temperature or microwave for 10-15 seconds to soften.
Over time, the flavors meld and the bars get even tastier (if that’s possible!). Just a heads-up: the chocolate chips may harden a bit when chilled, so letting them warm slightly before eating really brings out that melty goodness.
Nutritional Information & Benefits
Each chewy homemade granola bar (assuming 12 bars per batch) roughly contains:
| Calories | ~180 kcal |
|---|---|
| Protein | 5g |
| Fat | 9g |
| Carbohydrates | 22g |
| Fiber | 3g |
| Sugar | 11g (from honey and chocolate) |
The oats provide slow-digesting carbs and fiber, keeping you full longer, while nut butter offers healthy fats and protein. Flaxseed adds omega-3s and a nutritional boost. This recipe is naturally gluten-free if you use certified oats and can be made dairy-free with vegan chocolate chips.
From a wellness standpoint, these bars are a smart snack choice that balances energy and indulgence—a little treat that doesn’t leave you crashing later. Just a heads-up for allergen watchers: contains nuts and possibly gluten depending on oat choice.
Conclusion
If you want a snack that’s homey, chewy, and chocolate-studded without the usual fuss, these chewy homemade granola bars with chocolate chips are exactly what you need. They’re easy to make, use simple ingredients, and give you that perfect mix of sweet and wholesome. Honestly, I love how customizable this recipe is—you can tweak it endlessly to suit your pantry and taste buds.
Give it a try, and don’t be shy about making it your own! I’d love to hear how you change it up or what your favorite add-ins are. Drop a comment below, share your tips, or tell me about the first time you made these bars. Let’s keep the conversation going—because good food is always better when shared.
Here’s to many chewy, chocolatey snack moments ahead!
FAQs
Can I make these granola bars vegan?
Yes! Swap honey for maple syrup and use dairy-free chocolate chips to make vegan-friendly granola bars.
How long do homemade granola bars last?
Stored in an airtight container in the fridge, they last about 1 week. You can freeze them for up to 3 months.
Can I bake these granola bars instead of chilling?
Absolutely! Press the mixture into a pan and bake at 325°F (165°C) for 10-12 minutes for firmer, toasted bars.
What if my bars crumble when cutting?
Try pressing the mixture more firmly into the pan and chilling longer. Using parchment paper also helps lift bars cleanly.
Are these granola bars gluten-free?
They can be if you use certified gluten-free rolled oats. Otherwise, regular oats may contain gluten.
Pin This Recipe!
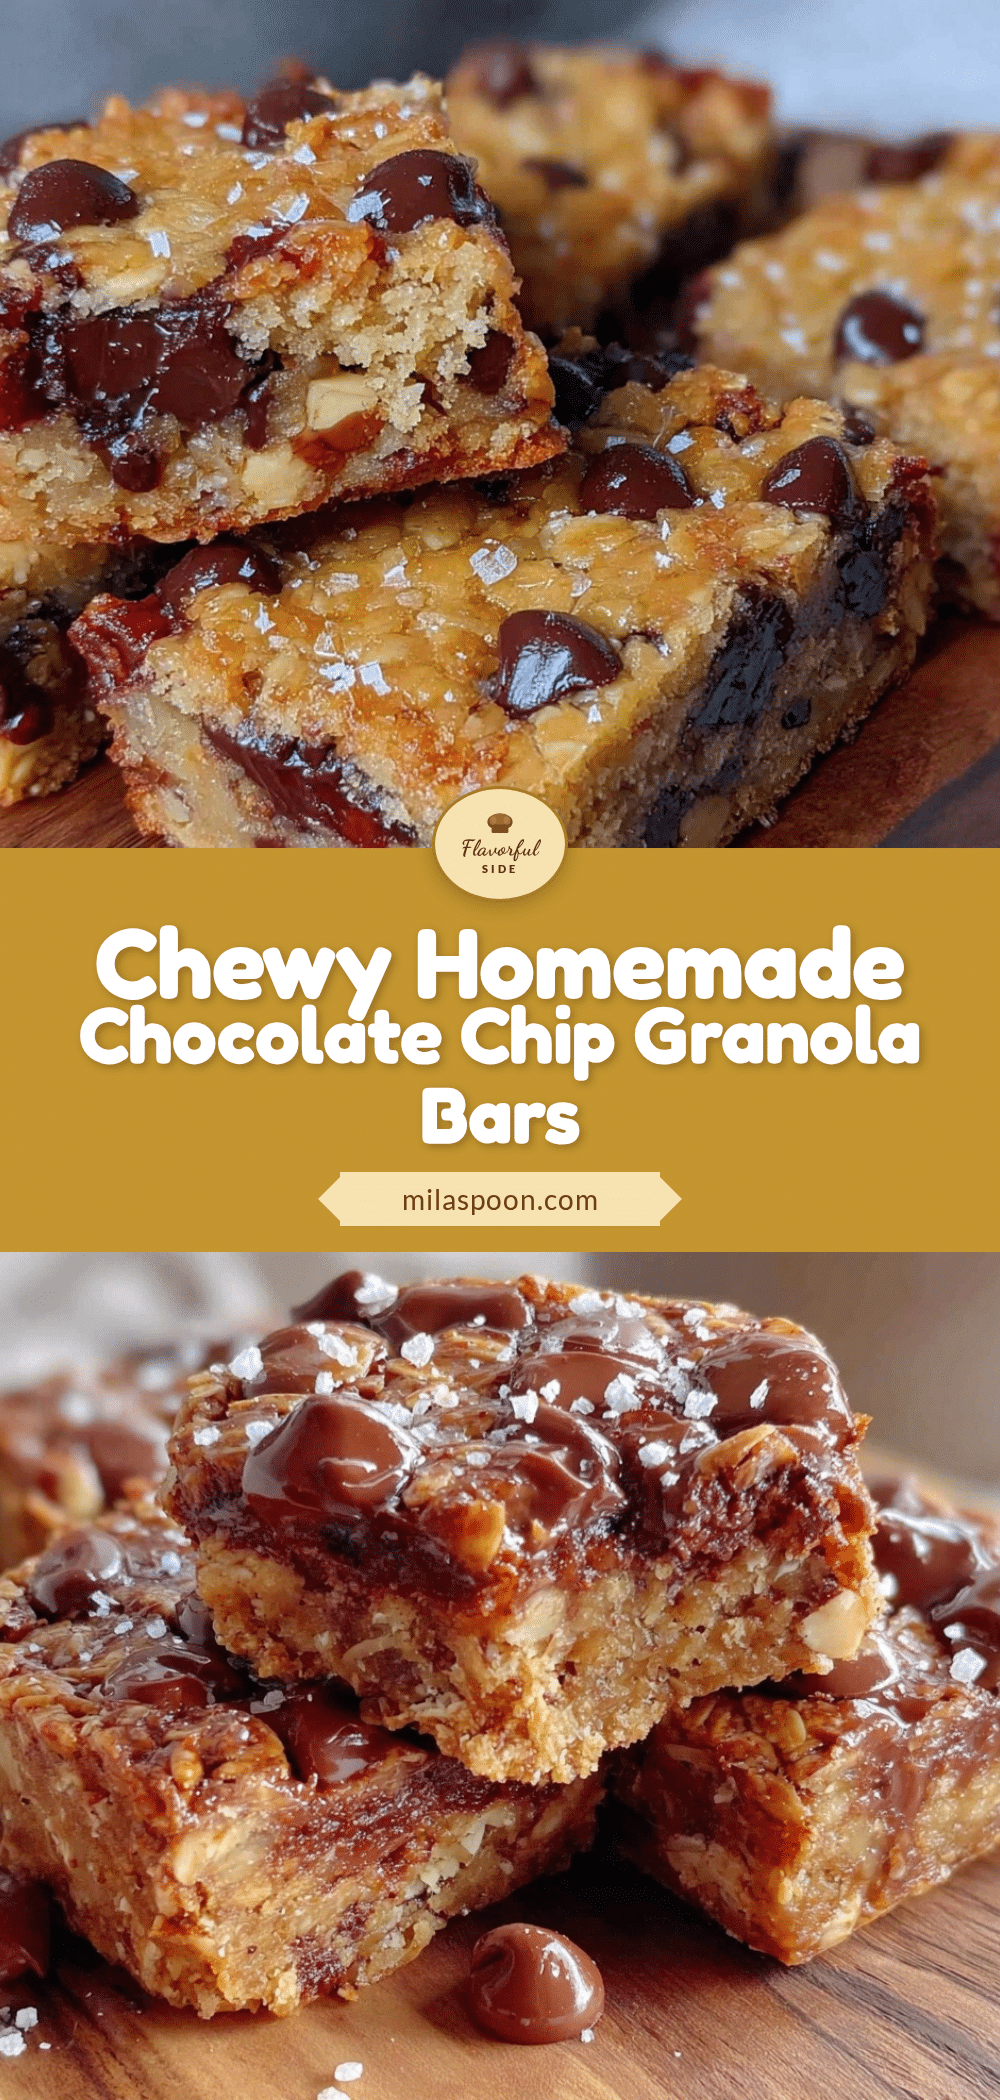
Chewy Homemade Granola Bars with Chocolate Chips
These chewy homemade granola bars with chocolate chips are an easy, no-bake snack made with simple pantry staples. Perfect for on-the-go energy boosts and customizable to suit dietary needs.
- Prep Time: 10 minutes
- Cook Time: 0 minutes
- Total Time: 2 hours 10 minutes
- Yield: 10-12 bars 1x
- Category: Snack
- Cuisine: American
Ingredients
- 2 cups old-fashioned rolled oats (180g)
- 1 cup nut butter (peanut or almond, 240g)
- 1/2 cup honey (120ml)
- 1 tsp vanilla extract
- 3/4 cup mini chocolate chips (130g)
- 1/4 tsp salt
- 1/2 cup chopped nuts (optional, 60g; walnuts or pecans)
- 2 tbsp ground flaxseed (optional)
Instructions
- Warm the nut butter and honey: In a microwave-safe bowl, gently heat 1 cup nut butter and 1/2 cup honey for about 30 seconds until soft and easily combined. Stir well. Alternatively, warm slowly in a small saucepan over low heat.
- Mix dry ingredients: In a large mixing bowl, combine 2 cups rolled oats, 1/2 cup chopped nuts (if using), 2 tbsp ground flaxseed, and 1/4 tsp salt. Stir to mix evenly.
- Combine wet and dry: Pour the warm nut butter and honey mixture into the dry ingredients along with 1 tsp vanilla extract. Stir with a spatula until all oats are coated and sticky. Adjust consistency with a teaspoon of water or more oats if needed.
- Fold in chocolate chips: Add 3/4 cup mini chocolate chips and gently fold them in, being careful not to overmix.
- Press into pan: Line an 8×8-inch baking pan with parchment paper, leaving overhang for easy lifting. Transfer mixture to pan and press down firmly to create an even, compact layer.
- Chill and set: Refrigerate for at least 2 hours or up to overnight until bars firm up and edges pull cleanly from the pan.
- Slice and serve: Lift the set granola slab out using parchment paper. Slice into 10-12 bars. Store extras in an airtight container in the fridge.
Notes
Warm nut butter and honey gently to avoid overheating. Press mixture firmly into pan for chewy bars. Use parchment paper for easy removal. Chill bars for at least 2 hours to set properly. For vegan version, substitute honey with maple syrup and use dairy-free chocolate chips. Bars can be baked at 325°F for 10-12 minutes for a toasted flavor and firmer texture.
Nutrition
- Serving Size: 1 bar (if sliced int
- Calories: 180
- Sugar: 11
- Fat: 9
- Carbohydrates: 22
- Fiber: 3
- Protein: 5
Keywords: granola bars, homemade granola bars, chewy granola bars, chocolate chip granola bars, no-bake snacks, healthy snacks, easy granola bars


