Love this? Save it for later!
Share the inspiration with your friends
Introduction
The power went out halfway through a Friday night dinner party at my friend’s apartment, and honestly, the mood could have tanked hard. But instead of panicking, my friend’s quiet neighbor—who I honestly never thought much about beyond a polite nod in the hallway—popped over with a mischievous grin and a tinfoil-wrapped container. “You have to try this,” he said, sliding the container across the table.
Turns out, he’d whipped up this insanely creamy no-churn salted caramel ice cream using just four simple ingredients, and it was pure magic. No fancy ice cream maker, no complicated steps—just straightforward, rich, buttery caramel goodness combined with a perfect touch of salt to keep it balanced. I mean, who expects a quiet accountant to know such a decadent treat? Maybe you’ve been there, thinking the best recipes come from chefs or seasoned cooks, but this was a delightful surprise.
That evening, surrounded by flickering candles and the hum of a generator kicking in, this ice cream became the unexpected highlight. The cracked bowl I grabbed to serve it was far from perfect, but the silky texture and that dreamy caramel flavor made it impossible not to smile. Ever since, I keep making this recipe whenever I want a fuss-free dessert that feels special. It’s honestly one of those recipes you want to share because it’s too good to keep to yourself.
Why You’ll Love This Recipe
Let me tell you, this creamy no-churn salted caramel ice cream isn’t just a quick fix; it’s a legit crowd-pleaser that’s become my go-to for sweet cravings. After testing a handful of caramel ice cream recipes over the years, I can confidently say this one nails the texture and flavor with minimal effort.
- Quick & Easy: Ready in under 20 minutes of prep, perfect for those spontaneous dessert urges or last-minute guests.
- Simple Ingredients: You only need four pantry staples—no hunting down exotic items or specialty stores.
- Perfect for Any Occasion: Whether it’s a casual family night or an impromptu summer barbecue, this ice cream fits right in.
- Crowd-Pleaser: Kids, adults, skeptics—everyone ends up asking for seconds because that salted caramel flavor hits just right.
- Unbelievably Delicious: The creamy texture combined with that subtle salty kick makes it feel like fancy ice cream from an artisan shop.
What sets this recipe apart is the no-churn method that keeps things simple but doesn’t sacrifice creaminess. Plus, the salted caramel here isn’t overly sweet or syrupy—it’s balanced, buttery, and has just the right hint of salt to keep you coming back for more. Honestly, after the very first bite, you might find yourself closing your eyes and savoring it slowly, which I definitely do. It’s comfort food that feels a little indulgent but without hours in the kitchen or a big mess to clean up.
What Ingredients You Will Need
This recipe uses simple, wholesome ingredients to deliver bold flavor and satisfying texture without the fuss. You likely have everything on hand, and each ingredient plays a key role in making this salted caramel ice cream irresistibly creamy and flavorful.
- Heavy Whipping Cream (2 cups / 480 ml): Provides the rich, creamy base. Use a brand like Organic Valley for the best texture.
- Sweetened Condensed Milk (1 can, 14 oz / 396 g): Adds sweetness and helps create that smooth, no-churn consistency. I prefer Eagle Brand for its rich taste.
- Salted Caramel Sauce (3/4 cup / 180 ml): The star ingredient. You can use store-bought or homemade. If you’re making your own, use a good quality brown sugar and unsalted butter for depth.
- Sea Salt (1/2 teaspoon): Just a pinch to enhance the caramel’s flavor and give that perfect salted balance.
If you want to switch things up, you can substitute the heavy cream with coconut cream for a dairy-free twist, and swap sweetened condensed milk for a homemade version using coconut milk and maple syrup. In summer, try swirling in a handful of toasted pecans or chopped apples for a seasonal spin.
Equipment Needed
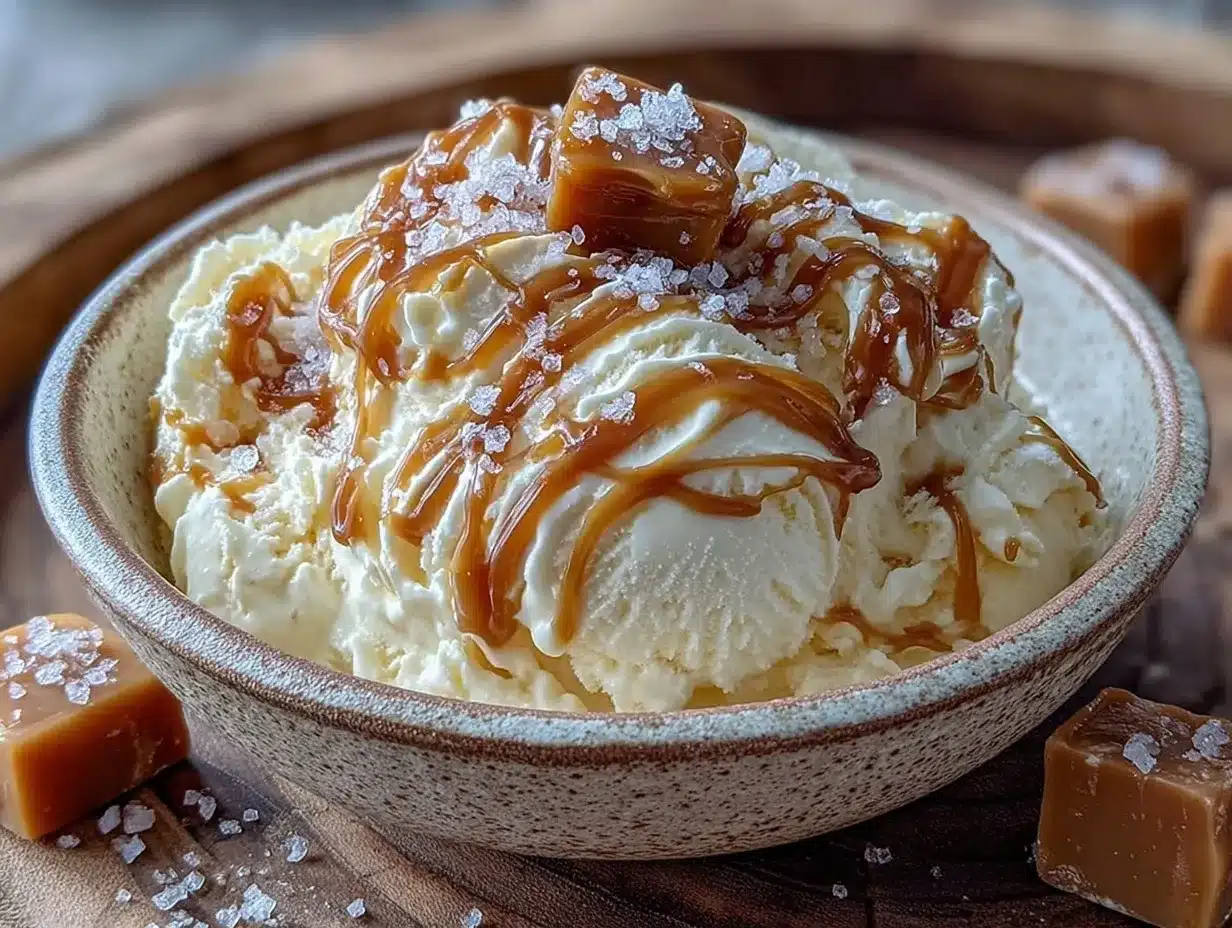
- Mixing Bowl: A large bowl for whipping the cream. Glass or metal bowls work best as they help keep the cream cold.
- Electric Mixer or Stand Mixer: For whipping the heavy cream to stiff peaks. You can use a hand whisk if you’re feeling ambitious but it takes longer.
- Spatula: To gently fold in the condensed milk and caramel sauce without deflating the whipped cream.
- Freezer-Safe Container: A loaf pan or plastic container with a lid works perfectly for freezing the ice cream.
Personally, I’ve found a stand mixer to be a lifesaver for quick whipping, but a hand mixer does just fine. As a budget-friendly alternative, chilling your bowl and beaters in the freezer before whipping cream really helps achieve the right texture. Also, be gentle when folding ingredients to keep that airy fluff intact—this little trick makes a world of difference.
Preparation Method
- Chill your equipment: Place your mixing bowl and beaters in the fridge or freezer for at least 15 minutes to help the cream whip better.
- Whip the heavy cream: Pour 2 cups (480 ml) of heavy whipping cream into the chilled bowl. Using an electric mixer, beat on medium-high speed until stiff peaks form. This should take about 4-6 minutes. (Tip: Stop once the peaks hold but don’t overbeat or it’ll turn grainy.)
- Combine condensed milk and caramel: In a separate bowl, mix 1 can (14 oz / 396 g) of sweetened condensed milk with 3/4 cup (180 ml) of salted caramel sauce and 1/2 teaspoon sea salt until smooth and well blended.
- Fold gently: Add the caramel mixture to the whipped cream in three parts, folding gently with a spatula after each addition. The goal is to keep the cream fluffy and light—don’t rush this step or stir vigorously.
- Transfer and swirl: Pour the mixture into a freezer-safe container. For extra caramel pockets, add a few spoonfuls of caramel sauce on top and swirl lightly with a knife.
- Freeze: Cover with a lid or plastic wrap and freeze for at least 6 hours, preferably overnight. The ice cream will firm up nicely but stay creamy.
- Serve: Remove from freezer 5 minutes before scooping for easier serving. Use a warm ice cream scoop or dip your scoop in hot water to get perfect scoops every time.
One time I forgot to chill the bowl, and let me tell you, the cream was slow to whip and I ended up with a slightly runnier texture. Lesson learned! Also, make sure your caramel sauce isn’t too warm when folding—it can cause the cream to deflate if it’s hot. Patience and gentle hands here really pay off.
Cooking Tips & Techniques
Here’s what I’ve learned through trial, error, and a few happy accidents making this creamy no-churn salted caramel ice cream:
- Whipping Cream: Cold equipment is your best friend. It helps the cream reach stiff peaks faster and creates a more stable base.
- Fold, don’t stir: When mixing the caramel into the whipped cream, folding preserves airiness. Stirring aggressively will flatten your mixture and make the ice cream dense.
- Caramel Sauce Temperature: Let your caramel sauce cool to room temperature before folding it in. Hot sauce can melt the whipped cream and ruin the texture.
- Salt Balance: The half teaspoon of sea salt is crucial. Too little and the caramel tastes flat; too much and it overpowers. Taste your caramel sauce first to adjust.
- Freezing Time: Don’t rush freezing. The longer it sets, the better the texture, but if you want a soft-serve feel, check it after 4 hours.
- Multitasking: While the ice cream freezes, you can prep toppings or even whip up some chocolate-dipped waffles to serve alongside for a killer combo.
Trust me, I once tried mixing the caramel while the cream was still liquidy and ended up with a soupy mess. Wait for those peaks—it’s worth it.
Variations & Adaptations
This recipe is a great base for creativity, so here are a few ways to make it your own:
- Dairy-Free Version: Use coconut cream instead of heavy cream and sweetened condensed coconut milk. The flavor will be rich with a tropical hint.
- Nutty Twist: Fold in toasted pecans or chopped almonds for crunch and extra depth.
- Chocolate Swirl: Add a ribbon of melted dark chocolate or fudge sauce to the mix right before freezing for a salted caramel chocolate combo.
- Spiced Caramel: Stir in a pinch of cinnamon or cayenne pepper for a warm or spicy kick.
- Seasonal Fruit: In summer, tossing in fresh peach slices or a handful of raspberries adds a bright contrast to the caramel’s richness.
I once made a batch with a splash of bourbon in the caramel sauce—total game-changer for adult dessert nights. Just a heads-up: if you add alcohol, it might affect the freezing time slightly.
Serving & Storage Suggestions
Serve this salted caramel ice cream chilled but not rock hard. Let it sit out for 5 minutes before scooping to get that perfect creamy texture. A warm caramel drizzle or a sprinkle of flaky sea salt on top makes a lovely finishing touch.
Pair it with fresh fruit, brownies, or a warm apple crisp for dessert that feels both indulgent and balanced. I often serve it alongside a batch of my crispy garlic chicken dinners for a sweet finish that’s light and satisfying.
Store leftovers in an airtight container in the freezer for up to 2 weeks. When reheating, leave it at room temperature for a few minutes before scooping. The flavors actually deepen after a day or two, so don’t be shy about making it ahead of time.
Nutritional Information & Benefits
Each serving (about 1/2 cup or 125 ml) of this creamy no-churn salted caramel ice cream contains approximately 250 calories, 16g fat, 25g carbohydrates, and 3g protein. The heavy cream and condensed milk provide a good dose of calcium and fat-soluble vitamins.
While it’s a treat, the recipe’s simplicity means no artificial additives or preservatives, making it a cleaner indulgence. For those watching sugar intake, you can experiment by using a reduced-sugar caramel sauce or sugar-free condensed milk alternatives.
This recipe is gluten-free by default and can easily be adapted for dairy-free lifestyles as mentioned earlier. It’s a dessert that balances indulgence with straightforward ingredients you can trust.
Conclusion
If you’re after a luscious, creamy dessert that feels fancy but is honestly super simple to make, this creamy no-churn salted caramel ice cream with 4 simple ingredients is the answer. It’s the kind of recipe that makes you feel like a pro without the hassle or fancy gadgets.
Feel free to tweak the caramel level, add mix-ins, or try different salts until it hits your perfect note. I love this recipe because it’s forgiving, fast, and always impresses—plus, it comes with a great story about unexpected neighbors and power outages, which makes it all the sweeter.
Give it a try, and don’t forget to share how you made it yours in the comments below—I’m always eager to hear your twists and tips!
FAQs
- Can I use store-bought caramel sauce? Yes! Store-bought salted caramel sauce works perfectly and saves time. Just make sure it’s not too runny.
- Do I need an ice cream maker for this recipe? No, this is a no-churn recipe designed to be simple without special equipment.
- How long should I freeze the ice cream? At least 6 hours, preferably overnight for best texture.
- Can I make this recipe vegan? Yes, substitute heavy cream with coconut cream and sweetened condensed milk with a vegan alternative like sweetened condensed coconut milk.
- What’s the best way to scoop this ice cream? Let it sit at room temperature for 5 minutes before scooping, and use a warm ice cream scoop or dip your scoop in hot water.
Pin This Recipe!
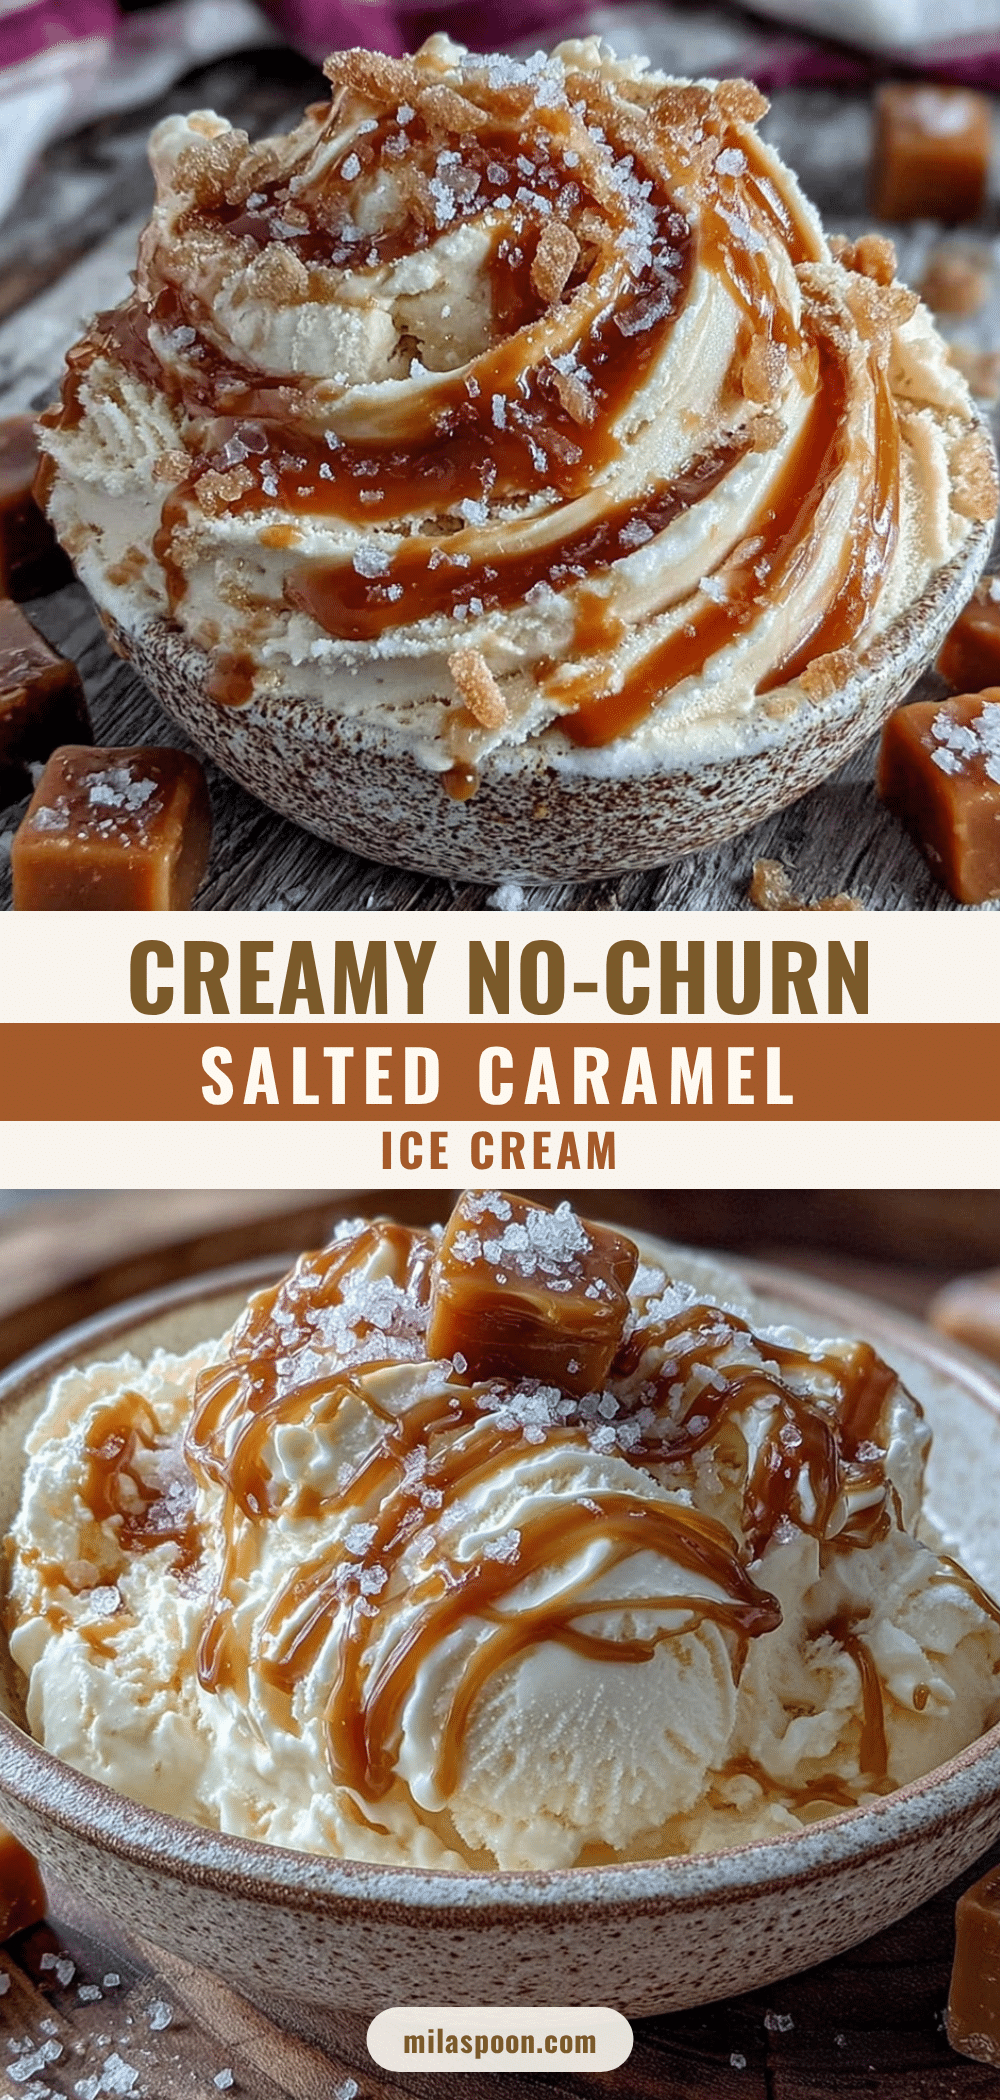
Creamy No-Churn Salted Caramel Ice Cream Recipe with 4 Easy Ingredients
A rich and creamy no-churn salted caramel ice cream made with just four simple ingredients. Perfect for a quick, fuss-free dessert with a balanced buttery caramel flavor and a hint of salt.
- Prep Time: 15 minutes
- Cook Time: 0 minutes
- Total Time: 6 hours 15 minutes
- Yield: 8 servings 1x
- Category: Dessert
- Cuisine: American
Ingredients
- 2 cups (480 ml) heavy whipping cream
- 1 can (14 oz / 396 g) sweetened condensed milk
- 3/4 cup (180 ml) salted caramel sauce
- 1/2 teaspoon sea salt
Instructions
- Chill your mixing bowl and beaters in the fridge or freezer for at least 15 minutes to help the cream whip better.
- Pour 2 cups (480 ml) of heavy whipping cream into the chilled bowl. Using an electric mixer, beat on medium-high speed until stiff peaks form, about 4-6 minutes. Stop once peaks hold but do not overbeat.
- In a separate bowl, mix 1 can (14 oz / 396 g) of sweetened condensed milk with 3/4 cup (180 ml) of salted caramel sauce and 1/2 teaspoon sea salt until smooth and well blended.
- Add the caramel mixture to the whipped cream in three parts, folding gently with a spatula after each addition to keep the cream fluffy and light.
- Pour the mixture into a freezer-safe container. For extra caramel pockets, add a few spoonfuls of caramel sauce on top and swirl lightly with a knife.
- Cover with a lid or plastic wrap and freeze for at least 6 hours, preferably overnight.
- Remove from freezer 5 minutes before scooping for easier serving. Use a warm ice cream scoop or dip your scoop in hot water to get perfect scoops.
Notes
Chill your mixing bowl and beaters before whipping cream for better results. Fold the caramel mixture gently into the whipped cream to keep it airy. Let caramel sauce cool to room temperature before folding to avoid deflating the cream. Freeze at least 6 hours or overnight for best texture. Let ice cream sit 5 minutes before scooping for easier serving.
Nutrition
- Serving Size: 1/2 cup (125 ml)
- Calories: 250
- Fat: 16
- Carbohydrates: 25
- Protein: 3
Keywords: no-churn ice cream, salted caramel ice cream, easy ice cream recipe, no ice cream maker, creamy dessert, quick dessert, caramel dessert