Love this? Save it for later!
Share the inspiration with your friends
My husband took a bite of these pumpkin cinnamon rolls, chewed slowly, and then just stared at the roll in his hand like it had personally offended him. I froze, waiting for the critique—too dense, not enough spice, the usual feedback I get when I tinker with a classic. Instead, he looked up and said, “Don’t change a thing. Ever.” And then he grabbed a second one before I could even cut myself a piece. That moment, right there, is why this recipe exists.
I had been chasing the perfect fall cinnamon roll for years. You know the ones I mean—soft and pillowy, but with enough pumpkin flavor that you actually taste it (not just a splash of puree for color). The ones where the maple icing isn’t an afterthought but the whole point. I wanted something that felt special enough for Thanksgiving morning but easy enough that I’d actually make them on a random Saturday in October when the air turned crisp and I needed an excuse to stay in my slippers.
These rolls took me six tries to get right. The first batch came out like dense hockey pucks. The second was too wet. The third? Actually pretty good, but the icing slid right off because I’d made it too thin. By batch four, I started keeping notes. By batch six, I had my husband doing that silent stare thing. That’s when I knew.
These pumpkin cinnamon rolls are the kind of thing that makes you slow down. The dough is forgiving, the filling is generous, and that maple icing—honestly, I’ve been known to eat it by the spoonful straight from the bowl. No judgment if you do the same.
Why You’ll Love This Recipe
I’ve tested this recipe more times than I care to admit, and each batch taught me something new. Here’s what makes these rolls different from every other pumpkin cinnamon roll recipe out there.
- Pumpkin That Actually Shows Up — Most pumpkin cinnamon rolls taste like cinnamon rolls with a vague orange tint. Not these. The pumpkin puree works double duty here, adding both flavor and moisture that keeps the dough incredibly soft for days.
- No Stand Mixer Required — I developed this recipe to work with just a bowl and a sturdy spoon. If you have a stand mixer, great, but you don’t need one. I’ve made these on my countertop with nothing but elbow grease and determination.
- Make-Ahead Friendly — You can prep these the night before and bake them fresh in the morning. The dough actually develops better flavor after an overnight rest in the fridge.
- Maple Icing That Doesn’t Disappear — That thick, creamy maple icing stays put. It doesn’t melt into a puddle or slide off the sides. Every single bite gets a generous swipe of sweet, maple goodness.
- Foolproof Dough — I’ve made this dough in humid weather, dry weather, and everything in between. It behaves beautifully every time. No weird sticky phases or dry patches to fight with.
These rolls have become my go-to for fall gatherings, lazy Sunday mornings, and honestly, any day I need a little extra warmth. They’re the kind of recipe that makes people think you spent hours in the kitchen when really, you just followed a smart, tested method. And that maple icing? It’s the kind of thing people text you about later, asking for the recipe.
What Ingredients You Will Need
This recipe uses simple, pantry-friendly ingredients to create something that tastes anything but basic. Each component plays a specific role in building flavor and texture.
For the Dough
- 1 cup (245g) pumpkin puree — Not pumpkin pie filling. Look for 100% pure pumpkin puree. I prefer Libby’s for its consistent thickness, but any brand works as long as it’s not watery. Pat the puree with a paper towel if it looks especially wet.
- 1/2 cup (120ml) whole milk, warm — About 110°F. Too hot kills the yeast, too cold slows it down. Whole milk gives the richest texture, but 2% works fine in a pinch.
- 1/4 cup (50g) granulated sugar — Feeds the yeast and adds a touch of sweetness to balance the pumpkin.
- 1 packet (2 1/4 tsp) active dry yeast — I use Red Star or SAF instant yeast. Both are reliable. If using instant yeast, you can mix it directly with the dry ingredients without proofing.
- 1/4 cup (56g) unsalted butter, melted and slightly cooled — Adds richness and tenderness to the dough. Salted butter works if you reduce the added salt by half.
- 1 large egg, room temperature — Cold egg will shock the warm milk and slow down the rise. Let it sit on the counter for 30 minutes first.
- 3 1/2 cups (440g) all-purpose flour, plus more for dusting — Bread flour works too, but the rolls will be slightly chewier. All-purpose keeps them soft and fluffy.
- 1 teaspoon salt — Don’t skip this. Salt controls yeast activity and enhances flavor.
- 1 teaspoon pumpkin pie spice — Store-bought is fine, but I make my own with cinnamon, nutmeg, ginger, and cloves. It’s fresher and you can adjust the ratios.
For the Filling
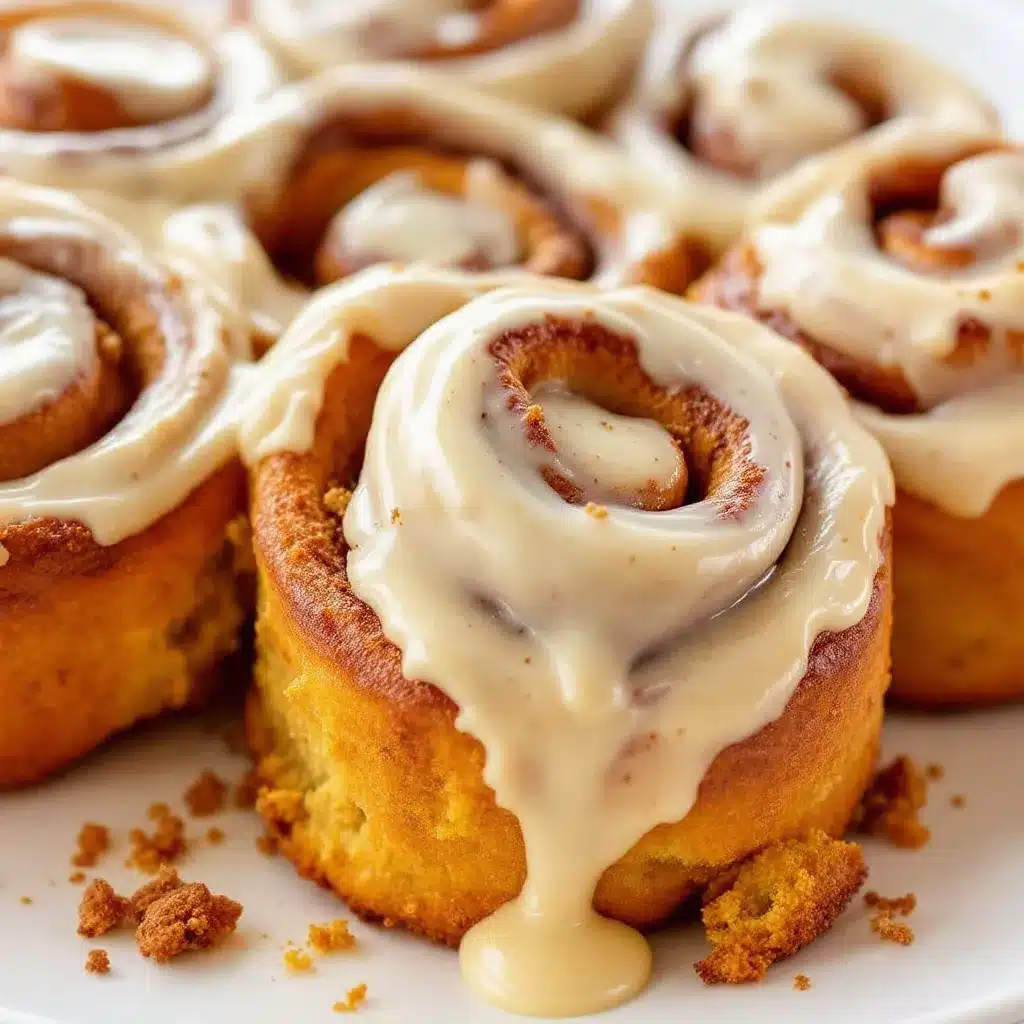
- 1/2 cup (113g) unsalted butter, very soft — Not melted. It needs to be spreadable but not liquid. Leave it out for an hour before starting.
- 3/4 cup (150g) brown sugar, packed — Light or dark both work. Dark brown sugar gives a deeper, molasses-like flavor that pairs beautifully with pumpkin.
- 2 tablespoons ground cinnamon — I use Saigon cinnamon for its bold, warm flavor. Regular cinnamon works too, just use a generous 2 tablespoons.
- 1/4 teaspoon ground nutmeg — Freshly grated if you have it. The difference is subtle but noticeable.
- Pinch of salt — Balances the sweetness and makes the filling pop.
For the Maple Icing
- 4 ounces (113g) cream cheese, softened — Full-fat gives the best texture. Low-fat works but the icing will be thinner.
- 1/4 cup (56g) unsalted butter, softened — Same temperature as the cream cheese for a smooth, lump-free icing.
- 1 1/2 cups (180g) powdered sugar — Sift it if it’s clumpy. Nobody wants lumpy icing.
- 3 tablespoons pure maple syrup — Not pancake syrup. Real maple syrup makes a difference here. Grade A dark amber has the strongest flavor.
- 1/2 teaspoon vanilla extract — Enhances the maple flavor without overpowering it.
- Pinch of salt — Trust me on this. It cuts the sweetness and makes the maple taste more pronounced.
Equipment Needed
You don’t need a fancy kitchen to pull these off. Here’s what I actually use.
- Large mixing bowl — Glass or ceramic works best. Metal can react with the dough if you’re using a metal spoon.
- 9×13-inch baking dish — Glass or ceramic. Metal works too, but glass lets you see the browning on the bottom. I use a Pyrex dish and it’s never let me down.
- Rolling pin — A standard wooden one is fine. If you don’t have one, a wine bottle works in a pinch. I’ve done it.
- Sharp knife or bench scraper — Clean cuts matter. A dull knife smashes the dough and squishes the filling out. A bench scraper is my preferred tool for this job.
- Stand mixer with dough hook (optional) — Makes kneading easier, but hand-kneading works beautifully. I actually prefer hand-kneading for this dough because I can feel when it’s ready.
- Kitchen scale — Not required, but highly recommended for consistent results. Flour measurement by volume can vary wildly. A scale takes the guesswork out.
- Plastic wrap or a clean kitchen towel — For covering the dough while it rises. I use a damp kitchen towel in dry weather to keep the dough from drying out.
- Parchment paper — Lining the baking dish makes cleanup so much easier. Plus, the rolls slide right out without sticking.
If you don’t have a rolling pin, a smooth water bottle works. If you don’t have a baking dish, a cast iron skillet works beautifully—it holds heat well and gives the edges a nice caramelization. I’ve made these in a round cake pan before, and they turned out just fine, though you’ll need to adjust the bake time slightly since the rolls will be more crowded.
Preparation Method
Take your time with these. The dough needs patience, but the process itself is straightforward. I promise.
Step 1: Proof the Yeast
Warm the milk to about 110°F—warm to the touch but not hot. Sprinkle the yeast and a pinch of sugar over the milk. Let it sit for 5-10 minutes until it gets foamy and smells like bread. If it doesn’t foam, your yeast is dead. Start over with fresh yeast. I learned this the hard way after wasting an entire batch of ingredients.
Step 2: Make the Dough
In a large bowl, whisk together the pumpkin puree, melted butter, egg, and the remaining sugar. Pour in the yeast mixture and stir until combined. Add the flour, salt, and pumpkin pie spice. Mix with a wooden spoon until a shaggy dough forms. It will look rough and messy. That’s normal.
Step 3: Knead the Dough
Turn the dough onto a lightly floured surface. Knead for 8-10 minutes by hand, or 5-6 minutes in a stand mixer with the dough hook. The dough should be smooth, elastic, and slightly tacky but not sticky. If it’s sticking to your hands like crazy, add a tablespoon of flour at a time. If it feels dry and stiff, add a splash of warm milk. The dough should feel soft and pillowy, like a baby’s cheek. When you poke it, it should spring back slowly.
Step 4: First Rise
Place the dough in a lightly greased bowl, turning to coat all sides. Cover with plastic wrap or a damp towel. Let it rise in a warm, draft-free spot for 1-2 hours, until doubled in size. I set my oven to the lowest setting (170°F), turn it off, and let the dough rise inside with the door slightly cracked. Works every time. If your kitchen is cold, it might take closer to 2 hours. Don’t rush this step.
Step 5: Make the Filling
While the dough rises, mix the softened butter, brown sugar, cinnamon, nutmeg, and salt in a small bowl. Stir until it forms a thick, spreadable paste. Set aside at room temperature. Don’t refrigerate it—cold filling is hard to spread and tears the dough.
Step 6: Roll and Fill
Once the dough has doubled, punch it down gently to release the air. Turn it onto a floured surface. Roll it into a 12×18-inch rectangle, about 1/4-inch thick. Don’t stress about perfect edges—they’ll get tucked in anyway. Spread the filling evenly over the dough, leaving a 1/2-inch border on the long edge farthest from you. This bare edge will help seal the roll.
Step 7: Roll and Cut
Starting from the long edge closest to you, roll the dough tightly into a log. Pinch the seam to seal. Use a sharp knife or bench scraper to cut the log into 12 equal rolls, about 1 1/2 inches each. I mark the log into even sections with the back of my knife before cutting. It helps keep them uniform. Place the rolls in a greased 9×13-inch baking dish, cut side up. They’ll be touching each other slightly—that’s what you want.
Step 8: Second Rise
Cover the dish with plastic wrap or a towel. Let the rolls rise for another 45-60 minutes, until they’ve puffed up and are touching each other. They should look cozy and crowded. If you’re making these overnight, cover the dish tightly with plastic wrap and refrigerate for up to 12 hours. In the morning, let them sit at room temperature for 30 minutes before baking.
Step 9: Bake
Preheat your oven to 350°F. Bake the rolls for 22-28 minutes, until golden brown on top and the filling is bubbly. The internal temperature should reach 190°F if you want to be precise. If the tops are browning too fast, loosely tent with foil after 15 minutes. Let them cool in the pan for 10 minutes before icing.
Step 10: Make the Icing and Finish
While the rolls cool, beat the cream cheese and butter together until smooth. Add the powdered sugar, maple syrup, vanilla, and salt. Beat until creamy and thick. Spread the icing over the warm rolls—it will melt slightly and seep into all the nooks and crannies. Serve warm for the best experience.
Cooking Tips & Techniques
I’ve made these rolls more times than I can count, and I’ve made every mistake in the book. Here’s what I’ve learned.
Don’t over-flour the dough. It’s tempting to keep adding flour when the dough feels sticky, but too much flour makes dense, heavy rolls. The dough should be soft and slightly tacky. If it’s sticking to your hands, wet your hands with a little water instead of adding more flour. This trick changed my baking life.
Temperature matters. Cold ingredients slow down yeast activity. Make sure your milk is warm (not hot), your egg is room temperature, and your butter is melted and cooled. If your kitchen is cold, the dough will take longer to rise. Be patient—it’s worth the wait.
Cut cleanly. A dull knife smashes the dough and pushes the filling out. Use a sharp knife or a bench scraper, and cut with one firm motion. Don’t saw back and forth. If the filling starts oozing out, that’s okay—it caramelizes in the pan and makes the edges extra delicious.
Watch the bake time. Every oven runs differently. Start checking at 22 minutes. The rolls should be golden brown on top, and the center should feel set but still soft. Overbaked rolls dry out quickly. If you’re unsure, use an instant-read thermometer—190°F is the sweet spot.
Let them rest. I know it’s hard to wait, but letting the rolls cool for 10 minutes before icing is crucial. If you ice them straight out of the oven, the icing melts into a puddle. If you wait too long, the icing sits on top and doesn’t soak in. Ten minutes is the magic number.
One more thing—if you’re making these for a special occasion, double the batch. They disappear fast. I’ve learned to hide a few in the freezer before anyone notices.
Variations & Adaptations
I love a recipe that bends to what you have on hand. Here are some ways to make these rolls your own.
Gluten-Free Version: Use a 1:1 gluten-free flour blend that contains xanthan gum. King Arthur’s Measure for Measure works well. The dough will be stickier and harder to roll, so flour your surface generously. Bake time may increase by 5-7 minutes. The texture won’t be exactly the same, but they’re still soft and delicious.
Dairy-Free Version: Substitute the butter with vegan butter (I like Miyoko’s) and the cream cheese with a dairy-free alternative. Use oat milk or almond milk in the dough. The icing will be slightly thinner, but the flavor holds up beautifully.
Pecan Praline Twist: Sprinkle 1/2 cup of chopped pecans over the filling before rolling. The nuts toast as the rolls bake, adding a wonderful crunch. For extra decadence, drizzle a simple caramel sauce over the top before serving.
Apple Pumpkin Combo: Finely dice one small apple and sauté it with a tablespoon of butter until soft. Spread it over the filling before rolling. The apple adds a sweet-tart contrast that pairs beautifully with the pumpkin and maple. I tried this one fall when I had extra apples lying around, and it was a happy accident.
Spice It Up: Add 1/2 teaspoon of ground ginger and 1/4 teaspoon of ground cloves to the filling for a warmer, more complex spice profile. If you like things extra cozy, add a pinch of cardamom. It gives the rolls a subtle floral note that’s unexpected but lovely.
Mini Rolls: Cut the log into 18-20 smaller rolls and bake them in a 9×9-inch pan. Reduce the bake time to 18-22 minutes. Perfect for brunch buffets or when you want a smaller portion.
If you love pumpkin-flavored breakfast treats, you should also try my pumpkin cream cheese swirl muffins—they’re like a portable version of these rolls, but with a crunchy pecan topping that adds texture.
Serving & Storage Suggestions
These rolls are best served warm, straight from the oven, with the icing still slightly melty. I like to pull them apart with my fingers and eat them in messy, happy bites. A cup of strong coffee or a tall glass of cold milk is the perfect companion.
For a full fall breakfast spread, pair these rolls with scrambled eggs and crispy bacon. The savory-sweet combo is unbeatable. If you’re hosting a brunch, set out a bowl of fresh fruit and a pitcher of apple cider. The rolls are rich enough to be the star of the show.
Storage: Leftover rolls keep well in an airtight container at room temperature for up to 2 days. The icing will set and firm up, but the rolls stay soft. To reheat, microwave individual rolls for 15-20 seconds, or warm them in a 300°F oven for 5-7 minutes. The oven method keeps the texture closer to fresh-baked.
Freezing: These rolls freeze beautifully. You have two options. Freeze the unbaked rolls after cutting: arrange them in the baking dish, cover tightly, and freeze for up to 3 months. When ready to bake, thaw in the refrigerator overnight, then let them rise at room temperature for 45 minutes before baking. Or freeze the baked, un-iced rolls: wrap each roll individually in plastic wrap, then place them in a freezer bag. Thaw at room temperature, reheat, and ice fresh. The maple icing doesn’t freeze well, so always make it fresh.
One note on flavors: these rolls taste even better the next day. The pumpkin flavor deepens, and the spices meld together beautifully. If you can resist eating them all the first day, you’re in for a treat.
For another cozy fall breakfast option, check out my brown butter maple snickerdoodles—they have that same warm maple-cinnamon vibe but in cookie form.
Nutritional Information & Benefits
Let’s be honest—these are a treat, not a health food. But they’re made with real ingredients, and that counts for something. Here’s a rough breakdown per roll (based on 12 servings):
- Calories: Approximately 380-420
- Fat: 18-22g
- Carbohydrates: 50-55g
- Protein: 5-7g
- Fiber: 2-3g
- Sugar: 28-32g
Pumpkin puree is packed with vitamin A, which supports eye health and immune function. It’s also a good source of fiber and antioxidants. Cinnamon has anti-inflammatory properties and may help regulate blood sugar. Maple syrup contains zinc and manganese, though let’s be real—we’re eating it for the flavor.
If you’re watching your sugar intake, you can reduce the sugar in the dough to 2 tablespoons and use a sugar substitute in the filling. The texture will be slightly different, but the rolls will still be delicious. For a lower-carb option, try using almond flour and a sugar substitute, though I haven’t tested that version extensively.
These rolls are not gluten-free, dairy-free, or vegan in their standard form, but I’ve included substitutions above for those who need them. Always check your ingredients for potential allergens, especially if you’re serving a crowd.
Conclusion
These pumpkin cinnamon rolls have become a fall tradition in my house, and I think they’ll become one in yours too. They’re the kind of recipe that makes people close their eyes after the first bite, that makes them ask for the recipe before they’ve even finished chewing. The kind that feels like a hug in food form.
What I love most about these rolls is how adaptable they are. Make them for Thanksgiving morning, for a lazy Sunday, for no reason at all except that the air smells like autumn and you want something warm and sweet. Customize the spices, add nuts, make them mini—they’ll still be wonderful.
I’d love to hear how they turn out for you. Did you add pecans? Try the apple variation? Eat three in one sitting? (No judgment here.) Drop a comment below and let me know. And if you’re looking for more fall baking inspiration, my apple cider glazed bundt cake is another reader favorite that fills your kitchen with the most incredible aroma.
Happy baking, friends. Your kitchen is about to smell amazing.
Frequently Asked Questions
Can I use canned pumpkin pie filling instead of pumpkin puree?
No, stick with 100% pumpkin puree. Pumpkin pie filling has added sugar and spices that will throw off the balance of the recipe. The dough will be too sweet and the texture will be off. Save the pie filling for actual pies.
Why didn’t my dough rise?
Most likely, the yeast was dead or the milk was too hot. Check the expiration date on your yeast and make sure the milk is warm but not hot—around 110°F. If your kitchen is cold, the dough will rise slowly. Try placing it in an oven with the light on or a warm spot near the stove.
Can I make these rolls ahead of time?
Absolutely. Assemble the rolls, place them in the baking dish, cover tightly, and refrigerate overnight. In the morning, let them sit at room temperature for 30 minutes while the oven preheats, then bake as directed. The overnight rest actually improves the flavor.
How do I keep the rolls from getting dry?
Don’t overbake them. Start checking at 22 minutes and pull them out when they’re golden brown. The internal temperature should be around 190°F. If you’re reheating leftovers, use the microwave for 15-20 seconds or the oven at 300°F for 5-7 minutes. The oven method keeps them softer.
Can I freeze the maple icing?
I don’t recommend it. The cream cheese base can separate when thawed, leaving you with a grainy texture. Make the icing fresh when you’re ready to serve. It takes less than 5 minutes and tastes infinitely better. If you have leftover icing, store it in the fridge for up to a week and use it on pancakes or waffles.
Pin This Recipe!
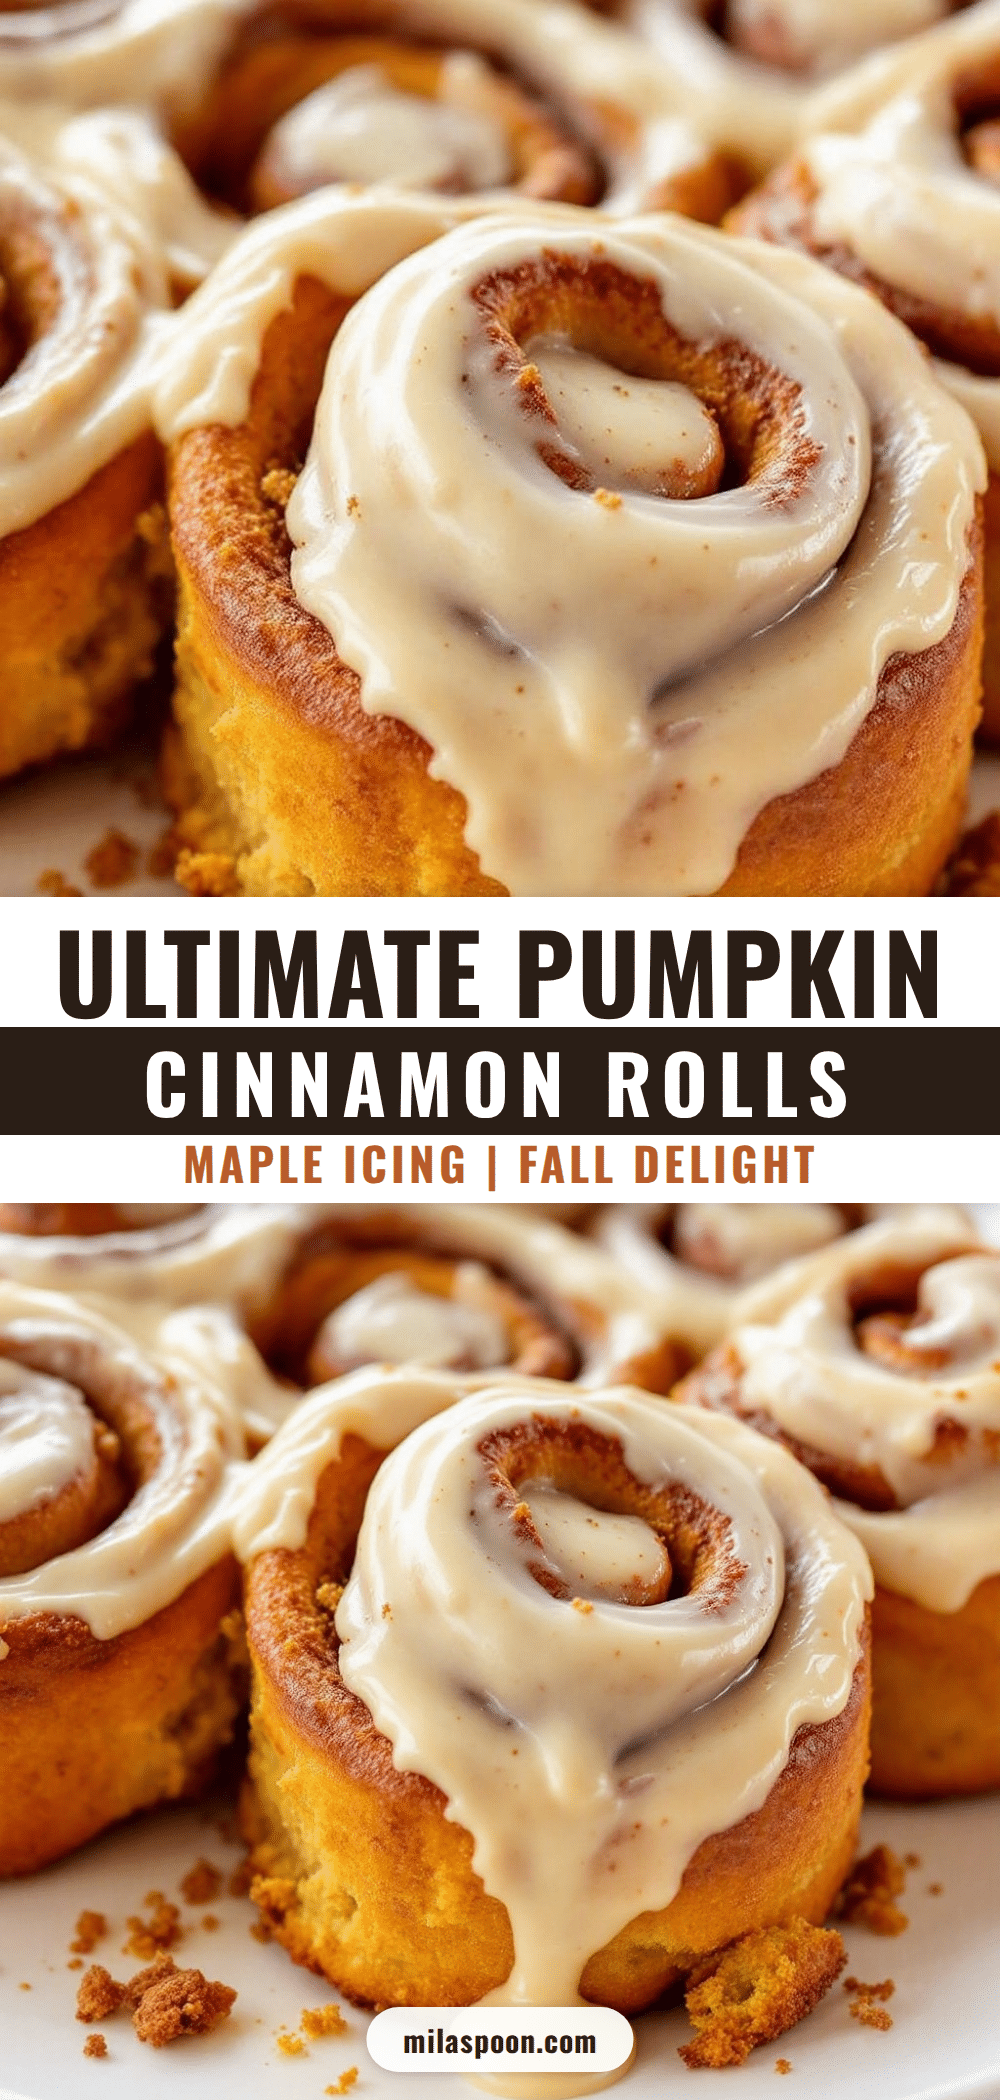
Ultimate Pumpkin Cinnamon Rolls with Easy Maple Icing
Soft and pillowy pumpkin cinnamon rolls with a generous maple icing that stays put. Perfect for fall mornings, Thanksgiving brunch, or any day you need a little extra warmth.
- Prep Time: 30 minutes
- Cook Time: 25 minutes
- Total Time: 2 hours 55 minutes (including rising time)
- Yield: 12 servings 1x
- Category: Breakfast, Dessert
- Cuisine: American
Ingredients
- 1 cup (245g) pumpkin puree
- 1/2 cup (120ml) whole milk, warm (about 110°F)
- 1/4 cup (50g) granulated sugar
- 1 packet (2 1/4 tsp) active dry yeast
- 1/4 cup (56g) unsalted butter, melted and slightly cooled
- 1 large egg, room temperature
- 3 1/2 cups (440g) all-purpose flour, plus more for dusting
- 1 teaspoon salt
- 1 teaspoon pumpkin pie spice
- 1/2 cup (113g) unsalted butter, very soft
- 3/4 cup (150g) brown sugar, packed
- 2 tablespoons ground cinnamon
- 1/4 teaspoon ground nutmeg
- Pinch of salt
- 4 ounces (113g) cream cheese, softened
- 1/4 cup (56g) unsalted butter, softened
- 1 1/2 cups (180g) powdered sugar
- 3 tablespoons pure maple syrup
- 1/2 teaspoon vanilla extract
- Pinch of salt
Instructions
- Proof the yeast: Warm the milk to about 110°F. Sprinkle the yeast and a pinch of sugar over the milk. Let it sit for 5-10 minutes until foamy.
- Make the dough: In a large bowl, whisk together pumpkin puree, melted butter, egg, and remaining sugar. Pour in yeast mixture and stir. Add flour, salt, and pumpkin pie spice. Mix until a shaggy dough forms.
- Knead the dough: Turn onto a floured surface. Knead for 8-10 minutes by hand or 5-6 minutes with a stand mixer until smooth and elastic.
- First rise: Place dough in a greased bowl, cover, and let rise in a warm spot for 1-2 hours until doubled.
- Make the filling: Mix softened butter, brown sugar, cinnamon, nutmeg, and salt until a thick paste forms.
- Roll and fill: Punch down dough and roll into a 12×18-inch rectangle. Spread filling evenly, leaving a 1/2-inch border on the far long edge.
- Roll and cut: Roll tightly from the long edge, pinch seam to seal. Cut into 12 equal rolls. Place in a greased 9×13-inch baking dish.
- Second rise: Cover and let rise 45-60 minutes until puffed and touching. For overnight, refrigerate up to 12 hours, then let sit at room temperature 30 minutes before baking.
- Bake: Preheat oven to 350°F. Bake 22-28 minutes until golden brown and filling is bubbly. Cool in pan 10 minutes.
- Make icing and finish: Beat cream cheese and butter until smooth. Add powdered sugar, maple syrup, vanilla, and salt. Beat until creamy. Spread over warm rolls.
Notes
Don’t over-flour the dough; it should be soft and slightly tacky. Use room temperature ingredients for best results. Let rolls cool 10 minutes before icing. For overnight prep, refrigerate after second rise and bake in the morning.
Nutrition
- Serving Size: 1 roll
- Calories: 400
- Sugar: 30
- Sodium: 280
- Fat: 20
- Saturated Fat: 12
- Carbohydrates: 52
- Fiber: 2
- Protein: 6
Keywords: pumpkin cinnamon rolls, maple icing, fall breakfast, pumpkin rolls, cinnamon rolls with maple glaze


