Love this? Save it for later!
Share the inspiration with your friends
The sizzle. That specific, sharp hiss of seasoned ground beef hitting a hot cast iron pan—it still stops me mid-sentence, even when it’s just me cooking on a random Tuesday. It’s the sound of game night, of my tiny apartment living room crammed with too many people holding paper plates, of someone inevitably spilling salsa on the rug and nobody caring. That smell—onion and garlic and cumin blooming together—is the unofficial start of something good, something loud and messy and exactly right.
I didn’t grow up with a family recipe for this. My mom made tacos, sure, but the whole build-your-own nacho bar thing? That I discovered in college, during a particularly stressful finals week when a friend declared we were “doing nachos” and refused to take no for an answer. She dumped a bag of tortilla chips on a baking sheet, threw some canned chili and shredded cheese on top, and called it dinner. It was terrible. It was also the most fun I’d had in weeks. That night planted a seed—what if we actually tried to make it good?
So over the years, I’ve tinkered. I’ve burned a lot of chips and made a lot of sad, soggy piles. But this easy loaded nacho bar with ground beef? This is the version that finally works. It’s the one I make for Super Bowl parties and lazy Sunday dinners and that weird Thursday night when you just need a plate of something that feels like a celebration. It’s not fancy. It’s better. It’s the kind of meal that makes people lean in and reach for just one more chip.
Why You’ll Love This Recipe
Let’s be honest—there are a million ways to make nachos. Some are complicated, some are just sad, and some are just a pile of chips with cheese. This easy loaded nacho bar with ground beef is none of those things. It’s the Goldilocks of nacho recipes: perfectly balanced, totally customizable, and surprisingly simple to pull off.
- Quick & Easy : From start to finish, you’re looking at about 30 minutes. Seriously. The ground beef cooks in under 15 minutes, and the rest is just assembly and a quick broil. Perfect for those nights when you want something satisfying without spending hours in the kitchen.
- Simple Ingredients : No weird specialty items here. You probably have most of this in your pantry and fridge right now. Ground beef, tortilla chips, cheese, a few spices, and whatever toppings you like. No fancy grocery store runs required.
- Perfect for a Crowd : This is the ultimate party food. Set out all the toppings and let everyone build their own plate. It’s interactive, it’s fun, and it means less work for you. Game day, movie night, casual get-together—this recipe delivers every single time.
- Completely Customizable : The beauty of a nacho bar is that everyone wins. Someone wants extra jalapeños? Go for it. Someone else hates sour cream? No problem. You can make it as mild or as spicy as you want, and it’s always a crowd-pleaser.
- Unbelievably Delicious : This isn’t just nachos—it’s a full meal. The seasoned beef is juicy and flavorful, the cheese gets perfectly melted and bubbly, and every single chip gets a fair share of toppings. No dry chips in the corner. I promise.
What makes this version different from all the others? It’s the little things. I season the ground beef with a blend of chili powder, cumin, and a touch of smoked paprika—it gives the meat a deep, slightly smoky flavor that plain taco seasoning just doesn’t match. And I layer the chips and cheese twice, so every single chip has a chance to get gooey and delicious. No more sad, bare chips at the bottom of the pile.
Honestly, this is the kind of recipe that makes you close your eyes after the first bite. It’s comfort food at its finest—hearty, cheesy, and full of flavor. It’s perfect for impressing guests without any stress, or for turning a regular Tuesday night into something a little more memorable. You deserve that.
What Ingredients You Will Need
This easy loaded nacho bar with ground beef uses simple, everyday ingredients to build big, bold flavor. Most of these are pantry staples, so you can probably whip this up without a special trip to the store. Here’s what you’ll need:
For the Seasoned Ground Beef
- 1 pound ground beef (80/20 is ideal—enough fat for flavor, not so much that it gets greasy)
- 1 tablespoon olive oil (for cooking the beef)
- 1/2 medium yellow onion, finely diced (adds sweetness and texture)
- 2 cloves garlic, minced (fresh is best, but jarred works in a pinch)
- 1 tablespoon chili powder (I prefer mild chili powder for a balanced flavor)
- 1 teaspoon ground cumin (warm and earthy—essential for that taco-nacho vibe)
- 1/2 teaspoon smoked paprika (a little goes a long way for a subtle smokiness)
- 1/2 teaspoon salt
- 1/4 teaspoon black pepper
- 1/4 cup water or beef broth (helps the spices meld and keeps the meat moist)
For the Nacho Base
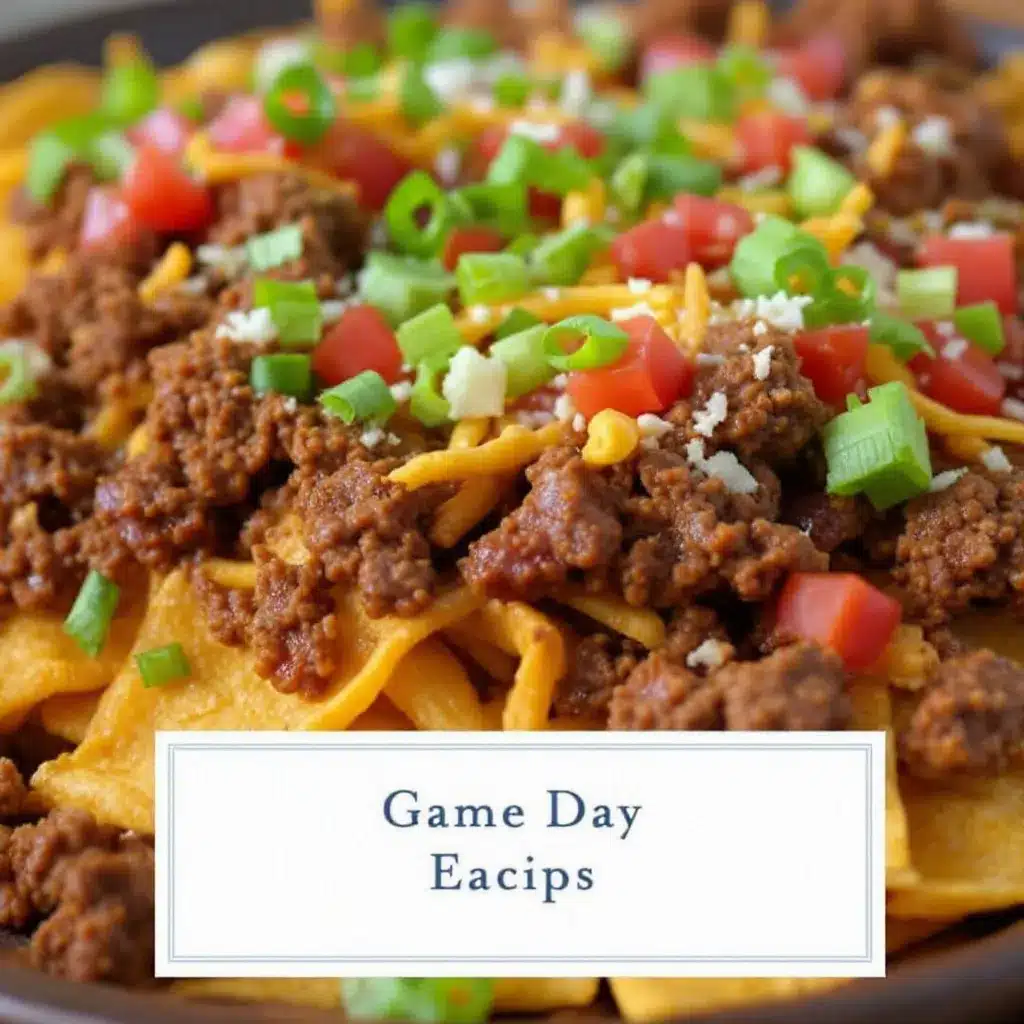
- 1 large bag (about 12-14 ounces) restaurant-style tortilla chips (look for sturdy chips that can hold up to toppings—I love the ones from On The Border or Tostitos Scoops for maximum scoop-ability)
- 2 cups shredded Mexican blend cheese (or a mix of sharp cheddar and Monterey Jack—shred it yourself if you have time, it melts so much better)
- 1/2 cup black beans, drained and rinsed (optional, but adds fiber and texture)
- 1/4 cup pickled jalapeños (adds a tangy kick—adjust to your heat preference)
Toppings Bar (Choose Your Favorites)
- 1/2 cup sour cream
- 1/2 cup salsa (mild, medium, or hot—whatever you like)
- 1/2 cup guacamole (store-bought or homemade—both work great)
- 1/4 cup fresh cilantro, chopped
- 1 Roma tomato, diced
- 1/4 cup green onions, sliced
- 1/2 cup shredded lettuce (for a fresh crunch)
- 1 lime, cut into wedges (a squeeze of lime juice right before eating makes everything pop)
Ingredient Notes & Swaps: For a leaner option, use ground turkey or chicken instead of beef—just add a little extra oil to the pan so it doesn’t dry out. If you’re watching your sodium, look for low-sodium tortilla chips and make your own taco seasoning blend. For a vegetarian version, swap the beef for a can of seasoned black beans or your favorite plant-based crumble. And if you’re not a fan of pickled jalapeños, fresh sliced jalapeños add a nice crunch—just remove the seeds if you want less heat.
Equipment Needed
You don’t need a ton of fancy equipment for this recipe, which is part of its charm. Here’s what you’ll need:
- Large skillet or frying pan (cast iron is my favorite for even browning, but any heavy-bottomed pan works)
- Wooden spoon or spatula (for breaking up the ground beef as it cooks)
- Large rimmed baking sheet (a half-sheet pan is perfect—the rim keeps everything contained)
- Parchment paper or aluminum foil (for easy cleanup—trust me on this one)
- Small bowls or ramekins (for serving the toppings—makes the bar look organized and inviting)
- Chef’s knife and cutting board (for dicing the onion, tomato, and any other fresh toppings)
- Measuring spoons (for the spices—eyeballing is fine, but measuring helps you get the balance right the first time)
Budget-Friendly Tip: If you don’t have a rimmed baking sheet, you can use a large oven-safe skillet or even a disposable aluminum pan. For the toppings, I use small mason jars or even cleaned-out yogurt containers—no need to buy special serving dishes. And if you don’t have a cast iron pan, a non-stick skillet works perfectly fine; just make sure it’s large enough to hold a pound of beef without overcrowding.
Preparation Method
Alright, let’s get to the fun part. This easy loaded nacho bar with ground beef comes together in layers, and each layer is important. Follow these steps, and you’ll have a tray of nachos that disappears in minutes.
- Preheat your oven to 400°F (200°C). While it’s heating up, line your baking sheet with parchment paper or foil. This makes cleanup about a thousand times easier—I learned this the hard way after scrubbing baked-on cheese off a pan for twenty minutes.
- Cook the ground beef. Place your large skillet over medium-high heat and add the olive oil. Once it shimmers, add the diced onion and cook for 2-3 minutes, until it starts to soften and turn translucent. Add the ground beef, breaking it up with your wooden spoon. Let it cook undisturbed for about 2 minutes to get a nice sear, then start breaking it into smaller pieces. Cook for 5-7 minutes, until the beef is browned and cooked through. If there’s a lot of excess fat, carefully drain it off—leave just a tablespoon or so for flavor.
- Season the beef. Reduce the heat to medium-low. Add the minced garlic, chili powder, cumin, smoked paprika, salt, and pepper. Stir everything together and let it cook for 30 seconds—this blooms the spices and makes them way more fragrant. Pour in the water or beef broth, stir, and let it simmer for 2-3 minutes, until most of the liquid has evaporated. The beef should look moist and glossy, not soupy. Taste it and adjust the seasoning if needed. Set it aside.
- Start layering the chips. Spread about half of the tortilla chips in an even layer on your prepared baking sheet. Don’t be shy—let them overlap a little. Sprinkle half of the shredded cheese evenly over the chips. Then spoon half of the seasoned ground beef over the cheese, followed by half of the black beans (if using) and half of the pickled jalapeños. This is the first layer, and it’s crucial for making sure every chip gets some love.
- Add the second layer. Arrange the remaining chips on top of the first layer, trying to cover any gaps. Sprinkle the remaining cheese, ground beef, black beans, and pickled jalapeños over the top. This double-layering method is the secret to perfect nachos—no dry, bare chips hiding at the bottom.
- Bake until bubbly. Place the baking sheet in the preheated oven and bake for 8-10 minutes, until the cheese is completely melted and starting to bubble at the edges. If you want a little extra color on top, switch the oven to broil for the last 1-2 minutes—but watch it closely, because broiled cheese goes from golden to burnt in about 10 seconds flat. I may or may not have learned this the hard way.
- Top and serve immediately. Remove the baking sheet from the oven and let it cool for 2-3 minutes (the cheese is lava-hot). Then, load it up with your cold toppings—dollops of sour cream, spoonfuls of salsa and guacamole, a sprinkle of fresh cilantro, diced tomatoes, green onions, and shredded lettuce. Squeeze a lime wedge or two over the whole thing for brightness. Serve the nachos directly on the baking sheet (it’s part of the fun) or transfer to a large platter.
Sensory Cues: At step 2, you’ll know the beef is ready when it smells deeply savory and the sizzling sound starts to quiet down. At step 6, the cheese should be completely melted with no visible shreds, and the edges of the chips should be lightly golden. The finished nachos should look like a glorious, chaotic mountain of flavor—every chip loaded, nothing left behind.
Cooking Tips & Techniques
I’ve made a lot of nachos in my day. Some were glorious. Some were… learning experiences. Here are the tips I wish someone had told me before I served a tray of soggy chips to a room full of hungry friends.
Don’t skip the double layer. This is the single most important tip for perfect nachos. If you just pile everything on top of one layer of chips, the bottom chips get no cheese and no toppings. They end up sad and bare. By layering chips, cheese, and beef twice, you ensure that every single chip has a chance to be part of the magic. It takes an extra 30 seconds and makes all the difference.
Use sturdy chips. Thin, delicate tortilla chips might be great for dipping, but they’ll crumble under the weight of a loaded nacho bar. Look for thick, restaurant-style chips or scoop-shaped chips that can hold their own. I’ve had good luck with Tostitos Cantina chips and On The Border rounds. Avoid anything labeled “thin” or “light.”
Shred your own cheese. I know, I know—pre-shredded cheese is convenient. But it’s coated with anti-caking agents like cellulose and potato starch, which prevent it from melting smoothly. When you shred your own block of cheese, it melts into a glorious, cohesive blanket instead of a grainy mess. It takes five extra minutes and the results are noticeably better. (I keep a block of sharp cheddar and a block of Monterey Jack in my fridge just for nacho emergencies.)
Don’t overload the tray. It’s tempting to pile on as many chips as possible, but a crowded baking sheet leads to uneven cooking. The chips in the middle might stay soft while the edges burn. Leave a little breathing room. If you’re feeding a crowd, it’s better to make two smaller trays than one giant, sad pile.
Broil with caution. Broiling is a great way to get that golden, bubbly cheese top, but it’s a dangerous game. Cheese goes from perfectly melted to burnt in seconds. I set a timer for 1 minute and then watch it like a hawk. If you’re nervous, just skip the broil and bake at 400°F for a few extra minutes—the cheese will still melt beautifully.
Keep hot and cold separate. This might seem obvious, but I’ve seen it done wrong. The hot toppings (cheese, beef, beans) go on before baking. The cold toppings (sour cream, salsa, guacamole, fresh veggies) go on after baking. If you put sour cream in the oven, you’ll end up with a sad, watery mess. Assemble the cold toppings in small bowls while the nachos bake, so everything is ready to go when the tray comes out of the oven.
My biggest failure: I once tried to make nachos on a pizza pan without a rim. The cheese melted and dripped all over the bottom of my oven, filling the kitchen with smoke and setting off the fire alarm. My friends were very kind about it, but the pizza pan has never been used for nachos since. Always use a rimmed baking sheet—your smoke detector will thank you.
Variations & Adaptations
One of the best things about this easy loaded nacho bar with ground beef is how endlessly adaptable it is. Here are some of my favorite variations:
Spicy Chorizo Nachos: Swap the ground beef for Mexican chorizo (remove the casing first). Cook it the same way, but skip the chili powder—chorizo is already heavily spiced. The result is a richer, more intensely flavored nacho that pairs beautifully with a dollop of crema and fresh cilantro. I made this version for a friend’s birthday party, and it was gone in fifteen minutes.
Vegetarian Black Bean & Corn Nachos: Replace the ground beef with two cans of seasoned black beans (drained and rinsed) and a cup of frozen corn (thawed). Toss them with the same spices—chili powder, cumin, smoked paprika—and a splash of lime juice. Layer them just like you would the beef. This version is surprisingly hearty and full of fiber. Even my meat-loving husband asks for it sometimes.
Breakfast Nachos: Yes, this is a thing, and yes, it’s amazing. Use the same base of chips and cheese, but swap the ground beef for crumbled breakfast sausage or bacon. After baking, top with a couple of fried or scrambled eggs, a drizzle of hot sauce, and a sprinkle of fresh chives. Serve with a side of salsa verde. It’s the ultimate weekend brunch indulgence.
Low-Carb / Keto Nachos: Replace the tortilla chips with crispy cheese chips (baked cheddar rounds) or pork rinds. Use ground beef or shredded chicken, and load up on cheese, sour cream, guacamole, and jalapeños. Skip the beans and corn. It’s not quite the same as the original, but it scratches that nacho itch without blowing your carb count.
Flavor Boost: For an extra layer of flavor, add a can of drained and rinsed black beans or pinto beans to the ground beef during the last minute of cooking. It stretches the meat further and adds a nice creamy texture. I also love adding a handful of fresh corn kernels (grilled or frozen) for a pop of sweetness.
My personal favorite variation: I once made a batch of these nachos with leftover roasted hatch chili chicken enchiladas filling instead of the ground beef. I just shredded the leftover chicken and used it as the base. It was incredible—smoky, cheesy, and slightly spicy from the hatch chilis. It’s now my go-to for using up leftover enchilada filling.
Serving & Storage Suggestions
This easy loaded nacho bar with ground beef is best served immediately, fresh out of the oven, when the cheese is still stretchy and the chips are crisp. But I know life happens, so here’s how to handle leftovers and make-ahead scenarios.
Serving Temperature: Serve the nachos hot from the oven, topped with cold ingredients. The contrast between hot, melty cheese and cool, fresh toppings is part of what makes this dish so satisfying. If you’re setting up a nacho bar for a party, keep the hot toppings warm in a slow cooker or small chafing dish, and arrange the cold toppings in bowls for guests to add themselves.
Presentation: For a casual gathering, serve the nachos right on the baking sheet—it keeps them warm and looks rustic and fun. For a more polished presentation, transfer the baked nachos to a large platter using a wide spatula, then add the cold toppings. Garnish with a few extra pickled jalapeños and lime wedges for color.
What to Serve With It: These nachos are a meal on their own, but they pair beautifully with a few simple sides. A creamy cucumber dill salad adds a cool, refreshing contrast to the rich nachos. A bowl of creamy hatch green chili corn chowder is a fantastic starter. And for drinks, a cold Mexican beer, a margarita, or even a simple limeade works perfectly.
Storage: Nachos are really best eaten fresh. Leftovers tend to get soggy because the chips absorb moisture from the toppings. That said, if you have leftovers, store them in an airtight container in the refrigerator for up to 2 days. Keep the hot and cold toppings separate if you can. To reheat, spread the nachos on a baking sheet and warm them in a 375°F oven for 5-7 minutes—this helps crisp the chips back up. Avoid the microwave, which turns everything into a sad, steamy mess.
Make-Ahead Tips: You can cook the seasoned ground beef up to 3 days in advance and store it in the refrigerator. When you’re ready to assemble, just reheat the beef in a skillet or microwave before layering. You can also prep all the cold toppings (dice the tomato, chop the cilantro, slice the green onions) a day ahead and keep them in separate containers in the fridge. Then, all you have to do on serving day is layer, bake, and top. It’s a lifesaver for party prep.
How Flavors Develop: Honestly, these nachos are best right out of the oven. The chips are at their crispiest, the cheese is at its meltiest, and the contrast between hot and cold is at its peak. Leftovers lose some of that magic, but the flavors do meld together overnight in a way that’s still pretty delicious—just don’t expect the same crunch.
Nutritional Information & Benefits
Let’s be real: this easy loaded nacho bar with ground beef is indulgent. It’s not a health food, and that’s okay. But it does have some redeeming qualities, especially if you load up on the fresh toppings.
Estimated Nutritional Values (per serving, about 1/4 of the tray):
- Calories: 580-650
- Protein: 28g
- Fat: 35g
- Carbohydrates: 42g
- Fiber: 6g
- Sugar: 5g
- Sodium: 980mg
Health Benefits of Key Ingredients: The ground beef provides high-quality protein and iron, which supports energy levels and healthy blood. Black beans add fiber and plant-based protein, which helps keep you full and supports digestive health. Tomatoes and cilantro are packed with antioxidants like lycopene and vitamin C. Avocado (in the guacamole) provides healthy monounsaturated fats that are great for heart health. And the lime juice adds a boost of vitamin C, which helps your body absorb the iron from the beef.
Dietary Considerations: This recipe is naturally gluten-free (just make sure your tortilla chips are certified gluten-free if needed). To make it dairy-free, use a plant-based shredded cheese and dairy-free sour cream. For a lower-sodium version, use low-sodium tortilla chips, reduce the salt in the beef seasoning, and go easy on the pickled jalapeños. And if you’re watching your carbs, try the low-carb variation I mentioned earlier—it’s surprisingly satisfying.
My Perspective: I’m a firm believer that food should be enjoyed, not just tracked. This recipe is a treat, something you make for a special occasion or a fun weeknight dinner. Pair it with a big green salad or some fresh veggies on the side if you want to balance things out. But honestly? Sometimes you just need a plate of nachos, and that’s perfectly fine. Life is short—eat the cheese.
Conclusion
This easy loaded nacho bar with ground beef is more than just a recipe—it’s an experience. It’s the kind of meal that brings people together, encourages a little friendly competition over who gets the cheesiest chip, and makes even a Tuesday night feel like a party. The double-layer technique ensures every bite is as good as the last, the seasoned beef is packed with flavor, and the toppings bar lets everyone build their perfect plate.
I love this recipe because it’s forgiving. You can swap ingredients, adjust the spice level, pile on your favorite toppings, and it still turns out amazing. It’s the kind of dish that doesn’t demand perfection—it just asks you to have fun with it. And honestly, that’s my favorite kind of cooking.
So go ahead. Grab a bag of chips, brown some beef, and build the nacho bar of your dreams. Pile it high, add an extra dollop of sour cream, and don’t be shy with the lime juice. When you take that first bite—the one where the cheese stretches for miles and the crunch echoes in your ears—come back and tell me about it. I’d love to hear how you made it your own.
Happy snacking!
Frequently Asked Questions
Can I make this nacho bar ahead of time for a party?
You can prep the seasoned ground beef up to 3 days in advance and chop all the cold toppings a day ahead. But I recommend assembling and baking the nachos right before serving—the chips stay crisp and the cheese is perfectly melted. If you’re serving a crowd, set up a toppings bar and let guests build their own plates.
What’s the best cheese for nachos?
A blend of sharp cheddar and Monterey Jack is my go-to. The cheddar adds bold flavor, and the Monterey Jack melts beautifully. If you want something extra creamy, add a little shredded mozzarella or pepper jack for heat. Just avoid pre-shredded cheese if you can—it doesn’t melt as smoothly.
How do I keep the chips from getting soggy?
Don’t overload the tray with too many toppings, and make sure the ground beef isn’t too wet before layering (let the liquid simmer off). Also, serve the cold toppings separately and let people add them after baking. And most importantly, eat the nachos right away—they don’t sit well.
Can I use ground turkey or chicken instead of beef?
Absolutely. Use the same seasoning blend, but add a little extra olive oil to the pan since lean poultry can dry out. Cook until just done—don’t overcook, or it will get tough. Ground turkey works especially well with this recipe.
What if I don’t have a rimmed baking sheet?
You can use a large oven-safe skillet, a 9×13-inch baking dish, or even a disposable aluminum pan. Just make sure it has some kind of rim to catch the melted cheese. A flat pizza pan will lead to cheese dripping into your oven—learn from my mistake!
Pin This Recipe!
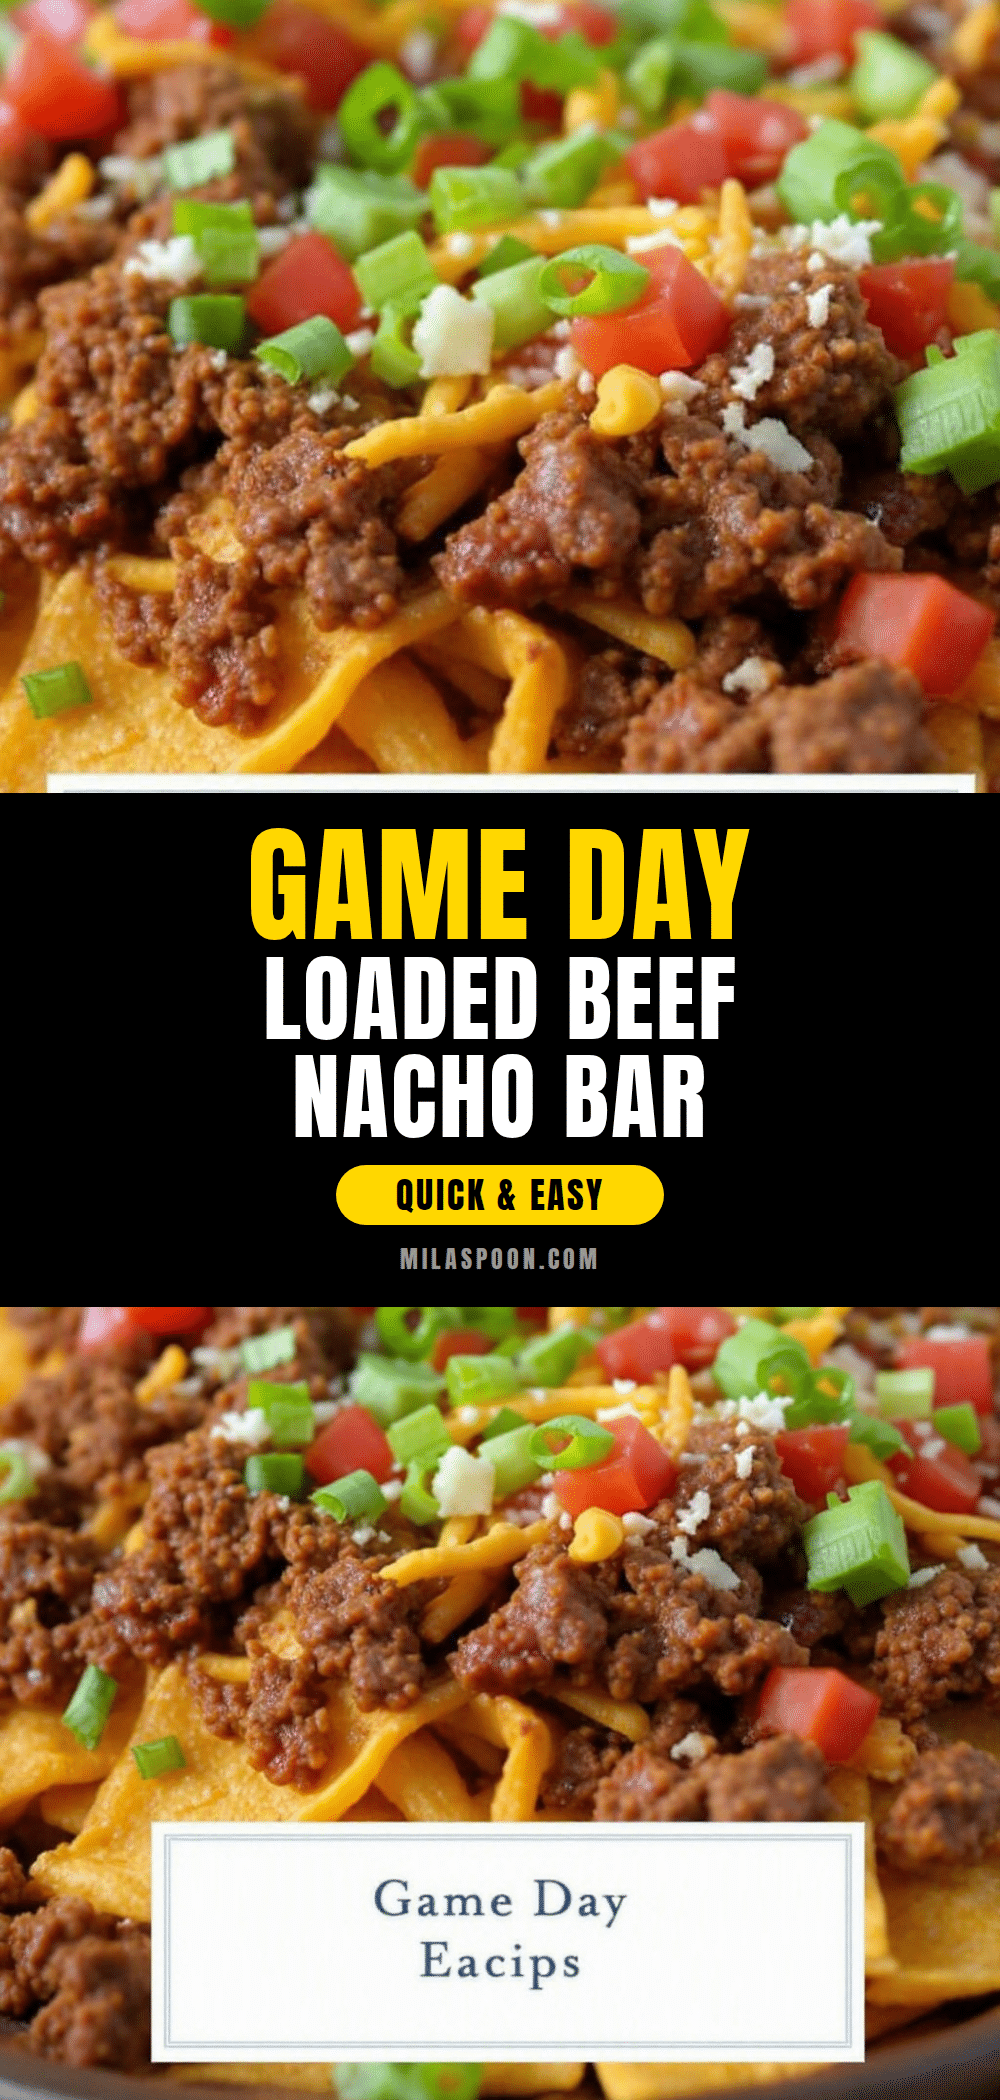
Best Easy Loaded Nacho Bar with Ground Beef Recipe

This easy loaded nacho bar with ground beef is the ultimate party food—quick, customizable, and packed with flavor. Perfect for game nights, casual get-togethers, or a fun weeknight dinner.
- Prep Time: 15 minutes
- Cook Time: 15 minutes
- Total Time: 30 minutes
- Yield: 4 servings 1x
- Category: Main Course
- Cuisine: Mexican
Ingredients
- 1 pound ground beef (80/20)
- 1 tablespoon olive oil
- 1/2 medium yellow onion, finely diced
- 2 cloves garlic, minced
- 1 tablespoon chili powder
- 1 teaspoon ground cumin
- 1/2 teaspoon smoked paprika
- 1/2 teaspoon salt
- 1/4 teaspoon black pepper
- 1/4 cup water or beef broth
- 1 large bag (12–14 ounces) restaurant-style tortilla chips
- 2 cups shredded Mexican blend cheese (or mix of sharp cheddar and Monterey Jack)
- 1/2 cup black beans, drained and rinsed (optional)
- 1/4 cup pickled jalapeños
- 1/2 cup sour cream
- 1/2 cup salsa
- 1/2 cup guacamole
- 1/4 cup fresh cilantro, chopped
- 1 Roma tomato, diced
- 1/4 cup green onions, sliced
- 1/2 cup shredded lettuce
- 1 lime, cut into wedges
Instructions
- Preheat your oven to 400°F (200°C). Line a baking sheet with parchment paper or foil.
- Place a large skillet over medium-high heat and add olive oil. Once shimmering, add diced onion and cook for 2-3 minutes until softened. Add ground beef, breaking it up with a wooden spoon. Cook undisturbed for 2 minutes, then break into smaller pieces. Cook for 5-7 minutes until browned and cooked through. Drain excess fat if needed.
- Reduce heat to medium-low. Add minced garlic, chili powder, cumin, smoked paprika, salt, and pepper. Stir and cook for 30 seconds. Pour in water or beef broth, stir, and simmer for 2-3 minutes until most liquid evaporates. Set aside.
- Spread half of the tortilla chips in an even layer on the prepared baking sheet. Sprinkle half of the shredded cheese over the chips. Spoon half of the seasoned ground beef over the cheese, followed by half of the black beans (if using) and half of the pickled jalapeños.
- Arrange the remaining chips on top. Sprinkle the remaining cheese, ground beef, black beans, and pickled jalapeños over the top.
- Bake for 8-10 minutes until cheese is melted and bubbly. Optionally, broil for 1-2 minutes for extra color, watching closely.
- Remove from oven and let cool for 2-3 minutes. Top with sour cream, salsa, guacamole, cilantro, diced tomato, green onions, shredded lettuce, and lime wedges. Serve immediately.
Notes
Double-layer the chips and cheese to ensure every chip gets toppings. Use sturdy chips like restaurant-style or scoop-shaped. Shred your own cheese for better melting. Keep hot and cold toppings separate—add cold toppings after baking. For a vegetarian version, swap beef for seasoned black beans or plant-based crumble.
Nutrition
- Serving Size: 1/4 of the tray
- Calories: 615
- Sugar: 5
- Sodium: 980
- Fat: 35
- Saturated Fat: 12
- Carbohydrates: 42
- Fiber: 6
- Protein: 28
Keywords: nachos, loaded nachos, ground beef nachos, nacho bar, party food, game day food, easy dinner


