Love this? Save it for later!
Share the inspiration with your friends
Third batch in as many days and I finally stopped measuring the orange blossom water by feel—turns out, I’d been using half a teaspoon too much, which made the glaze taste more like perfume than flower. The kitchen smelled like a garden in bloom, and my fingers were dusted with flour and sugar, and I was still chasing that specific feeling from the first time I pulled a pan of these rolls out of the oven. It wasn’t the recipe that was wrong. It was me, trying to rush the quiet.
Pan de Muerto, the traditional Mexican bread for Día de Muertos, is one of those things that looks complicated but is really just patient. The dough is soft, enriched with butter and eggs, and scented with orange zest and a touch of anise. The orange blossom glaze isn’t traditional everywhere, but I love it—it adds a floral sweetness that makes the bread feel ceremonial, even if you’re just eating it on a Tuesday afternoon with coffee.
I kept making it because the process slowed me down. Kneading, waiting, shaping the little bone-shaped decorations, watching the dough rise. There’s something about shaping those little rounds and strips that feels like a meditation you didn’t know you needed. And when the glaze drips down the sides, catching the light? That’s the moment I knew I had it right. This is the version I’ll make every year now, and I think you’ll want to make it yours too.
Why You’ll Love This Recipe
This isn’t just another bread recipe—it’s the one that makes you feel like you’ve actually made something special. I’ve tested this version more times than I care to admit, and every time, the result is a soft, fragrant loaf that tastes like tradition and love. Here’s why it works:
- Authentic Flavor Without the Fuss: The combination of orange zest, anise, and orange blossom water gives this bread its signature taste without needing a dozen specialty ingredients.
- Perfect for Día de Muertos or Any Day: Whether you’re building an ofrenda or just want a beautiful, aromatic bread for a weekend bake, this fits the bill.
- Step-by-Step Guidance: I’ve included all the little tricks I learned the hard way—like how to shape the “bones” without them falling apart, and why letting the dough rest an extra ten minutes makes all the difference.
- Crowd-Pleasing Texture: The crumb is soft and pillowy, the crust is tender, and the glaze adds a delicate crunch that melts in your mouth.
- Made with Simple Ingredients: Flour, butter, eggs, sugar, yeast, and a few pantry staples. Nothing weird, nothing hard to find.
Honestly, this is the kind of recipe that makes you close your eyes after the first bite. It’s comfort food that connects you to something bigger—a tradition, a memory, a moment of peace in a busy kitchen. And when you bring it to the table, people notice.
What Ingredients You Will Need
This recipe uses simple, wholesome ingredients to deliver bold flavor and satisfying texture without the fuss. Most of these are pantry staples, and the few specialty items are worth seeking out for the authentic result.
- All-purpose flour (4 cups / 500g): Provides structure. I use King Arthur for consistent results, but any good brand works.
- Active dry yeast (2 ¼ teaspoons / 7g, or one packet): The leavening agent that gives the bread its lift. Make sure your yeast is fresh—check the date on the packet.
- Warm milk (½ cup / 120ml, about 110°F): Activates the yeast and adds richness. Whole milk is best, but 2% works fine.
- Granulated sugar (½ cup / 100g): Sweetens the dough and feeds the yeast. You can reduce it slightly if you prefer a less sweet bread, but don’t go below ⅓ cup.
- Unsalted butter (½ cup / 113g, softened): Adds tenderness and flavor. Let it come to room temperature before mixing.
- Large eggs (3, room temperature): Provide richness and structure. If you forget to take them out of the fridge, place them in a bowl of warm water for 5 minutes.
- Orange zest (from 2 large oranges): The bright, citrusy backbone of the flavor. Use a microplane for the best texture.
- Orange blossom water (2 teaspoons, plus more for the glaze): This is the secret ingredient that makes the bread smell incredible. Look for it in international grocery stores or online—a little goes a long way.
- Anise seed (½ teaspoon, optional but recommended): Adds a subtle licorice note that’s traditional in many Pan de Muerto recipes. I love it, but you can skip it if you’re not a fan.
- Salt (1 teaspoon): Balances the sweetness and strengthens the dough.
For the Glaze:
- Powdered sugar (1 cup / 120g): The base for a smooth, pourable glaze.
- Orange blossom water (1 tablespoon): For that floral, fragrant finish.
- Milk or water (2-3 tablespoons, as needed): Adjusts the consistency. Start with less and add more until it’s thick but pourable.
Ingredient Notes: If you can’t find orange blossom water, you can substitute with orange juice and a drop of vanilla extract, but the flavor won’t be quite the same. For a dairy-free version, use plant-based butter and oat milk—the texture will be slightly different but still delicious. I personally recommend Nielsen-Massey orange blossom water for its pure, balanced flavor.
Equipment Needed
You don’t need a professional bakery setup to make this bread, but a few key tools will make the process smoother. Here’s what I use:
- Stand mixer with dough hook: A KitchenAid or similar makes kneading effortless, but you can absolutely do it by hand—it’ll just take about 10-12 minutes of arm work.
- Large mixing bowl: For proofing the dough. Glass or ceramic is ideal because it retains heat well.
- Baking sheet: A rimmed half-sheet pan works perfectly. Line it with parchment paper for easy cleanup.
- Microplane or fine grater: For zesting the oranges. A standard box grater works, but the zest won’t be as fine.
- Pastry brush: For applying the egg wash before baking. A silicone brush is easier to clean.
- Cooling rack: Lets the bread cool evenly so the glaze doesn’t slide off.
- Small saucepan: For warming the milk if you’re not using a microwave.
If you don’t have a stand mixer, don’t worry. I’ve made this by hand plenty of times—it’s actually a great arm workout! Just knead on a lightly floured surface until the dough is smooth and elastic. As for the baking sheet, any sturdy pan will do, just avoid dark nonstick ones that can over-brown the bottom.
Preparation Method
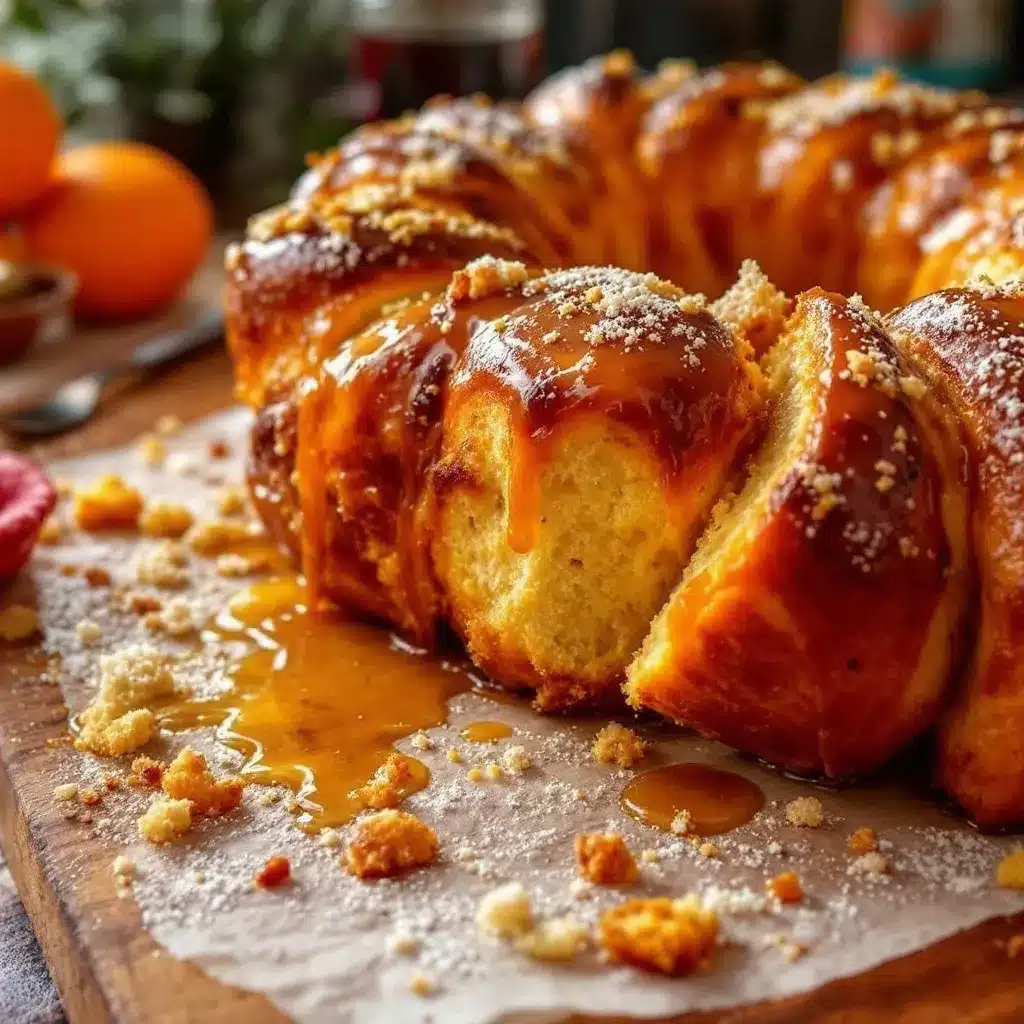
Let’s get into the actual making of this bread. I’ve broken it down into clear steps with all the little notes I wish someone had told me the first time.
- Activate the yeast: In a small bowl, combine the warm milk (110°F—if it’s too hot, it’ll kill the yeast) with 1 tablespoon of the sugar and the yeast. Stir gently and let it sit for 5-10 minutes until it’s frothy and smells like bread. If it doesn’t foam, your yeast might be dead—start over.
- Mix the dough: In the bowl of your stand mixer fitted with the dough hook, combine the flour, remaining sugar, salt, and anise seed (if using). Add the softened butter, eggs, orange zest, orange blossom water, and the yeast mixture. Mix on low speed until a shaggy dough forms, about 2 minutes.
- Knead: Increase the speed to medium-low and knead for 8-10 minutes. The dough should be smooth, elastic, and slightly tacky but not sticky. If it’s too dry, add a tablespoon of milk. If it’s too wet, add a tablespoon of flour. You’ll know it’s ready when you can stretch a small piece into a thin windowpane without it tearing.
- First rise: Shape the dough into a ball and place it in a lightly oiled bowl, turning to coat. Cover with plastic wrap or a damp kitchen towel and let it rise in a warm, draft-free spot for 1.5 to 2 hours, until doubled in size. I like to put it in my oven with the light on—it stays warm and cozy.
- Shape the bread: Punch down the dough gently to release the air. Turn it out onto a lightly floured surface. Cut off about ¼ of the dough and set it aside. Shape the larger piece into a smooth round ball and place it on your prepared baking sheet. Now, divide the reserved dough into 4 equal pieces. Roll each into a long rope, about 6 inches long. Place two ropes across the top of the round to form a cross, and the other two across the bottom to form another cross. Tuck the ends under the loaf gently. This is the traditional bone shape—don’t stress if it’s not perfect, it’s supposed to look handmade.
- Second rise: Cover the shaped loaf loosely with plastic wrap and let it rise for another 45 minutes to 1 hour, until puffy and almost doubled. Meanwhile, preheat your oven to 350°F (175°C).
- Bake: Brush the loaf gently with an egg wash (1 egg beaten with 1 tablespoon of water). Bake for 25-30 minutes, until the top is deep golden brown and the loaf sounds hollow when tapped on the bottom. If it’s browning too quickly, tent it loosely with foil after 15 minutes.
- Cool and glaze: Let the bread cool on the baking sheet for 10 minutes, then transfer to a cooling rack. While it’s still warm, whisk together the powdered sugar, orange blossom water, and enough milk to make a thick but pourable glaze. Drizzle it over the top, letting it drip down the sides. Let the glaze set for about 15 minutes before serving.
Sensory cues to watch for: The dough should feel soft and pillowy after the first rise. When you shape it, it should hold its form without collapsing. During baking, your kitchen will smell like orange blossoms and toasted butter—that’s the moment you know it’s working. The glaze should be thick enough to coat the back of a spoon but thin enough to drizzle in ribbons.
Cooking Tips & Techniques
I’ve made plenty of mistakes with this bread, and I’m sharing them so you don’t have to. Here are the things I wish I’d known from the start:
- Temperature matters more than you think: If your kitchen is cold, your dough will take forever to rise. I’ve had loaves take 3 hours in a drafty room. Use the oven-with-the-light-on trick, or set the bowl on top of your refrigerator where it’s warmer.
- Don’t over-flour during shaping: It’s tempting to keep dusting the surface, but too much flour makes the dough dry and the final bread dense. Use just enough to prevent sticking.
- The bone shapes are forgiving: If your ropes break or look uneven, just press them back together. The glaze covers a multitude of sins, trust me.
- Check your oven temperature: I’ve had ovens run 25 degrees too hot. An oven thermometer is a cheap investment that saves your bread from burning.
- Let it cool before glazing: I once glazed a piping hot loaf and the glaze just melted into a puddle. Wait until it’s warm, not hot—about 10 minutes out of the oven is perfect.
One more thing: if you’re short on time, you can let the first rise happen in the refrigerator overnight. The flavor actually develops more complexity, and you can bake it fresh the next morning. Just bring it back to room temperature before shaping.
Variations & Adaptations
This recipe is wonderfully flexible. Here are a few ways I’ve adapted it over the years:
- Chocolate twist: Add ¼ cup of unsweetened cocoa powder to the flour and increase the sugar by 2 tablespoons. The orange blossom glaze pairs beautifully with chocolate.
- Vegan version: Substitute the butter with vegan butter, the eggs with flax eggs (1 tablespoon ground flax + 3 tablespoons water per egg), and use oat milk. The texture will be slightly denser but still delicious.
- Gluten-free option: Use a 1:1 gluten-free flour blend that contains xanthan gum. The dough will be stickier, so wet your hands when shaping. Bake time may need an extra 5 minutes.
- Spiced variation: Add 1 teaspoon of ground cinnamon and ½ teaspoon of ground nutmeg to the flour for a warmer, more aromatic loaf. This is lovely for fall baking.
- Filled version: After shaping the main round, press a small indent in the center and add a spoonful of dulce de leche or raspberry jam before sealing it up. It’s a lovely surprise when you slice into it.
Personally, I love the spiced variation with a drizzle of honey instead of the orange blossom glaze. It feels like a cozy autumn loaf that’s perfect with a cup of tea.
Serving & Storage Suggestions
Pan de Muerto is best served slightly warm or at room temperature, with the glaze still a little soft. Here’s how to make the most of it:
- Serving temperature: Warm it in a 300°F oven for 5 minutes if it’s been sitting out for a while. The glaze will soften, and the bread will taste freshly baked.
- Presentation: Place the whole loaf on a wooden board or a pretty platter. Dust with a little extra powdered sugar and scatter a few orange slices or marigold petals around it for a Día de Muertos touch.
- What to serve with it: A cup of Mexican hot chocolate or a strong coffee is the classic pairing. It’s also lovely with a glass of horchata or a simple cinnamon tea.
- Storage: Keep the bread in an airtight container at room temperature for up to 3 days. Do not refrigerate—it will dry out the bread.
- Freezing: You can freeze the unglazed loaf for up to 2 months. Wrap it tightly in plastic wrap and then foil. Thaw at room temperature, then warm and glaze before serving.
The flavors actually develop overnight. I’ve found that day-old Pan de Muerto has a more pronounced orange blossom aroma, so don’t hesitate to make it a day ahead if you’re planning a celebration.
Nutritional Information & Benefits
While this is definitely a treat, there are a few nutritional highlights worth noting. Per serving (1/8 of the loaf with glaze):
- Calories: Approximately 320 kcal
- Carbohydrates: 52g
- Protein: 7g
- Fat: 10g
- Fiber: 1g
- Sugar: 22g
Health benefits of key ingredients: Oranges provide vitamin C and antioxidants, which support immune health. Anise seed has been traditionally used to aid digestion. Eggs offer high-quality protein and essential amino acids. While this isn’t a health food, it’s a bread made with real ingredients—no preservatives, no artificial flavors.
Dietary considerations: This recipe contains gluten, dairy, and eggs. For allergen-friendly versions, see the variations section above. It’s not low-carb or keto-friendly, but it’s a wonderful once-in-a-while indulgence that feeds the soul as much as the body.
Conclusion
This Pan de Muerto with Orange Blossom Glaze is more than a recipe—it’s a way to slow down, connect with tradition, and create something beautiful with your hands. The soft, fragrant crumb, the delicate floral glaze, the satisfaction of shaping those little bones—it all adds up to a bread that feels special every single time.
I hope you make this your own. Maybe you’ll add extra orange zest, or skip the anise, or drizzle it with honey instead of glaze. That’s the beauty of a recipe like this—it’s meant to be adapted, shared, and passed on. If you try it, I’d love to hear how it turned out. Leave a comment below, tag me in your photos, or tell me about your own Día de Muertos traditions. And if you’re looking for another cozy bake, you might enjoy my brown butter maple snickerdoodles or this apple cider glazed bundt cake for another fall favorite.
Happy baking, and may your kitchen always smell like orange blossoms.
Frequently Asked Questions
Can I make Pan de Muerto without a stand mixer?
Absolutely. Kneading by hand works just as well—it just takes a bit more time and effort. Knead on a lightly floured surface for about 10-12 minutes until the dough is smooth and elastic. It’s a great way to connect with the dough!
Why didn’t my dough rise?
There are a few common culprits: your yeast might be expired, the milk was too hot and killed the yeast, or your kitchen was too cold. Always check your yeast’s expiration date and ensure the milk is around 110°F—warm but not hot. If your kitchen is chilly, let the dough rise in the oven with the light on.
Can I use orange juice instead of orange blossom water?
Yes, but the flavor will be different. Orange blossom water has a distinct floral note that’s traditional in Pan de Muerto. If you substitute with orange juice, use 2 tablespoons of juice and add a drop of vanilla extract for depth. The bread will still be delicious, just less floral.
How do I store leftover Pan de Muerto?
Store it in an airtight container at room temperature for up to 3 days. Do not refrigerate—it will dry out the bread. If you need to keep it longer, freeze the unglazed loaf for up to 2 months. Thaw at room temperature, then warm and glaze before serving.
Can I make this gluten-free?
Yes, with a good 1:1 gluten-free flour blend that contains xanthan gum. The dough will be stickier, so wet your hands when shaping. You may need to add an extra 5 minutes to the bake time. The texture won’t be exactly the same, but it’s still a lovely, tender bread.
Pin This Recipe!
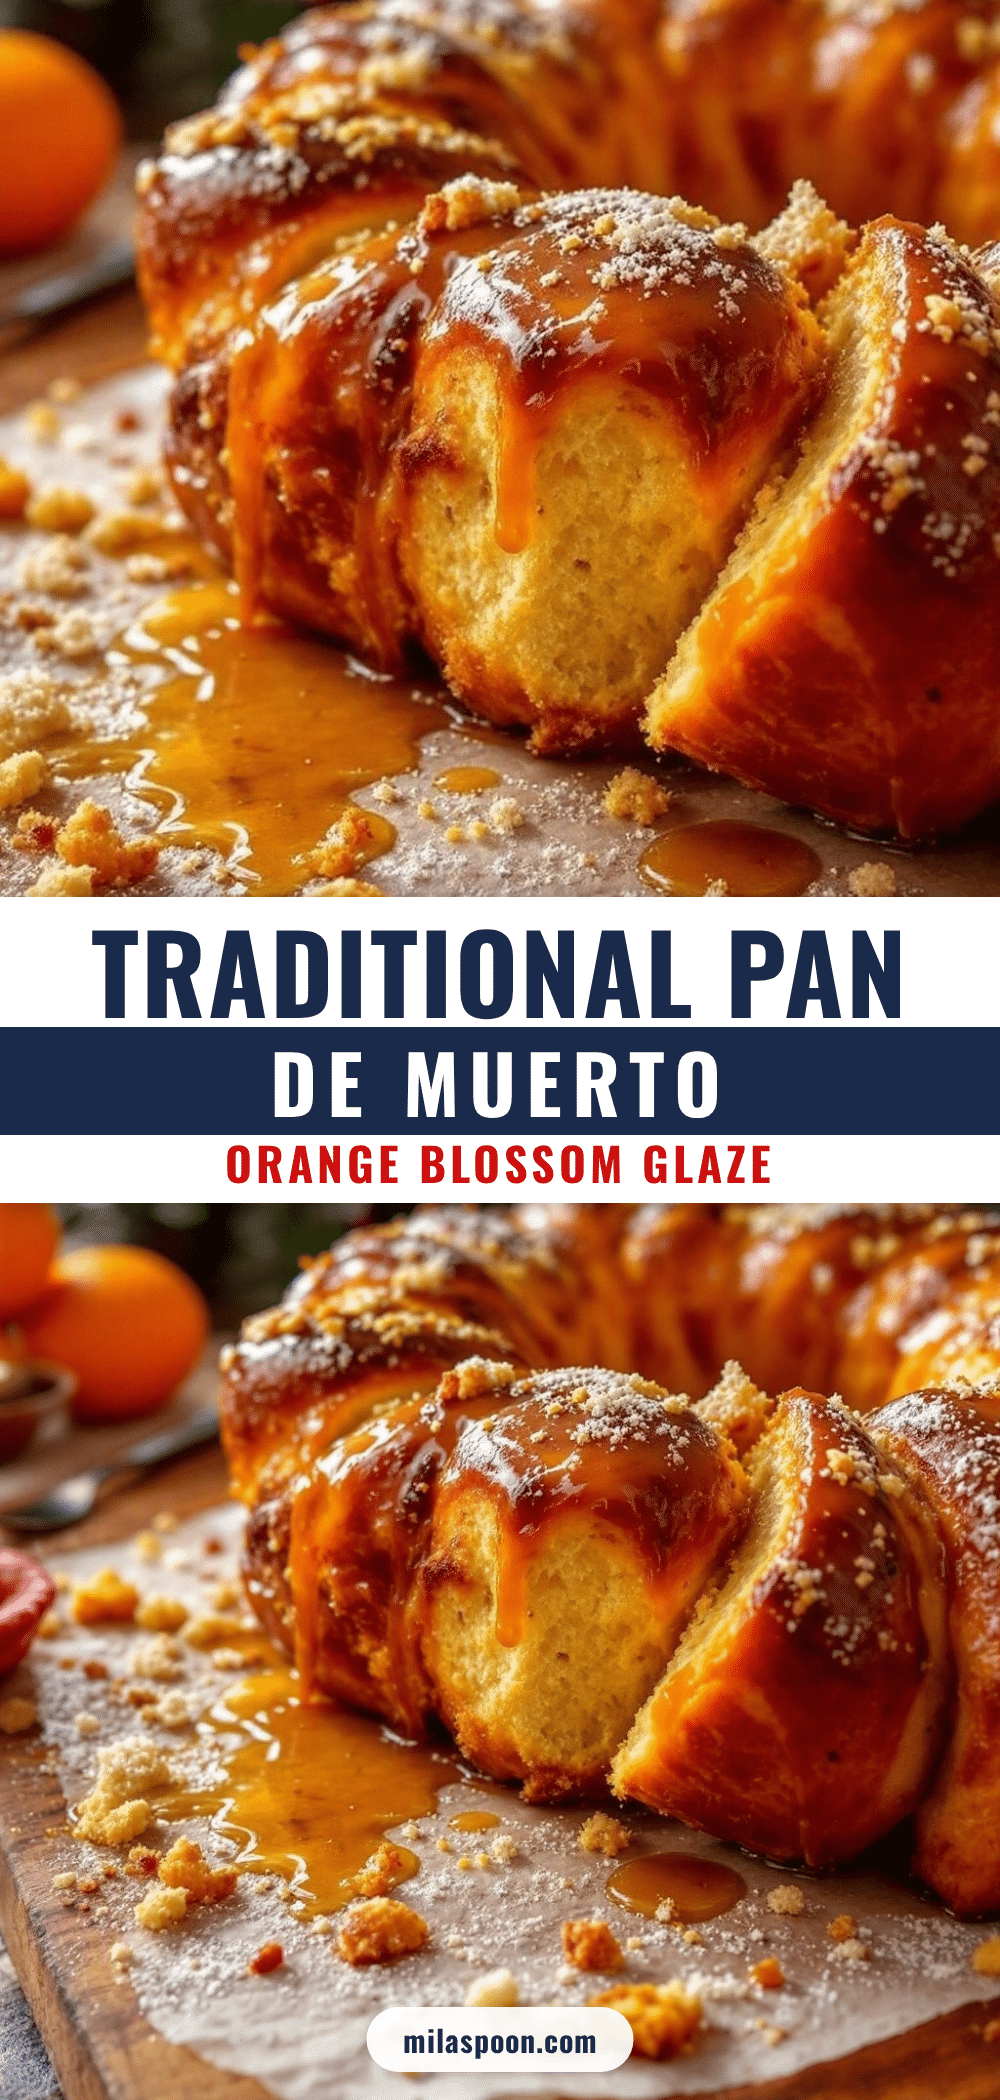
Best Homemade Pan de Muerto with Orange Blossom Glaze

A soft, fragrant Mexican bread for Día de Muertos, enriched with butter and eggs, scented with orange zest and anise, and finished with a floral orange blossom glaze. This recipe guides you through shaping the traditional bone decorations and achieving a pillowy crumb.
- Prep Time: 30 minutes
- Cook Time: 30 minutes
- Total Time: 3 hours 30 minutes (including rising time)
- Yield: 8 servings 1x
- Category: Bread
- Cuisine: Mexican
Ingredients
- 4 cups (500g) all-purpose flour
- 2 ¼ teaspoons (7g) active dry yeast (one packet)
- ½ cup (120ml) warm milk (about 110°F)
- ½ cup (100g) granulated sugar
- ½ cup (113g) unsalted butter, softened
- 3 large eggs, room temperature
- Zest of 2 large oranges
- 2 teaspoons orange blossom water
- ½ teaspoon anise seed (optional but recommended)
- 1 teaspoon salt
- For the glaze: 1 cup (120g) powdered sugar
- 1 tablespoon orange blossom water
- 2–3 tablespoons milk or water (as needed)
Instructions
- Activate the yeast: In a small bowl, combine warm milk (110°F) with 1 tablespoon of the sugar and the yeast. Stir gently and let sit for 5-10 minutes until frothy.
- Mix the dough: In the bowl of a stand mixer fitted with the dough hook, combine flour, remaining sugar, salt, and anise seed (if using). Add softened butter, eggs, orange zest, orange blossom water, and the yeast mixture. Mix on low speed until a shaggy dough forms, about 2 minutes.
- Knead: Increase speed to medium-low and knead for 8-10 minutes until smooth, elastic, and slightly tacky. If too dry, add a tablespoon of milk; if too wet, add a tablespoon of flour. The dough should pass the windowpane test.
- First rise: Shape dough into a ball and place in a lightly oiled bowl, turning to coat. Cover with plastic wrap or a damp towel and let rise in a warm, draft-free spot for 1.5 to 2 hours, until doubled in size.
- Shape the bread: Punch down dough. Turn out onto a lightly floured surface. Cut off about ¼ of the dough and set aside. Shape the larger piece into a smooth round ball and place on a parchment-lined baking sheet. Divide the reserved dough into 4 equal pieces; roll each into a 6-inch rope. Place two ropes across the top of the round to form a cross, and the other two across the bottom to form another cross. Tuck ends under the loaf gently.
- Second rise: Cover shaped loaf loosely with plastic wrap and let rise for 45 minutes to 1 hour, until puffy and almost doubled. Meanwhile, preheat oven to 350°F (175°C).
- Bake: Brush loaf gently with an egg wash (1 egg beaten with 1 tablespoon water). Bake for 25-30 minutes, until deep golden brown and loaf sounds hollow when tapped on the bottom. If browning too quickly, tent with foil after 15 minutes.
- Cool and glaze: Let bread cool on baking sheet for 10 minutes, then transfer to a cooling rack. While still warm, whisk together powdered sugar, orange blossom water, and enough milk to make a thick but pourable glaze. Drizzle over the top, letting it drip down the sides. Let glaze set for about 15 minutes before serving.
Notes
If your kitchen is cold, let the dough rise in the oven with the light on. Don’t over-flour during shaping. The bone shapes are forgiving—the glaze covers imperfections. Let the bread cool for 10 minutes before glazing to prevent the glaze from melting. For a deeper flavor, let the first rise happen in the refrigerator overnight.
Nutrition
- Serving Size: 1/8 of loaf with gla
- Calories: 320
- Sugar: 22
- Sodium: 290
- Fat: 10
- Saturated Fat: 6
- Carbohydrates: 52
- Fiber: 1
- Protein: 7
Keywords: Pan de Muerto, Día de Muertos, Mexican bread, orange blossom glaze, traditional bread, holiday bread


