Love this? Save it for later!
Share the inspiration with your friends
Friday night, 6:47 PM, and the only thing I want is a loaded nacho bar with ground beef and queso spread across the kitchen island like a edible invitation to slow down. The kind of dinner that doesn’t ask for plates or proper seating—just napkins, elbows, and the kind of casual chaos that makes everyone talk louder and stay longer. I remember the first time I made this for a group, thinking I’d overdone it with the toppings, only to watch the baking sheet get scraped clean before the second quarter of the game even started. There’s something about building your own plate that makes people happy in a way a plated meal just can’t match.
This isn’t fancy. It’s better than fancy. It’s the kind of meal where you can have extra jalapeños on one corner and leave another corner plain for the picky eater at the table. And honestly? The queso is the glue that holds it all together—creamy, a little smoky, the kind of cheese sauce that doesn’t break or get weird when it sits out. I’ve tested this one about six times (maybe seven, if you count the batch I accidentally ate standing over the stove), and it never lets me down.
So if you’re looking for a dinner that feels like an event without the stress of actual entertaining, this is it. The best loaded nacho bar with ground beef and queso isn’t just a recipe—it’s a whole vibe. And it’s about to become your new favorite way to feed a crowd.
Why You’ll Love This Recipe
This isn’t just another nacho recipe you throw together when you’re out of ideas. This is the one you’ll come back to again and again, and here’s why it works so well.
- Quick & Easy: From start to table in about 30 minutes. The ground beef cooks fast, the queso comes together in one pot, and the assembly is basically just piling things onto a sheet pan. Perfect for busy weeknights when you want something fun without spending hours in the kitchen.
- Simple Ingredients: You probably already have most of this in your pantry and fridge. Ground beef, tortilla chips, cheese, a few spices, and some fresh toppings. No specialty grocery runs required.
- Perfect for Game Day or Family Dinner: Whether it’s Super Bowl Sunday or just a random Tuesday, this nacho bar works. It’s casual enough for a weeknight but impressive enough for guests. I’ve even brought it to potlucks and watched it disappear in minutes.
- Crowd-Pleaser: Kids love building their own plates. Adults love the flavor. Even my friend who “doesn’t like nachos” ate two helpings. It’s one of those recipes that just makes everyone happy.
- Unbelievably Delicious: The seasoned ground beef is juicy and flavorful, the queso is silky and rich, and the combination of crunchy chips with warm toppings is pure comfort food magic. It’s the kind of meal where you close your eyes after the first bite and just enjoy the moment.
What makes this recipe different from all the others? It’s the technique. I cook the ground beef with a blend of cumin, smoked paprika, and a touch of chili powder—not too much heat, just enough depth. And the queso? I use a combination of sharp cheddar and Monterey Jack, melted slowly with evaporated milk instead of regular milk, which gives it that ultra-smooth, never-grainy texture. No Velveeta here. Just real cheese that melts like a dream.
This recipe isn’t just good—it’s the kind that makes you text your friends about it the next day. It’s comfort food reimagined: faster, easier, but with the same soul-soothing satisfaction you crave. Perfect for impressing guests without stress, or turning a simple weeknight into something memorable.
What Ingredients You Will Need
This recipe uses simple, wholesome ingredients to deliver bold flavor and satisfying texture without the fuss. Most of these are pantry staples, and the ones that aren’t are easy to find at any grocery store.
For the Seasoned Ground Beef:
- 1 pound ground beef (80/20 works best for flavor and moisture)
- 1 tablespoon olive oil
- 1 small yellow onion, finely diced
- 2 cloves garlic, minced
- 1 teaspoon ground cumin
- 1 teaspoon smoked paprika
- 1/2 teaspoon chili powder (use more if you want heat)
- 1/2 teaspoon salt
- 1/4 teaspoon black pepper
- 1/4 cup beef broth or water
For the Homemade Queso:
- 2 tablespoons unsalted butter
- 2 tablespoons all-purpose flour
- 1 cup evaporated milk (this is the secret to smooth queso)
- 1 cup shredded sharp cheddar cheese
- 1 cup shredded Monterey Jack cheese
- 1/4 teaspoon smoked paprika
- 1/4 teaspoon garlic powder
- Salt to taste
- Optional: 1 small can diced green chiles for a little kick
For the Nacho Base & Toppings:
- 1 large bag (13-16 ounces) restaurant-style tortilla chips (I prefer thicker chips like Tostitos Scoops for sturdiness)
- 1 can (15 ounces) black beans, drained and rinsed
- 1 cup canned corn, drained
- 1 cup cherry tomatoes, diced
- 1 avocado, diced
- 1/2 cup sliced black olives
- 1/2 cup pickled jalapeños (optional, for heat)
- 1/2 cup sour cream
- 1/4 cup fresh cilantro, chopped
- 1 lime, cut into wedges
Ingredient Tips & Substitutions:
For the ground beef, I recommend 80/20 because the fat adds flavor and keeps the meat juicy. If you prefer leaner meat, go with 90/10, but add an extra tablespoon of olive oil when cooking. You can also substitute ground turkey or chicken—just season it a bit more aggressively since poultry is milder.
The queso is the star here, and evaporated milk makes all the difference. It has a higher protein content than regular milk, which prevents the cheese from separating and gives you that silky, restaurant-quality texture. If you’re dairy-free, you can use full-fat canned coconut milk (the unsweetened kind) and a dairy-free cheese blend, but the texture will be slightly different.
For the chips, go with something sturdy. Thin chips will break under the weight of the toppings, and nobody wants a fork with their nachos. Tostitos Scoops or any thick restaurant-style chip works perfectly.
If you’re looking for a quick, make-ahead option, you can prep the seasoned ground beef and queso a day in advance. Just reheat them gently before assembling the nacho bar. And if you’re in the mood for something similar but different, check out this flavorful chicken burrito bowls recipe for another crowd-pleasing meal.
Equipment Needed
You don’t need a lot of fancy equipment for this recipe, which is part of why I love it. Here’s what you’ll need:
- Large skillet or frying pan: For cooking the ground beef. A 12-inch skillet works best to give the meat room to brown properly.
- Medium saucepan: For making the queso. A heavy-bottomed pan helps prevent scorching.
- Large baking sheet or sheet pan: For assembling and baking the nachos. A half-sheet pan (18×13 inches) is ideal for serving a crowd.
- Whisk: For stirring the queso to keep it smooth.
- Cutting board and knife: For dicing onions, tomatoes, avocado, and cilantro.
- Measuring cups and spoons: For accurate ingredient amounts.
- Wooden spoon or spatula: For breaking up the ground beef as it cooks.
If you don’t have a baking sheet, you can use a large oven-safe dish or even a cast-iron skillet. For the queso, a double boiler works if you’re nervous about scorching, but honestly, a regular saucepan with low heat and constant whisking does the job perfectly.
One tip I learned the hard way: use a whisk that’s silicone-coated if you have one. It won’t scratch your pan, and it gets into the corners better than a regular whisk. Also, if you’re making this for a party, consider using a small slow cooker to keep the queso warm. It’s a game-changer for entertaining.
Preparation Method
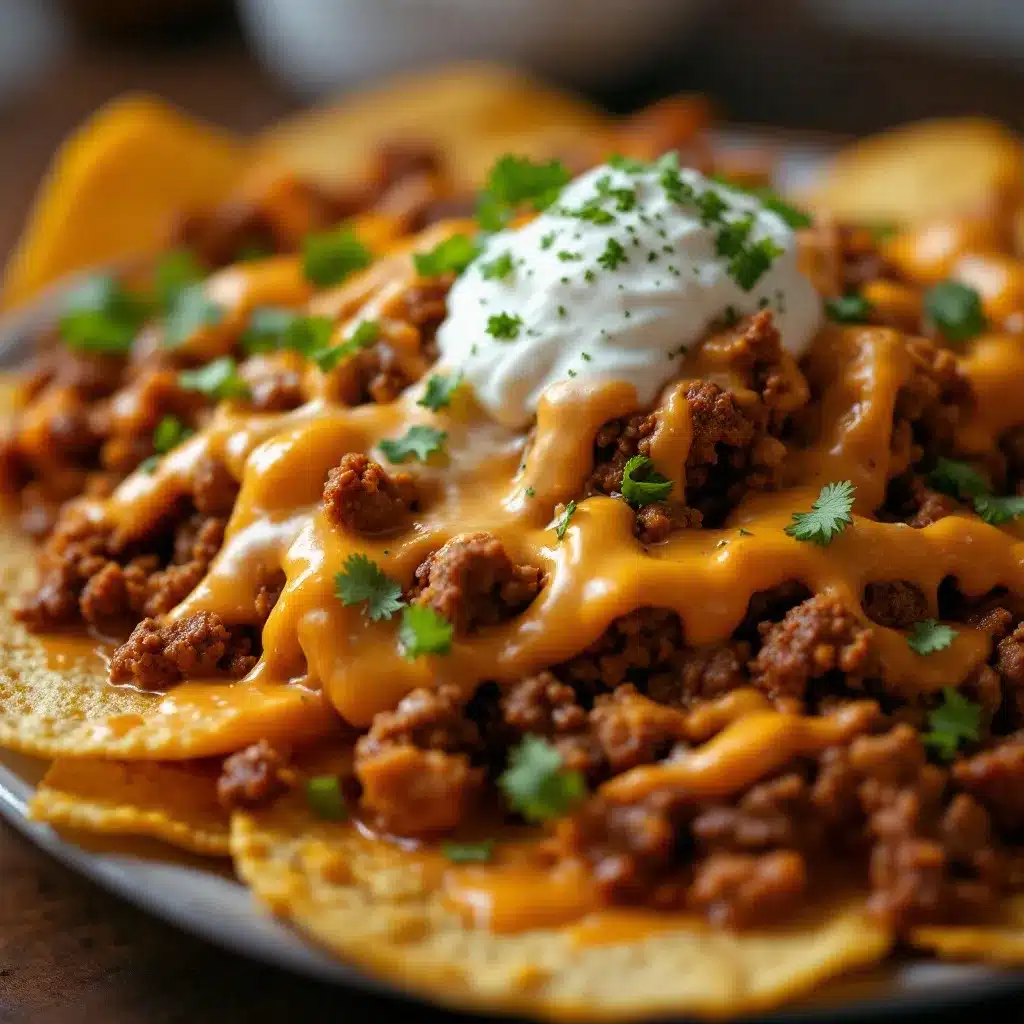
Let’s get into the step-by-step. This whole thing comes together in about 30 minutes, and I’ve broken it down so you can multitask like a pro.
Step 1: Cook the Ground Beef
Heat 1 tablespoon of olive oil in a large skillet over medium-high heat. Add the diced onion and cook for 2-3 minutes until it starts to soften and turn translucent. Add the minced garlic and cook for another 30 seconds until fragrant—don’t let it burn. Add the ground beef and break it up with a wooden spoon. Cook for 5-6 minutes, stirring occasionally, until the beef is browned and no longer pink. Drain any excess fat if needed (I usually leave a little for flavor).
Step 2: Season the Beef
Reduce the heat to medium. Add the cumin, smoked paprika, chili powder, salt, and black pepper. Stir well to coat the beef evenly. Pour in the beef broth (or water) and let it simmer for 2-3 minutes, scraping up any browned bits from the bottom of the pan. The liquid should mostly evaporate, leaving you with juicy, flavorful beef. Taste and adjust seasoning if needed. Set aside and keep warm.
Step 3: Make the Queso
While the beef is cooking, start the queso. In a medium saucepan, melt the butter over medium heat. Whisk in the flour and cook for 1 minute, stirring constantly—this gets rid of the raw flour taste. Slowly pour in the evaporated milk while whisking continuously to prevent lumps. Cook for 2-3 minutes until the mixture thickens slightly and starts to bubble.
Step 4: Add the Cheese
Reduce the heat to low. Add the shredded cheddar and Monterey Jack cheese one handful at a time, whisking until each addition is fully melted before adding the next. This gradual process is key to smooth queso. Stir in the smoked paprika, garlic powder, and a pinch of salt. If you’re using diced green chiles, stir them in now. Keep the queso on the lowest heat setting while you assemble the nachos, stirring occasionally. If it thickens too much, add a splash of evaporated milk or regular milk to thin it out.
Step 5: Preheat the Oven
Preheat your oven to 375°F (190°C). While it’s heating, prep your toppings: dice the tomatoes, chop the cilantro, slice the avocado, and drain the black beans and corn.
Step 6: Assemble the Nachos
Spread a layer of tortilla chips on your large baking sheet. Don’t pile them too high—you want each chip to get some love. Sprinkle half of the seasoned ground beef over the chips, then scatter half of the black beans and corn. Add another layer of chips, then the remaining beef, beans, and corn. This double-layer method ensures every bite has something good on it.
Step 7: Bake the Nachos
Place the baking sheet in the preheated oven and bake for 8-10 minutes, until the chips are warm and the edges start to get slightly toasty. Keep an eye on them—you want them warm, not burnt. While they bake, warm up the queso if it’s cooled down.
Step 8: Add Fresh Toppings
Remove the baking sheet from the oven. Immediately drizzle the warm queso over the top—be generous. Then add the diced tomatoes, avocado, sliced black olives, pickled jalapeños (if using), and a dollop of sour cream. Sprinkle with fresh cilantro and squeeze a lime wedge or two over everything. The lime really brightens up all the rich flavors.
Step 9: Serve Immediately
Bring the whole baking sheet to the table and let everyone dig in. Provide small plates or napkins, and let people build their own perfect bite. If you have extra queso, keep it warm in a small bowl on the side for dipping.
Sensory Cues: The beef should be sizzling and fragrant with cumin and smoked paprika. The queso should be thick enough to coat the back of a spoon but still pourable. The chips should be warm and slightly crisp on the edges, not soggy. When you bite into a loaded chip, you should get crunch, creaminess, and a little kick all at once.
For a complete meal, pair this with a side of creamy hatch green chili corn chowder for a double dose of comfort food goodness.
Cooking Tips & Techniques
Over the years, I’ve made a lot of nachos. Some were amazing. Some were a soggy mess. Here’s what I’ve learned so you can skip the failures and go straight to the good stuff.
Don’t Overload the Chips: It’s tempting to pile everything on at once, but too many toppings will make your chips soggy before they even hit the oven. Layer them—chips, beef, beans, then more chips, more toppings. This way, the chips on the bottom stay crisp because they’re not sitting in a pool of liquid.
Toast Your Spices: When you add the cumin and paprika to the beef, let them cook for about 30 seconds before adding the broth. This “blooming” step wakes up the flavors and makes them more aromatic. It’s a small thing, but it makes a big difference.
Low and Slow for Queso: Cheese sauce is temperamental. If you heat it too fast or too high, the proteins in the cheese tighten up and you get a grainy, separated mess. Keep the heat on low and be patient. Whisk constantly, and add the cheese gradually. If your queso does seize up, don’t panic—add a splash of evaporated milk and whisk vigorously. It usually comes back.
Warm Your Toppings: Cold toppings on hot nachos can make the whole thing lukewarm. I like to warm the black beans and corn in the microwave for about 30 seconds before adding them to the baking sheet. The tomatoes and avocado should stay cold and fresh—they provide a nice temperature contrast.
Timing is Everything: The queso can be made ahead and kept warm in a slow cooker or a small pot on the lowest heat. The beef can also be cooked in advance and reheated. But the actual assembly and baking should happen right before serving. Nachos don’t wait well—they’re best fresh out of the oven.
One Mistake I Made: The first time I made this for a party, I used pre-shredded cheese for the queso. Big mistake. Pre-shredded cheese has anti-caking agents that prevent it from melting smoothly. Always shred your own cheese from a block. It takes an extra five minutes, but the texture is night and day.
If you’re looking for another one-pan wonder that feeds a crowd, try this creamy one-pan tuscan chicken recipe—it’s just as satisfying with way less cleanup.
Variations & Adaptations
One of the best things about a nacho bar is how customizable it is. Here are some variations I’ve tried and loved.
Vegetarian Version: Skip the ground beef and use a combination of black beans, pinto beans, and roasted sweet potatoes. Cube a sweet potato, toss it with olive oil, cumin, and smoked paprika, and roast at 400°F for 20 minutes until tender and caramelized. It adds a sweet, earthy flavor that pairs beautifully with the queso.
Spicy Version: If you like heat, add a diced jalapeño to the ground beef while it cooks, use pepper jack cheese instead of Monterey Jack in the queso, and top with fresh sliced serranos or habanero pickled peppers. You can also stir a tablespoon of hot sauce (I like Cholula) into the queso for an extra kick.
Loaded BBQ Chicken Nachos: Swap the ground beef for shredded rotisserie chicken tossed in your favorite barbecue sauce. Use a smoky cheddar in the queso and top with pickled red onions and a drizzle of ranch dressing. It’s a completely different flavor profile but just as addictive.
Breakfast Nachos: Yes, this is a thing. Use the same base but top with scrambled eggs, crispy bacon or chorizo, and a drizzle of queso. Add diced avocado and a sprinkle of cotija cheese. It’s perfect for brunch or a lazy Sunday morning.
Dietary Adaptations: For a gluten-free version, make sure your tortilla chips are certified gluten-free (most are) and use cornstarch instead of flour in the queso. For a low-carb option, use pork rinds or cheese crisps instead of tortilla chips, and load up on the beef and queso. For a dairy-free version, use a plant-based cheese blend and coconut milk for the queso—the texture won’t be identical, but it’s still delicious.
My Personal Favorite Variation: I once made this with leftover Mississippi pot roast shredded and piled on top of the chips instead of ground beef. It was insanely good—the tangy, buttery pot roast paired with the creamy queso was a match made in heaven. If you have leftovers, try it.
Serving & Storage Suggestions
This nacho bar is best served immediately, straight from the oven, while the chips are still warm and the queso is flowing. I like to put the baking sheet on a trivet in the center of the table and let everyone grab what they want. Provide small plates or even just napkins—this is a hands-on meal.
What to Serve With It: A simple side salad with a lime vinaigrette cuts through the richness. Or serve it alongside a bowl of cozy roasted tomato basil soup for a soup-and-nacho combo that’s weirdly perfect. For drinks, margaritas, cold beer, or even a crisp sparkling water with lime are all great choices.
Storage: Nachos don’t store well once assembled—the chips get soggy. But you can store the components separately. Keep the seasoned ground beef in an airtight container in the fridge for up to 4 days. The queso will keep for about 5 days in the fridge; reheat it gently on the stove or in the microwave with a splash of milk to bring back the creamy texture. The fresh toppings like avocado and tomatoes should be used the same day.
Reheating: For the beef, reheat in a skillet over medium heat with a splash of water or broth. For the queso, reheat in a saucepan over low heat, whisking constantly. If you have leftover assembled nachos (unlikely, but possible), you can reheat them in a 350°F oven for 5-7 minutes, but the chips won’t be as crisp.
How Flavors Develop: The queso actually gets better after a day in the fridge—the flavors meld together and deepen. The beef also tastes great as leftovers, especially if you use it in tacos or burritos the next day. So even if you make too much, it’s a win.
Nutritional Information & Benefits
Let’s be honest—this isn’t a health food, but it’s not as bad as you might think, especially if you load up on the fresh toppings. Here’s an approximate nutritional breakdown per serving (based on 6 servings):
- Calories: 520
- Protein: 28g
- Fat: 32g
- Carbohydrates: 35g
- Fiber: 6g
- Sugar: 8g
- Sodium: 780mg
Health Benefits of Key Ingredients: The black beans add a solid dose of fiber and plant-based protein, which helps keep you full. The avocado provides healthy monounsaturated fats and potassium. The tomatoes are rich in lycopene, an antioxidant linked to heart health. And the cilantro? It’s actually a natural detoxifier—plus it makes everything taste fresher.
Dietary Considerations: This recipe can be made gluten-free by using cornstarch in the queso instead of flour. It’s naturally nut-free. For a lower-calorie version, use lean ground beef, reduce the cheese in the queso by half, and pile on extra veggies. For a lower-carb version, skip the chips and use bell pepper strips or zucchini slices as the base.
Potential Allergens: This recipe contains dairy (cheese, butter, milk) and gluten (flour in the queso). If you’re serving a crowd with allergies, make sure to label the queso and offer a dairy-free alternative on the side.
My Personal Take: I’m a big believer in balance. This isn’t an everyday meal, but it’s a fantastic way to bring people together and enjoy real food made from scratch. Pair it with a big green salad or some fresh veggies on the side, and you’ve got a meal that feels indulgent without going overboard.
Conclusion
This best loaded nacho bar with ground beef and queso is the kind of recipe that earns a permanent spot in your dinner rotation. It’s quick enough for a weeknight, fun enough for a party, and forgiving enough that you can tweak it based on what you have in the fridge. The seasoned beef is juicy and flavorful, the homemade queso is silky and rich, and the combination of warm, crunchy, creamy, and fresh toppings is just unbeatable.
What I love most about this recipe is how it brings people together. There’s something about sharing a big sheet pan of nachos that makes conversation flow easier and laughter come more naturally. It’s not fancy or complicated—it’s just really, really good food that makes everyone happy.
So go ahead and make it your own. Add extra jalapeños if you like heat. Swap the beef for chicken or beans if that’s your thing. Pile on the avocado and cilantro. And when you take that first bite—the one with a little bit of everything—close your eyes and enjoy it. You’ve earned it.
If you make this recipe, I’d love to hear about it. Drop a comment below and let me know how it turned out, what toppings you used, or if you came up with a variation I haven’t tried yet. And don’t forget to share this post with someone who needs a little nacho magic in their life.
Frequently Asked Questions
Can I make the queso ahead of time?
Yes! The queso can be made up to 3 days in advance. Store it in an airtight container in the fridge. Reheat it gently on the stove over low heat, whisking constantly, and add a splash of evaporated milk or regular milk if it’s too thick.
What’s the best way to keep the queso warm for a party?
A small slow cooker on the “warm” setting is perfect. Transfer the queso to the slow cooker after making it, and stir occasionally. If it thickens, stir in a little milk. You can also use a fondue pot or a thermal carafe.
Can I use pre-shredded cheese for the queso?
I don’t recommend it. Pre-shredded cheese has anti-caking agents like cellulose that prevent it from melting smoothly. Shredding your own cheese from a block takes a few extra minutes but gives you a much creamier, smoother queso.
How do I prevent the nachos from getting soggy?
Layer your chips and toppings instead of piling everything on at once. Bake the nachos just long enough to warm them through—8-10 minutes at 375°F—and add fresh toppings like tomatoes and avocado after baking. Also, make sure your beef isn’t too wet; drain any excess liquid before assembling.
Can I make this recipe in an air fryer?
Absolutely. Assemble the nachos in a single layer in your air fryer basket (you may need to work in batches). Cook at 350°F for 3-5 minutes, until the chips are warm and the cheese is melted. Add fresh toppings after cooking. It’s faster and gives you extra-crispy chips.
Pin This Recipe!
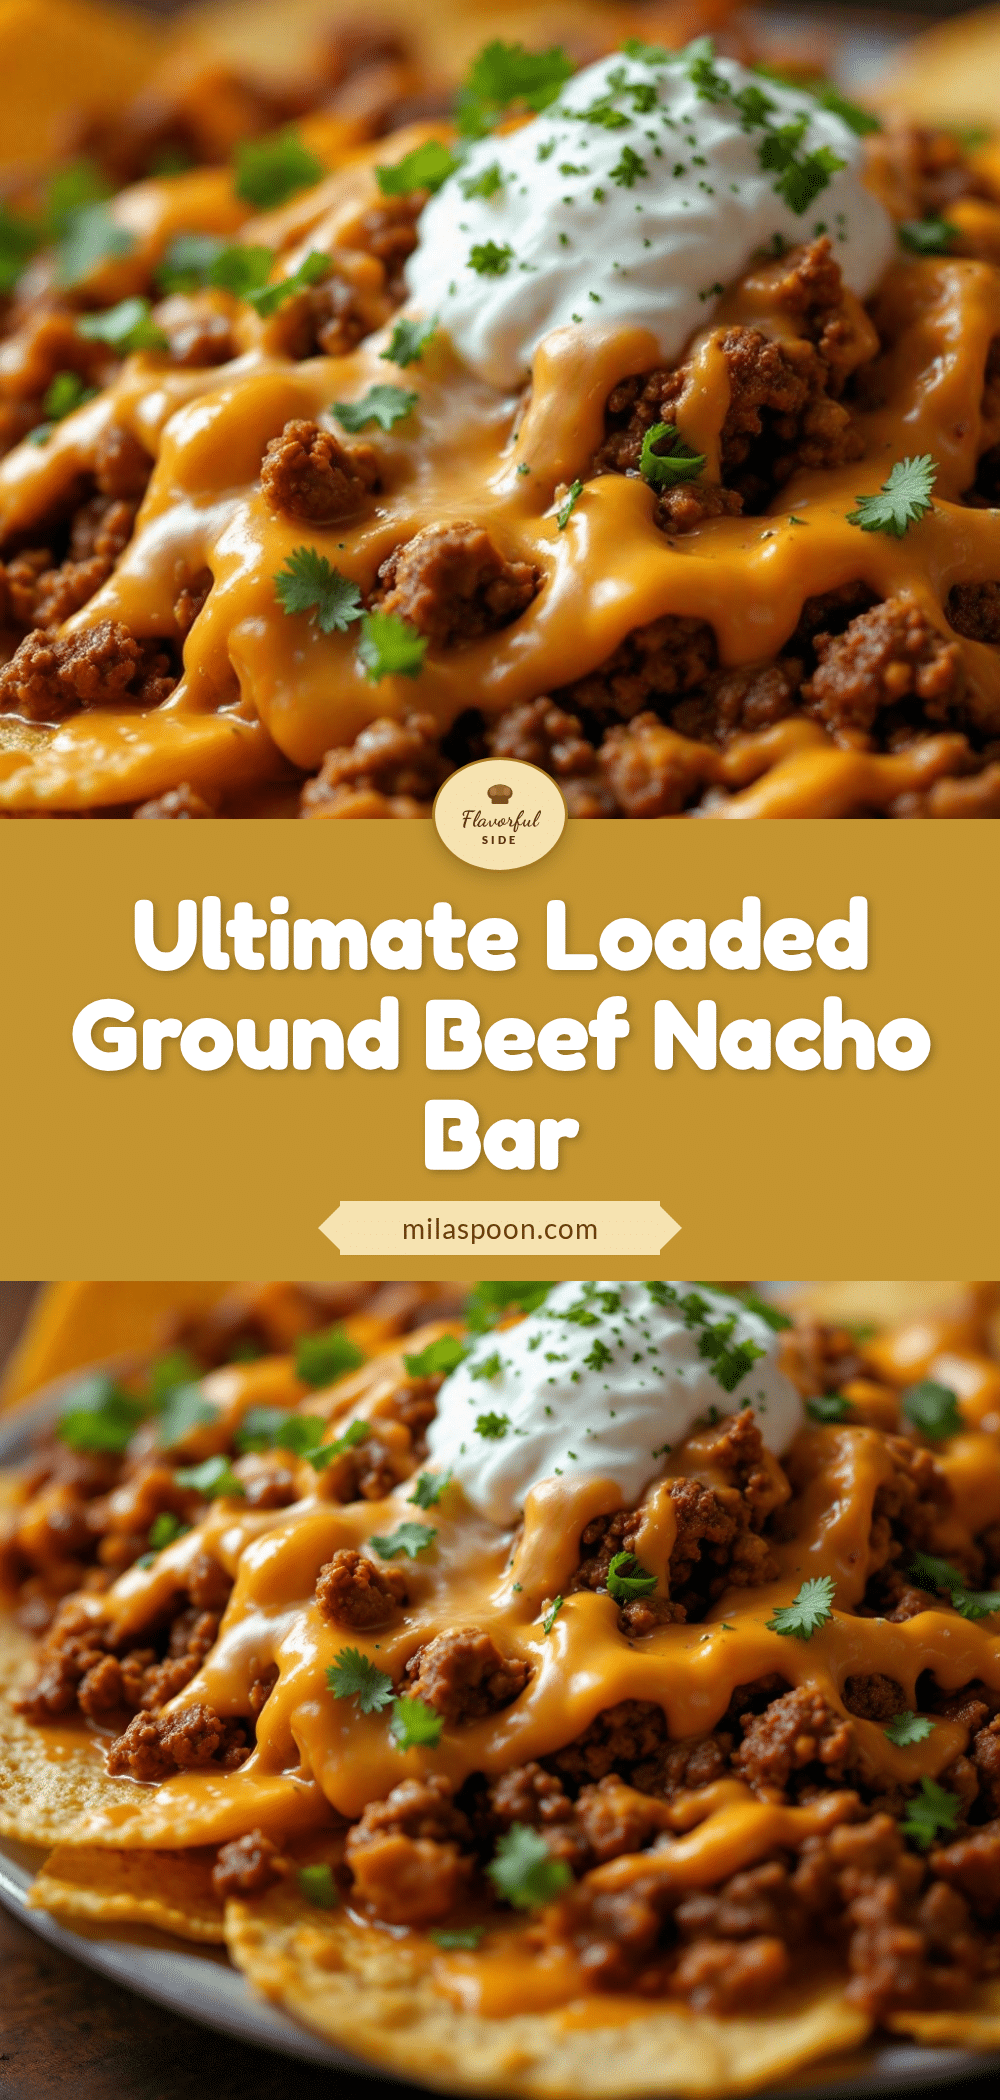
Best Loaded Nacho Bar with Ground Beef and Queso
A quick and easy loaded nacho bar featuring seasoned ground beef, creamy homemade queso, and all your favorite toppings. Perfect for game day, family dinner, or any casual gathering where everyone builds their own plate.
- Prep Time: 15 minutes
- Cook Time: 20 minutes
- Total Time: 35 minutes
- Yield: 6 servings 1x
- Category: Main Course
- Cuisine: Mexican-American
Ingredients
- 1 pound ground beef (80/20 works best for flavor and moisture)
- 1 tablespoon olive oil
- 1 small yellow onion, finely diced
- 2 cloves garlic, minced
- 1 teaspoon ground cumin
- 1 teaspoon smoked paprika
- 1/2 teaspoon chili powder (use more if you want heat)
- 1/2 teaspoon salt
- 1/4 teaspoon black pepper
- 1/4 cup beef broth or water
- 2 tablespoons unsalted butter
- 2 tablespoons all-purpose flour
- 1 cup evaporated milk (this is the secret to smooth queso)
- 1 cup shredded sharp cheddar cheese
- 1 cup shredded Monterey Jack cheese
- 1/4 teaspoon smoked paprika
- 1/4 teaspoon garlic powder
- Salt to taste
- Optional: 1 small can diced green chiles for a little kick
- 1 large bag (13–16 ounces) restaurant-style tortilla chips (I prefer thicker chips like Tostitos Scoops for sturdiness)
- 1 can (15 ounces) black beans, drained and rinsed
- 1 cup canned corn, drained
- 1 cup cherry tomatoes, diced
- 1 avocado, diced
- 1/2 cup sliced black olives
- 1/2 cup pickled jalapeños (optional, for heat)
- 1/2 cup sour cream
- 1/4 cup fresh cilantro, chopped
- 1 lime, cut into wedges
Instructions
- Cook the Ground Beef: Heat 1 tablespoon of olive oil in a large skillet over medium-high heat. Add the diced onion and cook for 2-3 minutes until it starts to soften and turn translucent. Add the minced garlic and cook for another 30 seconds until fragrant—don’t let it burn. Add the ground beef and break it up with a wooden spoon. Cook for 5-6 minutes, stirring occasionally, until the beef is browned and no longer pink. Drain any excess fat if needed (I usually leave a little for flavor).
- Season the Beef: Reduce the heat to medium. Add the cumin, smoked paprika, chili powder, salt, and black pepper. Stir well to coat the beef evenly. Pour in the beef broth (or water) and let it simmer for 2-3 minutes, scraping up any browned bits from the bottom of the pan. The liquid should mostly evaporate, leaving you with juicy, flavorful beef. Taste and adjust seasoning if needed. Set aside and keep warm.
- Make the Queso: While the beef is cooking, start the queso. In a medium saucepan, melt the butter over medium heat. Whisk in the flour and cook for 1 minute, stirring constantly—this gets rid of the raw flour taste. Slowly pour in the evaporated milk while whisking continuously to prevent lumps. Cook for 2-3 minutes until the mixture thickens slightly and starts to bubble.
- Add the Cheese: Reduce the heat to low. Add the shredded cheddar and Monterey Jack cheese one handful at a time, whisking until each addition is fully melted before adding the next. This gradual process is key to smooth queso. Stir in the smoked paprika, garlic powder, and a pinch of salt. If you’re using diced green chiles, stir them in now. Keep the queso on the lowest heat setting while you assemble the nachos, stirring occasionally. If it thickens too much, add a splash of evaporated milk or…
- Preheat the Oven: Preheat your oven to 375°F (190°C). While it’s heating, prep your toppings: dice the tomatoes, chop the cilantro, slice the avocado, and drain the black beans and corn.
- Assemble the Nachos: Spread a layer of tortilla chips on your large baking sheet. Don’t pile them too high—you want each chip to get some love. Sprinkle half of the seasoned ground beef over the chips, then scatter half of the black beans and corn. Add another layer of chips, then the remaining beef, beans, and corn. This double-layer method ensures every bite has something good on it.
- Bake the Nachos: Place the baking sheet in the preheated oven and bake for 8-10 minutes, until the chips are warm and the edges start to get slightly toasty. Keep an eye on them—you want them warm, not burnt. While they bake, warm up the queso if it’s cooled down.
- Add Fresh Toppings: Remove the baking sheet from the oven. Immediately drizzle the warm queso over the top—be generous. Then add the diced tomatoes, avocado, sliced black olives, pickled jalapeños (if using), and a dollop of sour cream. Sprinkle with fresh cilantro and squeeze a lime wedge or two over everything. The lime really brightens up all the rich flavors.
- Serve Immediately: Bring the whole baking sheet to the table and let everyone dig in. Provide small plates or napkins, and let people build their own perfect bite. If you have extra queso, keep it warm in a small bowl on the side for dipping.
Notes
For the queso, always shred your own cheese from a block—pre-shredded cheese has anti-caking agents that prevent smooth melting. Layer chips and toppings to prevent sogginess. The queso can be made up to 3 days in advance and reheated gently. For a party, keep queso warm in a small slow cooker. If using an air fryer, cook assembled nachos at 350°F for 3-5 minutes in a single layer.
Nutrition
- Serving Size: 1 serving (about 1/6
- Calories: 520
- Sugar: 8
- Sodium: 780
- Fat: 32
- Saturated Fat: 12
- Carbohydrates: 35
- Fiber: 6
- Protein: 28
Keywords: nachos, loaded nachos, ground beef nachos, queso, game day food, party food, easy dinner, sheet pan nachos


