Love this? Save it for later!
Share the inspiration with your friends
That specific, high-pitched shatter of the oat topping against the fork, and that’s the whole point. It’s not about the apples. It’s not about the cinnamon. It’s about that initial resistance giving way to the soft, stewed fruit underneath. You know that sound? It’s the sound of a perfect fall evening.
I remember standing in my kitchen last November, waiting for the oven timer. The house smelled like baked sugar and warm spice, which is nice, sure. But my hands were itching. I needed to know if the topping had set right. Did it brown evenly? Was it still crumbly, or had it fused into a hard, sad crust?
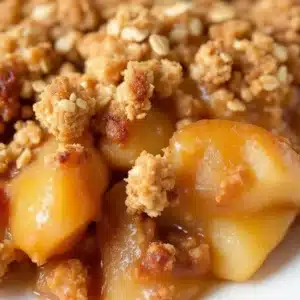
When I finally pulled the pan out, the visual was simple. Golden brown edges. A surface that looked rough, textured, and inviting. Not shiny. Not glossy. Just honest, toasted oats and butter.
That texture is what I made this for — everything else is secondary. The apples can be tart or sweet. The spices can be bold or subtle. But if the topping doesn’t have that distinct, granular crunch, it’s just baked apples with sugar on top. And we don’t do that around here.
I’ve tested this classic apple crisp with oat topping recipe more times than I care to admit. I’ve used steel-cut oats (too chewy). I’ve used instant oats (too mushy). I’ve tried coconut oil (wrong flavor profile). This version uses old-fashioned rolled oats because they hold their structure. They toast up. They get crispy.
There’s a moment when you take that first bite where the crunch surprises you. It’s loud. It’s satisfying. It’s the kind of dessert that makes you stop talking for a second just to chew.
That’s why I keep coming back to it. It’s not fancy. It doesn’t need a fancy garnish. It just needs to be crunchy. And honestly? That’s enough.
Why You’ll Love This Recipe
Let’s be real for a second. There are a thousand apple crisp recipes out there. Most of them are fine. Some are good. But this one? This one is the one you’ll make every single year. Here is why it works, based on a lot of trial, error, and serious eating.
- Quick & Easy: This comes together in under 45 minutes from start to finish. You’re peeling apples while the oven preheats, and mixing the topping while the fruit bakes. It’s perfect for those weeknights when you want something homemade but don’t have hours to spare.
- Simple Ingredients: No fancy grocery trips needed. You likely already have oats, flour, butter, brown sugar, and apples in your kitchen. If you don’t, it’s a quick run to the store. That’s the beauty of this classic apple crisp with oat topping — it relies on pantry staples.
- Perfect for Hosting: Great for potlucks, holiday dinners, or just a cozy night in. It bakes in a dish that looks rustic and inviting on the table. It feeds a crowd without looking like you tried too hard.
- Crowd-Pleaser: Always gets rave reviews from kids and adults alike. Kids love the sweetness. Adults appreciate the balanced spice and the texture. It’s a safe bet that never fails.
- Unbelievably Delicious: The texture and flavor combo is next-level comfort food. The contrast between the tender, spiced apples and the crunchy, buttery oat topping is what makes it sing. It’s not just good—it is the kind that makes you close your eyes after the first bite.
What makes this recipe different from the rest? It’s the ratio. I’ve seen recipes that use too much flour in the topping, making it cake-like. Or not enough butter, leaving it dry and sandy. This recipe strikes the perfect balance. The oats are coated in butter and sugar, creating little clusters that stay crisp even as they sit next to the juicy apples.
It’s comfort food reimagined—healthier, faster, but with the same soul-soothing satisfaction. I also like to add a pinch of cardamom to the apple filling. It’s subtle, but it adds a depth of flavor that feels sophisticated without being complicated. If you’ve ever tried my perfect apple cider glazed bundt cake, you’ll recognize that warm, aromatic spice profile. It pairs beautifully with the oats here.
Perfect for impressing guests without stress, or turning a simple meal into something memorable. It’s the kind of dessert that feels like a hug.
What Ingredients You Will Need
This recipe uses simple, wholesome ingredients to deliver bold flavor and satisfying texture without the fuss. The magic here is in the quality of the apples and the texture of the oats. Don’t skimp on the butter—it’s what creates the crispness.
For the Apple Filling
- 6-7 large apples: I recommend a mix of Granny Smith and Honeycrisp. Granny Smith provides the tartness and structure, while Honeycrisp adds sweetness and juiciness. (Avoid Red Delicious; they get too mushy.)
- 2 tablespoons lemon juice: Prevents the apples from browning and adds a bright acidity that cuts through the sweetness.
- 1/2 cup granulated sugar: Adjust based on how tart your apples are. If you prefer less sweet, reduce to 1/3 cup.
- 1/2 cup brown sugar, packed: Adds moisture and a deep molasses flavor. This is crucial for the syrup that forms at the bottom.
- 2 tablespoons all-purpose flour: Acts as a thickener to bind the apple juices into a sauce. Cornstarch works too if you need it gluten-free.
- 1 teaspoon cinnamon: The classic spice. Use ground cinnamon for the best flavor.
- 1/4 teaspoon nutmeg: Adds warmth. Don’t skip it, but don’t overdo it.
- 1/4 teaspoon salt: Enhances all the other flavors. Essential.
- 1 tablespoon butter, cubed: Dotting the top of the apples with a little butter adds richness.
For the Oat Topping
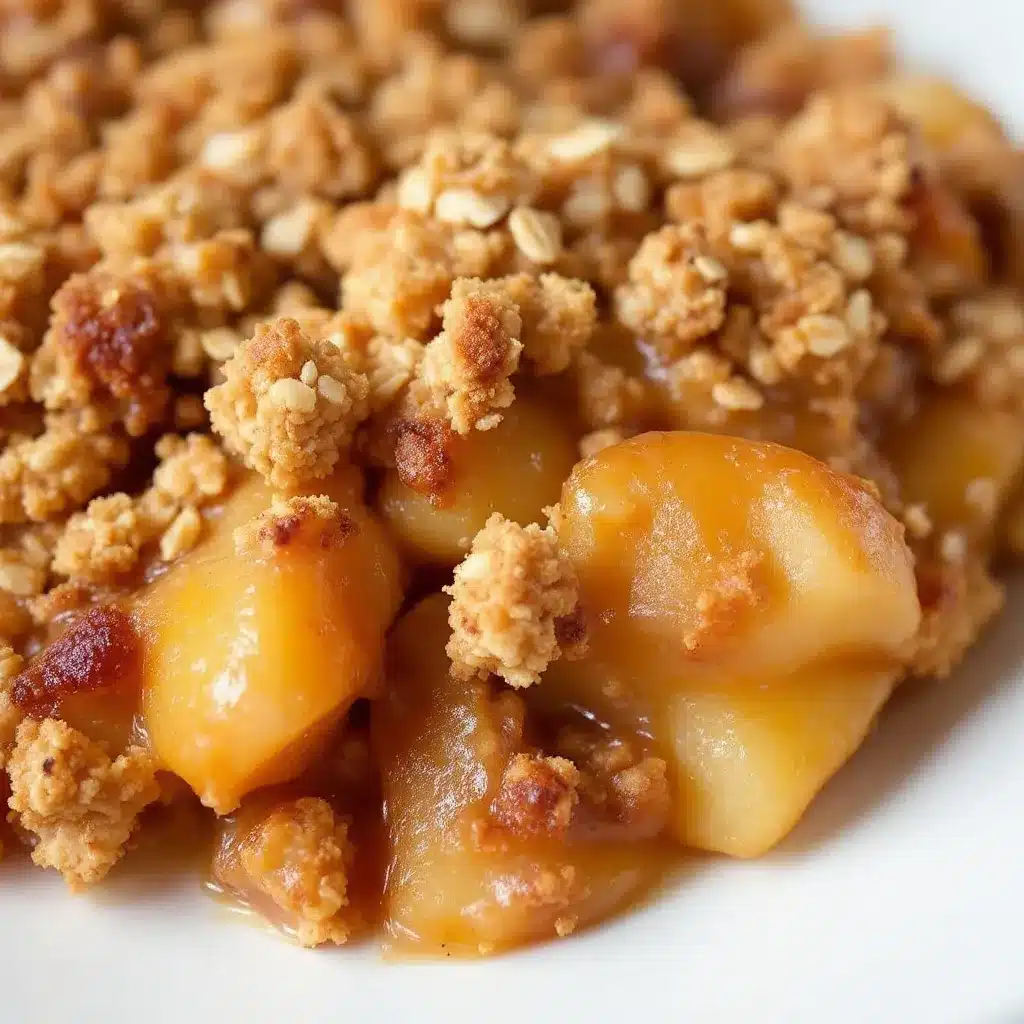
- 1 cup old-fashioned rolled oats: Do not use instant oats. They will dissolve. Do not use steel-cut oats. They won’t cook in time. Old-fashioned is the sweet spot.
- 1 cup all-purpose flour: Provides structure to the topping. If you want a gluten-free option, use a 1:1 gluten-free flour blend.
- 1/2 cup brown sugar, packed: For that chewy, caramel-like crunch.
- 1/2 cup granulated sugar: Helps create the crispy edges.
- 1 teaspoon cinnamon: Matches the filling for a cohesive flavor profile.
- 1/2 teaspoon salt: Balances the sweetness.
- 1/2 cup unsalted butter, cold and cubed: This is the most important part. Cold butter creates flaky, distinct crumbs. If you melt the butter, you get a cake layer, not a crisp. I prefer European-style butter for its higher fat content, which aids browning.
- 1/2 cup chopped pecans or walnuts (optional): Adds a nice nutty crunch. I usually skip them to keep the focus on the oats, but they’re a great addition if you like nuts.
For Serving
- Vanilla ice cream: Classic. Non-negotiable for many.
- Whipped cream: For a lighter touch.
- Caramel sauce: If you want to go all out.
Equipment Needed
You don’t need much for this recipe, which is part of its charm. Here is what you’ll need to get it done right.
- 9×13 inch baking dish: A ceramic or glass dish is best. It distributes heat evenly. Avoid dark metal pans if you can, as they can burn the bottom. If you use a metal pan, lower the oven temperature by 25°F.
- Large mixing bowl: For tossing the apples with sugar and spices.
- Medium mixing bowl: For the oat topping.
- Pastry cutter or two forks: To cut the cold butter into the dry topping ingredients. A food processor works too, but be careful not to over-process. You want pea-sized crumbs, not a paste.
- Peeler or knife: To peel and slice the apples. A mandoline is great for uniform slices, which ensures even cooking.
- Measuring cups and spoons: Precision matters in baking, especially for the topping. Level off your brown sugar.
If you don’t have a 9×13 dish, you can use two 8×8 dishes. Just keep an eye on the baking time; smaller batches bake faster. Also, a sturdy spatula is helpful for scraping the topping into the bowl and for serving later.
Preparation Method
Let’s get into the nitty-gritty. This part is straightforward, but attention to detail makes the difference between good and great.
Step 1: Prep the Oven and Dish
Preheat your oven to 350°F (175°C). Grease your 9×13 inch baking dish with a little butter or non-stick spray. This prevents sticking and adds flavor. It takes about 2 minutes.
Step 2: Prepare the Apples
Peel, core, and slice the apples. Aim for 1/4-inch thick slices. Uniformity is key here. If some slices are thick and others thin, the thin ones will turn to mush before the thick ones are tender. Place the sliced apples in a large bowl. Toss with lemon juice, granulated sugar, brown sugar, flour, cinnamon, nutmeg, and salt. Make sure every slice is coated. This takes about 5-7 minutes. Let them sit while you make the topping.
Step 3: Assemble the Filling
Transfer the spiced apple mixture to the prepared baking dish. Spread it out evenly. Dot the top with the 1 tablespoon of cubed butter. This step adds a rich layer to the fruit. It takes about 2 minutes.
Step 4: Make the Topping
In a medium bowl, whisk together the rolled oats, flour, brown sugar, granulated sugar, cinnamon, and salt. Add the cold, cubed butter. Use a pastry cutter, two forks, or your fingers to work the butter into the dry ingredients. You want the mixture to resemble coarse crumbs with some larger clumps. Don’t overmix. You want distinct pieces that will crisp up. This takes about 5 minutes.
Step 5: Add the Topping
Spread the oat topping evenly over the apples. Press down gently to help it adhere, but don’t pack it tight. You want air pockets for the heat to circulate. It takes about 2 minutes.
Step 6: Bake
Place the dish in the preheated oven. Bake for 45-55 minutes. You’ll know it’s done when the topping is golden brown and the filling is bubbling vigorously around the edges. If the topping browns too quickly, cover it loosely with foil for the last 10 minutes. Let it cool for at least 15-20 minutes before serving. This allows the filling to thicken slightly. If you cut into it hot, it will be soupy.
Cooking Tips & Techniques
I’ve learned a few things the hard way so you don’t have to. Here are some pro tips to ensure your apple crisp turns out perfectly every time.
- Keep the butter cold: This is the #1 rule for the topping. If the butter melts before it hits the oven, you lose the texture. Cube it straight from the fridge. If your kitchen is warm, pop the butter cubes in the freezer for 10 minutes before mixing.
- Don’t skip the resting time: I know it’s hard. The smell is intoxicating. But if you serve it immediately, the filling will run everywhere. Letting it cool for 20 minutes allows the starches to set. The result is a scoopable, cohesive dessert rather than a soup.
- Watch the bubbles: The visual cue for doneness isn’t just the color of the topping. It’s the bubbles. You need to see thick, slow bubbles of apple juice breaking the surface. If there’s no bubbling, the apples aren’t cooked through. Give it more time.
- Use a mix of apples: Using only one type of apple can lead to a one-dimensional flavor and texture. Granny Smiths hold their shape. Honeycrisps break down slightly and add sweetness. The mix gives you the best of both worlds.
- Prevent a soggy bottom: If you’re worried about a soggy bottom, place your baking dish on a preheated baking sheet. This gives the bottom a direct hit of heat, helping it crisp up. It’s a small trick that makes a big difference.
- Adjust sweetness: Apple sweetness varies wildly by season and variety. Taste your apples before you slice them. If they’re super sweet, reduce the sugar in the filling. If they’re very tart, increase it. The brown sugar in the topping is less adjustable, but the filling sugar can be tweaked.
I once made this with all Granny Smiths. It was delicious, but very tart. The next time, I used all Honeycrisps. It was too sweet and the texture was mushy. The mix is the gold standard. Trust the process.
Variations & Adaptations
This recipe is a canvas. Once you master the base, you can play around with flavors and ingredients to suit your tastes or dietary needs.
Dietary Adjustments
- Gluten-Free: Swap the all-purpose flour in both the filling and topping with a 1:1 gluten-free flour blend. Ensure your oats are certified gluten-free if you have celiac disease or a severe sensitivity.
- Dairy-Free: Use a high-quality vegan butter stick (not tub margarine) in the topping and filling. Coconut oil can work, but it has a distinct flavor. For the serving suggestion, use dairy-free vanilla ice cream or coconut whipped cream.
- Lower Sugar: Reduce the granulated sugar in the filling by half. Use less brown sugar in the topping, or substitute with a keto-friendly brown sugar alternative. Note that the texture of the topping may change slightly with sugar substitutes.
Flavor Variations
- Chai Spice: Swap the cinnamon and nutmeg for a chai spice blend. Add a pinch of cardamom, ginger, and cloves. It adds a warm, aromatic kick.
- Maple Walnut: Replace half the brown sugar with pure maple syrup. Add 1/2 cup of toasted walnuts to the topping. This pairs beautifully with the apples.
- Bourbon Glaze: Add a tablespoon of bourbon to the apple filling before baking. It adds a deep, oaky flavor that complements the caramel notes of the brown sugar.
I tried the bourbon version last Thanksgiving. My husband loved it, but it was a bit too strong for my taste. Next time, I’ll use only a teaspoon. It’s all about personal preference. Also, if you like a bit of heat, a pinch of cayenne pepper in the topping is surprisingly good. It adds a subtle warmth that lingers.
Serving & Storage Suggestions
How you serve this changes the experience. And how you store it determines if it lasts.
Serving
Serve warm. Room temperature is okay, but warm is best. A scoop of vanilla bean ice cream is the classic pairing. The cold creaminess contrasts with the warm, crunchy texture. Whipped cream is a lighter alternative. For a more adult option, drizzle with salted caramel sauce or serve with a glass of dessert wine, like a Moscato or Riesling.
If you’re serving a crowd, set up a dessert bar with different toppings. Let people choose their own adventure. It’s fun and interactive.
Storage
- Refrigerator: Store leftovers in an airtight container in the fridge for up to 5 days. The topping will soften over time, which is normal. To re-crisp, bake at 350°F for 10 minutes.
- Freezer: You can freeze the baked crisp for up to 3 months. Wrap the dish tightly in plastic wrap and then aluminum foil. Thaw in the fridge overnight and reheat in the oven. Alternatively, freeze individual portions in freezer-safe containers.
- Reheating: Microwave slices for 30-60 seconds. They will be soft. For the best texture, reheat in the oven or toaster oven at 350°F for 10-15 minutes. This restores some of the crunch.
The flavors actually develop over the first couple of days. The spices meld together, and the apples soften further. Day 2 is often my favorite day for this dessert. It’s more cohesive and the flavors are deeper.
Nutritional Information & Benefits
While this is definitely a treat, it’s not without its perks. Apples are a great source of fiber and vitamin C. Oats provide complex carbohydrates and fiber, which can help keep you full. The cinnamon has anti-inflammatory properties.
Here is an approximate nutritional breakdown per serving (assuming 8 servings):
- Calories: 350-400 kcal
- Carbohydrates: 55g
- Fiber: 4g
- Sugar: 35g
- Protein: 3g
- Fat: 15g
This is not a diet food. It’s a dessert. But compared to many other baked goods, it has some nutritional value. The fiber from the oats and apples helps mitigate the sugar spike slightly. I like to think of it as “comfort with benefits.”
For those watching their sugar intake, the portion size matters. One square is plenty. Pair it with a cup of herbal tea to balance the sweetness. It’s a mindful way to enjoy a classic treat.
Conclusion
This classic apple crisp with oat topping is more than just a recipe. It’s a ritual. It’s about the smell that fills the house, the sound of the crunch, and the warmth of the dish. It’s simple, reliable, and deeply satisfying.
I hope you try this version. I hope you find that perfect balance of tart and sweet, of soft and crunchy. Customize it to your liking. Add nuts. Swap spices. Make it your own.
If you make this, I’d love to hear about it. Leave a comment below with your thoughts. Did you stick to the classic recipe or add your own twist? Share your photos on social media and tag me. I love seeing how you make this recipe your own.
And if you’re looking for more cozy baked goods, check out this easy skillet peach crisp for a summer variation. It uses the same technique but with fresh peaches. It’s equally delicious.
Happy baking. And remember: let it cool before you cut. Trust me.
FAQs
Can I use frozen apples for this recipe?
Yes, you can use frozen apples, but they will release more liquid. You may need to increase the flour or cornstarch in the filling by 1 tablespoon to thicken the sauce. Also, frozen apples are usually pre-sliced, so check the thickness. They will cook faster, so keep an eye on the baking time.
Why is my topping soggy?
Soggy topping usually means the butter was too warm or melted before baking. Make sure your butter is cold and cubed. Also, ensure the topping is spread evenly and not too thick. If it’s too thick, the center may not crisp up. Another reason could be insufficient baking time. Make sure the filling is bubbling before you take it out.
Can I make this ahead of time?
Yes. You can assemble the crisp up to 24 hours in advance. Cover it tightly and refrigerate. When you’re ready to bake, you may need to add 10-15 minutes to the baking time since the dish will be cold from the fridge. Let it come to room temperature for 30 minutes before baking for more even cooking.
What is the best type of oat to use?
Old-fashioned rolled oats are the best choice. They have the right texture and absorb moisture without turning to mush. Instant oats are too fine and will create a pasty topping. Steel-cut oats are too hard and won’t cook through in the baking time. Stick with old-fashioned.
How do I store leftovers?
Store leftovers in an airtight container in the refrigerator for up to 5 days. To restore the crunch, reheat individual portions in the oven or toaster oven at 350°F for 10 minutes. Avoid microwaving if you want to preserve the texture of the topping.
Pin This Recipe!
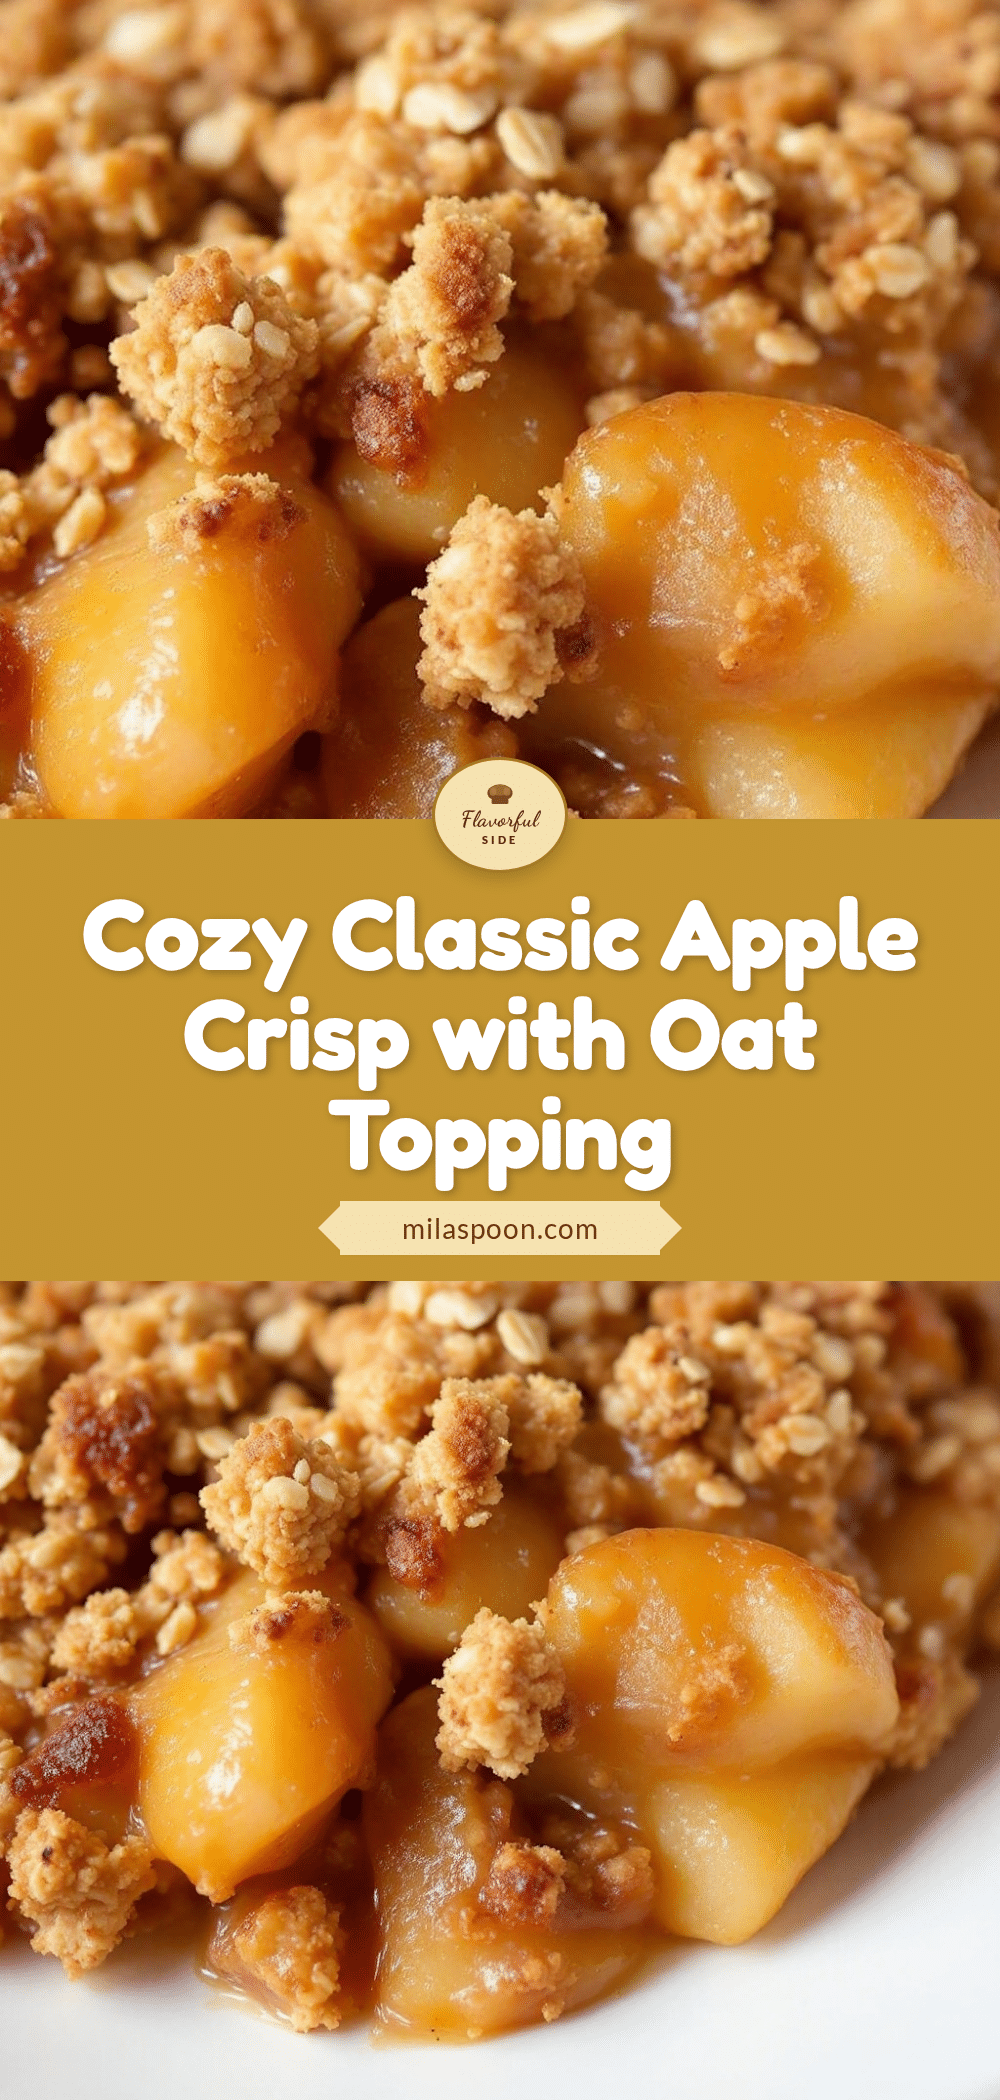
Classic Apple Crisp: Easy Homemade Oat Topping Recipe

A classic apple crisp featuring a perfect balance of tart and sweet apples topped with a crunchy, buttery oat mixture. This recipe emphasizes texture and simplicity, using pantry staples for a comforting dessert.
- Prep Time: 15 minutes
- Cook Time: 45-55 minutes
- Total Time: 45 minutes
- Yield: 8 servings 1x
- Category: Dessert
- Cuisine: American
Ingredients
- 6–7 large apples (mix of Granny Smith and Honeycrisp), peeled, cored, and sliced
- 2 tablespoons lemon juice
- 1/2 cup granulated sugar
- 1/2 cup brown sugar, packed
- 2 tablespoons all-purpose flour
- 1 teaspoon cinnamon
- 1/4 teaspoon nutmeg
- 1/4 teaspoon salt
- 1 tablespoon butter, cubed
- 1 cup old-fashioned rolled oats
- 1 cup all-purpose flour
- 1/2 cup brown sugar, packed
- 1/2 cup granulated sugar
- 1 teaspoon cinnamon
- 1/2 teaspoon salt
- 1/2 cup unsalted butter, cold and cubed
- 1/2 cup chopped pecans or walnuts (optional)
Instructions
- Preheat oven to 350°F (175°C) and grease a 9×13 inch baking dish.
- Peel, core, and slice apples into 1/4-inch thick slices. Toss with lemon juice, granulated sugar, brown sugar, flour, cinnamon, nutmeg, and salt until coated. Let sit while preparing topping.
- Transfer spiced apples to the prepared baking dish and spread evenly. Dot the top with 1 tablespoon of cubed butter.
- In a medium bowl, whisk together rolled oats, flour, brown sugar, granulated sugar, cinnamon, and salt.
- Add cold, cubed butter to the dry ingredients. Use a pastry cutter or fingers to work butter in until mixture resembles coarse crumbs with some larger clumps.
- Spread oat topping evenly over the apples, pressing down gently.
- Bake for 45-55 minutes until topping is golden brown and filling is bubbling vigorously. If topping browns too quickly, cover loosely with foil.
- Cool for at least 15-20 minutes before serving to allow filling to thicken.
Notes
Keep butter cold for the topping to ensure crispness. Do not skip the resting time after baking to prevent a soupy filling. Use a mix of apples for best texture and flavor. For gluten-free, use GF flour blend and certified GF oats. For dairy-free, use vegan butter.
Nutrition
- Serving Size: 1 square slice
- Calories: 375
- Sugar: 35
- Sodium: 150
- Fat: 15
- Saturated Fat: 8
- Carbohydrates: 55
- Fiber: 4
- Protein: 3
Keywords: apple crisp, oat topping, fall dessert, easy baking, comfort food, gluten-free option, dairy-free option