Love this? Save it for later!
Share the inspiration with your friends
“This is the best thing I’ve eaten all week,” my husband said, scraping the last bit of oat crumble from his bowl. And honestly, that’s how this whole apple crisp obsession started. Not with a family heirloom recipe or a fancy cooking class, just a Tuesday night and a bag of apples that were starting to look a little sad on the counter. I had about twenty minutes before we needed to eat something warm, and I wasn’t about to make a whole pie crust. So I threw together this oat crumble topping, crossed my fingers, and hoped for the best. What came out of the oven was pure comfort in a dish — the apples soft and jammy underneath a blanket of golden, buttery oats. It smelled like fall and tasted like a hug. That was the night I stopped looking for complicated dessert recipes. This cozy classic apple crisp with oat crumble topping became our go-to, and it’s never let us down since. Sometimes the best recipes aren’t planned, you know? They just happen because you need something good, fast, and real.
Why You’ll Love This Recipe
Let me tell you why this apple crisp has earned a permanent spot in my dessert rotation. First off, it’s genuinely simple. No rolling pins, no pie weights, no chilling dough for hours. You mix the filling, you mix the topping, and you bake. That’s it. I’ve tested this recipe at least a dozen times, tweaking the oat-to-butter ratio until the crumble turned exactly how I wanted it — crispy on top, tender underneath, with those little clusters that make you dig for them.
- Quick & Easy : From start to oven in about 15 minutes. Perfect for those evenings when you want something warm but don’t have the energy for a project.
- Simple Ingredients : You probably already have most of these in your pantry. Oats, flour, butter, brown sugar, cinnamon — the usual suspects.
- Perfect for Fall Gatherings : Bring this to a potluck or Thanksgiving dinner and watch it disappear. It’s less fussy than pie but just as impressive.
- Crowd-Pleaser : Kids love the sweet oat topping, adults appreciate the cozy apple filling. Everyone wins.
- Unbelievably Delicious : The contrast between the soft, cinnamon-spiced apples and the crunchy oat crumble is pure magic. It’s comfort food at its finest.
What makes this version different from others is the double-oat technique. I use oats both in the topping and mixed right into the filling for extra texture. It sounds weird, I know, but trust me — it adds this subtle chewiness that makes every bite more interesting. Plus, the brown sugar caramelizes just enough to create a sticky-sweet sauce around the apples without being overly sugary. This isn’t just another apple crisp recipe. It’s the one that makes you close your eyes after the first bite.
What Ingredients You Will Need
This recipe uses simple, wholesome ingredients that come together to create something truly special. Most of these are pantry staples, which makes this dessert perfect for spontaneous baking sessions.
For the Apple Filling
- 6 cups apples, peeled, cored, and sliced (about 6 medium apples — I recommend a mix of Granny Smith and Honeycrisp for the best balance of tart and sweet)
- 1/4 cup granulated sugar (adds sweetness and helps the apples release their juices)
- 2 tablespoons all-purpose flour (thickens the filling as it bakes)
- 1 teaspoon ground cinnamon (the classic warm spice that makes apple desserts sing)
- 1/4 teaspoon ground nutmeg (freshly grated if you have it — it makes a difference)
- 1 tablespoon lemon juice (brightens the flavor and prevents the apples from browning)
- 1/4 cup rolled oats (yes, in the filling! This is my secret trick for extra texture)
For the Oat Crumble Topping
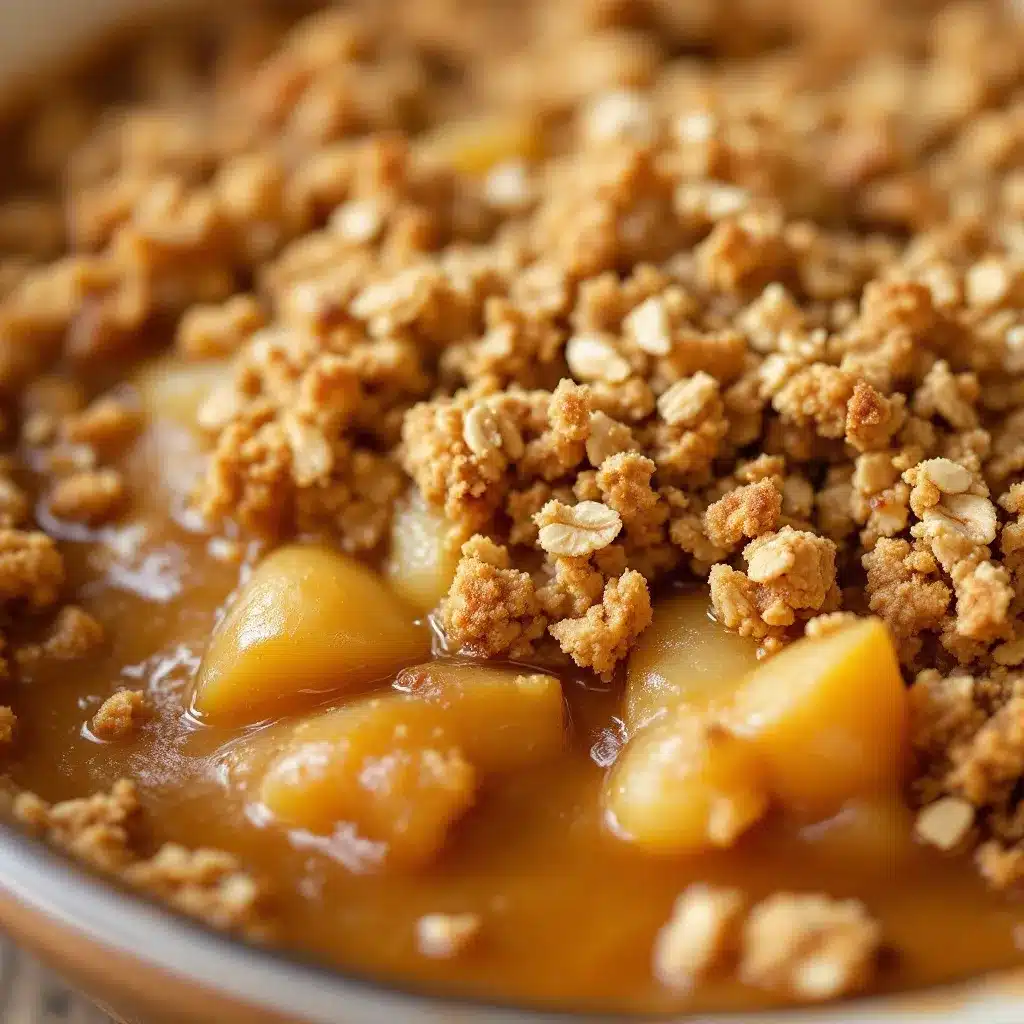
- 1 cup rolled oats (not quick oats — they get mushy. Old-fashioned oats give the best crunch)
- 3/4 cup all-purpose flour (provides structure to the crumble)
- 1/2 cup packed brown sugar (light or dark both work; dark gives a deeper molasses flavor)
- 1/2 cup unsalted butter, cold and cut into small cubes (cold butter is key for a crumbly texture — I use Kerrygold for its rich flavor)
- 1/2 teaspoon ground cinnamon (because you can never have too much cinnamon)
- 1/4 teaspoon salt (balances the sweetness and enhances all the flavors)
- 1/2 cup chopped pecans or walnuts (optional, but I love the extra crunch — toast them lightly first for maximum flavor)
For the apples, I really recommend using a mix of varieties. Granny Smith holds its shape well and provides that tart kick, while Honeycrisp breaks down slightly and adds natural sweetness. If you only have one type, that’s totally fine — just adjust the sugar based on how sweet your apples are. And about the oats: I prefer Bob’s Red Mill old-fashioned rolled oats for their texture. They hold up beautifully during baking and don’t turn into mush.
If you need a gluten-free version, swap the all-purpose flour with a good gluten-free flour blend. I’ve had great results with King Arthur’s measure-for-measure blend. The topping might be slightly more delicate, but it still tastes amazing.
Equipment Needed
You don’t need fancy gadgets for this recipe, which is part of its charm. Here’s what you’ll need:
- 9×13-inch baking dish (or an 8×8-inch dish for a thicker crisp — just adjust baking time slightly)
- Large mixing bowl (for the apple filling)
- Medium mixing bowl (for the oat crumble topping)
- Sharp knife and cutting board (for peeling and slicing apples)
- Pastry cutter or two forks (for cutting butter into the flour mixture — I’ve used my hands in a pinch and it works fine, just work quickly so the butter doesn’t warm up)
- Measuring cups and spoons (accuracy matters in baking, even for a rustic crisp)
- Rubber spatula (for mixing the filling)
- Aluminum foil (for covering if the topping browns too quickly)
If you don’t have a pastry cutter, don’t worry. You can use your fingertips to rub the butter into the flour mixture until it looks like coarse crumbs. Just make sure your hands are cold — run them under cold water first if needed. I’ve even used a food processor in a pinch, pulsing a few times until the mixture resembles pea-sized crumbs. It’s forgiving, this recipe.
Preparation Method
Alright, let’s get to the good part. Here’s how to make this cozy classic apple crisp with oat crumble topping, step by step.
- Preheat your oven to 350°F (175°C). Position the rack in the center of the oven. While it’s heating, lightly grease your 9×13-inch baking dish with butter or non-stick spray. This prevents sticking and makes cleanup easier.
- Prepare the apples. Peel, core, and slice your apples into even pieces about 1/4-inch thick. I like to slice them directly into the baking dish to save on cleanup. Aim for uniform slices so they cook evenly. If your slices are all different sizes, some will turn to mush while others stay too firm.
- Make the filling. In a large bowl (or right in the baking dish if you’re feeling bold), toss the sliced apples with granulated sugar, 2 tablespoons flour, cinnamon, nutmeg, lemon juice, and 1/4 cup rolled oats. Use your hands or a spatula to coat every apple slice. The oats might seem weird here, but they absorb some of the apple juices and create this lovely, almost pudding-like texture. Let the mixture sit for 5 minutes while you make the topping — this gives the apples time to start releasing their juices.
- Make the oat crumble topping. In a medium bowl, whisk together 1 cup rolled oats, 3/4 cup flour, brown sugar, 1/2 teaspoon cinnamon, and salt. Add the cold butter cubes. Using a pastry cutter or your fingertips, work the butter into the dry ingredients until the mixture looks like coarse sand with some pea-sized butter pieces still visible. This takes about 2-3 minutes. Don’t overwork it — you want those little butter chunks to create steam pockets as they melt, which makes the topping light and crispy. If using nuts, fold them in now.
- Assemble the crisp. Spread the apple mixture evenly in your prepared baking dish. Sprinkle the oat crumble topping evenly over the apples, covering them completely. Don’t press it down — let it sit loosely so it bakes up craggy and textured.
- Bake. Place the dish on a baking sheet to catch any bubbly overflow (trust me on this one — I’ve learned the hard way). Bake for 40-45 minutes, or until the topping is golden brown and the filling is bubbling around the edges. The apples should be tender when pierced with a fork. If the topping is browning too quickly after 30 minutes, loosely cover with aluminum foil for the remaining time.
- Cool slightly before serving. Let the crisp rest on a wire rack for at least 10-15 minutes. This allows the filling to set up a bit so it’s not too runny. I know it’s tempting to dig in right away, but patience pays off here. The flavors meld together and the texture becomes perfect.
A few notes: If your apples are particularly juicy, you might need an extra 5 minutes of baking time. Look for those big bubbles around the edges — that’s how you know the filling is thickened and ready. And if you’re using a glass baking dish, reduce the oven temperature by 25°F since glass retains heat more efficiently.
Cooking Tips & Techniques
After making this apple crisp more times than I can count, I’ve picked up a few tricks that make a real difference. Let me share them with you so you don’t have to learn the hard way like I did.
Use cold butter for the topping. This is non-negotiable. Warm butter gets absorbed into the flour and oats, creating a dense, pasty mess instead of a crispy crumble. I pop my butter in the freezer for 10 minutes before I start, then grate it directly into the flour mixture using a box grater. It’s faster than cutting and distributes more evenly. Game changer.
Don’t skip the lemon juice. I made this mistake once, thinking it wouldn’t matter. The apples turned brown and the filling tasted flat. Lemon juice does two things: it keeps the apples from oxidizing, and it brightens the overall flavor so the sweetness doesn’t feel cloying. A little acidity goes a long way.
Watch your baking time carefully. Ovens vary wildly, so start checking around the 35-minute mark. The topping should be deep golden brown, not pale. If it’s still light after 40 minutes, give it another 5. But if it’s getting dark too fast, tent it with foil. I’ve burned more than one topping by walking away and trusting the timer blindly.
Let it rest. I know, I know — the smell is intoxicating and you want to dive in immediately. But if you serve it straight from the oven, the filling will be runny and the topping might slide right off. Ten minutes of resting makes everything set up beautifully. Use that time to whip some cream or scoop some ice cream.
Multitask like a pro. While the crisp is baking, make your vanilla ice cream or whipped cream from scratch if you’re feeling ambitious. Or just set the table and pour yourself a glass of something nice. The crisp does its thing in the oven, and you get to relax.
Variations & Adaptations
One of the best things about this recipe is how easy it is to adapt. Here are some of my favorite variations:
Gluten-Free Version : Swap the all-purpose flour with a 1:1 gluten-free baking flour blend. I’ve used both King Arthur and Bob’s Red Mill with great results. The topping might be slightly more crumbly, but it still tastes incredible. Make sure your oats are certified gluten-free too, since oats are often processed in facilities that handle wheat.
Vegan Adaptation : Use cold coconut oil or vegan butter in place of regular butter. I like Miyoko’s European-style cultured vegan butter — it has the right fat content for a crispy topping. For the filling, everything else is already plant-based, so you’re good to go.
Seasonal Fruit Swaps : This recipe works beautifully with pears, peaches, or a mix of both. In the fall, try adding fresh or frozen cranberries for a tart twist. In summer, use ripe peaches and reduce the sugar slightly since they’re naturally sweeter. I’ve even made it with frozen mixed berries in winter, and it was absolutely delicious.
Spice It Up : Add 1/4 teaspoon of cardamom or ginger to the filling for a more complex flavor profile. A pinch of allspice works too. Sometimes I add a splash of bourbon or dark rum to the apple mixture before baking — it adds warmth without being boozy.
Nut-Free Option : Simply omit the nuts from the topping. The crisp will still be perfectly delicious without them. You can add extra oats or a tablespoon of sunflower seeds for crunch if you want.
I once made a version with diced pears and fresh ginger — the combination was surprisingly good. Don’t be afraid to experiment! This recipe is forgiving and welcomes creativity.
Serving & Storage Suggestions
This apple crisp is best served warm, but it’s honestly good at any temperature. Here’s how I like to serve it:
Serving Temperature : Warm, straight from the oven after that 10-minute rest. The contrast between the warm apples and cold ice cream is heavenly. If you’re serving it at room temperature for a gathering, it’s still fantastic — just not quite as dramatic.
Perfect Pairings : A scoop of vanilla bean ice cream is the classic choice, and for good reason. The cold, creamy vanilla balances the warm, spiced apples beautifully. But don’t stop there — try it with a dollop of freshly whipped cream, a drizzle of caramel sauce, or even a spoonful of Greek yogurt for breakfast the next day (yes, I’ve done this). For drinks, a hot cup of coffee or a glass of cold milk complements it perfectly.
Storing Leftovers : Cover the baking dish tightly with foil or transfer leftovers to an airtight container. Store in the refrigerator for up to 4 days. The topping will soften over time, but it’s still delicious. If you want to restore some crunch, reheat individual portions in a toaster oven or under the broiler for a minute or two.
Freezing Instructions : You can freeze the unbaked crisp for up to 3 months. Assemble it in a freezer-safe dish, wrap tightly in plastic wrap and foil, and freeze. When you’re ready to bake, add about 15-20 minutes to the baking time (no need to thaw). Alternatively, bake the crisp completely, let it cool, then freeze. Reheat in a 350°F oven until warmed through.
Reheating Tips : The microwave works in a pinch, but it makes the topping soggy. For best results, reheat in a 350°F oven for 10-15 minutes, or in a toaster oven for 5-7 minutes. The topping will crisp up again and the apples will be perfectly warm.
One thing I’ve noticed: the flavors actually deepen overnight. The apples continue to soak up the spices and sugar, making day-two apple crisp somehow even better. Don’t be afraid to make it a day ahead if you’re planning for a gathering.
Nutritional Information & Benefits
This cozy classic apple crisp with oat crumble topping is a dessert, so let’s be real about that. But it does have some redeeming qualities beyond being absolutely delicious.
Estimated Nutritional Values (per serving, about 1/8 of recipe) :
- Calories: 320
- Total Fat: 14g
- Saturated Fat: 7g
- Cholesterol: 30mg
- Sodium: 115mg
- Total Carbohydrates: 48g
- Dietary Fiber: 4g
- Sugars: 28g
- Protein: 4g
Health Benefits : Apples are rich in fiber and vitamin C, and they contain antioxidants that support heart health. Oats are a great source of soluble fiber, which can help lower cholesterol and keep you feeling full. The nuts add healthy fats and a bit of protein. So while this is still a treat, it’s not completely devoid of nutritional value.
Dietary Considerations : This recipe can easily be made gluten-free, vegan, or nut-free with simple substitutions. It’s naturally dairy-free if you use vegan butter. The fiber content makes it more satisfying than many other desserts, so a small portion goes a long way.
Potential Allergens : Contains wheat (gluten), dairy (butter), and nuts (optional). Adjust as needed for your dietary needs.
I personally love that this dessert feels indulgent without being overly heavy. It’s the kind of treat you can enjoy after a hearty meal without feeling like you need to unbutton your pants. Plus, you’re eating fruit, right? That counts for something.
Conclusion
This cozy classic apple crisp with oat crumble topping is everything I want in a dessert: simple, comforting, and deeply satisfying. It doesn’t require fancy techniques or hard-to-find ingredients. It just requires good apples, a little patience, and the desire to make something warm and wonderful. Whether you’re serving it at a holiday gathering, a casual dinner with friends, or just treating yourself on a quiet Tuesday night, this recipe delivers every single time.
I love that it’s forgiving enough for beginners but rewarding enough for experienced bakers. The oat crumble topping is my favorite part — those crispy, buttery clusters that somehow taste even better than they look. And the apples? Soft, spiced, and perfectly sweet. It’s the kind of dessert that makes you slow down and savor each bite.
So go ahead — grab some apples, preheat your oven, and make this crisp. Customize it however you like, and don’t forget to serve it with something cold and creamy. I’d love to hear how it turns out for you! Drop a comment below and let me know if you tried any variations, or share your own twist on this classic. Happy baking, friends!
Frequently Asked Questions
Can I use quick oats instead of rolled oats?
You can, but I don’t recommend it. Quick oats are more finely processed and will absorb liquid faster, resulting in a softer, less crispy topping. Old-fashioned rolled oats give you that hearty, crunchy texture that makes this crisp so satisfying. If quick oats are all you have, reduce the baking time slightly and expect a more tender crumble.
How do I prevent the topping from getting soggy?
Make sure your butter is very cold, and don’t overmix the topping. The butter pieces should remain visible — those little chunks create steam pockets that make the topping light and crispy. Also, let the crisp rest after baking so the steam can escape instead of getting trapped under the topping. If you’re storing leftovers, reheat in the oven to restore crunch.
What are the best apples for apple crisp?
I like a mix of Granny Smith and Honeycrisp. Granny Smith holds its shape and provides tartness, while Honeycrisp adds natural sweetness and breaks down slightly for a softer texture. Other good options include Braeburn, Jonagold, or Pink Lady. Avoid Red Delicious — they turn into mush and don’t have much flavor.
Can I make this apple crisp ahead of time?
Absolutely! You can assemble the crisp (without baking) up to 24 hours in advance. Cover and refrigerate, then bake as directed when you’re ready. You may need to add 5-10 minutes to the baking time since the filling will be cold. Alternatively, bake it completely, let it cool, and reheat in a 350°F oven for 15 minutes before serving. The flavors actually get better overnight!
Why is my apple crisp runny?
Runny filling usually means one of two things: your apples were very juicy and you didn’t use enough thickener, or you didn’t bake it long enough. Make sure you’re using the full 2 tablespoons of flour in the filling, and let the crisp bake until the juices are bubbling thickly around the edges. If it’s still runny after baking, let it rest longer — the filling continues to set as it cools.
Pin This Recipe!
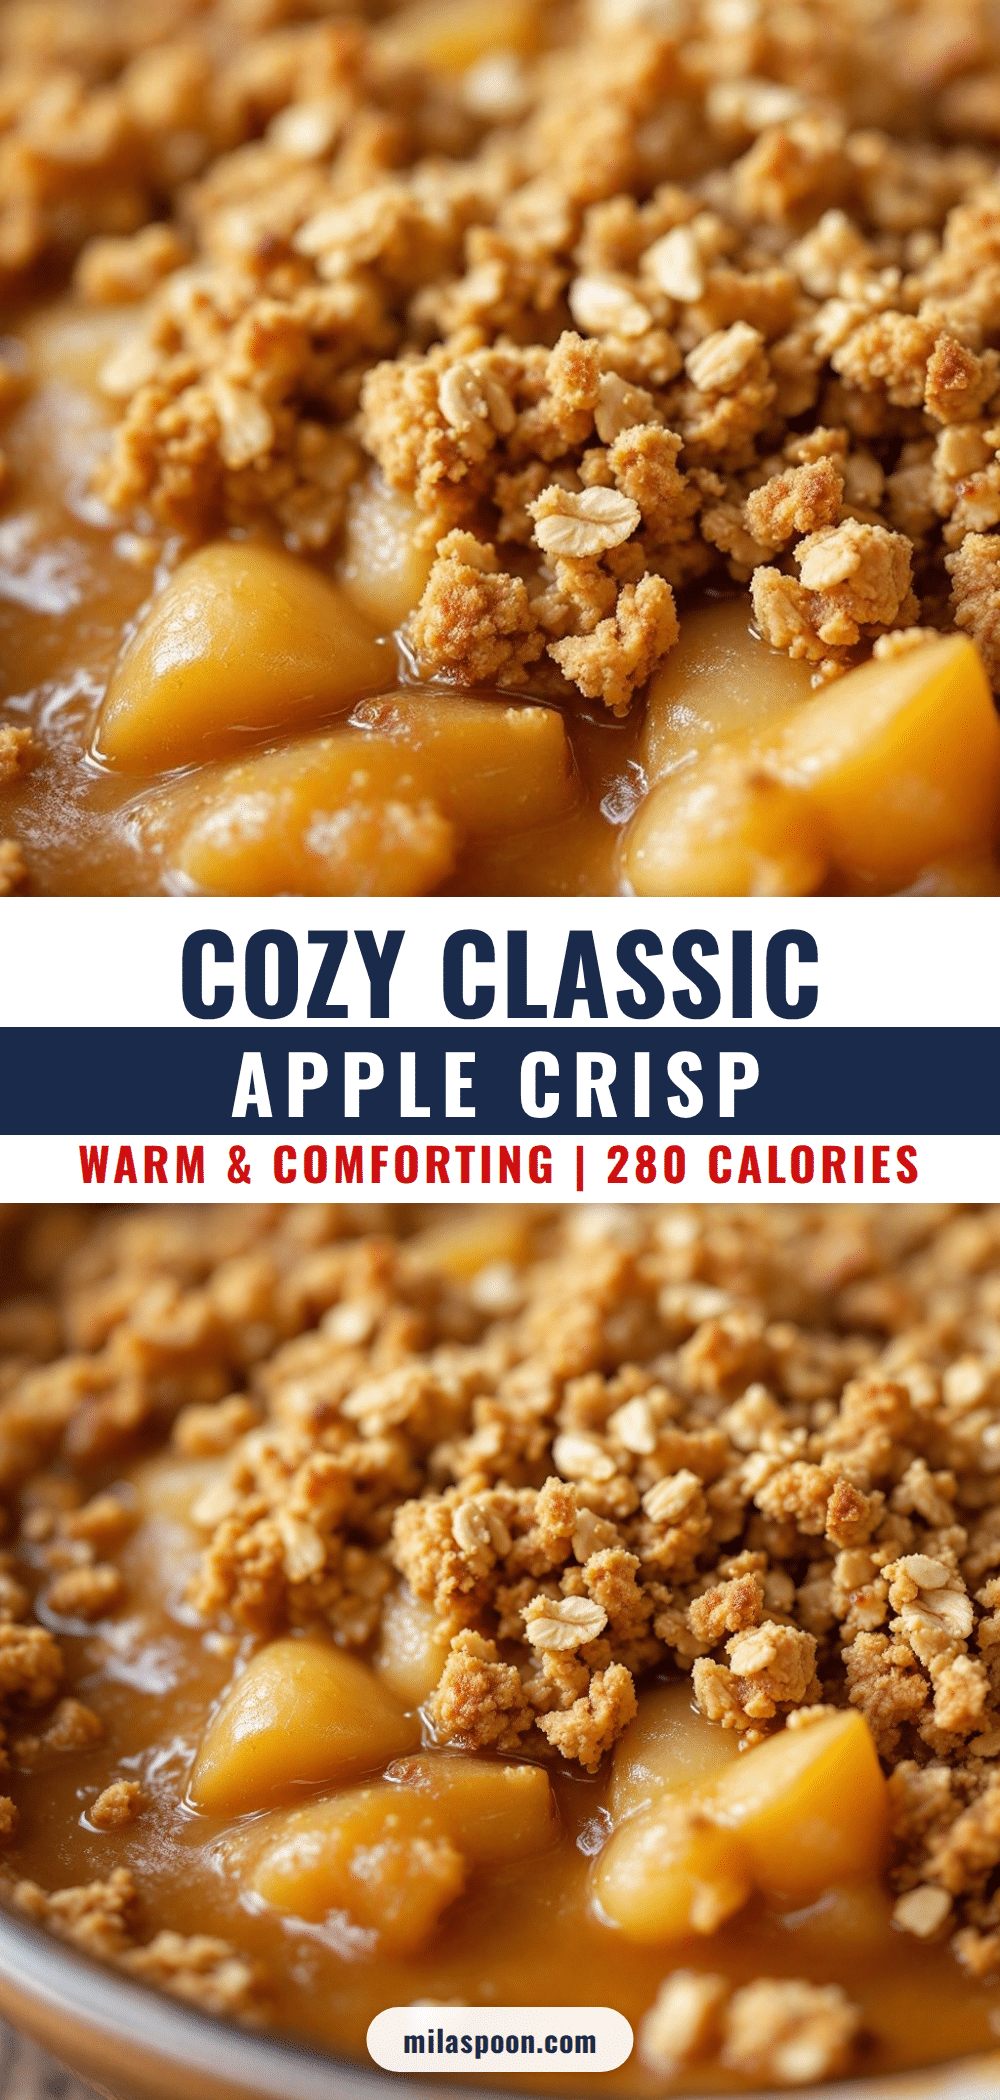
Cozy Classic Apple Crisp with Perfect Oat Crumble Topping

This cozy classic apple crisp features a double-oat technique for extra texture, with soft, cinnamon-spiced apples under a golden, buttery oat crumble topping. It’s simple, comforting, and perfect for fall gatherings.
- Prep Time: 15 minutes
- Cook Time: 45 minutes
- Total Time: 1 hour
- Yield: 8 servings 1x
- Category: Dessert
- Cuisine: American
Ingredients
- 6 cups apples, peeled, cored, and sliced (about 6 medium apples, mix of Granny Smith and Honeycrisp)
- 1/4 cup granulated sugar
- 2 tablespoons all-purpose flour
- 1 teaspoon ground cinnamon
- 1/4 teaspoon ground nutmeg
- 1 tablespoon lemon juice
- 1/4 cup rolled oats
- 1 cup rolled oats
- 3/4 cup all-purpose flour
- 1/2 cup packed brown sugar
- 1/2 cup unsalted butter, cold and cut into small cubes
- 1/2 teaspoon ground cinnamon
- 1/4 teaspoon salt
- 1/2 cup chopped pecans or walnuts (optional)
Instructions
- Preheat your oven to 350°F (175°C). Lightly grease a 9×13-inch baking dish with butter or non-stick spray.
- Peel, core, and slice apples into even pieces about 1/4-inch thick.
- In a large bowl, toss sliced apples with granulated sugar, 2 tablespoons flour, 1 teaspoon cinnamon, nutmeg, lemon juice, and 1/4 cup rolled oats. Let sit for 5 minutes.
- In a medium bowl, whisk together 1 cup rolled oats, 3/4 cup flour, brown sugar, 1/2 teaspoon cinnamon, and salt. Add cold butter cubes and cut in with a pastry cutter or fingertips until mixture resembles coarse sand with some pea-sized butter pieces. Fold in nuts if using.
- Spread apple mixture evenly in prepared baking dish. Sprinkle oat crumble topping evenly over apples, without pressing down.
- Place dish on a baking sheet and bake for 40-45 minutes, until topping is golden brown and filling is bubbling around the edges. If topping browns too quickly, cover loosely with foil after 30 minutes.
- Let crisp rest on a wire rack for at least 10-15 minutes before serving.
Notes
Use cold butter for the topping. Don’t skip the lemon juice. Let the crisp rest before serving. For gluten-free, use a 1:1 gluten-free flour blend and certified gluten-free oats. For vegan, use cold coconut oil or vegan butter.
Nutrition
- Serving Size: 1/8 of recipe
- Calories: 320
- Sugar: 28
- Sodium: 115
- Fat: 14
- Saturated Fat: 7
- Carbohydrates: 48
- Fiber: 4
- Protein: 4
Keywords: apple crisp, oat crumble, fall dessert, easy apple dessert, comfort food


