Love this? Save it for later!
Share the inspiration with your friends
Introduction
There used to be a tiny deli tucked away on a quiet street corner in Portland that made the most unforgettable crisp garlic dill refrigerator pickles. When they closed suddenly one chilly November evening, I was heartbroken. Honestly, I thought I’d never find pickles that matched that perfect snap, tang, and garlicky punch. After five different attempts — some soggy, some bland, some just plain sad — I finally got it right. It was a late Friday night, my kitchen was a mess of spilled brine and garlic skins, and my cat decided to join the chaos by knocking over the vinegar bottle. But with a little patience and some tweaks, I nailed that crisp, zesty pickle that I’d been chasing for months.
Maybe you’ve been there too — craving something that just disappeared from your favorite spot, leaving behind a void and a stubborn craving. For me, these pickles aren’t just a side dish; they’re a memory and a little victory every time I open the jar. The crunch, the garlicky aroma, the bright dill flavor — it all comes together in just 24 hours, and I can’t wait to share the recipe with you. Let me tell you, once you make these, you’ll want to keep a batch ready for whenever that pickle craving hits.
Why You’ll Love This Recipe
This crisp garlic dill refrigerator pickles recipe is truly a gem. Having tested it over many months and tweaked every detail, I can say it stands out for a few key reasons:
- Quick & Easy: Ready in just 24 hours, perfect for when you want fresh pickles fast without the long wait of traditional canning.
- Simple Ingredients: No rare spices or complicated steps — just pantry staples and fresh cucumbers.
- Perfect for Snacking & Meals: Whether you’re slicing them on sandwiches, serving alongside grilled meats, or just munching straight from the jar, these pickles shine.
- Crowd-Pleaser: Family and friends always ask for the recipe — the balance of garlic, dill, and tang is spot on.
- Unbelievably Delicious: The crisp texture combined with a bright, garlicky flavor makes these pickles unforgettable.
This isn’t your average pickle jar — the secret is soaking the cucumbers in a brine that’s just right, with a little extra garlic punch to give it character. I’ve found that using fresh dill heads instead of just dried herbs makes a huge difference, and the quick refrigeration method keeps the crunch alive without fuss. Trust me, you’ll close your eyes after the first bite and smile.
Ingredients Needed
This recipe uses simple, wholesome ingredients to deliver bold flavor and that perfect snap without any fuss. You likely have nearly everything on hand, which makes it great for last-minute pickle cravings.
- Mini cucumbers or Kirby cucumbers (about 2 pounds / 900 g) – Firm and fresh for the best crunch.
- Fresh dill heads or sprigs (4-6 heads or about 1/3 cup chopped) – Adds vibrant dill flavor; I prefer fresh over dried for brightness.
- Garlic cloves (6-8 cloves, peeled and smashed) – For that unmistakable garlic kick.
- White vinegar (2 cups / 480 ml) – The acidity for tang and preservation.
- Water (2 cups / 480 ml) – To balance the vinegar.
- Pickling salt or kosher salt (2 tablespoons) – Avoid iodized salt to keep the brine clear.
- Whole black peppercorns (1 tablespoon) – Adds subtle warmth and depth.
- Optional: red pepper flakes (1/2 teaspoon) – For a little heat if you like spicy pickles.
Pro tip: I always recommend using Morton’s kosher salt for consistent seasoning. If you can find small Kirby cucumbers at your local farmer’s market, grab them — they have that perfect pickle texture. No fresh dill? Use 2 teaspoons dried dill weed instead, but fresh is worth the extra effort.
Equipment Needed
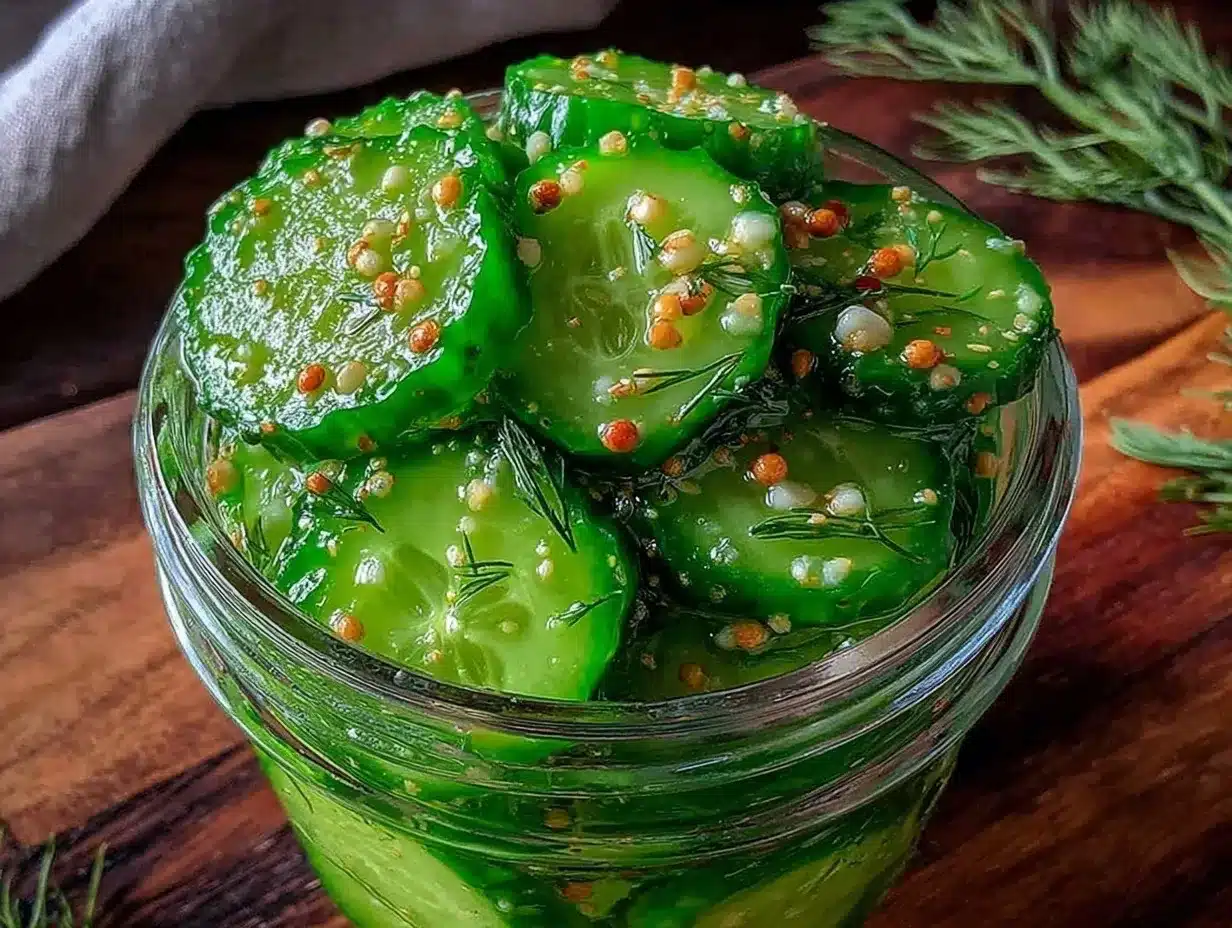
- Large glass jar or multiple smaller jars (quart size or about 1 liter) – Glass keeps flavors pure and is dishwasher safe.
- Measuring cups and spoons – For precise brine measurements.
- Large mixing bowl – To toss cucumbers with salt if you want extra crispness before pickling.
- Sharp knife – For slicing cucumbers if you prefer chips or spears.
- Cutting board – A solid surface for prepping.
If you don’t have a quart jar, wide-mouth mason jars work great too. I once tried pickling in a plastic container and honestly, the flavor wasn’t quite the same — glass is best. Keep your knives sharp to avoid bruising the cucumbers, which can make pickles soft.
Preparation Method
- Prepare the cucumbers: Rinse 2 pounds (900 g) of mini or Kirby cucumbers thoroughly. Trim the blossom ends (the opposite end of the stem) to help maintain crispness. You can leave them whole or slice into spears or chips depending on your preference. This step takes about 10 minutes.
- Make the brine: In a saucepan, combine 2 cups (480 ml) white vinegar, 2 cups (480 ml) water, 2 tablespoons pickling salt, 1 tablespoon whole black peppercorns, and optional 1/2 teaspoon red pepper flakes. Bring to a gentle boil, stirring until the salt dissolves. Remove from heat and let cool slightly, about 5 minutes.
- Pack the jar: Place 6-8 smashed garlic cloves and 4-6 fresh dill heads into your glass jar. Pack the cucumbers tightly but without crushing. I find that gently pressing them down with a spoon helps fit more in without breaking them. This step usually takes around 10 minutes.
- Pour the brine: Carefully pour the warm brine over the cucumbers until fully submerged. Leave about 1/2 inch (1.3 cm) headspace at the top. If needed, use a clean glass weight or small zip-top bag filled with water to keep cucumbers submerged. This keeps them crisp and prevents spoilage.
- Seal and refrigerate: Close the jar tightly and place it in the refrigerator. Let the pickles develop flavor and crunch over at least 24 hours before tasting. For best flavor, wait up to 48 hours.
- Enjoy! Your crisp garlic dill refrigerator pickles are ready to enjoy as a snack or side dish. They’ll keep fresh and crunchy in the fridge for up to 3 weeks.
Note: If you ever find the pickles too salty or tangy, you can rinse them briefly before eating or adjust vinegar and salt slightly next time. The first time I made these, I accidentally added a bit too much salt, but I learned to measure carefully after that.
Cooking Tips & Techniques
Making crisp garlic dill refrigerator pickles is all about balance and timing. Here are some tips I’ve picked up along the way:
- Use fresh, firm cucumbers: Older cucumbers tend to be soft and watery, which leads to soggy pickles. Pick firm ones with no soft spots.
- Trim blossom ends: That little blossom end contains enzymes that can cause softening. Snip it off for crunch.
- Keep cucumbers submerged: Air exposure leads to mushy spots and mold. Use a weight or a water-filled bag to keep them under brine.
- Avoid iodized salt: It can discolor pickles and affect flavor. Pickling or kosher salt works best.
- Don’t rush the flavor: Though ready in 24 hours, letting the pickles sit 48 hours brings out deeper garlic and dill notes.
- Store in refrigerator only: These are quick pickles and not canned, so refrigeration is essential for safety and freshness.
One time, I forgot to pack enough garlic in the jar, and the flavor was just… meh. Lesson learned: garlic is king here, so don’t skimp. Also, I sometimes toss in a couple of bay leaves for an herby twist — it’s subtle but lovely.
Variations & Adaptations
This crisp garlic dill refrigerator pickles recipe is flexible and easy to adapt:
- Spicy Pickles: Add extra red pepper flakes or a sliced jalapeño to the jar for a fiery kick.
- Low Sodium: Reduce salt by half and increase refrigeration time slightly for flavor to develop.
- Vegan-Friendly: This recipe is naturally vegan, but swap out honey (if you add any in variations) for maple syrup if desired.
- Herb Variations: Try adding fresh tarragon or mustard seeds for a different flavor profile.
- Alternative Vinegars: Use apple cider vinegar instead of white vinegar for a slightly sweeter, fruitier taste.
I once made these with lemon slices added for a fresh citrus twist, and it was surprisingly good — a nice change from the usual dill vibe. If you want to turn these into fermented pickles, you’ll need a different method, but this quick fridge pickle approach is perfect for instant gratification.
Serving & Storage Suggestions
These crisp garlic dill refrigerator pickles are best served cold — straight from the fridge. I like to slice them as a crunchy, tangy addition to sandwiches or burgers, or just munch them as a low-calorie snack. They also pair wonderfully with rich dishes like pulled pork or creamy potato salad.
Store the pickles tightly sealed in the refrigerator. They’ll keep fresh and crunchy for up to 3 weeks, though they’re usually gone well before then in my house! If you want to store longer, you can freeze them, but expect some softening.
Reheating isn’t typical with pickles, but if you add them to cooked dishes, add them last to keep their crunch. Over time, the flavors meld and mellow nicely, but the texture remains crisp if submerged properly.
Nutritional Information & Benefits
These crisp garlic dill refrigerator pickles are low in calories and fat, making them a guilt-free snack. The cucumbers provide hydration and fiber, while garlic adds immune-boosting compounds.
Each serving (about 1/4 cup or 60 g) contains roughly:
- 10 calories
- 2 grams carbohydrates
- 0 grams fat
- 1 gram fiber
- Trace protein
This recipe is naturally gluten-free and vegan, and free from common allergens. The vinegar and garlic also have natural preservative qualities, plus antimicrobial and antioxidant benefits, which is a nice bonus for your gut health.
Conclusion
If you’ve been searching for an easy, fast way to make crisp garlic dill refrigerator pickles that taste like they came from your favorite deli, this recipe is it. It’s simple, uses everyday ingredients, and delivers big on flavor and crunch in just 24 hours. I love how it brings a little zing and freshness to any meal, and honestly, it’s become a staple in my kitchen.
Feel free to tweak the garlic or spice level to your liking — that’s part of the fun. I’d love to hear how yours turn out or what variations you try, so don’t hesitate to share your pickle stories in the comments. Happy pickling, and here’s to that perfect crunch every single time!
Frequently Asked Questions
How long do these refrigerator pickles last?
Stored properly in the fridge, they stay fresh and crunchy for about 3 weeks.
Can I use regular cucumbers instead of Kirby or mini cucumbers?
You can, but they may not stay as crisp. Kirby or pickling cucumbers have a firmer texture ideal for pickles.
Do I need to boil the cucumbers before pickling?
Nope! These are quick refrigerator pickles, so no cooking of cucumbers is necessary.
Can I make these pickles without garlic?
Sure, but garlic is a key flavor here. You could add extra dill or other spices if you want to omit it.
Is it safe to store pickles in plastic containers?
Glass jars are best for flavor and food safety. Plastic may absorb flavors and isn’t ideal for long-term storage.
For more ideas on quick pickled veggies, you might enjoy my quick pickled red onions or the easy crispy garlic chicken recipe that pairs beautifully with these tangy pickles.
Pin This Recipe!
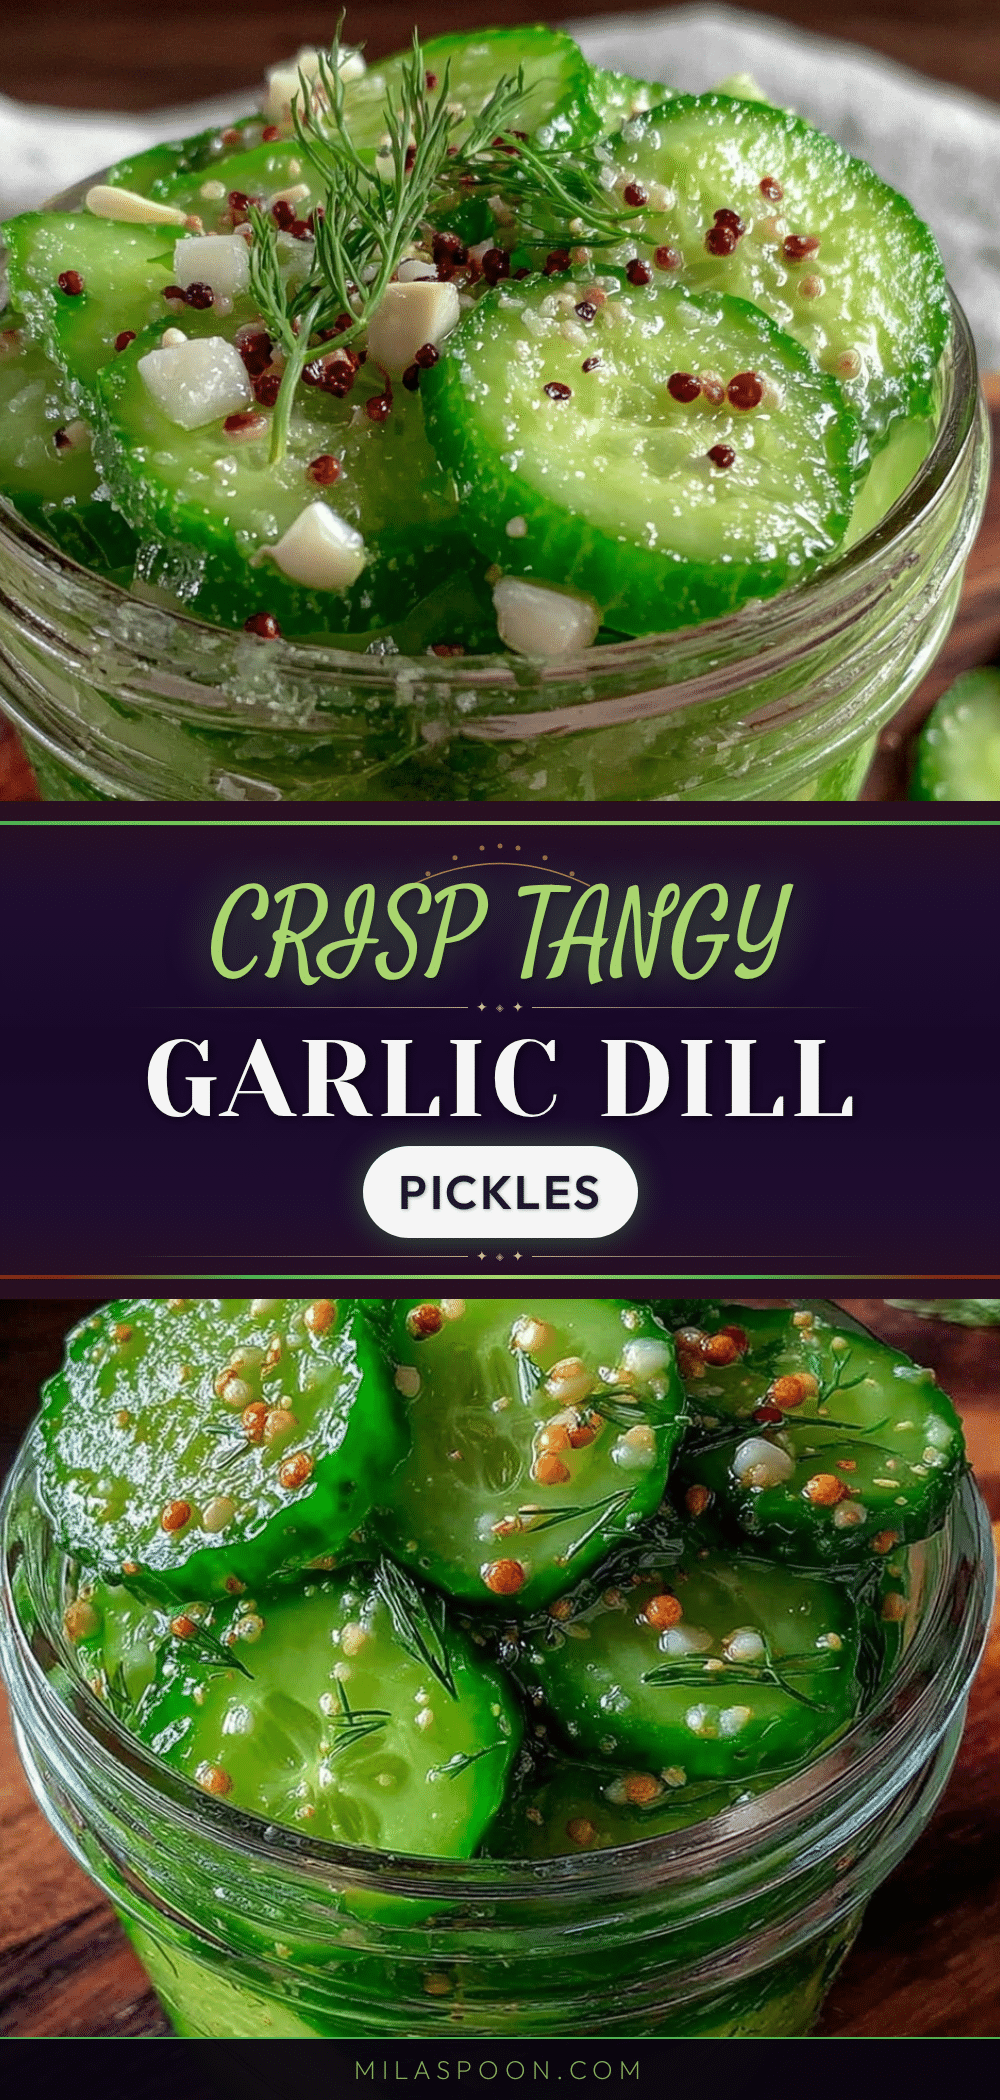
Crisp Garlic Dill Refrigerator Pickles

A quick and easy refrigerator pickle recipe delivering crisp, garlicky dill pickles ready in just 24 hours. Perfect for snacking, sandwiches, and meals with a perfect snap and tang.
- Prep Time: 20 minutes
- Cook Time: 5 minutes
- Total Time: 24 hours 25 minutes
- Yield: About 4 servings 1x
- Category: Side Dish
- Cuisine: American
Ingredients
- 2 pounds mini cucumbers or Kirby cucumbers (about 900 g)
- 4–6 fresh dill heads or sprigs (about 1/3 cup chopped)
- 6–8 garlic cloves, peeled and smashed
- 2 cups white vinegar (480 ml)
- 2 cups water (480 ml)
- 2 tablespoons pickling salt or kosher salt
- 1 tablespoon whole black peppercorns
- Optional: 1/2 teaspoon red pepper flakes
Instructions
- Rinse 2 pounds (900 g) of mini or Kirby cucumbers thoroughly. Trim the blossom ends to help maintain crispness. Leave whole or slice into spears or chips as preferred. (About 10 minutes)
- In a saucepan, combine 2 cups (480 ml) white vinegar, 2 cups (480 ml) water, 2 tablespoons pickling salt, 1 tablespoon whole black peppercorns, and optional 1/2 teaspoon red pepper flakes. Bring to a gentle boil, stirring until salt dissolves. Remove from heat and let cool slightly (about 5 minutes).
- Place 6-8 smashed garlic cloves and 4-6 fresh dill heads into a large glass jar. Pack cucumbers tightly but without crushing, gently pressing down with a spoon to fit more without breaking. (About 10 minutes)
- Pour the warm brine over the cucumbers until fully submerged, leaving about 1/2 inch (1.3 cm) headspace at the top. Use a clean glass weight or small zip-top bag filled with water to keep cucumbers submerged if needed.
- Seal the jar tightly and refrigerate. Let pickles develop flavor and crunch for at least 24 hours before tasting. For best flavor, wait up to 48 hours.
- Enjoy the crisp garlic dill refrigerator pickles as a snack or side dish. They keep fresh and crunchy in the fridge for up to 3 weeks.
Notes
Use fresh, firm cucumbers and trim blossom ends to maintain crispness. Keep cucumbers fully submerged in brine to avoid mushiness and mold. Avoid iodized salt to keep brine clear. Let pickles sit up to 48 hours for deeper flavor. Store only in refrigerator; not canned. Glass jars are preferred over plastic for flavor and safety.
Nutrition
- Serving Size: 1/4 cup (60 g)
- Calories: 10
- Carbohydrates: 2
- Fiber: 1
Keywords: garlic dill pickles, refrigerator pickles, quick pickles, easy pickles, crisp pickles, dill pickles recipe, homemade pickles


