Love this? Save it for later!
Share the inspiration with your friends
Introduction
“You know, I always thought quesadillas were just an excuse to eat cheese and call it dinner,” my friend Mark confessed one afternoon. That was until I whipped up these crispy chicken quesadilla triangles for his kid’s lunchbox last spring. Mark had refused to believe anything wrapped in a tortilla could be both healthy and exciting for lunch, especially for picky eaters. Then, one Tuesday afternoon, I caught him sneaking a triangle while he thought no one was looking — crumbs and all.
Honestly, that moment stuck with me because it wasn’t just about the food; it was about proving that simple, crispy, handheld bites can surprise you. These quesadilla triangles have become my quiet little secret for packing lunches that get devoured faster than I can say “snack time.” Maybe you’ve been there too—scrambling to find lunches that aren’t just thrown together but actually bring joy and that satisfying crunch.
Let me tell you, this recipe stayed with me because it’s ridiculously easy but never bland. Each triangle carries a little crispy edge, melty cheese, and just the right hint of seasoned chicken. It’s the kind of lunch that even the most stubborn lunchbox critics can’t resist. And I’m pretty sure Mark’s not the only one who’s been won over, one crispy triangle at a time.
Why You’ll Love This Recipe
Having tested and tweaked this crispy chicken quesadilla triangles recipe over several lunchbox seasons, I can confidently say it’s a keeper. Here’s why it stands out:
- Quick & Easy: Ready in under 30 minutes — a lifesaver on busy mornings or when you forget to plan ahead.
- Simple Ingredients: Uses pantry and fridge staples—no need for special grocery runs or fancy add-ons.
- Perfect for Lunch Boxes: Bite-sized triangles fit perfectly in lunch containers and are less messy to eat than traditional quesadillas.
- Crowd-Pleaser: Kids and adults alike give rave reviews — even my toughest critics ask for seconds.
- Unbelievably Delicious: The crispy edges combined with juicy, seasoned chicken and gooey cheese is comfort food magic.
What makes this recipe different? Well, it’s the crispy pan-fry method that locks in flavor and texture without needing an oven. Also, I like to blend a bit of smoked paprika and garlic powder into the chicken for a subtle, smoky twist that’s not overpowering but definitely memorable. This recipe isn’t just another quesadilla — it’s your new go-to for easy lunchboxes that don’t skimp on taste or fun.
If you’re after lunch ideas that make you close your eyes after the first bite (you know the feeling), this one’s for you. It’s comfort food, quick and fuss-free, perfect for impressing without stress.
What Ingredients You Will Need
This recipe comes together with straightforward ingredients that play their part in creating those crispy, flavorful triangles. Most of these are pantry staples, with a few easy substitutions if needed.
- Chicken: 2 cups cooked chicken, shredded or finely chopped (rotisserie chicken works wonderfully for speed and flavor)
- Cheese: 1 ½ cups shredded cheddar cheese (I prefer sharp cheddar for that punch, but Monterey Jack is a great milder option)
- Tortillas: 6 large flour tortillas (use whole wheat or gluten-free tortillas if preferred)
- Butter or Oil: 2 tablespoons unsalted butter or neutral oil for frying (I like butter for richer flavor, but avocado oil works for higher heat)
- Seasonings for Chicken:
- 1 teaspoon smoked paprika (adds a smoky warmth)
- ½ teaspoon garlic powder
- Salt and black pepper to taste
- Optional Add-ins: Finely chopped green chilies or jalapeños for a bit of heat; fresh cilantro for brightness
- Sour Cream or Guacamole: For serving, if you like a creamy dip alongside
If you’re fresh out of cooked chicken, no worries — quick pan-searing diced chicken breasts with the seasonings works just as well. I recommend Perdue or Tyson for quality pre-cooked chicken if you want to save time. And for a dairy-free option, swap the cheese for a plant-based shred and use olive oil instead of butter.
Equipment Needed
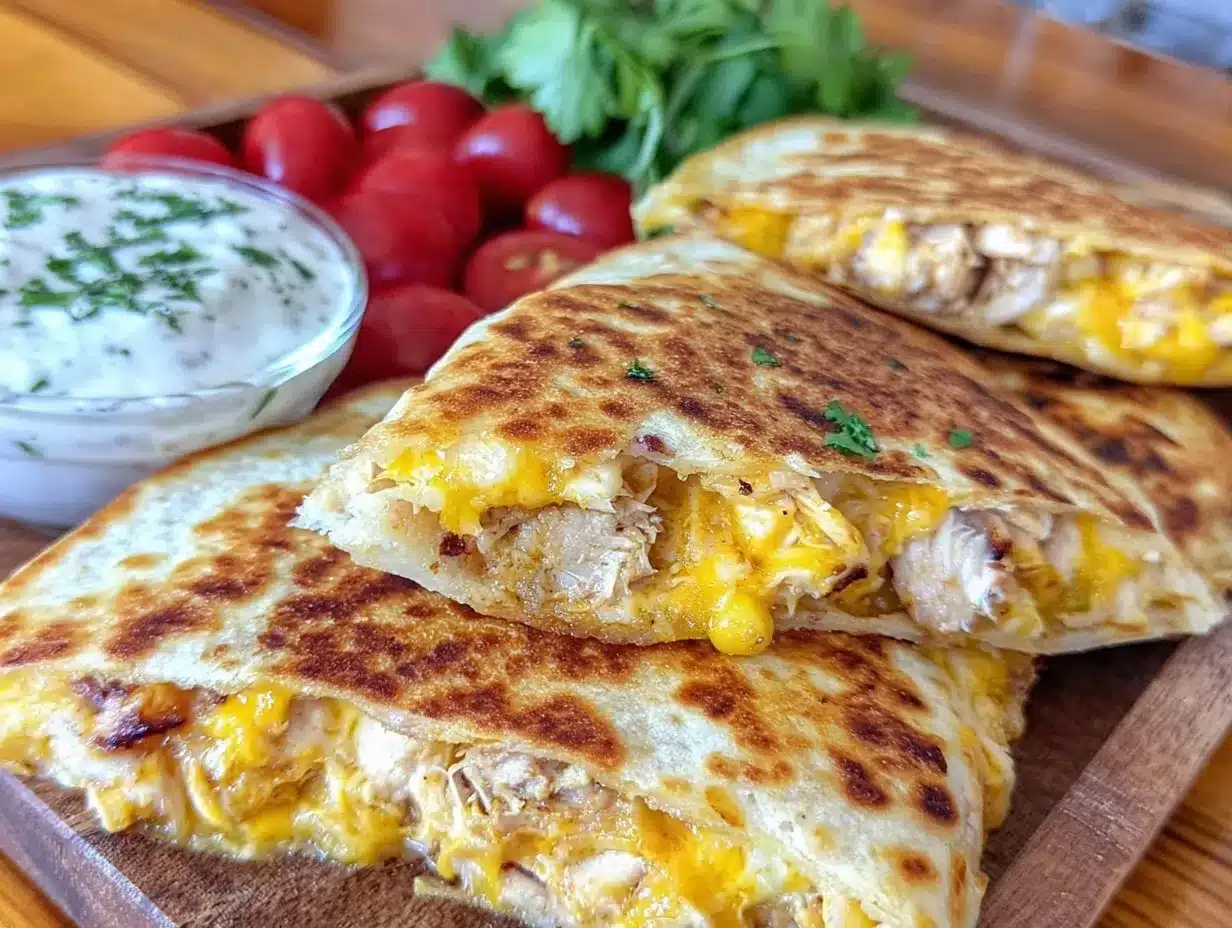
- Non-stick skillet or cast-iron pan (12-inch size works best for even crisping)
- Spatula for flipping quesadilla triangles
- Sharp knife and cutting board (for chopping chicken and slicing quesadillas)
- Mixing bowl for tossing chicken with spices
- Cheese grater (unless you buy pre-shredded cheese)
If you don’t have a cast iron skillet, a heavy non-stick pan will do just fine. I once made a batch using a well-seasoned carbon steel pan, and the triangles got that perfect golden crunch. For budget-friendly options, consider inexpensive non-stick pans from brands like T-fal or Cuisinart, which hold up well for quesadillas.
Maintenance tip: Keep your cast iron seasoned by rubbing a thin layer of oil after each use — it’s a little step that pays off with better non-stick performance over time.
Preparation Method
- Prep the chicken: In a mixing bowl, combine 2 cups shredded cooked chicken with smoked paprika, garlic powder, salt, and pepper. Mix well to evenly coat. (5 minutes)
- Grate the cheese: Shred approximately 1 ½ cups of cheddar cheese if not pre-shredded. Set aside. (3 minutes)
- Assemble the quesadillas: Lay one flour tortilla flat on a clean surface. Spread about ⅓ cup seasoned chicken evenly over half the tortilla. Sprinkle ¼ cup shredded cheese over the chicken. Fold the tortilla over to create a half-moon shape. Press lightly to seal. Repeat with remaining tortillas. (10 minutes)
- Heat the pan: Place a non-stick or cast iron skillet over medium heat. Add 1 tablespoon butter or oil and let it melt and heat up until shimmering but not smoking. (2 minutes)
- Cook the quesadillas: Place one folded quesadilla in the pan. Cook for 3-4 minutes until the bottom is golden and crispy. Carefully flip with a spatula and cook the other side for another 3-4 minutes, pressing lightly to ensure even browning and melting. The cheese should be gooey and the edges crisp. (8 minutes per batch)
- Slice into triangles: Remove from pan and let rest for a minute, then slice each quesadilla into 3-4 triangles. Arrange on a platter or pack into lunch boxes. (2 minutes)
- Repeat: Cook remaining quesadillas, adding more butter or oil as needed. Keep cooked triangles warm on a plate covered with foil or a clean kitchen towel. (15-20 minutes total cooking time)
Pro tip: If your quesadillas are browning too quickly but the cheese isn’t melting, lower the heat slightly and cover the pan with a lid for a minute to trap heat. Also, avoid overfilling the tortillas — it makes flipping tricky and can cause tearing.
Cooking Tips & Techniques
One trick I learned the hard way is to not rush the pan-frying step. Medium heat is your friend here — too hot and the tortillas burn before the cheese melts; too low and the quesadillas turn soggy.
Using a cast iron skillet really helps get that perfect crust. If you’re using non-stick, make sure it’s well-heated before adding the quesadilla.
Don’t be shy about pressing down gently with your spatula when cooking — this helps create those crave-worthy crispy edges.
Another tip: if you want to prep ahead, assemble quesadillas and store them in the fridge for up to 24 hours before frying. Just bring them to room temp for 10 minutes before cooking for best results.
And honestly, sometimes I toss in a handful of finely chopped bell peppers or corn with the chicken for a little extra texture — but keep it small so the quesadillas don’t get too bulky.
Variations & Adaptations
- Vegetarian Version: Swap chicken for black beans or sautéed mushrooms with the same seasoning. Add a little extra cheese for richness.
- Spicy Kick: Add diced jalapeños or a dash of cayenne to the chicken mixture. Serve with a cooling avocado crema.
- Gluten-Free Option: Use gluten-free tortillas (like those made from corn or almond flour). Cook carefully as they tend to be more fragile.
- Baking Instead of Pan-Frying: For less oil, assemble quesadillas and bake at 400°F (200°C) for 8-10 minutes, flipping halfway, until golden and cheese is melted.
- My personal twist: Sometimes I add a sprinkle of fresh chopped cilantro and a squeeze of lime juice after cooking — it adds a fresh lift that cuts through the richness.
Serving & Storage Suggestions
These crispy chicken quesadilla triangles are best served warm or at room temperature, making them ideal for lunchboxes. If serving immediately, pair with a dollop of sour cream, guacamole, or salsa for dipping.
For a full meal, serve alongside a simple green salad or some crunchy carrot sticks. A cold glass of iced tea or a fruity sparkling water rounds out the lunchbox nicely.
To store leftovers, place cooled quesadilla triangles in an airtight container in the refrigerator for up to 3 days. For longer storage, freeze in a single layer on a baking sheet, then transfer to a freezer-safe bag for up to 2 months.
Reheat in a skillet over medium heat (2-3 minutes per side) or in an air fryer at 350°F (175°C) for 5 minutes to bring back the crispiness. Microwaving works but tends to make them soggy.
Flavors actually deepen when made a day ahead, especially if you add fresh herbs before serving. So, making a batch the night before can save you precious morning minutes.
Nutritional Information & Benefits
Each serving of these quesadilla triangles provides a satisfying balance of protein, carbs, and fat to keep energy levels steady. Roughly, a serving (about 3 triangles) contains:
| Calories | 350-400 |
|---|---|
| Protein | 25g |
| Carbohydrates | 30g |
| Fat | 15g |
| Fiber | 3g |
Chicken offers lean protein essential for muscle repair and satiety. Cheese provides calcium and vitamin D for bone health. Using whole wheat or gluten-free tortillas can add dietary fiber or accommodate allergies.
From a wellness perspective, this recipe feels like a treat but keeps things balanced — no weird additives, just honest, real food you can trust.
Conclusion
If you’re on the hunt for lunchbox ideas that are easy, delicious, and actually get eaten, these crispy chicken quesadilla triangles are a game changer. They’re simple enough to make any day of the week but special enough to feel like a little celebration in a lunchbox.
Feel free to customize with your favorite cheeses or spices — this recipe is forgiving and flexible. I love that it brings a little crispy, cheesy joy to the mid-day meal and saves me from the dreaded “what’s for lunch?” panic.
Give it a try, and when you catch your family sneaking a bite before lunchtime (maybe even your skeptical friend Mark), you’ll know exactly what I mean. Drop a comment below if you tried tweaking it or want to share your go-to lunchbox hacks. Happy cooking!
Frequently Asked Questions
Can I make these quesadilla triangles ahead of time?
Absolutely! You can assemble and refrigerate them for up to 24 hours before cooking. Just let them come to room temperature before frying for best results.
What’s the best way to reheat leftover quesadilla triangles?
Reheat in a skillet over medium heat for 2-3 minutes per side or use an air fryer at 350°F (175°C) for about 5 minutes to keep them crispy. Avoid microwaving if possible, as it tends to make them soggy.
Can I use store-bought rotisserie chicken for this recipe?
Yes! Rotisserie chicken saves time and adds great flavor. Just shred it and toss with the seasonings before assembling.
Are these quesadillas kid-friendly?
Definitely. They’re mild, easy to handle, and usually a hit with kids. You can adjust seasonings based on your child’s preferences.
Can I make this recipe gluten-free?
Yes, use gluten-free tortillas made from corn or almond flour. Just be gentle when folding and cooking as these can be more delicate.
Pin This Recipe!
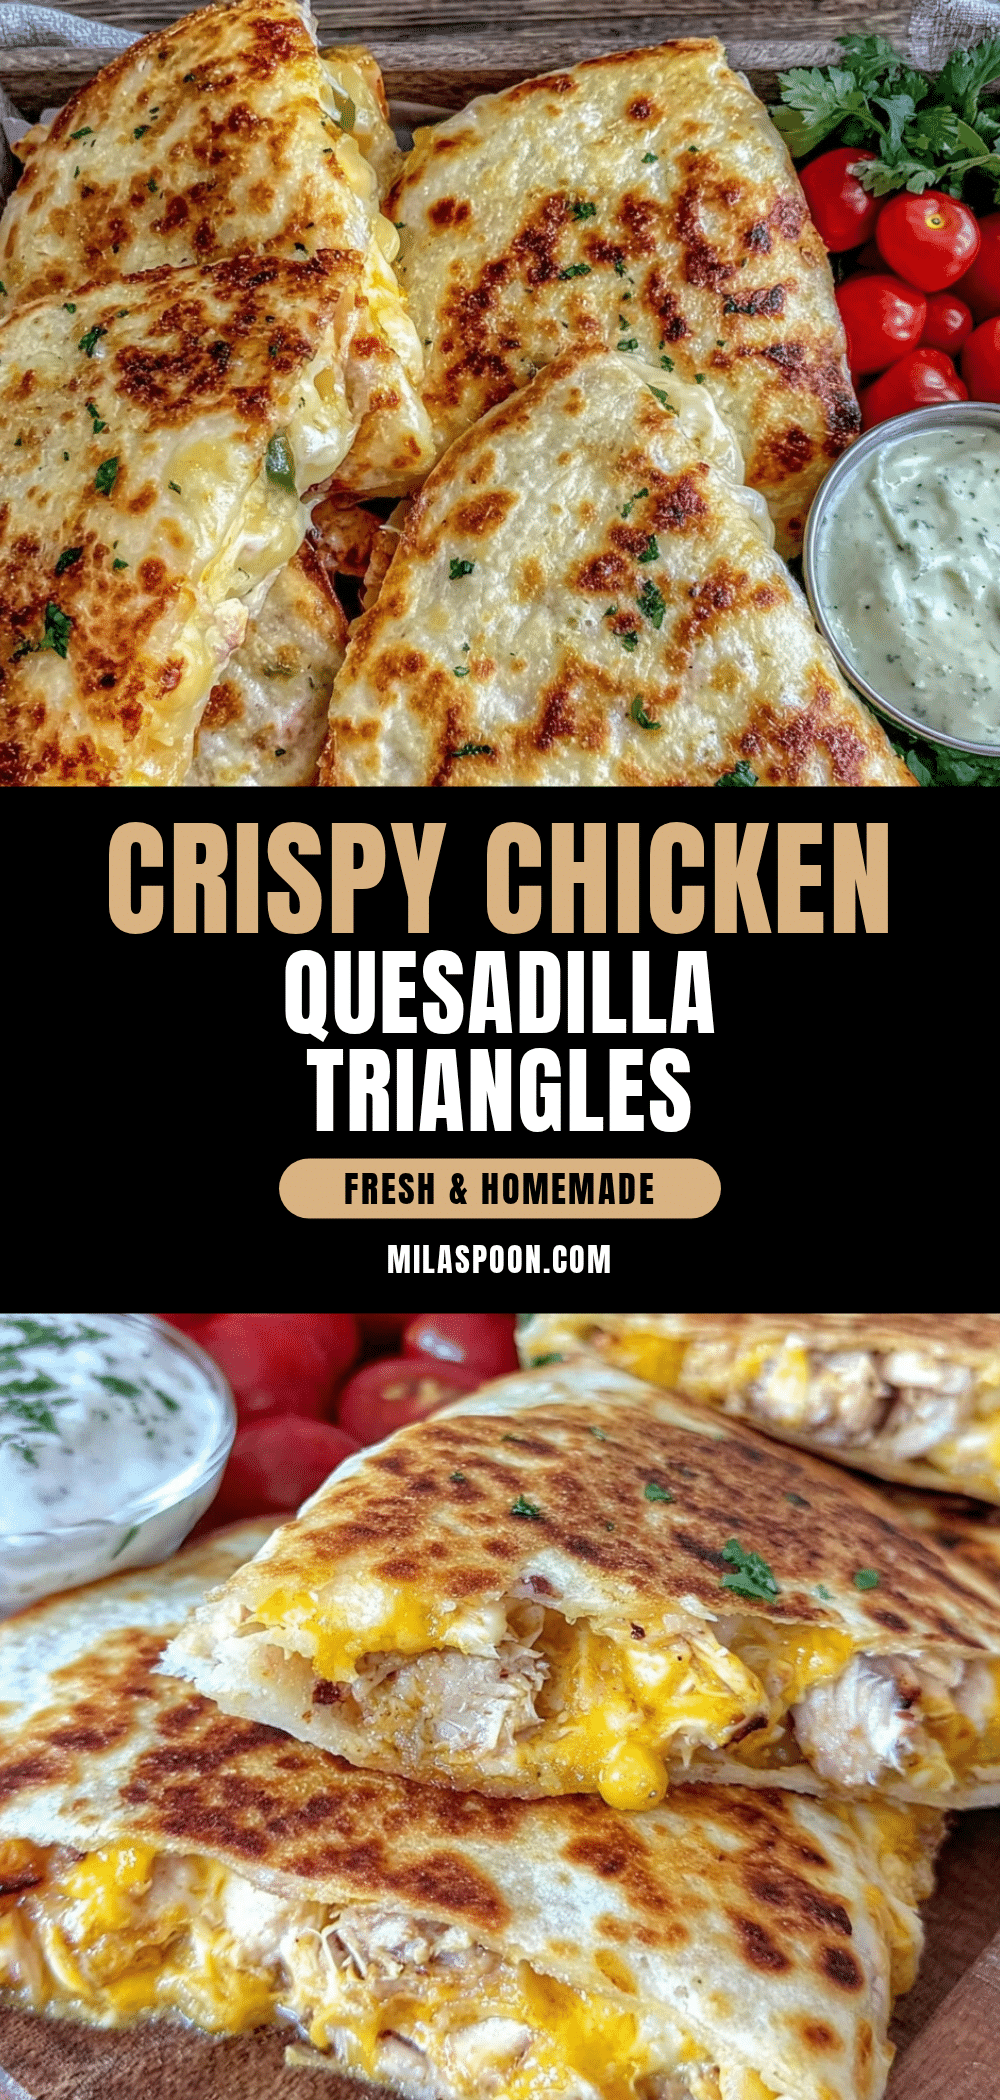
Crispy Chicken Quesadilla Triangles

These crispy chicken quesadilla triangles are quick, easy, and perfect for lunchboxes. They feature seasoned chicken, melty cheese, and a crispy pan-fried tortilla for a satisfying handheld meal.
- Prep Time: 18 minutes
- Cook Time: 20 minutes
- Total Time: 38 minutes
- Yield: 6 servings 1x
- Category: Main Course
- Cuisine: Mexican
Ingredients
- 2 cups cooked chicken, shredded or finely chopped (rotisserie chicken works well)
- 1 ½ cups shredded cheddar cheese (sharp cheddar preferred, Monterey Jack optional)
- 6 large flour tortillas (whole wheat or gluten-free tortillas can be used)
- 2 tablespoons unsalted butter or neutral oil for frying (butter or avocado oil recommended)
- 1 teaspoon smoked paprika
- ½ teaspoon garlic powder
- Salt and black pepper to taste
- Optional: finely chopped green chilies or jalapeños
- Optional: fresh cilantro
- Sour cream or guacamole for serving
Instructions
- In a mixing bowl, combine 2 cups shredded cooked chicken with smoked paprika, garlic powder, salt, and pepper. Mix well to evenly coat. (5 minutes)
- Shred approximately 1 ½ cups of cheddar cheese if not pre-shredded. Set aside. (3 minutes)
- Lay one flour tortilla flat on a clean surface. Spread about ⅓ cup seasoned chicken evenly over half the tortilla. Sprinkle ¼ cup shredded cheese over the chicken. Fold the tortilla over to create a half-moon shape. Press lightly to seal. Repeat with remaining tortillas. (10 minutes)
- Place a non-stick or cast iron skillet over medium heat. Add 1 tablespoon butter or oil and let it melt and heat up until shimmering but not smoking. (2 minutes)
- Place one folded quesadilla in the pan. Cook for 3-4 minutes until the bottom is golden and crispy. Carefully flip with a spatula and cook the other side for another 3-4 minutes, pressing lightly to ensure even browning and melting. The cheese should be gooey and the edges crisp. (8 minutes per batch)
- Remove from pan and let rest for a minute, then slice each quesadilla into 3-4 triangles. Arrange on a platter or pack into lunch boxes. (2 minutes)
- Repeat cooking remaining quesadillas, adding more butter or oil as needed. Keep cooked triangles warm on a plate covered with foil or a clean kitchen towel. (15-20 minutes total cooking time)
Notes
Use medium heat to avoid burning tortillas before cheese melts. Press gently with spatula for crispy edges. Assemble ahead and refrigerate up to 24 hours before cooking. For gluten-free, use corn or almond flour tortillas and handle gently. For baking, cook at 400°F (200°C) for 8-10 minutes, flipping halfway.
Nutrition
- Serving Size: About 3 quesadilla t
- Calories: 375
- Fat: 15
- Carbohydrates: 30
- Fiber: 3
- Protein: 25
Keywords: crispy chicken quesadilla, lunchbox recipe, easy quesadilla, chicken lunch, pan-fried quesadilla, kid-friendly lunch, quick lunch recipe


