Love this? Save it for later!
Share the inspiration with your friends
Sixth batch in two weeks, and I finally stopped peeling the butternut squash. That was the breakthrough, honestly—the moment I realized the skin wasn’t the enemy, it was the texture I’d been missing. I was standing over a baking sheet, staring at these pale, sad strips that had gone limp for the fifth time, and it hit me: I was treating butternut squash like a potato, and it was not a potato.
The first few attempts were, let’s be real, disasters. Soggy. Bland. The kind of fries that make you question why you even bothered. But there was something about the idea—crispy, salty, cheesy fries made from a vegetable that tastes like fall—that I couldn’t let go of. So I kept tweaking. Different temperatures, different coatings, different cutting techniques. My kitchen looked like a squash exploded in it, and honestly, it kind of did.
The trick, I finally figured out, was a double-coating of parmesan and panko, plus leaving the skin on for structure. And not overcrowding the pan—that was a painful lesson learned over several sad, steamed batches. These Crispy Parmesan Butternut Squash Fries are the result of pure stubbornness and a deep love for anything you can dip in aioli. They’re the kind of side dish that makes you forget you’re eating a vegetable. And that’s exactly what I was after.
Why You’ll Love This Recipe
Let me tell you why these fries are different. I’ve tested this recipe more times than I care to admit, and every iteration taught me something new. Here’s what makes this version the one you’ll come back to:
- Quick & Easy: From cutting board to table in about 30 minutes. No soaking, no complicated steps—just straightforward cooking that works on a busy weeknight.
- Simple Ingredients: You probably have most of these in your kitchen right now. Parmesan, panko, olive oil, and a butternut squash. That’s really all it takes.
- Perfect for Fall Gatherings: These fries are a showstopper at Thanksgiving, Friendsgiving, or any cozy dinner party. They disappear faster than the turkey, I swear.
- Crowd-Pleaser: Kids love them. Adults love them. Even my friend who “doesn’t do squash” ate half the batch before admitting she was wrong.
- Unbelievably Delicious: The contrast between the crispy, cheesy exterior and the tender, sweet interior is next-level. It’s comfort food that happens to be good for you.
This recipe isn’t just good—it’s the kind that makes you close your eyes after the first bite. The parmesan creates a golden crust that shatters when you bite into it, while the butternut squash stays soft and almost buttery inside. It’s comfort food reimagined: healthier, faster, but with the same soul-soothing satisfaction. Perfect for impressing guests without stress, or turning a simple weeknight dinner into something memorable.
What Ingredients You Will Need
This recipe uses simple, wholesome ingredients to deliver bold flavor and satisfying texture without the fuss. Most of these are pantry staples, which makes this dish perfect for those nights when you want something special but don’t want to make a grocery run.
- Butternut Squash (1 medium, about 2-3 pounds): Look for one that feels heavy for its size with firm, unblemished skin. I prefer leaving the skin on for extra texture and nutrients, but you can peel it if you prefer. (Pro tip: the skinny neck part is easier to cut into fry shapes than the bulbous bottom.)
- Grated Parmesan Cheese (1/2 cup, finely grated): Please, for the love of all things crispy, use the real stuff from a block. The green can stuff won’t melt properly and will give you a sad, powdery coating. I recommend Parmigiano-Reggiano for the best flavor and melt.
- Panko Breadcrumbs (1/2 cup): Regular breadcrumbs are too fine and will absorb oil instead of getting crispy. Panko is the key to that shatteringly crunchy texture. You can find it in the Asian foods section or near the regular breadcrumbs.
- Olive Oil (3 tablespoons): Extra virgin is fine, but a lighter olive oil works well too. The oil helps the coating stick and promotes browning. Don’t skimp here—dry fries are sad fries.
- Garlic Powder (1 teaspoon): Not garlic salt—we’ll add salt separately. Garlic powder distributes evenly and gives that savory depth without burning like fresh garlic would.
- Paprika (1/2 teaspoon): Smoked paprika adds a lovely depth, but regular works great too. This is optional but highly recommended for that extra layer of flavor.
- Salt and Black Pepper (to taste): I use kosher salt for better control. Season generously—squash needs salt to bring out its sweetness.
- Fresh Parsley (for garnish, optional): Adds a pop of color and freshness. Flat-leaf parsley is my preference, but curly works fine.
For the Dipping Sauce (optional but recommended):
- Greek Yogurt or Sour Cream (1/2 cup): Full-fat gives the best texture, but Greek yogurt works for a lighter option.
- Lemon Juice (1 tablespoon): Fresh is best—bottled has a weird flavor here.
- Garlic (1 clove, minced): Adjust to your garlic tolerance. I go heavy because I’m that person.
- Salt and Pepper (to taste):
Substitution Guidance: For a dairy-free version, use nutritional yeast instead of parmesan and skip the dipping sauce or use a vegan alternative. For gluten-free, use gluten-free panko—they work beautifully. If you can’t find butternut squash, acorn or delicata squash also work, though cooking times may vary slightly.
Equipment Needed
You don’t need a fancy kitchen to make these fries, which is part of why I love this recipe. Here’s what you’ll need:
- Sharp Chef’s Knife: This is non-negotiable. A dull knife is dangerous with hard squash. I use my 8-inch Wusthof, and it makes quick work of butternut squash. If your knife is dull, use a vegetable peeler to remove the skin first—it’s safer.
- Cutting Board: A sturdy wooden or plastic board that won’t slip. Place a damp paper towel underneath to keep it stable.
- Large Mixing Bowl: For tossing the squash with oil and seasonings. A metal or glass bowl works best—plastic can retain odors.
- Baking Sheet (rimmed): A half-sheet pan is perfect. The rim is important to catch any oil that might drip. Line it with parchment paper for easy cleanup.
- Parchment Paper or Silicone Baking Mat: Prevents sticking and promotes even browning. I prefer parchment for the crispiest results.
- Vegetable Peeler (optional): Only if you want to peel the squash. I don’t bother anymore, but it’s there if you need it.
- Cooling Rack (optional): Placing the fries on a rack after baking keeps them crispy instead of steaming on the pan. Worth the extra dish if you have one.
Budget-Friendly Tip: If you don’t have a cooling rack, just transfer the fries to a clean kitchen towel or paper towel-lined plate right out of the oven. It’s not perfect, but it works in a pinch.
Preparation Method
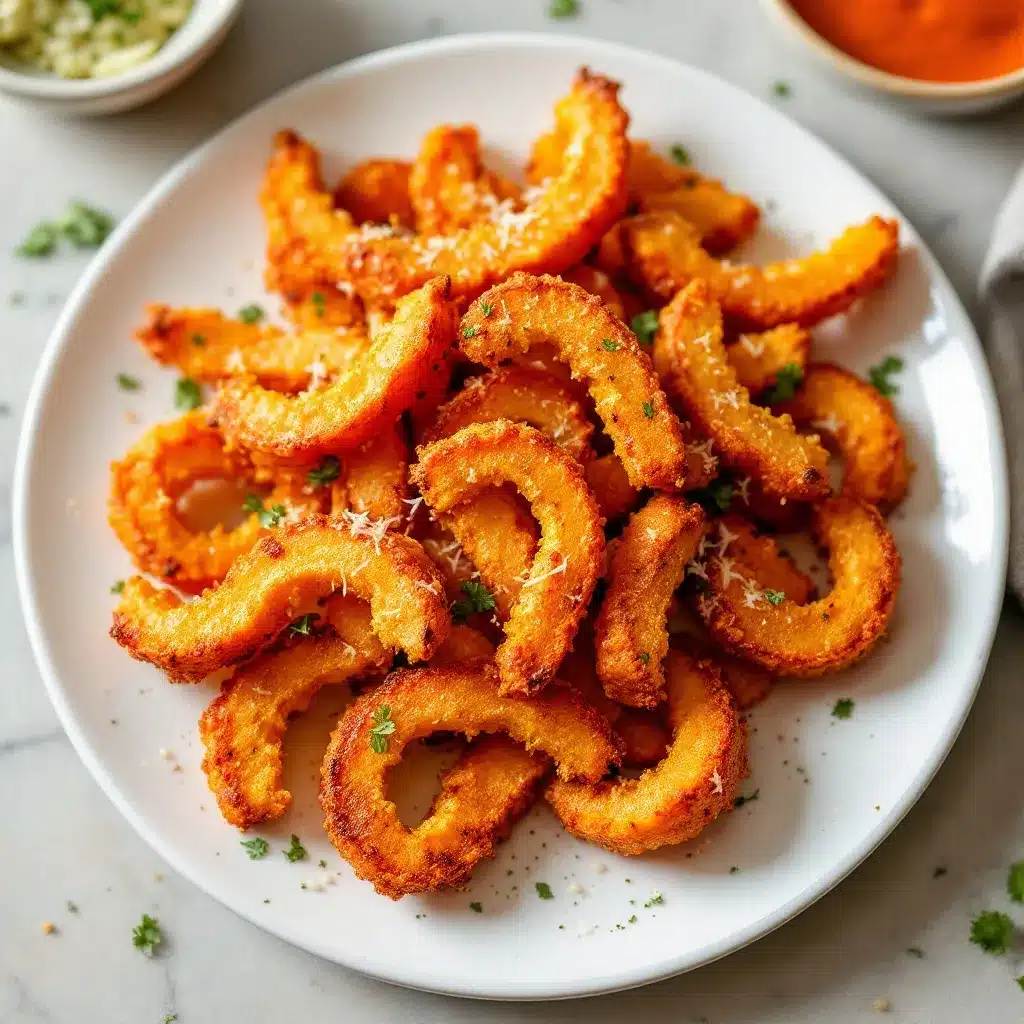
Let’s get to the good part. Follow these steps carefully, and you’ll have the crispiest, most delicious butternut squash fries of your life.
- Preheat your oven to 425°F (220°C). This high heat is crucial for getting that golden, crispy exterior. While it’s heating, line a baking sheet with parchment paper. Don’t skip the preheat—putting fries in a cold oven is a recipe for soggy disaster.
- Prepare the butternut squash. Using a sharp chef’s knife, cut off the stem end and the bottom tip. Stand the squash upright on the cutting board and slice it in half where the narrow neck meets the bulbous bottom. This makes it much easier to handle. Cut the neck into 1/2-inch thick planks, then cut those planks into 1/2-inch wide sticks—about the size of your index finger. For the bulbous bottom, scoop out the seeds and stringy bits with a spoon (save the seeds for roasting!), then cut into similar-sized sticks. Try to keep them uniform so they cook evenly.
- Pat the squash sticks dry. This is a step I learned the hard way. Wet squash = steamed fries. Use a clean kitchen towel or paper towels to blot them completely dry. Don’t skip this—it makes a huge difference.
- Make the coating mixture. In a shallow bowl or plate, combine the grated parmesan, panko breadcrumbs, garlic powder, paprika, and a generous pinch of salt and pepper. Mix with your fingers to distribute everything evenly. The parmesan and panko should look like sandy, golden crumbs.
- Coat the squash. Place the dried squash sticks in a large mixing bowl. Drizzle with the olive oil and toss to coat evenly. Working in batches (don’t crowd the bowl), add a handful of squash sticks to the parmesan-panko mixture and toss gently to coat. Use your hands to press the coating onto the sticks—this helps it adhere better. Place the coated sticks on the prepared baking sheet in a single layer, making sure they’re not touching. Crowding will cause steaming, and we don’t want that.
- Bake for 15-18 minutes. Place the baking sheet on the middle rack of your preheated oven. After 8 minutes, use a spatula to carefully flip each fry. They should be golden on the bottom. Return to the oven and bake for another 7-10 minutes, or until the fries are deeply golden and crispy on all sides. Keep an eye on them in the last few minutes—oven temperatures vary, and you want them crispy, not burnt.
- Make the dipping sauce (optional). While the fries are baking, whisk together the Greek yogurt (or sour cream), lemon juice, minced garlic, and a pinch of salt and pepper in a small bowl. Taste and adjust seasoning. Set aside in the fridge to let the flavors meld.
- Rest and serve. Remove the baking sheet from the oven and let the fries rest on the pan for 2-3 minutes. This allows the coating to set and become extra crispy. Transfer to a serving platter, garnish with fresh parsley if using, and serve immediately with the dipping sauce on the side. These are best eaten hot and fresh—they lose their crunch as they cool.
Sensory Cues: The fries should be deeply golden with visible specks of browned parmesan. When you pick one up, it should feel firm and make a slight cracking sound when you bite into it. The inside should be tender and sweet, almost creamy, while the outside shatters. If they feel soft or bend easily, they need more time in the oven.
Personal Efficiency Tip: Cut all your squash sticks before you start the coating process. Once you start, you’ll want to work quickly to get them in the oven. I also recommend using one hand for the wet squash and one for the dry coating to keep from getting too messy.
Cooking Tips & Techniques
I’ve made every mistake in the book with these fries, so you don’t have to. Here’s what I’ve learned:
- Don’t skip the drying step. I cannot stress this enough. Moisture is the enemy of crispiness. I once skipped this step because I was in a hurry, and the result was a tray of soggy, steamed fries that tasted more like boiled squash than anything crispy. Pat them dry. Your future self will thank you.
- Use a hot oven. 425°F is not negotiable. Lower temperatures will dry out the squash before it gets crispy, leaving you with tough, chewy fries. Higher temperatures might burn the parmesan before the squash is cooked through. Trust the temperature.
- Don’t overcrowd the pan. This is the most common mistake. The fries need space for hot air to circulate and crisp them up. If they’re touching, they’ll steam each other. Use two baking sheets if you need to, and rotate them halfway through.
- Flip carefully. The coating can be delicate when the fries are halfway done. Use a thin, flexible spatula and slide it under each fry gently. If the coating sticks to the pan, it needs more time—wait another minute and try again.
- Season in layers. Season the squash with salt and pepper before coating, then add a little more salt right out of the oven. This builds flavor and ensures every bite is seasoned perfectly.
- Timing and Multitasking: While the fries are baking, make your dipping sauce and set the table. The active prep time is only about 15 minutes, so plan your other dishes around that. These fries are best as a side dish that goes into the oven while your main dish rests.
Variations & Adaptations
One of the best things about this recipe is how adaptable it is. Here are some variations I’ve tried and loved:
- Spicy Chipotle Version: Add 1/2 teaspoon of chipotle powder and a pinch of cayenne to the coating mixture. The smoky heat pairs beautifully with the sweet squash. Serve with a lime-cilantro crema for a southwest twist.
- Herb and Garlic Version: Mix 1 tablespoon of dried rosemary or thyme into the panko mixture. Fresh herbs can burn, so stick with dried. This version is fantastic alongside roasted chicken or a creamy one-pan Tuscan chicken.
- Sweet and Savory Version: Add 1 tablespoon of brown sugar to the coating mixture. The sugar caramelizes in the oven, creating an almost candied exterior. It’s unexpected and absolutely delicious. Just watch them carefully—sugar burns quickly.
- Air Fryer Adaptation: Preheat your air fryer to 400°F (200°C). Follow the same coating steps, then arrange the fries in a single layer in the air fryer basket (work in batches). Cook for 10-12 minutes, shaking the basket halfway through, until golden and crispy. The air fryer version is even crispier than the oven version, if you can believe it.
- Dairy-Free Adaptation: Replace the parmesan with nutritional yeast (use about 1/4 cup) and a tablespoon of cornstarch. The nutritional yeast gives a cheesy, umami flavor without any dairy. It’s not exactly the same, but it’s surprisingly good.
- Keto-Friendly Version: Replace the panko with finely ground almond flour or crushed pork rinds. The texture will be different—denser and crunchier—but it works beautifully for low-carb diets.
Serving & Storage Suggestions
These fries are best served hot and fresh, right out of the oven. Here’s how to make the most of them:
- Serving Temperature: Serve immediately while the exterior is still shatteringly crisp. They start to soften after about 10 minutes, so plan your timing accordingly.
- Presentation: Arrange the fries on a wooden board or platter in a single layer (not piled—they’ll steam each other). Sprinkle with fresh parsley and a little extra grated parmesan. Serve the dipping sauce in a small bowl on the side.
- Complementary Dishes: These fries are incredibly versatile. They pair beautifully with a cozy roasted tomato basil soup for a comforting fall meal. They’re also fantastic alongside a flavorful grilled peach burrata salad for a lighter dinner. For a heartier meal, serve them with grilled chicken or fish.
- Beverage Pairing: A crisp white wine like Sauvignon Blanc or a dry hard cider complements the sweet, savory flavors beautifully. For beer lovers, a light lager or pilsner works well.
- Storage: If you have leftovers (unlikely, but possible), store them in an airtight container in the refrigerator for up to 2 days. They will lose their crispiness, unfortunately.
- Reheating: The best way to reheat is in a 400°F (200°C) oven or air fryer for 3-5 minutes. Do not microwave—it will turn them into sad, soggy squash strips. They won’t be as crispy as fresh, but they’ll still be tasty.
- Flavor Development: These fries don’t improve with age, honestly. The magic is in that first crispy bite. Make only what you’ll eat in one sitting if possible.
Nutritional Information & Benefits
Here’s the approximate nutritional breakdown per serving (about 1/4 of the recipe, without dipping sauce):
- Calories: 185
- Protein: 7g
- Fat: 10g
- Carbohydrates: 20g
- Fiber: 4g
- Sugar: 4g
- Sodium: 320mg
Health Benefits: Butternut squash is packed with vitamin A (over 450% of your daily needs in one cup), vitamin C, potassium, and fiber. The parmesan adds calcium and protein. Unlike traditional french fries, these are baked, not fried, which significantly reduces the fat content. Plus, leaving the skin on adds extra fiber and nutrients. This is a side dish that actually contributes to your daily vegetable intake—win-win.
Dietary Considerations: This recipe is naturally vegetarian and can be made gluten-free and dairy-free with the substitutions mentioned above. It’s not suitable for a strict keto diet in its original form, but the keto-friendly variation works well. The main allergens are dairy (parmesan) and gluten (panko).
Conclusion
These Crispy Parmesan Butternut Squash Fries are the kind of recipe that makes you feel like you’ve discovered a secret. They’re simple enough for a Tuesday night but impressive enough for a holiday table. The combination of sweet, tender squash and salty, crispy parmesan is honestly addictive—in the best way possible.
I love this recipe because it proves that healthy eating doesn’t have to be boring. You don’t have to choose between delicious and nutritious. These fries are both, and they’re proof that a little creativity in the kitchen can transform humble ingredients into something truly special.
I’d love to hear how yours turn out! Leave a comment below and let me know if you tried any variations, what dipping sauce you used, or if you managed to have any leftovers (I never do). Tag me in your photos on Pinterest—I love seeing your creations. Happy cooking, friends!
Frequently Asked Questions
Can I make these fries ahead of time for a party?
I don’t recommend making them completely ahead, as they lose their crispiness. However, you can cut the squash sticks up to 24 hours in advance and store them in cold water in the fridge. Pat them dry thoroughly before coating and baking. You can also prepare the coating mixture and dipping sauce a day ahead. Then all you have to do is toss and bake when your guests arrive.
Why are my butternut squash fries soggy?
Soggy fries usually come from one of three problems: not drying the squash thoroughly before coating, overcrowding the baking sheet, or not using a hot enough oven. Make sure your oven is fully preheated to 425°F, pat the squash sticks completely dry, and give them plenty of space on the pan. If you’re still having trouble, try using a cooling rack on top of the baking sheet—this allows air to circulate all around the fries.
Can I use frozen butternut squash for this recipe?
I don’t recommend it. Frozen squash releases a lot of water as it thaws and cooks, which will make your fries soggy no matter what you do. Fresh butternut squash is really the only way to get that crispy exterior and tender interior. If you’re short on time, many grocery stores sell pre-cut fresh butternut squash in the produce section—just look for even-sized pieces and cut them into fry shapes.
How do I cut butternut squash safely?
Safety first! Butternut squash is hard and can be slippery. Use a sharp chef’s knife (dull knives are more dangerous) and a stable cutting board. Cut off both ends first to create flat surfaces. Then stand the squash upright and slice it in half where the narrow neck meets the bulbous bottom. Cut the neck into planks, then sticks. For the bottom, scoop out the seeds first, then cut into planks and sticks. If you’re nervous, you can microwave the whole squash for 2-3 minutes to soften it slightly before cutting.
What other dipping sauces work well with these fries?
So many options! The garlic-lemon yogurt sauce I included is my favorite, but these fries are also amazing with a smoky chipotle mayo, a simple sriracha aioli, honey mustard, or even a warm marinara sauce. For a fall-themed twist, try a maple-Dijon dip (mix equal parts maple syrup and Dijon mustard with a little sour cream). Honestly, these fries are so flavorful that they’re delicious even without any sauce at all.
Pin This Recipe!
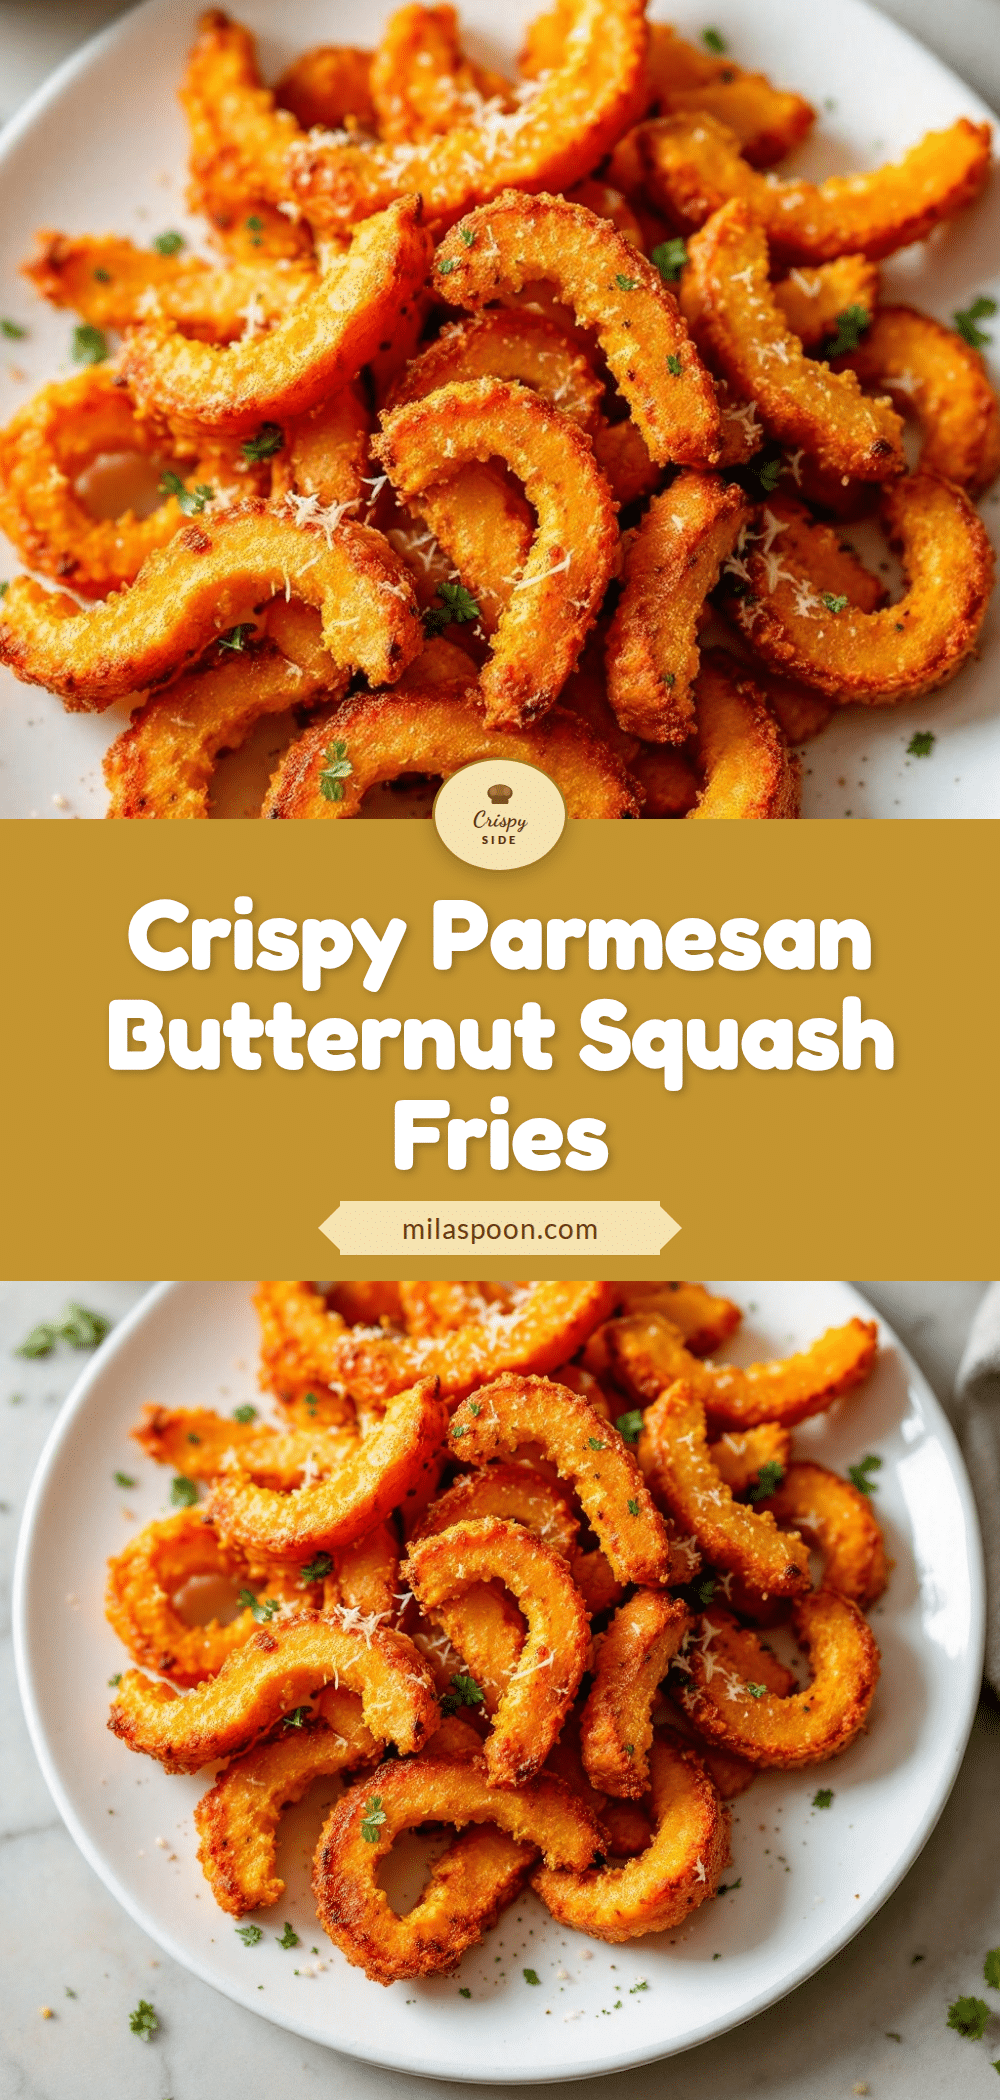
Crispy Parmesan Butternut Squash Fries: Easy 20-Min Recipe
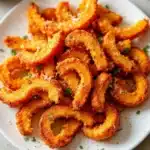
These crispy parmesan butternut squash fries are baked to golden perfection with a double-coating of parmesan and panko. Ready in about 30 minutes, they’re a healthy, delicious side dish that’s perfect for fall gatherings or weeknight dinners.
- Prep Time: 15 minutes
- Cook Time: 18 minutes
- Total Time: 33 minutes
- Yield: 4 servings 1x
- Category: Side Dish
- Cuisine: American
Ingredients
- 1 medium butternut squash (about 2–3 pounds)
- 1/2 cup finely grated Parmesan cheese (preferably Parmigiano-Reggiano)
- 1/2 cup panko breadcrumbs
- 3 tablespoons olive oil
- 1 teaspoon garlic powder
- 1/2 teaspoon paprika (smoked or regular)
- Salt and black pepper to taste
- Fresh parsley for garnish (optional)
- For the dipping sauce (optional):
- 1/2 cup Greek yogurt or sour cream
- 1 tablespoon lemon juice (fresh)
- 1 clove garlic, minced
- Salt and pepper to taste
Instructions
- Preheat your oven to 425°F (220°C). Line a baking sheet with parchment paper.
- Prepare the butternut squash: Cut off the stem end and bottom tip. Stand the squash upright and slice it in half where the narrow neck meets the bulbous bottom. Cut the neck into 1/2-inch thick planks, then into 1/2-inch wide sticks. For the bulbous bottom, scoop out seeds and stringy bits, then cut into similar-sized sticks.
- Pat the squash sticks completely dry with a clean kitchen towel or paper towels.
- In a shallow bowl or plate, combine the grated Parmesan, panko breadcrumbs, garlic powder, paprika, and a generous pinch of salt and pepper. Mix well.
- Place the dried squash sticks in a large mixing bowl. Drizzle with olive oil and toss to coat evenly. Working in batches, add a handful of squash sticks to the Parmesan-panko mixture and toss gently to coat, pressing the coating onto the sticks with your hands. Place coated sticks on the prepared baking sheet in a single layer, ensuring they are not touching.
- Bake for 15-18 minutes. After 8 minutes, carefully flip each fry using a spatula. Return to the oven and bake for another 7-10 minutes, or until deeply golden and crispy on all sides.
- While the fries are baking, make the dipping sauce (optional): In a small bowl, whisk together Greek yogurt (or sour cream), lemon juice, minced garlic, and a pinch of salt and pepper. Taste and adjust seasoning. Refrigerate until ready to serve.
- Remove the baking sheet from the oven and let the fries rest on the pan for 2-3 minutes. Transfer to a serving platter, garnish with fresh parsley if using, and serve immediately with the dipping sauce on the side.
Notes
For best results, do not skip drying the squash sticks—moisture is the enemy of crispiness. Do not overcrowd the baking sheet; use two sheets if needed. The fries are best served immediately as they lose crispiness after about 10 minutes. For dairy-free, use nutritional yeast instead of Parmesan. For gluten-free, use gluten-free panko.
Nutrition
- Serving Size: 1/4 of recipe (witho
- Calories: 185
- Sugar: 4
- Sodium: 320
- Fat: 10
- Saturated Fat: 3
- Carbohydrates: 20
- Fiber: 4
- Protein: 7
Keywords: butternut squash fries, crispy parmesan fries, baked squash fries, healthy fries, fall side dish, vegetarian fries