Love this? Save it for later!
Share the inspiration with your friends
I burned the bottom of my first batch of pumpkin cheesecake bites so badly that the smoke alarm went off and my neighbor actually knocked on the door to check if I was okay. That was three years ago, and I still cringe thinking about it. The thing is, I wasn’t even trying to bake them—I just assumed that any dessert with “cheesecake” in the name needed oven time. Turns out, I was dead wrong. These no-bake pumpkin cheesecake bites are the result of that smoky disaster, and honestly, they’re better than anything I could have pulled out of the oven.
I remember standing in my kitchen, fanning the smoke detector with a dish towel, thinking there had to be a smarter way. So I ditched the oven entirely, grabbed my food processor, and started experimenting. The first few attempts were too soft, then too crumbly, then somehow both at once. But eventually, I landed on this version—creamy, spiced, and firm enough to hold its shape without any baking at all.
These little bites have become my fall secret weapon. They show up at tailgates, Thanksgiving dessert tables, and random Tuesday nights when I need something sweet but don’t want to turn on the oven. They’re the kind of recipe that makes people say “wait, these are no-bake?” with genuine surprise. And that’s my favorite kind of recipe to share.
Why You’ll Love This Recipe
Let me tell you why these no-bake pumpkin cheesecake bites have earned a permanent spot in my fall rotation. I’ve tested this recipe at least a dozen times, tweaking the spice ratio and testing different cream cheese brands until I got it exactly right.
- No Oven Required : This is the whole point. No preheating, no watching, no burning. Just mix, chill, and eat. Perfect for those warm fall days when you want pumpkin flavor without heating up the whole house.
- Simple Ingredients : You probably have most of these in your pantry right now. Graham crackers, cream cheese, pumpkin puree, and basic spices. No fancy extracts or hard-to-find items.
- Perfect for Fall Gatherings : These bites are ideal for Thanksgiving, Halloween parties, or Friendsgiving. They travel well, don’t need reheating, and look impressive on a platter with minimal effort.
- Crowd-Pleaser : I’ve served these to kids, adults, and even my picky aunt who “doesn’t like pumpkin.” She asked for the recipe. They’re that good.
- Unbelievably Creamy : The texture is what gets people every time. It’s smooth and rich without being heavy, with just the right amount of crunch from the crust.
What makes these different from other no-bake pumpkin desserts? It’s the technique. Instead of using a standard crust that gets soggy, I pulse the graham crackers with melted butter and press them firmly into a mini muffin tin. Then I whip the cream cheese filling until it’s light and fluffy before folding in the pumpkin. That extra step of whipping makes all the difference—you get a mousse-like texture instead of a dense, heavy bite.
These are the kind of treats that make you close your eyes after the first bite. They’re comfort food reimagined—faster, easier, but with the same soul-soothing satisfaction as a full-size pumpkin cheesecake. And if you’re looking for another pumpkin treat to round out your fall baking, you’ve got to try these moist pumpkin cream cheese swirl muffins—they’re my go-to for weekend breakfasts.
What Ingredients You Will Need
This recipe uses simple, wholesome ingredients to deliver that classic pumpkin cheesecake flavor without any fuss. Most of these are pantry staples, especially if you do any fall baking.
For the Crust
- Graham crackers (1 ½ cups crushed, about 10 full sheets) – You can also use digestive biscuits or vanilla wafers. I prefer Honey Maid brand for consistent texture.
- Unsalted butter (5 tablespoons, melted) – Salted butter works too, just reduce the added salt slightly.
- Granulated sugar (2 tablespoons) – This adds a touch of sweetness to balance the buttery crust.
- Cinnamon (½ teaspoon) – Optional, but I love the extra warmth it adds to the crust.
For the Pumpkin Cheesecake Filling
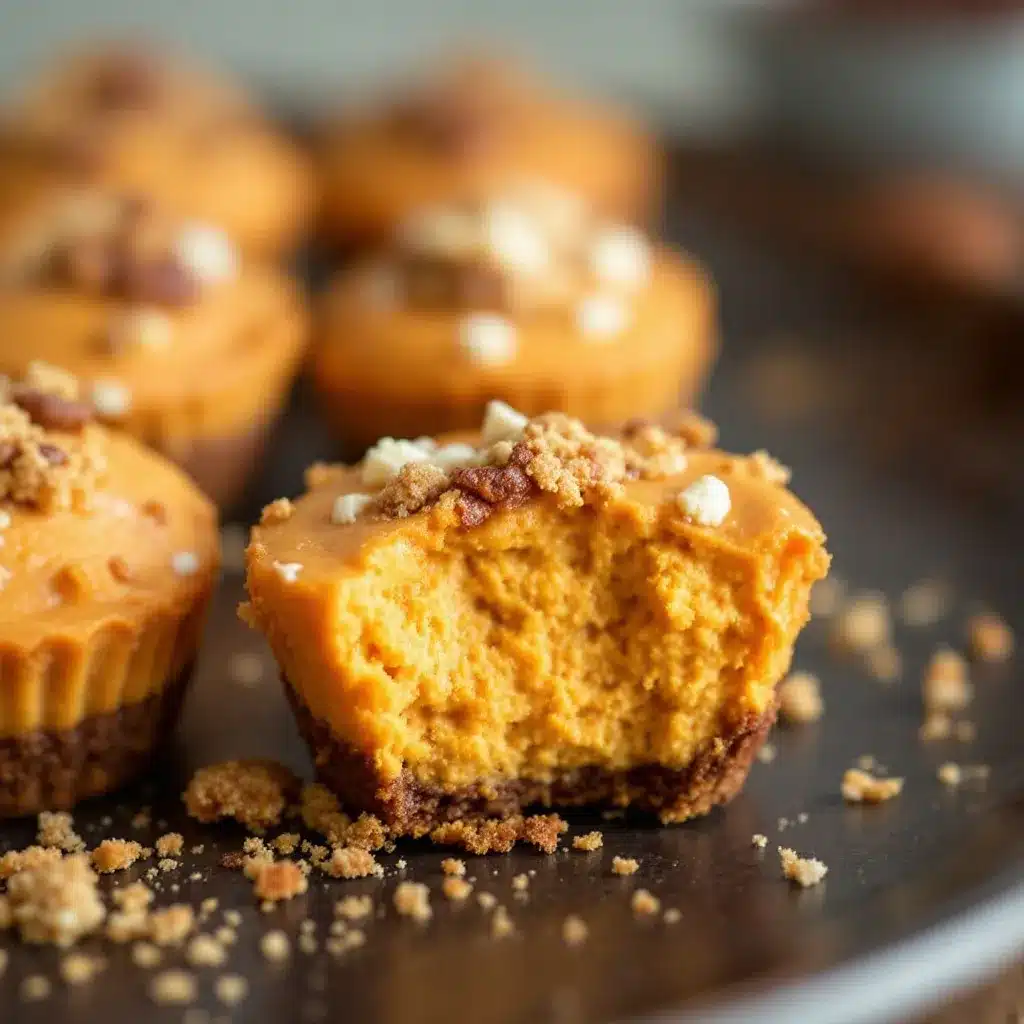
- Cream cheese (8 ounces, softened to room temperature) – Full-fat is best here for texture. Philadelphia brand gives the creamiest result. Low-fat will work but the filling won’t be as luscious.
- Pumpkin puree (½ cup) – Make sure you grab pure pumpkin puree, not pumpkin pie filling. Libby’s is my go-to. The filling has added sugar and spices that will throw off the balance.
- Powdered sugar (⅓ cup) – This dissolves easily and keeps the filling smooth. Granulated sugar would make it grainy.
- Heavy cream (¼ cup) – This helps whip the filling into that light, airy texture. You can substitute with full-fat coconut cream for a dairy-free option.
- Vanilla extract (1 teaspoon) – Pure vanilla extract adds depth. Imitation works in a pinch.
- Pumpkin pie spice (1 teaspoon) – Store-bought is fine, but I make my own with cinnamon, nutmeg, ginger, and allspice. It’s fresher and you can adjust the ratios.
- Salt (⅛ teaspoon) – Just a pinch to balance the sweetness and brighten the pumpkin flavor.
For the Topping (Optional but Recommended)
- Whipped cream (for serving) – Homemade or store-bought, both work great.
- Caramel sauce (for drizzling) – Store-bought is fine, but if you’re feeling ambitious, homemade salted caramel takes these over the top.
- Chopped pecans (¼ cup, toasted) – Adds a lovely crunch. Walnuts or pepitas also work.
- Cinnamon dusting – A light sprinkle right before serving makes them look extra special.
If you’re looking for a quick snack that uses similar ingredients, these easy no-bake peanut butter oat bites are perfect for busy mornings when you need something grab-and-go.
Equipment Needed
- Mini muffin tin (24-cup) – This is essential for getting that perfect bite-sized shape. A standard muffin tin works too, but you’ll get larger portions and need to adjust chilling time.
- Food processor – For crushing the graham crackers into fine crumbs. You can also use a rolling pin and a zip-top bag if you don’t have one, but the food processor gives the most consistent texture.
- Electric hand mixer or stand mixer – Whipping the cream cheese and heavy cream by hand is possible but exhausting. A mixer makes the filling light and fluffy in minutes.
- Medium mixing bowls (2) – One for the crust mixture and one for the filling.
- Small cookie scoop or teaspoon – For portioning the filling evenly. This helps all the bites look uniform.
- Plastic wrap – To cover the muffin tin while chilling.
- Piping bag or zip-top bag – Optional, but makes filling the muffin cups much cleaner and faster.
I bought my mini muffin tin at a thrift store for two dollars, and it’s one of my best kitchen finds. You don’t need expensive equipment for this recipe—just a few basic tools you probably already own.
Preparation Method
This recipe comes together in about 20 minutes of active work, plus at least 2 hours of chilling time. The steps are straightforward, but I’ll walk you through each one with the little details that make a difference.
Step 1: Prepare the Crust
- Place the graham crackers in your food processor and pulse until you have fine, even crumbs. You should have about 1 ½ cups. If using a rolling pin, put the crackers in a zip-top bag and crush them until no large pieces remain.
- Transfer the crumbs to a medium bowl. Add the melted butter, granulated sugar, and cinnamon. Stir with a fork until the mixture looks like wet sand and holds together when pressed between your fingers.
- Line your mini muffin tin with paper liners if you want easy removal, or simply grease the cups lightly with butter or non-stick spray.
- Spoon about 1 tablespoon of the crust mixture into each muffin cup. Use the back of a teaspoon or a small shot glass to press the crumbs down firmly and evenly. This step is crucial—if the crust is too loose, it will crumble when you try to eat the bites. Press until it feels compact and solid.
- Place the muffin tin in the refrigerator while you make the filling. Chilling the crust helps it set up before you add the cream cheese layer.
Step 2: Make the Pumpkin Cheesecake Filling
- In a large mixing bowl, beat the softened cream cheese with an electric mixer on medium speed until it’s smooth and creamy, about 2 minutes. Scrape down the sides of the bowl with a spatula. There should be no lumps at all.
- Add the powdered sugar and beat again until combined, about 30 seconds. The mixture will thicken slightly.
- Pour in the heavy cream, vanilla extract, pumpkin pie spice, and salt. Beat on medium-high speed for 2-3 minutes until the mixture is light, fluffy, and holds soft peaks. It should look like a thick mousse. Don’t overbeat, or it can become grainy.
- Fold in the pumpkin puree gently with a spatula. Fold just until combined—you want the orange color to be even, but you don’t want to deflate all that air you whipped in. The filling should be thick enough to hold its shape when dropped from a spoon.
- Taste the filling. Adjust the spices if needed—I sometimes add an extra ¼ teaspoon of cinnamon if the pumpkin flavor isn’t coming through enough.
Step 3: Assemble the Bites
- Remove the muffin tin from the refrigerator. Spoon or pipe the filling into each cup on top of the crust. A piping bag makes this much faster and neater, but a small cookie scoop works great too.
- Fill each cup almost to the top, leaving just a tiny bit of space. The filling won’t rise, so you can fill them generously.
- Use the back of a spoon or an offset spatula to smooth the tops if they’re uneven. Don’t worry about perfection—the toppings will cover any imperfections.
- Cover the muffin tin tightly with plastic wrap and refrigerate for at least 2 hours, but preferably 4 hours or overnight. The longer they chill, the firmer and more stable they become.
Step 4: Add Toppings and Serve
- Once the bites are fully chilled and firm, remove them from the muffin tin. If you used paper liners, just peel them off. If you greased the pan, run a thin knife around the edges to loosen them.
- Just before serving, top each bite with a dollop of whipped cream, a drizzle of caramel sauce, and a sprinkle of chopped pecans. Dust with cinnamon for that finishing touch.
- Serve immediately, or keep refrigerated until ready to serve. These are best enjoyed cold or at room temperature—just don’t let them sit out for more than 30 minutes.
Cooking Tips & Techniques
I’ve learned a few things the hard way so you don’t have to. Here are the tips that make these bites turn out perfect every time.
Room temperature cream cheese is non-negotiable. I know, I know—every recipe says this, but it really matters here. Cold cream cheese won’t whip smoothly, and you’ll end up with lumpy filling. Leave it on the counter for at least 30 minutes before starting. In a pinch, you can microwave it in 10-second bursts, but be careful not to melt it.
Don’t skip the heavy cream. The heavy cream is what gives these bites their light, mousse-like texture. Without it, the filling would be dense and almost paste-like. If you’re dairy-free, full-fat coconut cream works as a substitute, but the texture will be slightly different.
Press the crust firmly. This is the most common mistake I see. If the crust isn’t packed tightly, it will fall apart when you bite into it. Use a flat-bottomed object like a shot glass or a spice jar to really compress it. You want it to feel solid, not crumbly.
Chill overnight if you can. Two hours is the minimum, but overnight chilling makes a huge difference. The flavors meld together, the texture firms up perfectly, and the bites are much easier to remove from the pan. I’ve made these the night before a party more times than I can count.
Watch your pumpkin puree. Different brands have different moisture levels. If your filling seems too soft after adding the pumpkin, you can add an extra tablespoon of powdered sugar to help stabilize it. Libby’s is consistently thick, but store brands can vary.
Use a piping bag for the filling. I resisted this for a long time, but it makes the process so much cleaner and faster. Just snip the tip off a zip-top bag, fill it with the cream cheese mixture, and pipe it into each cup. No mess, no fuss.
If you’re in the mood for another fall dessert that’s just as easy, these apple cider glazed bundt cake with cardamom crumb topping are a showstopper for holiday gatherings.
Variations & Adaptations
One of the best things about this recipe is how flexible it is. Here are some variations I’ve tried and loved.
Vegan Version
Use dairy-free cream cheese (I like Kite Hill or Violife) and full-fat coconut cream instead of heavy cream. The texture will be slightly less firm, but the flavor is still fantastic. Make sure your graham crackers are vegan—some brands use honey.
Gluten-Free Option
Swap the graham crackers for gluten-free graham crackers or crushed gluten-free vanilla cookies. I’ve used Schar brand with great results. The filling itself is naturally gluten-free, so this is an easy adaptation.
Pumpkin Chocolate Chip Bites
Fold ¼ cup of mini chocolate chips into the filling before piping. The chocolate pairs beautifully with the pumpkin spice. I use dark chocolate chips for a less sweet result, but milk chocolate works too.
Maple Pecan Version
Replace the granulated sugar in the filling with 2 tablespoons of pure maple syrup (reduce the heavy cream by 1 tablespoon to compensate for the extra liquid). Top with toasted pecans and a drizzle of maple syrup instead of caramel.
Pumpkin Cheesecake Bites in a Pan
If you don’t have a mini muffin tin, you can make this in an 8×8 inch baking dish. Press the crust into the bottom, spread the filling on top, and chill for at least 4 hours. Cut into squares before serving. This is great for feeding a crowd.
Serving & Storage Suggestions
These bites are best served cold, straight from the refrigerator. The filling is firm but creamy, and the crust stays perfectly crisp. If you let them sit at room temperature for more than 30 minutes, the filling will start to soften and the crust may lose its crunch.
For a beautiful presentation, arrange the bites on a white platter or a wooden board. Drizzle caramel sauce over the top, add a few extra pecans, and dust with cinnamon. They look gorgeous on a dessert table alongside other fall treats.
Storage: Keep the bites in an airtight container in the refrigerator for up to 5 days. I recommend storing them without the toppings—add whipped cream and caramel just before serving. If you’ve already added toppings, they’ll still be good for 2-3 days, but the whipped cream may deflate.
Freezing: These freeze beautifully. Place the bites on a baking sheet and freeze until solid, about 2 hours. Transfer them to a freezer-safe container or zip-top bag, separating layers with parchment paper. They’ll keep for up to 3 months. Thaw in the refrigerator for about 2 hours before serving, then add fresh toppings.
Reheating: Don’t. These are meant to be served cold. If you want a warm pumpkin dessert, you’re better off making a different recipe entirely.
The flavors actually develop and deepen after a day in the fridge. I honestly think these taste even better on day two, so don’t be afraid to make them ahead of time.
If you’re planning a fall brunch, these cozy brown butter zucchini bread with walnuts and honey glaze pair beautifully with the pumpkin cheesecake bites for a sweet spread.
Nutritional Information & Benefits
Here’s the estimated nutritional breakdown for one bite (based on 24 servings, without optional toppings):
| Nutrient | Amount Per Serving |
|---|---|
| Calories | 98 |
| Total Fat | 7g |
| Saturated Fat | 4g |
| Cholesterol | 20mg |
| Sodium | 85mg |
| Total Carbohydrates | 8g |
| Dietary Fiber | 0.5g |
| Sugars | 5g |
| Protein | 2g |
| Vitamin A | 35% DV |
Pumpkin is packed with vitamin A, which supports eye health and immune function. It’s also a good source of fiber and antioxidants. The cream cheese adds calcium and protein, making these bites a more balanced treat than your average cookie.
Dietary Considerations: These are vegetarian. For gluten-free and vegan options, see the variations section above. They contain dairy and gluten in their standard form. The bites are relatively low in sugar compared to many desserts, especially if you skip the caramel drizzle.
I love that I can serve these to my family knowing they’re getting a little bit of nutrition along with their treat. It’s not health food, but it’s not empty calories either.
FAQs
Can I use pumpkin pie filling instead of pumpkin puree?
No, please don’t. Pumpkin pie filling has added sugar, spices, and sometimes other thickeners. It will make your filling too sweet and throw off the texture completely. Stick with 100% pure pumpkin puree.
Why is my filling too soft?
This usually happens for one of three reasons: your cream cheese wasn’t fully softened, you didn’t whip the heavy cream enough, or your pumpkin puree was too watery. Next time, try draining the pumpkin puree on a paper towel for 10 minutes before adding it to remove excess moisture.
Can I make these without a food processor?
Absolutely. Put the graham crackers in a zip-top bag and crush them with a rolling pin or the bottom of a heavy pan. It takes a few extra minutes, but it works just as well. You’ll want the crumbs to be fairly fine and uniform.
How far in advance can I make these?
You can make them up to 3 days ahead of time and keep them in the refrigerator. For best results, add the toppings right before serving. If you need to make them further in advance, freeze them for up to 3 months.
Can I double this recipe?
Yes, this recipe doubles easily. Just make sure you have enough mini muffin tins or work in batches. The filling keeps well in the refrigerator for a day if you need to chill it between batches.
Conclusion
These easy no-bake pumpkin cheesecake bites are the kind of recipe that makes you look like a hero with almost no effort. They’re creamy, spiced, and perfectly portioned—everything you want in a fall dessert without turning on the oven. I’ve made them for Thanksgiving, Halloween parties, and random Tuesday cravings, and they never disappoint.
What I love most about this recipe is how adaptable it is. You can dress them up with caramel and pecans for a fancy party, or keep them simple for a quick weeknight treat. They’re forgiving, foolproof, and genuinely delicious. That’s a rare combination in the dessert world.
I hope you give these a try and make them your own. Maybe you’ll add a pinch of cardamom or swap the pecans for walnuts. Maybe you’ll drizzle them with chocolate instead of caramel. Whatever you do, I’d love to hear about it. Drop a comment below and let me know how they turned out—or share your own twist on these little bites of fall perfection.
Pin This Recipe!
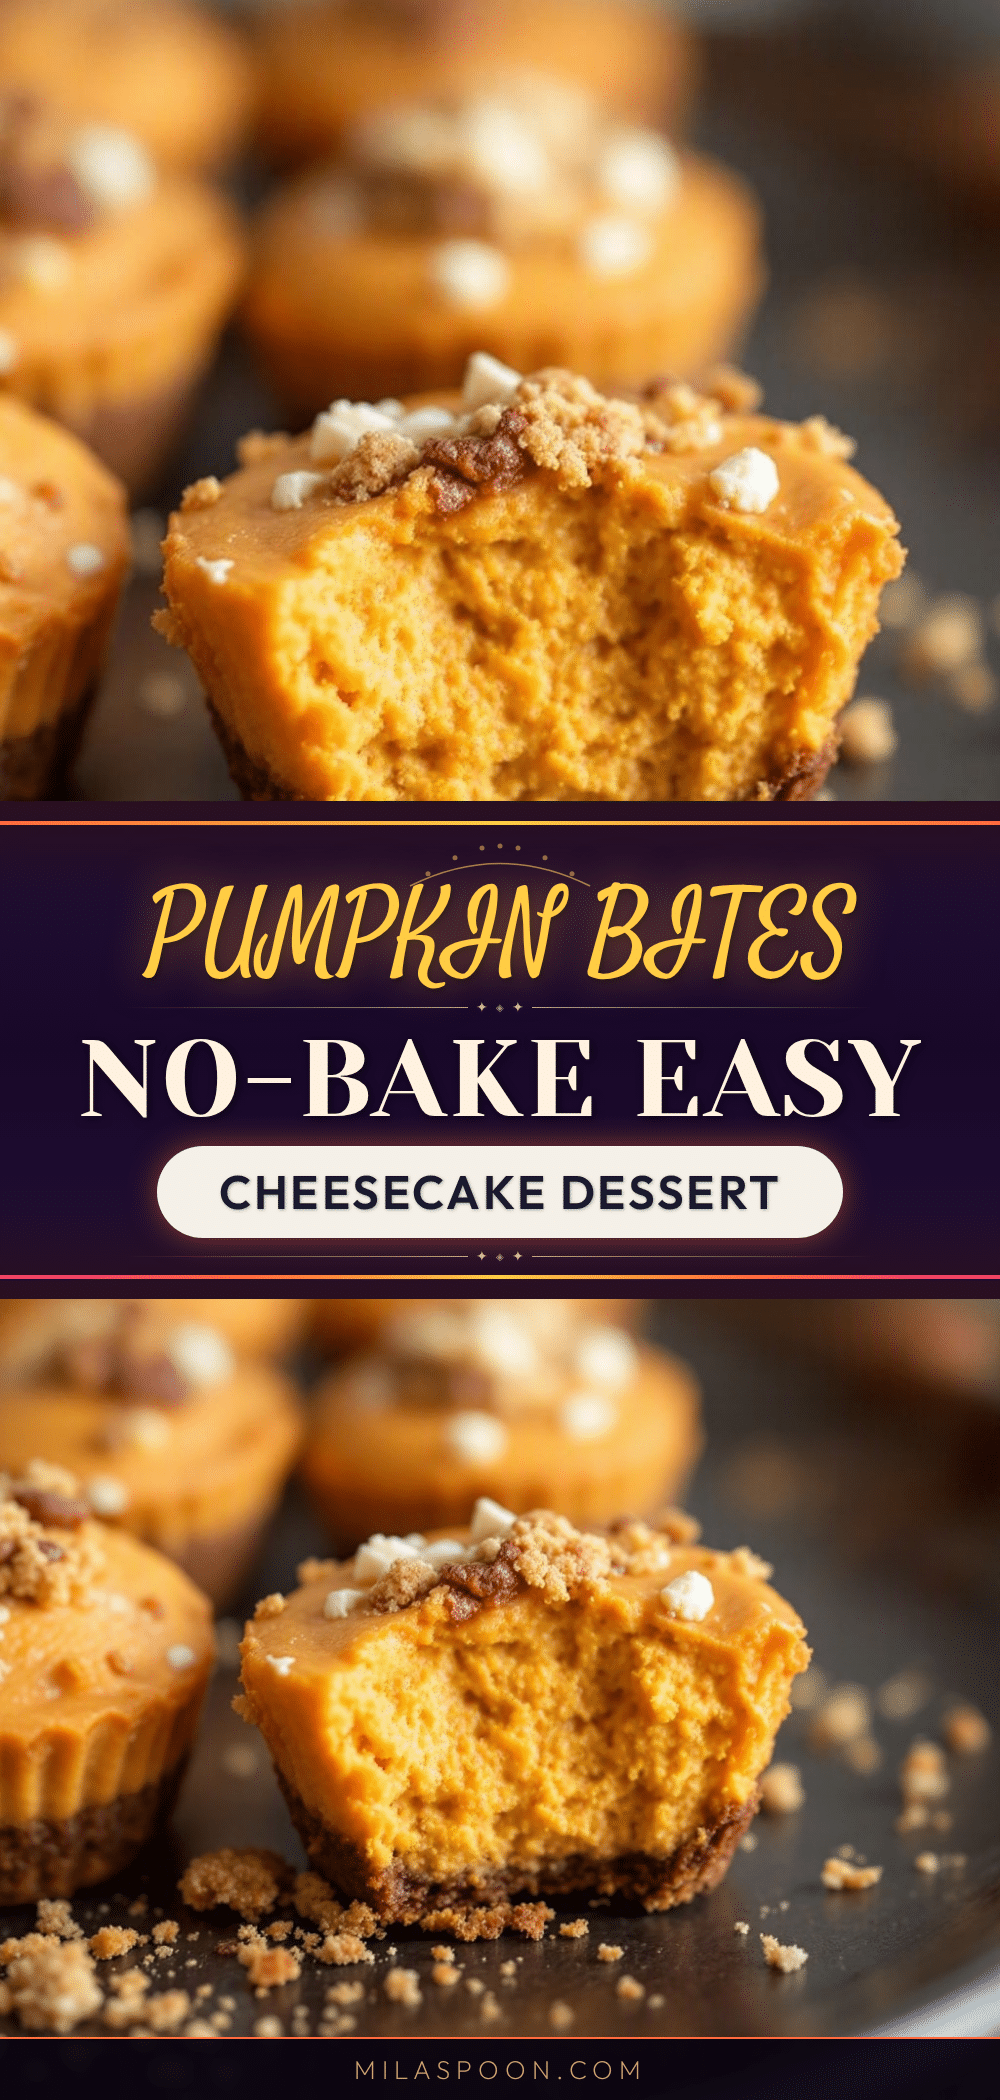
Easy No-Bake Pumpkin Cheesecake Bites (Perfect Fall Dessert)
These creamy, spiced no-bake pumpkin cheesecake bites are the perfect fall dessert. Made with simple ingredients and no oven required, they’re ideal for Thanksgiving, Halloween parties, or any autumn gathering.
- Prep Time: 20 minutes
- Cook Time: 0 minutes
- Total Time: 2 hours 20 minutes (includes chilling)
- Yield: 24 servings 1x
- Category: Dessert
- Cuisine: American
Ingredients
- 1 ½ cups crushed graham crackers (about 10 full sheets)
- 5 tablespoons unsalted butter, melted
- 2 tablespoons granulated sugar
- ½ teaspoon cinnamon
- 8 ounces cream cheese, softened to room temperature
- ½ cup pumpkin puree (not pumpkin pie filling)
- ⅓ cup powdered sugar
- ¼ cup heavy cream
- 1 teaspoon vanilla extract
- 1 teaspoon pumpkin pie spice
- ⅛ teaspoon salt
- Whipped cream (for serving, optional)
- Caramel sauce (for drizzling, optional)
- ¼ cup chopped pecans, toasted (optional)
- Cinnamon dusting (optional)
Instructions
- Prepare the crust: Place graham crackers in a food processor and pulse until fine crumbs. Transfer to a bowl, add melted butter, granulated sugar, and cinnamon. Stir until mixture resembles wet sand.
- Line a 24-cup mini muffin tin with paper liners or grease lightly. Spoon about 1 tablespoon of crust mixture into each cup. Press down firmly with the back of a teaspoon or a small shot glass. Refrigerate while making filling.
- Make the filling: In a large bowl, beat softened cream cheese with an electric mixer on medium speed until smooth and creamy, about 2 minutes. Add powdered sugar and beat until combined, about 30 seconds.
- Add heavy cream, vanilla extract, pumpkin pie spice, and salt. Beat on medium-high speed for 2-3 minutes until light, fluffy, and holds soft peaks. Gently fold in pumpkin puree with a spatula until evenly combined.
- Assemble: Remove muffin tin from refrigerator. Spoon or pipe filling into each cup on top of the crust, filling almost to the top. Smooth tops if needed.
- Cover tightly with plastic wrap and refrigerate for at least 2 hours, preferably 4 hours or overnight.
- Serve: Remove bites from muffin tin. Just before serving, top with whipped cream, caramel sauce, chopped pecans, and a dusting of cinnamon. Serve cold.
Notes
Room temperature cream cheese is essential for a smooth filling. Press the crust firmly to prevent crumbling. Chill overnight for best texture and flavor. Store in an airtight container in the refrigerator for up to 5 days. Freeze for up to 3 months. Add toppings just before serving.
Nutrition
- Serving Size: 1 bite
- Calories: 98
- Sugar: 5
- Sodium: 85
- Fat: 7
- Saturated Fat: 4
- Carbohydrates: 8
- Fiber: 0.5
- Protein: 2
Keywords: no-bake pumpkin cheesecake bites, pumpkin dessert, fall dessert, no-bake dessert, pumpkin cheesecake, easy dessert, Thanksgiving dessert


