Love this? Save it for later!
Share the inspiration with your friends
I want sticky, glossy, garlicky chicken thighs right now and I have everything except the patience to stand over a stove. That’s the exact moment this recipe was born—standing in front of the open fridge at 5:47 PM on a Tuesday, wondering how to get dinner on the table without losing my mind. I had chicken thighs thawed on the counter, a bottle of honey that was crystallizing at the edges, and garlic cloves that were starting to sprout tiny green shoots. Not exactly inspiring. But I was tired of takeout and even more tired of complicated recipes that promised “30 minutes” but actually took an hour and left me with a sink full of dishes.
So I did what any reasonable person would do. I threw everything in one pan and hoped for the best. And honestly? It worked better than I expected. The honey caramelized around the edges of the chicken, the garlic softened into little buttery pockets of flavor, and the sauce reduced into this sticky glaze that coated every bite. No marinating. No complicated steps. Just one pan, some basic ingredients, and dinner that actually tasted like I tried.
That first version was good. But I’ve made this recipe at least two dozen times since then, tweaking the ratios, testing the heat levels, figuring out exactly when to flip the chicken so the skin gets that perfect golden crust. This version right here? It’s the one I keep coming back to. The one I make on busy nights when I need something reliable. The one that made me realize you don’t need a dozen ingredients or a sink full of pots to eat well on a Tuesday.
Why You’ll Love This Recipe
Let me tell you why this recipe has earned a permanent spot in my weekly rotation. I’ve tested it on picky eaters, late-night cravings, and even a few dinner guests who didn’t know I was testing a recipe on them.
- One Pan, Minimal Cleanup : Everything cooks in a single skillet. No boiling pots, no separate bowls, no baking sheets to scrub. You’ll spend more time eating than washing dishes.
- Pantry-Friendly Ingredients : Honey, soy sauce, garlic, chicken thighs. That’s the backbone. You probably have most of this stuff right now. No specialty grocery runs required.
- Ready in 30 Minutes Flat : From the moment you pull the chicken out of the fridge to the moment you’re taking that first bite, we’re talking about half an hour. That’s faster than delivery.
- Incredibly Forgiving : Chicken thighs are practically impossible to dry out. Even if you get distracted and let them cook a few minutes extra, they stay juicy and tender. That’s peace of mind right there.
- Seriously Delicious : The honey garlic sauce reduces into this thick, sticky glaze that clings to every bite of chicken. It’s sweet, savory, and just garlicky enough without being overwhelming. The kind of dinner that makes you go back for seconds.
This isn’t just another chicken recipe. It’s the one that gets you out of a dinner rut without requiring a culinary degree or a fully stocked pantry. It’s comfort food that actually works on a Tuesday night.
What Ingredients You Will Need
This recipe uses simple ingredients that work together to create something way more delicious than the sum of their parts. Here’s what you’ll need and why each one matters.
- Bone-in, skin-on chicken thighs (6-8 pieces, about 2 pounds) : This is non-negotiable for the best texture. The bone keeps the meat juicy, and the skin gets crispy in the pan. If you use boneless skinless thighs, the cooking time will be shorter and you’ll miss out on that crackly skin. But hey, it still tastes good—just different.
- Honey (⅓ cup) : Go for a runny, mild honey here. I prefer clover honey or a light wildflower honey. The darker, more robust honeys can be overpowering. And please, please don’t use the crystallized stuff straight from the jar—warm it up first so it mixes smoothly into the sauce.
- Soy sauce (¼ cup) : Regular soy sauce works perfectly. Low-sodium is fine too, just know you might need to adjust the salt at the end. If you’re gluten-free, tamari or coconut aminos are excellent swaps.
- Garlic (6-8 cloves, minced) : Fresh garlic makes a real difference here. The jarred stuff has a sharper, almost bitter taste that doesn’t mellow the same way. Take the extra minute to mince fresh cloves—your taste buds will thank you.
- Chicken broth (¼ cup) : Helps deglaze the pan and creates the base for your sauce. Any broth works—chicken, vegetable, even beef in a pinch. Water works too, but the flavor won’t be as rich.
- Butter (2 tablespoons, unsalted) : Adds richness and helps the sauce get that silky, glossy finish. If you only have salted butter, just reduce or skip the extra salt at the end.
- Olive oil (2 tablespoons) : For searing the chicken. Avocado oil works great too, especially if you want a higher smoke point.
- Salt and black pepper : To season the chicken before searing. Don’t skip this step—it builds the foundation of flavor.
- Optional garnish: Fresh parsley or green onions, sesame seeds : Not strictly necessary, but they add color and a fresh pop of flavor that cuts through the richness of the sauce.
Equipment Needed
You don’t need a fancy kitchen to pull this off. Here’s what you’ll actually use.
- Large skillet or frying pan (12-inch recommended) : Cast iron is my go-to for this recipe. It holds heat beautifully and gives the chicken skin that perfect golden crust. But a stainless steel or non-stick pan works just fine. Just make sure it’s oven-safe if you plan to finish the chicken in the oven.
- Tongs : For flipping the chicken without piercing the skin. A spatula works in a pinch, but tongs give you more control.
- Cutting board and knife : For mincing the garlic and chopping any garnishes.
- Small bowl : To whisk together the honey, soy sauce, and broth before adding to the pan.
- Measuring cups and spoons : For accurate ingredient amounts. I’ve made this recipe enough times to eyeball it, but measuring helps when you’re making it for the first time.
If you don’t have a cast iron skillet, don’t stress. My first few versions of this recipe were made in a beat-up non-stick pan that had seen better days. It still worked. The key is using a pan that’s large enough to hold the chicken in a single layer without crowding.
Preparation Method
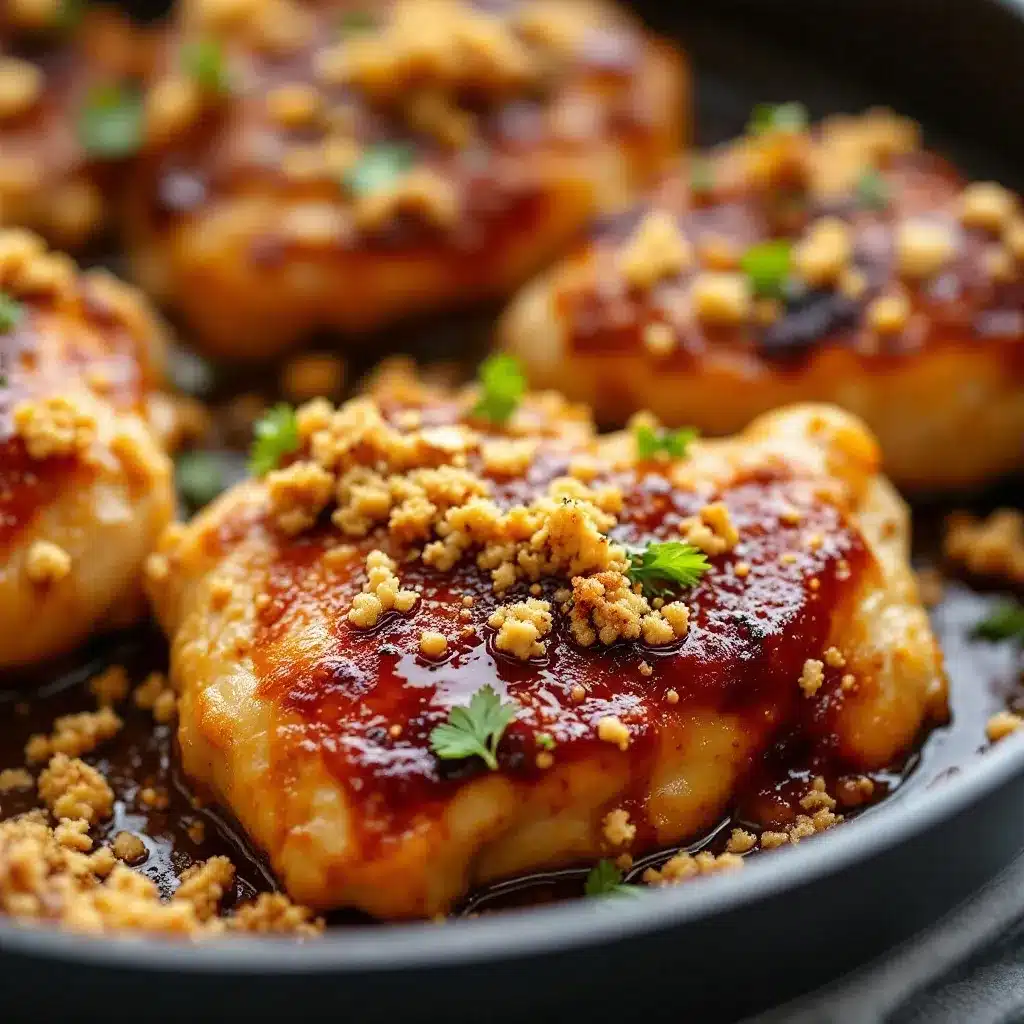
Let’s get cooking. This comes together fast, so I recommend reading through the steps once before you start.
- Pat the chicken thighs dry with paper towels. This is crucial for getting crispy skin. Wet skin steams instead of sears. Season both sides generously with salt and black pepper. Don’t be shy here—the chicken needs that seasoning.
- Heat your skillet over medium-high heat and add the olive oil. Wait until the oil is shimmering but not smoking. You want it hot enough that the chicken sizzles immediately when it hits the pan.
- Place the chicken thighs skin-side down in the skillet. Make sure they’re in a single layer and not touching each other. If your pan is too small, cook them in batches. Crowding the pan drops the temperature and you’ll end up with pale, soggy skin instead of golden, crispy skin. Cook undisturbed for 6-7 minutes until the skin is deep golden brown and releases easily from the pan.
- Flip the chicken thighs using tongs. Cook for another 4-5 minutes on the second side. The chicken should be golden brown all over. Don’t rush this step—that browning is where all the flavor lives.
- Remove the chicken from the skillet and set it aside on a plate. Leave the rendered fat in the pan—that’s liquid gold right there.
- Reduce the heat to medium and add the butter to the skillet. Once it melts, add the minced garlic. Stir constantly for about 30 seconds until the garlic is fragrant but not browned. Burnt garlic tastes bitter, so keep it moving.
- Pour in the honey, soy sauce, and chicken broth. Whisk everything together, scraping up any browned bits from the bottom of the pan. Those bits are packed with flavor and they’ll dissolve into the sauce.
- Bring the sauce to a gentle simmer. Let it bubble for 2-3 minutes until it thickens slightly. It should coat the back of a spoon but still be pourable.
- Return the chicken thighs to the skillet, skin-side up. Spoon some of the sauce over the top of each piece. Let everything simmer together for 5-7 minutes, spooning sauce over the chicken occasionally, until the sauce has reduced to a sticky glaze and the chicken is cooked through. An instant-read thermometer should read 165°F at the thickest part.
- Remove from heat and let the chicken rest in the pan for 2-3 minutes. This lets the sauce set up a bit more and makes the chicken even more tender.
- Garnish with fresh parsley or green onions and sesame seeds if you’re using them. Serve immediately with rice, roasted vegetables, or a simple salad to soak up all that extra sauce.
One thing I learned the hard way: don’t walk away during the sauce reduction step. Honey-based sauces can go from perfectly sticky to burnt in about 30 seconds. Stay close, keep an eye on it, and trust your nose. If it starts smelling like caramel, you’re good. If it smells like smoke, you’ve gone too far.
Cooking Tips & Techniques
After making this recipe more times than I can count, I’ve picked up a few tricks that make a real difference. Here’s what I wish someone had told me the first time.
Get the pan hot enough before adding the chicken. This is the number one mistake I see people make. If the pan isn’t hot enough, the chicken skin won’t crisp up—it’ll just sort of steam and turn rubbery. Test the heat by flicking a drop of water into the pan. If it sizzles and evaporates immediately, you’re ready. If it just sits there, wait another minute.
Don’t move the chicken too early. I know it’s tempting to peek or adjust, but let the chicken cook undisturbed for the full 6-7 minutes on the first side. The skin will release naturally from the pan when it’s properly browned. If you try to flip it and it sticks, it’s not ready yet. Give it another minute and try again.
Watch the garlic carefully. Garlic burns faster than you think, especially in a hot pan with butter. Once you add it, keep stirring and don’t walk away. The difference between perfectly softened garlic and burnt garlic is about 15 seconds. If you’re nervous, you can add the garlic along with the liquids instead of sautéing it first. It won’t be quite as flavorful, but it’s safer.
Adjust the sweetness to your taste. Some people love a sweeter sauce, others prefer it more savory. Start with the recommended amount of honey, then taste the sauce before adding the chicken back in. If you want it sweeter, add another tablespoon of honey. If you want it less sweet, add a splash more soy sauce or a squeeze of lemon juice to balance it out.
Let the sauce reduce properly. The sauce will look thin when you first add it to the pan. Don’t panic. Give it time to bubble and reduce. You’re looking for a consistency that coats the back of a spoon and leaves a trail when you drag your finger through it. That’s when you know it’s ready.
I once rushed this step because I was hungry and impatient, and I ended up with watery sauce that just slid off the chicken. It was still edible, but it wasn’t the sticky, glossy situation I was going for. Patience pays off here.
Variations & Adaptations
This recipe is a great starting point, but don’t be afraid to make it your own. Here are some variations I’ve tried and loved.
Spicy Honey Garlic Chicken : Add ½ teaspoon of red pepper flakes or a minced Thai chili along with the garlic. The heat balances beautifully with the sweet honey. I make this version when I’m cooking just for myself and want a little kick.
Lemon Honey Garlic Chicken : Add the juice of half a lemon and a few thin lemon slices to the sauce. The acidity cuts through the richness and brightens everything up. This is my go-to spring variation when I want something lighter.
Baked Version : Sear the chicken as directed, then transfer the skillet to a 375°F oven for 15-20 minutes instead of simmering on the stovetop. The oven heat is more gentle and gives you a slightly different texture. This is great if you’re cooking for a crowd and want to free up stovetop space.
Gluten-Free Option : Swap the soy sauce for tamari or coconut aminos. Everything else in the recipe is naturally gluten-free. I’ve tested this with tamari multiple times and honestly can’t tell the difference.
Boneless Chicken Thighs : If that’s what you have, reduce the searing time to 4 minutes per side and the simmering time to 3-4 minutes. Boneless thighs cook faster, so keep an eye on them. The sauce might be a bit thinner since there’s less fat rendering, but it still tastes great.
I once tried this recipe with chicken breasts because it was all I had in the freezer. It worked, but the chicken was drier and the sauce didn’t cling as well. Chicken thighs really are the superior choice here. Trust me on this one.
Serving & Storage Suggestions
This chicken is incredibly versatile when it comes to serving. Here’s how I like to enjoy it.
Serving temperature : Serve hot, straight from the skillet. The sauce is at its best when it’s warm and glossy. Leftovers are good cold too, but the sauce thickens up in the fridge and loses some of its magic.
What to serve with it : Steamed jasmine rice is my default choice—it soaks up all that extra honey garlic sauce perfectly. Buttered egg noodles, mashed potatoes, or even crusty bread for dipping are all excellent options. For vegetables, I love roasted broccoli or a simple green salad with a tangy vinaigrette to cut through the richness. If you’re in the mood for something creamy, this dish pairs beautifully with a creamy one-pan Tuscan chicken vibe, though that’s a whole different recipe altogether.
Storage instructions : Store leftover chicken in an airtight container in the refrigerator for up to 4 days. The sauce will thicken as it cools, which is totally normal. Reheat gently on the stovetop over medium-low heat, adding a splash of water or broth to thin the sauce back out. You can also reheat individual portions in the microwave, but the skin won’t be as crispy.
Freezing instructions : This recipe freezes surprisingly well. Let the chicken cool completely, then transfer to a freezer-safe container or bag. It’ll keep for up to 3 months. Thaw overnight in the refrigerator and reheat in a skillet over medium heat. The sauce might separate slightly after freezing, but a quick stir brings it back together.
How flavors develop over time : Honestly, this dish tastes even better the next day. The flavors have time to meld and deepen overnight. I’ve been known to make a double batch just so I have leftovers for lunch. The only thing that suffers is the crispy skin, but the flavor more than makes up for it.
Nutritional Information & Benefits
Here’s a rough nutritional breakdown per serving (based on 4 servings, 2 thighs each). These are estimates and will vary based on exact ingredients and portion sizes.
| Nutrient | Amount per Serving |
|---|---|
| Calories | 420-480 |
| Protein | 32-38g |
| Fat | 24-28g |
| Carbohydrates | 22-26g |
| Sugar | 18-22g |
| Sodium | 700-900mg |
Chicken thighs are a great source of protein, iron, and B vitamins. They’re higher in fat than chicken breasts, but that fat is what keeps them juicy and flavorful. Honey provides quick energy and contains antioxidants, while garlic has been linked to immune support and heart health benefits.
If you’re watching your sugar intake, you can reduce the honey to ¼ cup or swap in a sugar-free honey alternative. Just know that the sauce won’t be as thick or glossy. For a lower-sodium version, use low-sodium soy sauce and skip the added salt at the end.
This recipe is naturally dairy-free if you skip the butter garnish or use a dairy-free alternative. It’s also gluten-free with tamari instead of soy sauce. Not bad for a weeknight dinner that comes together in 30 minutes.
Conclusion
This easy one-pan honey garlic chicken thighs recipe is the kind of dinner that saves your week. It’s simple enough for a busy Tuesday, but impressive enough that you could serve it to guests without feeling embarrassed. The sticky, sweet-savory sauce, the crispy golden skin, the tender juicy meat—it all comes together in one pan with minimal fuss and maximum flavor.
I’ve made this recipe for friends who claimed they couldn’t cook, and they’ve texted me photos of their own successful versions days later. That’s the kind of recipe this is. It builds confidence. It makes you feel like you actually know what you’re doing in the kitchen, even on nights when you’re tired and hungry and just want something good to eat.
Try it this week. Customize it to your taste—add heat, add lemon, swap the sides, whatever feels right. And if you make it, come back and tell me how it went. Did you add something unexpected? Did your kids actually eat it without complaining? I want to hear about it. Drop a comment below or tag me in your photos. Let’s make weeknight dinners something to look forward to.
Frequently Asked Questions
Can I use chicken breasts instead of thighs?
You can, but I don’t recommend it for this recipe. Chicken breasts cook faster and dry out more easily, especially in a sticky sauce that needs time to reduce. If you’re set on using breasts, pound them to an even thickness, reduce the cooking time by about 5 minutes, and check for doneness early. The sauce might be thinner since there’s less fat rendering, so you may need to let it reduce a bit longer.
How do I prevent the honey from burning?
Keep the heat at medium or medium-low once you add the honey mixture. High heat will cause the sugars to burn before the chicken is cooked through. Also, don’t walk away during the sauce reduction step. Stir occasionally and watch for that deep amber color. If it starts to smell like caramel rather than sweet honey, you’re in the sweet spot. If it smells smoky, you’ve gone too far.
Can I make this recipe ahead of time?
Absolutely. Cook the chicken as directed, let it cool, and store it in an airtight container in the fridge for up to 4 days. The flavors actually get better overnight. Reheat gently in a skillet over medium-low heat with a splash of water or broth to thin the sauce. The skin won’t be as crispy as fresh, but the flavor is still incredible.
What can I serve with honey garlic chicken thighs?
Steamed rice is the classic choice because it soaks up all that extra sauce. Buttered noodles, mashed potatoes, quinoa, or even crusty bread work great too. For vegetables, try roasted broccoli, green beans, or a simple cucumber salad. If you want to keep things light, a fresh green salad with a tangy vinaigrette balances the sweetness of the chicken perfectly. For a heartier meal, you could pair it with a side of cozy roasted tomato basil soup for a cozy dinner duo.
Is this recipe freezer-friendly?
Yes, it freezes really well. Let the chicken cool completely, then transfer to a freezer-safe container or bag. It’ll keep for up to 3 months. Thaw overnight in the refrigerator and reheat in a skillet over medium heat. The sauce might separate slightly after freezing, but a quick stir brings it back together. Just know that the crispy skin won’t be as crispy after freezing and reheating.
Pin This Recipe!
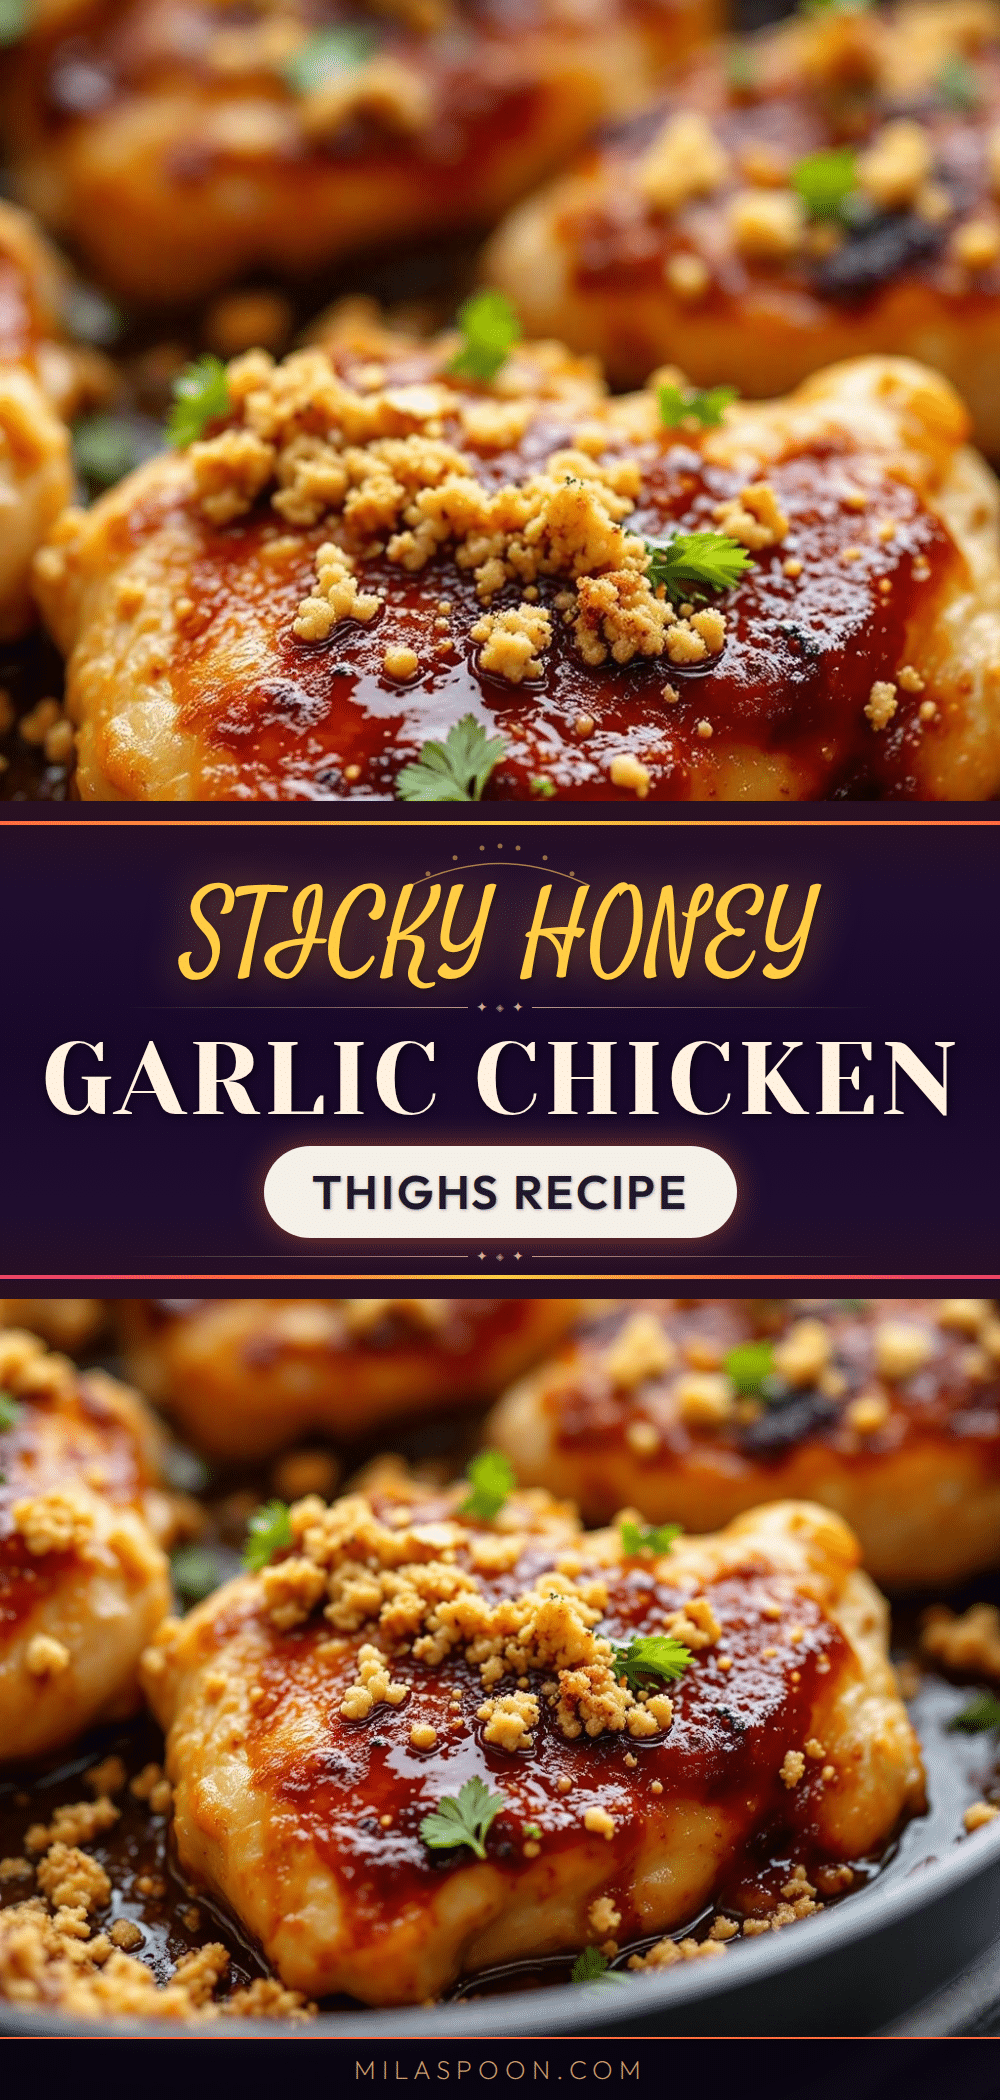
Easy One-Pan Honey Garlic Chicken Thighs: Best Weeknight Dinner

Sticky, glossy, garlicky chicken thighs cooked in one pan with minimal cleanup. This 30-minute recipe uses pantry-friendly ingredients and is incredibly forgiving, making it the perfect weeknight dinner.
- Prep Time: 10 minutes
- Cook Time: 20 minutes
- Total Time: 30 minutes
- Yield: 4 servings 1x
- Category: Main Course
- Cuisine: American
Ingredients
- 6–8 bone-in, skin-on chicken thighs (about 2 pounds)
- ⅓ cup honey (runny, mild honey like clover or light wildflower)
- ¼ cup soy sauce (or tamari/coconut aminos for gluten-free)
- 6–8 cloves garlic, minced
- ¼ cup chicken broth
- 2 tablespoons unsalted butter
- 2 tablespoons olive oil
- Salt and black pepper, to taste
- Optional garnish: fresh parsley or green onions, sesame seeds
Instructions
- Pat the chicken thighs dry with paper towels. Season both sides generously with salt and black pepper.
- Heat a large skillet (12-inch recommended) over medium-high heat and add the olive oil. Wait until the oil is shimmering but not smoking.
- Place the chicken thighs skin-side down in the skillet in a single layer without crowding. Cook undisturbed for 6-7 minutes until the skin is deep golden brown and releases easily from the pan.
- Flip the chicken thighs using tongs. Cook for another 4-5 minutes on the second side until golden brown all over.
- Remove the chicken from the skillet and set aside on a plate. Leave the rendered fat in the pan.
- Reduce the heat to medium and add the butter to the skillet. Once melted, add the minced garlic and stir constantly for about 30 seconds until fragrant but not browned.
- Pour in the honey, soy sauce, and chicken broth. Whisk together, scraping up any browned bits from the bottom of the pan.
- Bring the sauce to a gentle simmer and let it bubble for 2-3 minutes until it thickens slightly and coats the back of a spoon.
- Return the chicken thighs to the skillet, skin-side up. Spoon some sauce over each piece. Simmer for 5-7 minutes, spooning sauce over the chicken occasionally, until the sauce reduces to a sticky glaze and the chicken is cooked through (internal temperature of 165°F).
- Remove from heat and let the chicken rest in the pan for 2-3 minutes.
- Garnish with fresh parsley or green onions and sesame seeds if desired. Serve immediately with rice, roasted vegetables, or a simple salad.
Notes
Don’t walk away during the sauce reduction step as honey-based sauces can burn quickly. For best results, use bone-in, skin-on chicken thighs. If using boneless thighs, reduce searing time to 4 minutes per side and simmering time to 3-4 minutes. The dish tastes even better the next day as flavors meld.
Nutrition
- Serving Size: 2 chicken thighs
- Calories: 420480
- Sugar: 1822
- Sodium: 700900
- Fat: 2428
- Saturated Fat: 810
- Carbohydrates: 2226
- Protein: 3238
Keywords: honey garlic chicken, one-pan chicken, weeknight dinner, chicken thighs, easy dinner, 30-minute meal, sticky chicken


