Love this? Save it for later!
Share the inspiration with your friends
Introduction
The other day, I was waiting in line at the craft store, scanning the shelves for Halloween decorations, when the sharp scent of cocoa and vanilla from a nearby bakery caught me off guard — and suddenly I was eight years old, perched on a rickety stool in my Aunt June’s tiny kitchen. She was carefully frosting these strange black cookies shaped like witch hats, the purple buttercream swirling like a little storm on top. I remember the way the kitchen light flickered and how a stray dollop of frosting landed on the cracked windowsill, unnoticed as we both chatted about spooky stories. Aunt June had this knack for making Halloween feel like a secret club, and those black velvet witch hat cookies were her signature magic.
Honestly, I tried to recreate them a dozen times over the years, never quite capturing that exact texture or color — until recently. Maybe you’ve been there, chasing a flavor or feeling that refuses to settle. This recipe is my latest attempt to hold onto that fleeting moment, and let me tell you, it’s as close as I’ve gotten. The cookies are rich, soft, with that deep black velvet crumb, and the purple buttercream frosting? It’s just the right amount of sweet and tangy, with a hint of vanilla that makes you pause and smile.
Let me walk you through how to make these enchanting black velvet witch hat cookies with purple buttercream, so you can bring a little of that mysterious Halloween charm into your own kitchen — even if Aunt June’s kitchen feels a world away.
Why You’ll Love This Recipe
After testing countless batches in my own kitchen (and a few friendly “taste testers” who definitely demanded seconds), I can say this recipe stands out for a bunch of reasons. It’s not just about the spooky look — though honestly, the striking black and purple combo will wow anyone at your Halloween table. This is about the experience of baking something that feels special but isn’t complicated.
- Quick & Easy: The batter comes together in under 20 minutes, perfect for last-minute Halloween baking madness.
- Simple Ingredients: You probably already have these staples in your pantry—no need for exotic or hard-to-find items.
- Perfect for Halloween Parties: These cookies make a fun centerpiece or treat for festive gatherings, school events, or just cozy nights in.
- Crowd-Pleaser: Kids love the fun shape and vibrant purple buttercream, while adults appreciate the rich cocoa flavor.
- Unbelievably Delicious: The black velvet cookie texture is soft yet sturdy enough to hold the frosting without crumbling.
What really sets this recipe apart is the way the black velvet base is perfectly balanced—not too bitter, not too sweet—paired with the creamy, slightly tangy purple buttercream frosting. I’ve used a tiny bit of beet juice for the natural purple color, which adds a subtle earthiness without overpowering the vanilla. If you’ve ever struggled with frosting colors that taste artificial, you’ll appreciate this little trick.
Honestly, this isn’t just a cookie recipe — it’s a bit of nostalgia, a dash of creativity, and a whole lot of fun rolled into one. Plus, if you’re into other festive treats, my crispy garlic chicken makes for a great savory pairing at any Halloween feast.
What Ingredients You Will Need
This recipe uses simple, wholesome ingredients to deliver a bold flavor and a satisfying texture without any fuss. Most are pantry staples, and substitutions are easy if you need them.
- For the Black Velvet Cookies:
- All-purpose flour – 2 ½ cups (315 g), sifted
- Cocoa powder, unsweetened – ½ cup (50 g), use a good quality like Valrhona for deeper flavor
- Baking powder – 1 tsp (4 g)
- Baking soda – ½ tsp (2 g)
- Salt – ½ tsp (3 g)
- Unsalted butter, softened – 1 cup (227 g), room temperature
- Granulated sugar – 1 cup (200 g)
- Large eggs – 2, room temperature
- Pure vanilla extract – 2 tsp (10 ml)
- Buttermilk – ¾ cup (180 ml), helps keep the cookies tender
- Black gel food coloring – enough to achieve deep black color (about ½ tsp)
- For the Purple Buttercream Frosting:
- Unsalted butter, softened – 1 cup (227 g)
- Powdered sugar – 3 cups (360 g), sifted to avoid clumps
- Pure vanilla extract – 1 tsp (5 ml)
- Heavy cream or whole milk – 2-3 tbsp (30-45 ml), adjust for consistency
- Beet juice concentrate or natural purple food coloring – 1-2 tsp, for vibrant purple without bitterness
- A pinch of salt
Ingredient tips: I recommend using European-style butter for a richer frosting. If you prefer a dairy-free option, swap butter and cream for plant-based alternatives like vegan margarine and coconut milk. For a gluten-free twist, almond or oat flour works well but expect a slightly different texture. In summer, you could swap beet juice with fresh blueberry puree to get a fruity purple tint.
Equipment Needed
- Mixing bowls (medium and large)
- Electric mixer or stand mixer with paddle attachment (makes creamier frosting and easier batter mixing)
- Measuring cups and spoons, preferably digital scale for accuracy
- Rubber spatula for folding ingredients
- Cookie cutters shaped like witch hats (or a sharp knife to cut shapes freehand)
- Baking sheets lined with parchment paper or silicone mats
- Cooling racks to let cookies rest before frosting
- Pastry bag with star or round tip for piping buttercream (optional but helpful for neat frosting)
If you don’t own a stand mixer, a hand mixer works just fine — I’ve made this recipe many times with both. For shaping, if you’re short on cookie cutters, you can trace a template on parchment and cut around it with a knife (just take your time). Silicone mats are my favorite for baking as they prevent sticking and make cleanup a breeze. Also, keep your mixer beaters and spatula clean and dry during frosting — it helps keep the buttercream fluffy.
Preparation Method
- Preheat your oven to 350°F (175°C). Line two baking sheets with parchment paper or silicone mats.
- Whisk together the dry ingredients: In a medium bowl, sift the all-purpose flour, cocoa powder, baking powder, baking soda, and salt. Set aside.
- Cream the butter and sugar: In a large bowl, beat the softened butter and granulated sugar with an electric mixer on medium-high speed for about 3-4 minutes until light and fluffy. This step is crucial for the perfect cookie texture.
- Add the eggs and vanilla: Beat in the eggs one at a time, making sure each is fully incorporated before adding the next. Then mix in the vanilla extract. The batter might look a bit grainy here, but that’s okay.
- Combine wet and dry ingredients: Add about one-third of the dry mix into the wet ingredients, then half of the buttermilk, mixing gently on low speed. Repeat, finishing with the dry ingredients. Avoid over-mixing to keep cookies tender.
- Add black gel food coloring: Drop in about ½ teaspoon of black gel food coloring and mix just until the dough is uniformly black. It might look dark gray at first, but it will bake into a rich black velvet color.
- Chill the dough: Wrap the dough in plastic wrap and refrigerate for at least 30 minutes. This step makes the dough easier to handle and helps the cookies keep their shape.
- Roll and cut the cookies: On a lightly floured surface, roll the dough out to about ¼ inch (6 mm) thickness. Use your witch hat cookie cutter (or carefully cut freehand) to shape cookies. Transfer them to the prepared baking sheets about 1 inch (2.5 cm) apart.
- Bake: Bake for 10-12 minutes, rotating the pans halfway through for even baking. The cookies should be firm but still soft to the touch and slightly springy when pressed.
- Cool: Let the cookies cool on the baking sheet for 5 minutes, then transfer to wire racks to cool completely before frosting.
- Prepare the purple buttercream: Beat softened butter on medium speed until creamy (about 2 minutes). Gradually add powdered sugar, one cup at a time, beating well after each addition. Mix in vanilla extract, a pinch of salt, and beet juice or purple food coloring. Add cream or milk one tablespoon at a time until you reach a smooth, pipeable consistency.
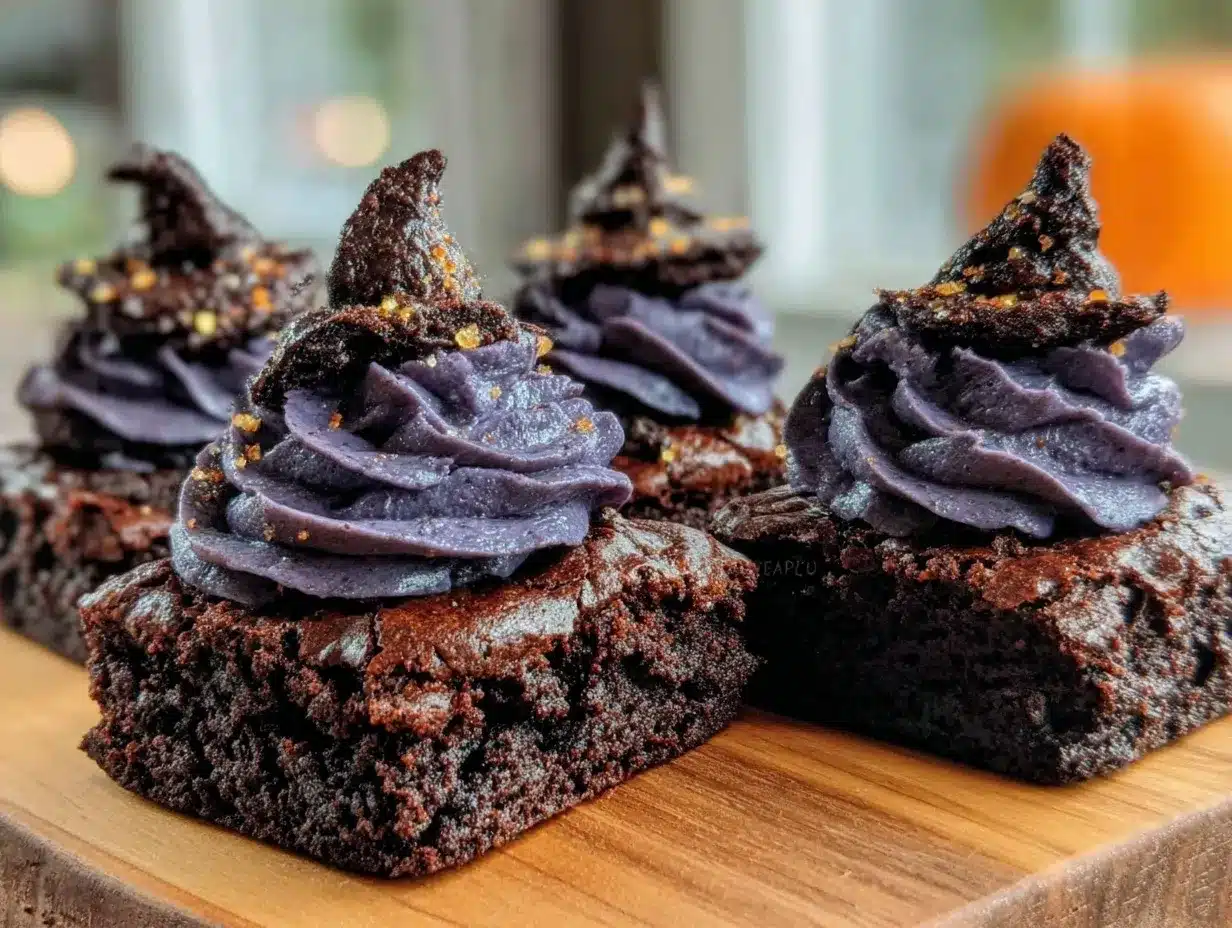
- Frost the cookies: Use a pastry bag or a butter knife to spread or pipe the purple buttercream on each cookie, swirling it to mimic the pointy look of a witch’s hat top.
Tip: If your frosting feels too soft, chill it briefly before piping. If it’s too stiff, add a splash more cream. And don’t worry if your first batch isn’t perfect — I once misread my baking powder and ended up with oddly flat hats, but they were still delicious!
Cooking Tips & Techniques
Making perfect black velvet witch hat cookies isn’t rocket science, but a few tricks make all the difference. First, don’t skip sifting the cocoa powder and flour — lumps can ruin the smooth, velvety texture. When creaming butter and sugar, take your time to get it light and airy; it helps with the softness.
Keep an eye on the dough color. Sometimes, black food coloring can stain your hands or surfaces, so it’s best to wear gloves or use utensils. Don’t add too much liquid coloring as it can make dough sticky. The beet juice for the frosting is delicate — start with a little and build up to your preferred shade.
When cutting the cookies, try to keep the dough chilled; warm dough tends to spread and lose shape. If the dough softens too much while working, pop it back into the fridge for 10 minutes. Also, baking time varies slightly by oven, so check cookies a minute or two before the timer if your oven runs hot.
For frosting, I love using a pastry bag with a star tip to get that whimsical swirl that looks like a witch’s hat swirl. If you’re new to piping, practice on parchment paper first. And don’t forget — the frosting can be made a day ahead and refrigerated; just bring it back to room temperature and re-whip briefly to restore fluffiness.
Variations & Adaptations
- Dietary: Use gluten-free flour blends to make these cookies accessible for gluten-sensitive guests. Swap butter for vegan margarine and dairy milk for almond or oat milk to make the recipe vegan-friendly.
- Seasonal: Instead of purple beet juice, try using fresh pumpkin puree and a pinch of cinnamon in the frosting for an autumn twist. Or, for a winter holiday vibe, use red food coloring and peppermint extract in the frosting.
- Flavor: Add a teaspoon of orange zest to the cookie dough for a subtle citrus note that pairs perfectly with the cocoa and purple frosting. You can also mix mini chocolate chips into the dough for extra texture.
Personally, I once made a batch with lavender-infused buttercream — it was unexpected but delightful. If you want to try different shapes, these cookies also work well as mini black cats or bats with simple alterations.
Serving & Storage Suggestions
Serve these witch hat cookies at room temperature, ideally on a festive platter with other autumn treats. They pair wonderfully with a cup of hot cider, dark coffee, or even a creamy chai latte. For a full Halloween spread, they complement savory dishes like the crispy garlic chicken I like to make around this time.
Store the cookies in an airtight container at room temperature for up to 3 days. For longer storage, refrigerate for up to a week or freeze un-frosted cookies in a sealed bag for up to 3 months. Thaw before frosting. If you need to store frosted cookies, keep them refrigerated and bring to room temperature before serving for best flavor and texture.
Over time, the flavors meld even more — sometimes the next day tastes better than fresh out of the oven. Just be sure to keep them covered so the buttercream stays soft and the cookies don’t dry out.
Nutritional Information & Benefits
Each cookie (based on 24 servings) contains approximately:
| Calories | 180 |
|---|---|
| Total Fat | 9g |
| Saturated Fat | 5g |
| Carbohydrates | 24g |
| Sugars | 16g |
| Protein | 2g |
While these cookies are an indulgence, they include some beneficial ingredients. Cocoa powder is rich in antioxidants and can boost mood with its natural compounds. Using beet juice for coloring adds a tiny dose of vitamins and minerals without artificial dyes. Plus, making them at home means you control the ingredients and avoid preservatives often found in store-bought treats.
This recipe can easily fit into a balanced diet when enjoyed in moderation — a sweet way to celebrate the season and share joy with your loved ones.
Conclusion
If you’re looking for a Halloween cookie recipe that’s both striking and delicious, these perfect black velvet witch hat cookies with purple buttercream are a must-try. They bring a little magic to your baking with their rich cocoa flavor and playful, colorful frosting. I love how they remind me of childhood moments and festive fun, and I hope they do the same for you.
Feel free to tweak the colors, flavors, or shapes to suit your style — baking is all about making recipes your own. If you give this recipe a try, I’d love to hear how it turns out or what creative spins you put on it!
Go ahead, grab your mixing bowls, and let’s make some Halloween magic happen.
FAQs
Can I make the black velvet witch hat cookies gluten-free?
Yes! Substitute the all-purpose flour with a 1:1 gluten-free baking flour blend. Just make sure it contains xanthan gum or another binder to help the cookies hold together.
What’s the best way to get the black color without using too much food coloring?
Using black gel food coloring is more concentrated than liquid and requires less. You can also add a bit of cocoa powder to deepen the color naturally, but avoid adding too much or the cookies may taste bitter.
Can I prepare the dough or frosting ahead of time?
Absolutely. The dough can be refrigerated for up to 48 hours before baking. The frosting can be made a day ahead and stored covered in the fridge—just bring it to room temperature and re-whip before using.
How do I store frosted cookies without ruining the buttercream?
Store them in a single layer in an airtight container in the fridge. Let them come to room temperature before serving for the best texture and flavor.
What can I use if I don’t have a witch hat cookie cutter?
You can cut the cookies freehand using a printed template as a guide, or use a triangle cutter for the hat top and a small circle cutter for the brim, assembling them after baking.
Pin This Recipe!
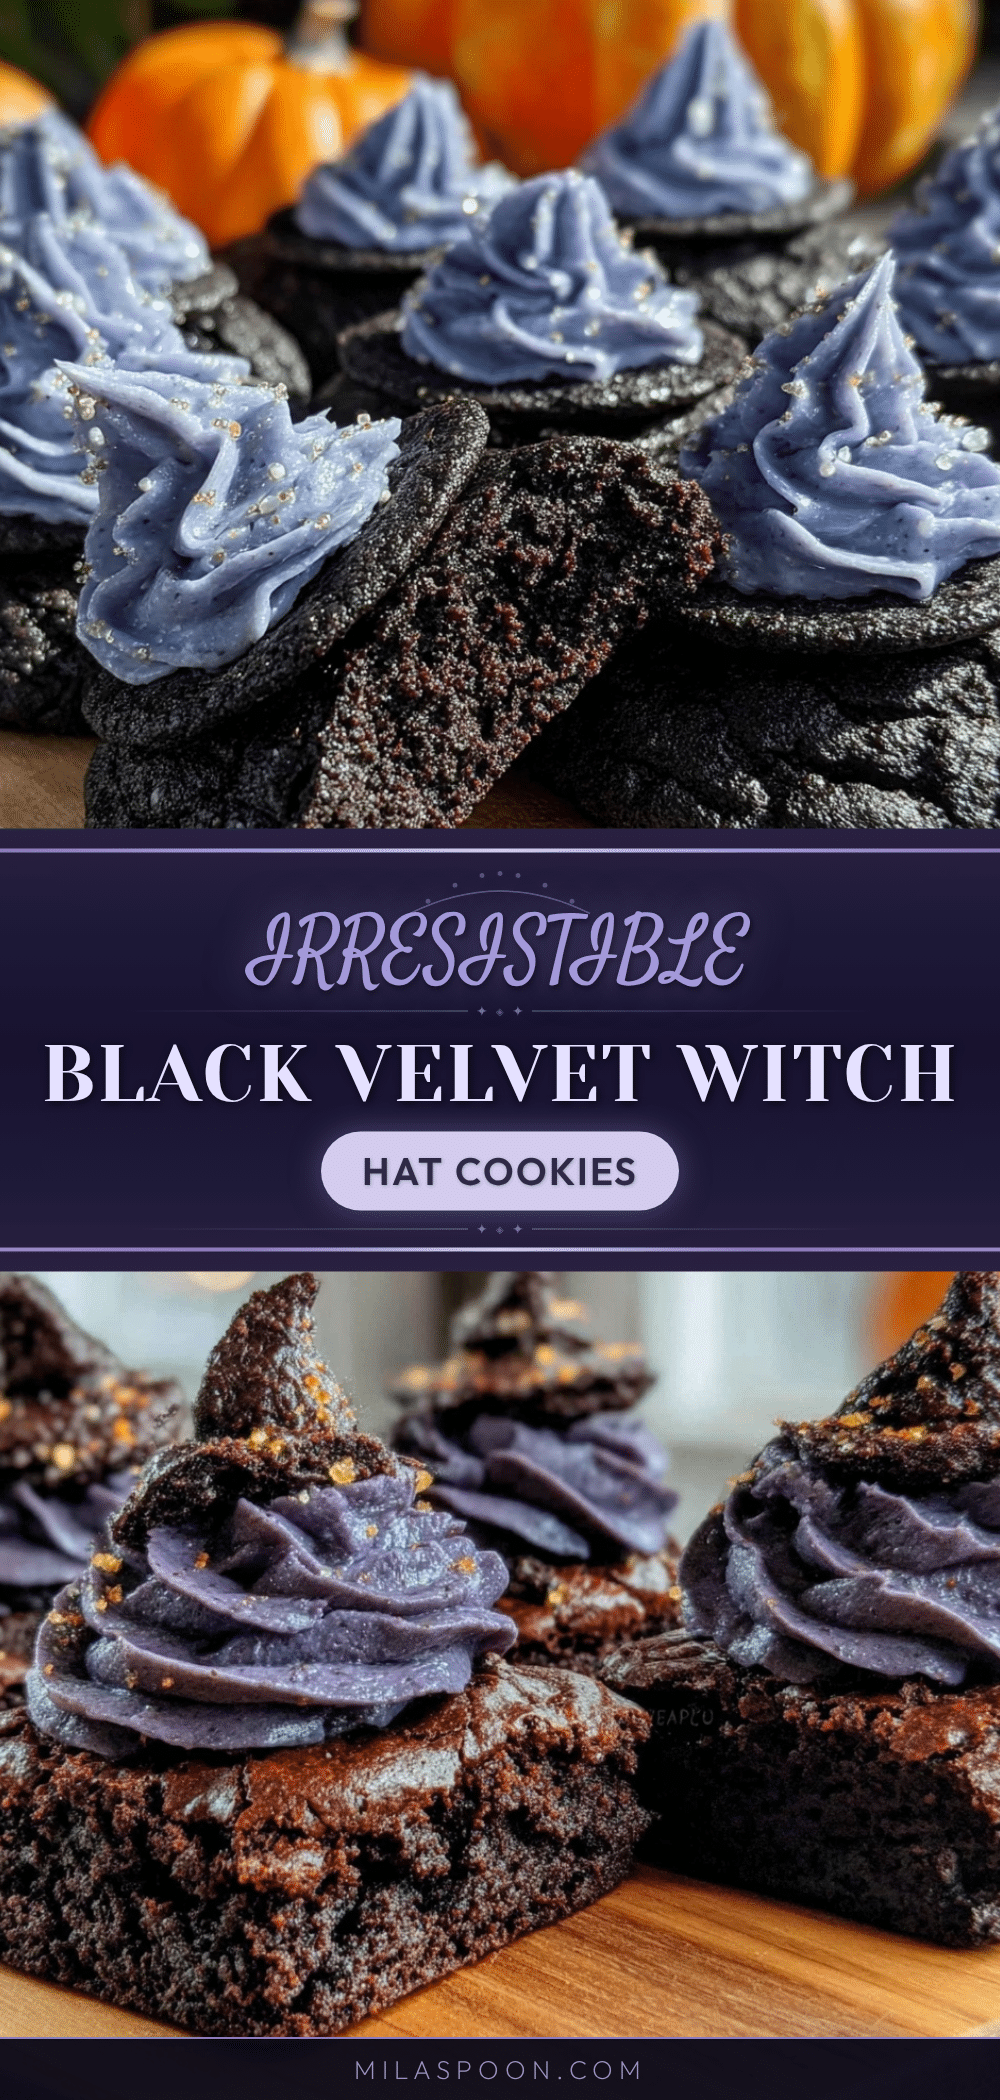
Perfect Black Velvet Witch Hat Cookies Recipe with Purple Buttercream Frosting
These enchanting black velvet witch hat cookies feature a rich, soft cocoa base paired with a creamy, slightly tangy purple buttercream frosting, perfect for Halloween celebrations.
- Prep Time: 20 minutes
- Cook Time: 12 minutes
- Total Time: 1 hour 2 minutes
- Yield: 24 servings 1x
- Category: Dessert
- Cuisine: American
Ingredients
- 2 ½ cups (315 g) all-purpose flour, sifted
- ½ cup (50 g) unsweetened cocoa powder (use good quality like Valrhona)
- 1 tsp (4 g) baking powder
- ½ tsp (2 g) baking soda
- ½ tsp (3 g) salt
- 1 cup (227 g) unsalted butter, softened, room temperature
- 1 cup (200 g) granulated sugar
- 2 large eggs, room temperature
- 2 tsp (10 ml) pure vanilla extract
- ¾ cup (180 ml) buttermilk
- ½ tsp black gel food coloring
- For the Purple Buttercream Frosting:
- 1 cup (227 g) unsalted butter, softened
- 3 cups (360 g) powdered sugar, sifted
- 1 tsp (5 ml) pure vanilla extract
- 2–3 tbsp (30–45 ml) heavy cream or whole milk
- 1–2 tsp beet juice concentrate or natural purple food coloring
- A pinch of salt
Instructions
- Preheat your oven to 350°F (175°C). Line two baking sheets with parchment paper or silicone mats.
- In a medium bowl, sift together the all-purpose flour, cocoa powder, baking powder, baking soda, and salt. Set aside.
- In a large bowl, beat the softened butter and granulated sugar with an electric mixer on medium-high speed for about 3-4 minutes until light and fluffy.
- Beat in the eggs one at a time, ensuring each is fully incorporated before adding the next. Mix in the vanilla extract.
- Add about one-third of the dry ingredients to the wet ingredients, then half of the buttermilk, mixing gently on low speed. Repeat, finishing with the dry ingredients. Avoid over-mixing.
- Add about ½ teaspoon of black gel food coloring and mix until the dough is uniformly black.
- Wrap the dough in plastic wrap and refrigerate for at least 30 minutes.
- On a lightly floured surface, roll the dough out to about ¼ inch (6 mm) thickness. Use a witch hat cookie cutter or cut freehand to shape cookies. Place them 1 inch (2.5 cm) apart on prepared baking sheets.
- Bake for 10-12 minutes, rotating pans halfway through. Cookies should be firm but soft and slightly springy when pressed.
- Let cookies cool on the baking sheet for 5 minutes, then transfer to wire racks to cool completely.
- To prepare the purple buttercream, beat softened butter on medium speed until creamy (about 2 minutes). Gradually add powdered sugar, one cup at a time, beating well after each addition.
- Mix in vanilla extract, a pinch of salt, and beet juice or purple food coloring. Add cream or milk one tablespoon at a time until smooth and pipeable.
- Frost the cooled cookies using a pastry bag or butter knife, swirling to mimic a witch’s hat top.
Notes
Use European-style butter for richer frosting. For dairy-free, substitute butter and cream with vegan margarine and coconut milk. Gluten-free flour blends can be used with xanthan gum. Chill dough to maintain shape. Frosting can be made a day ahead and re-whipped before use. Use gloves when handling black gel food coloring to avoid staining. Practice piping on parchment paper if new to it.
Nutrition
- Serving Size: 1 cookie
- Calories: 180
- Sugar: 16
- Fat: 9
- Saturated Fat: 5
- Carbohydrates: 24
- Protein: 2
Keywords: Halloween cookies, black velvet cookies, witch hat cookies, purple buttercream frosting, cocoa cookies, festive treats, Halloween dessert