Love this? Save it for later!
Share the inspiration with your friends
“You’ve got to see this one—it’s a total showstopper,” my neighbor said, sliding a slice of the most eye-catching dessert across the picnic table. I was skeptical at first. Jello poke cakes? They always seemed a bit too gimmicky, like something from a school bake sale rather than a festive celebration. But this Perfect Layered American Flag Jello Poke Cake was different.
It all started last Fourth of July when I was scrambling to bring something fun and easy to a backyard barbecue. Honestly, I was half-expecting it to flop, but the moment I took that first bite, everything changed. The layers were vibrant and perfectly balanced — the red, white, and blue colors weren’t just pretty, they tasted bright and fresh without being overly sweet.
What really got me was how simple it was to make yet so wildly impressive. The jello seeped into the cake just enough to keep it moist, and poking holes in the cake felt oddly satisfying, almost therapeutic. And I couldn’t help but notice how people kept asking for the recipe all afternoon. Since then, I’ve made it a dozen times—sometimes tweaking the layers, sometimes doubling the batch for big groups.
That day, this jello poke cake became my go-to festive dessert, a reliable crowd-pleaser that brings a little spark to any celebration. It’s not just a recipe; it’s the kind of dish that makes you pause and smile at the table, a quiet reminder that the simplest ideas can sometimes be the most memorable.
Why You’ll Love This Recipe
After testing this Perfect Layered American Flag Jello Poke Cake multiple times, I can honestly say it’s one of those desserts that hits all the right notes. Here’s why it stands out:
- Quick & Easy: It comes together in under an hour, including chilling time—perfect for last-minute celebrations or when you want a fuss-free dessert.
- Simple Ingredients: No complicated or hard-to-find items here. Most are pantry staples or easily found at your local grocery store, which makes it stress-free.
- Perfect for Patriotic Occasions: Whether it’s Independence Day, Memorial Day, or Labor Day, this vibrant cake fits right in with the festivities.
- Crowd-Pleaser: Kids adore the colorful layers, and adults appreciate the nostalgic flavors and moist texture.
- Unbelievably Delicious: The jiggly, juicy jello layers soak into the tender cake, giving a refreshing pop of flavor that’s not too sweet but totally satisfying.
What really makes this recipe different is the way the jello is carefully layered and poked, creating a stunning American flag design that’s almost too pretty to eat. The moistness from the jello combined with the classic white cake base balances out perfectly—no sogginess, just that ideal poke cake texture.
Honestly, if you’re looking to impress without breaking a sweat, this is the dessert that quietly steals the show. It’s that kind of recipe that makes you want to close your eyes after the first bite, savoring the bright, nostalgic flavors that remind you of summer days and celebration vibes.
What Ingredients You Will Need
This recipe uses simple, wholesome ingredients to create a bold visual impact and a satisfying texture. Most of these are pantry staples, and the jello flavors bring in the patriotic colors effortlessly.
- For the Cake:
- 1 box white cake mix (plus ingredients called for on the box—usually eggs, oil, and water)
- 1 cup sour cream (adds moisture and tang)
- For the Jello Layers:
- 1 package (3 oz) red cherry gelatin
- 1 package (3 oz) blue raspberry gelatin
- 1 package (3 oz) unflavored gelatin (to stabilize the white layer)
- 2 cups boiling water (divided for dissolving gelatin)
- 1 cup cold water (for mixing with gelatin)
- 1 cup sweetened condensed milk (for the creamy white jello layer)
- Topping:
- 2 cups heavy whipping cream
- 1/4 cup powdered sugar
- 1 teaspoon vanilla extract
For the cake, I usually grab a trusted brand like Pillsbury or Duncan Hines—they give a reliable tender crumb that works perfectly here. When picking gelatin, the classic Jell-O brand is my go-to for vibrant colors and consistent flavor. If you want to swap the heavy cream topping for something lighter, whipped coconut cream is a solid alternative for dairy-free needs.
In summer, I sometimes add fresh blueberries on top for a bit of natural sweetness and texture, which plays nicely with the blue raspberry layer. If you prefer a gluten-free version, you can swap the white cake mix for a gluten-free alternative—it still works great with the poking and jello absorption.
Equipment Needed
- 9×13-inch baking pan (glass or metal works well)
- Mixing bowls (medium and large)
- Electric mixer or hand whisk (for whipping cream)
- Measuring cups and spoons
- Toothpick or fork (for poking holes in the cake)
- Spatula (for spreading and smoothing layers)
- Refrigerator space to chill the cake
If you don’t have a 9×13-inch pan, a similarly sized rectangular dish will do, but just be aware the layers might be a bit thicker or thinner. For whipping cream, an electric mixer saves time and effort, but a sturdy whisk and some elbow grease work fine too—I’ve been known to whisk by hand when I’m feeling old-school.
One tip: if you plan on making this often, a good-quality stainless steel or glass pan is worth the investment—it heats evenly and cleans up easily. Avoid non-stick pans here, as the jello can sometimes stick weirdly to the coating.
Preparation Method
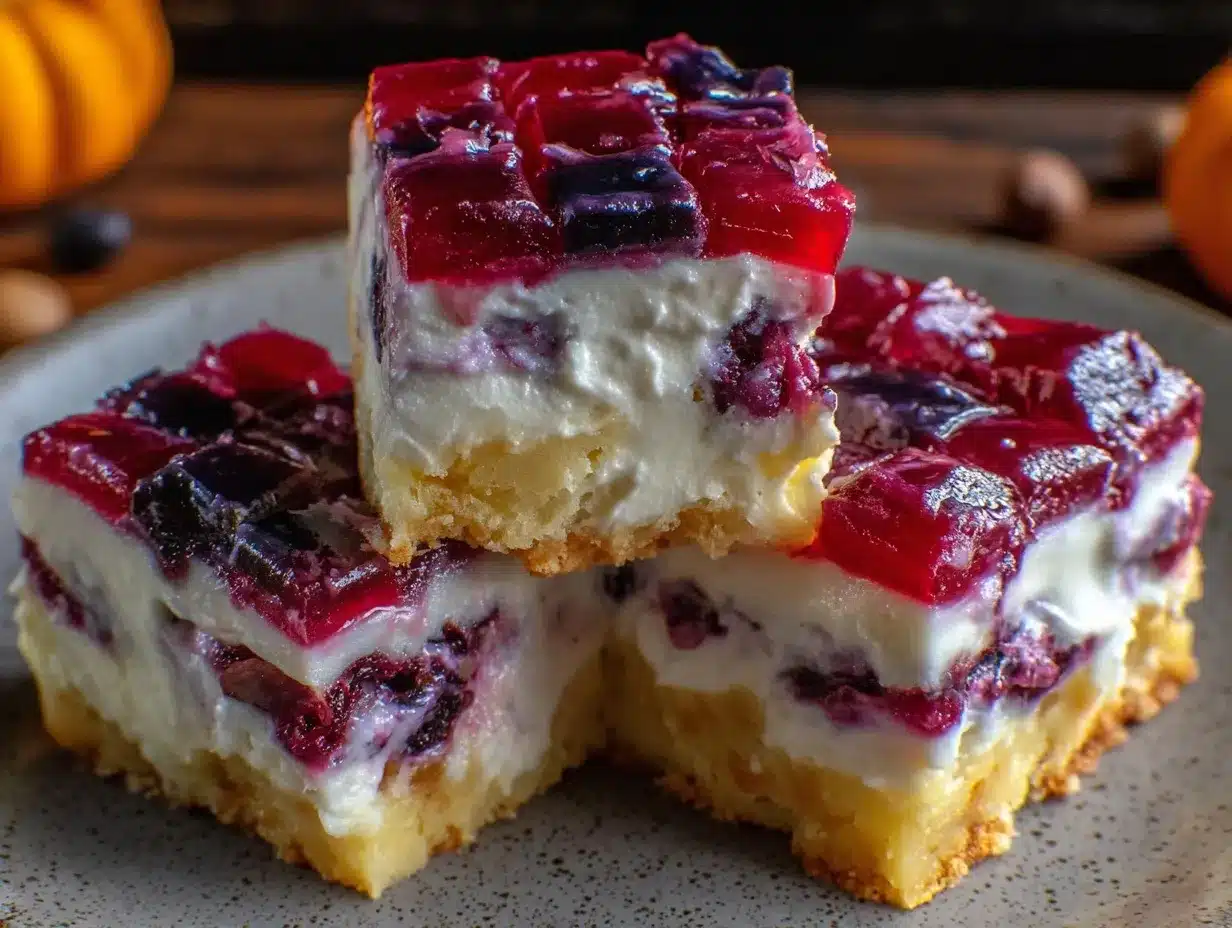
- Bake the Cake: Preheat your oven to 350°F (175°C). Prepare the white cake mix according to the package instructions, adding in 1 cup sour cream for extra moisture. Pour the batter into the greased 9×13-inch pan and bake for 30-35 minutes, or until a toothpick inserted comes out clean. Let cool completely (about 1 hour).
- Poke the Cake: Using a toothpick or fork, gently poke holes all over the cooled cake, spacing about 1 inch apart. The holes should be deep enough to reach the bottom but not break the cake apart. This is the key step that lets the jello soak in and create those beautiful layers.
- Prepare the Red Jello Layer: Dissolve 1 package of red cherry gelatin in 1 cup boiling water. Stir until completely dissolved. Let it cool slightly (about 5 minutes), then pour evenly over one-third of the cake holes. Refrigerate for 20 minutes to set.
- Prepare the White Layer: In a bowl, dissolve the unflavored gelatin in 1/2 cup boiling water. Stir in 1 cup sweetened condensed milk and 1/2 cup cold water. Mix well. Pour over the middle third of the cake evenly. Chill for another 20 minutes.
- Prepare the Blue Jello Layer: Dissolve the blue raspberry gelatin in 1 cup boiling water. Cool for 5 minutes and pour over the final third of the cake. Return to the refrigerator and chill for at least 2 hours, or until fully set.
- Make the Whipped Topping: In a cold bowl, whip 2 cups heavy cream with 1/4 cup powdered sugar and 1 teaspoon vanilla extract until stiff peaks form. Spread evenly over the chilled cake.
- Optional Decoration: For a festive touch, scatter fresh blueberries and small strawberries on top, or pipe stars with remaining whipped cream to mimic the flag’s stars.
One thing I learned the hard way is not to rush the jello setting between layers. If you pour the next layer too soon, the colors can mix and look muddy. Patience really pays off here.
Cooking Tips & Techniques
Poking the cake might sound straightforward, but trust me, it’s an art. Use a toothpick or the narrow end of a wooden skewer and be gentle—too forceful and you’ll tear the cake. Space the holes evenly so the jello seeps uniformly.
When dissolving gelatin, always use boiling water to avoid any graininess. Let the gelatin cool slightly before pouring to prevent it from melting the cake or mixing layers unintentionally.
Whipping cream is best done in a chilled bowl with cold cream. I sometimes stick my mixing bowl and beaters in the freezer for 15 minutes before starting. It helps the cream whip up faster and hold its shape longer.
If you’re short on time, you can prepare the jello layers simultaneously in separate bowls, but pour and chill one at a time to keep the clean lines crisp. Also, refrigerate the cake on a flat surface to avoid slanting layers.
And here’s a tip from experience: when spreading the topping, use a gentle hand—pressing too hard can break the delicate jello layers beneath. A light touch keeps the flag pattern intact and the final presentation stunning.
Variations & Adaptations
- Dietary Adaptation: Swap the white cake mix for a gluten-free blend to make this dessert friendly for gluten-sensitive guests without losing that tender crumb.
- Flavor Twist: Instead of cherry and blue raspberry, try strawberry and blueberry gelatins for a more natural fruit flavor. You can also mix in fresh berries into the whipped topping for extra texture.
- Cooking Method: For a no-bake version, use a store-bought angel food cake or pound cake as the base. Poke and layer jellos the same way, then chill and top with whipped cream.
- Presentation: Make individual servings in clear cups or mason jars for easy party handouts. Layer the cake pieces and jello carefully for a mini flag effect.
- Personal Favorite: I once tried swapping the heavy cream topping for a cream cheese frosting blended with whipped cream—adds a tangy richness that pairs wonderfully with the sweet layers, perfect for those who want something a bit denser.
Serving & Storage Suggestions
This cake is best served chilled straight from the fridge. The jello layers hold their shape beautifully, and the whipped topping stays fluffy and light. I like to present it on a simple white platter to let the vibrant flag colors pop.
Pair it with fresh lemonades or iced teas for a refreshing summer combo. It’s also a fun dessert to bring along for potlucks or picnics since it travels well when kept cool.
Store leftovers tightly covered in the refrigerator for up to 3 days. The flavors meld over time, making the cake even juicier but the jello layers might soften slightly. Avoid freezing, as the texture changes and the cream topping can separate.
When reheating (if you must), just bring it to room temperature for about 15 minutes—don’t microwave it. The jello needs to stay intact to keep that signature layered look.
Nutritional Information & Benefits
Each serving of this Perfect Layered American Flag Jello Poke Cake is light and refreshing, with an estimated 250-300 calories depending on portion size. The white cake provides carbohydrates for energy, while the gelatin layers add moisture without extra fat.
Gelatin itself has some benefits, like supporting joint and skin health, plus it’s naturally low in calories. The heavy cream topping adds richness but can be swapped for lighter alternatives if you’re watching fat intake.
This dessert is gluten-friendly if you use a gluten-free cake mix, and it contains dairy (milk, cream) so keep that in mind for those with allergies. Overall, it’s a fun treat that balances indulgence with a surprisingly light feel, perfect for festive occasions when you want something sweet but not overwhelming.
Conclusion
This Perfect Layered American Flag Jello Poke Cake is a recipe I keep coming back to, especially when the occasion calls for a splash of color and a whole lot of fun. It’s easy enough to whip up on a whim, but impressive enough to make your guests do a double-take.
Feel free to tweak the flavors or presentation to suit your style—after all, this cake is as much about the joy of creating as it is about eating. Personally, I love how it brings a little festive magic to the table without fuss.
If you’ve enjoyed this, you might find inspiration in other party-perfect desserts like the mini lemon blueberry cheesecakes or some of the fun ideas on Mila Spoon. Don’t hesitate to share your twists or stories—I love hearing how these recipes become part of your celebrations.
Here’s to simple, joyful moments around the table and desserts that bring people together with a smile.
FAQs
Can I make this American Flag Jello Poke Cake ahead of time?
Yes! In fact, it tastes best after chilling overnight. Just keep it covered in the fridge to maintain freshness.
What if I don’t have red or blue jello flavors?
You can substitute with strawberry or raspberry for red and blueberry or grape for blue—just pick flavors you like that match the colors.
Can I use homemade cake instead of box mix?
Absolutely! A simple white or yellow cake recipe works great. Just make sure it’s fully cooled before poking and adding the jello layers.
How do I prevent the jello layers from mixing?
Chill each jello layer separately before adding the next. Pour gently and let it set for about 20 minutes between layers to keep colors distinct.
Is there a dairy-free option for the whipped topping?
Yes, you can use whipped coconut cream or a store-bought dairy-free whipped topping. Just chill the coconut cream well before whipping for best results.
Pin This Recipe!
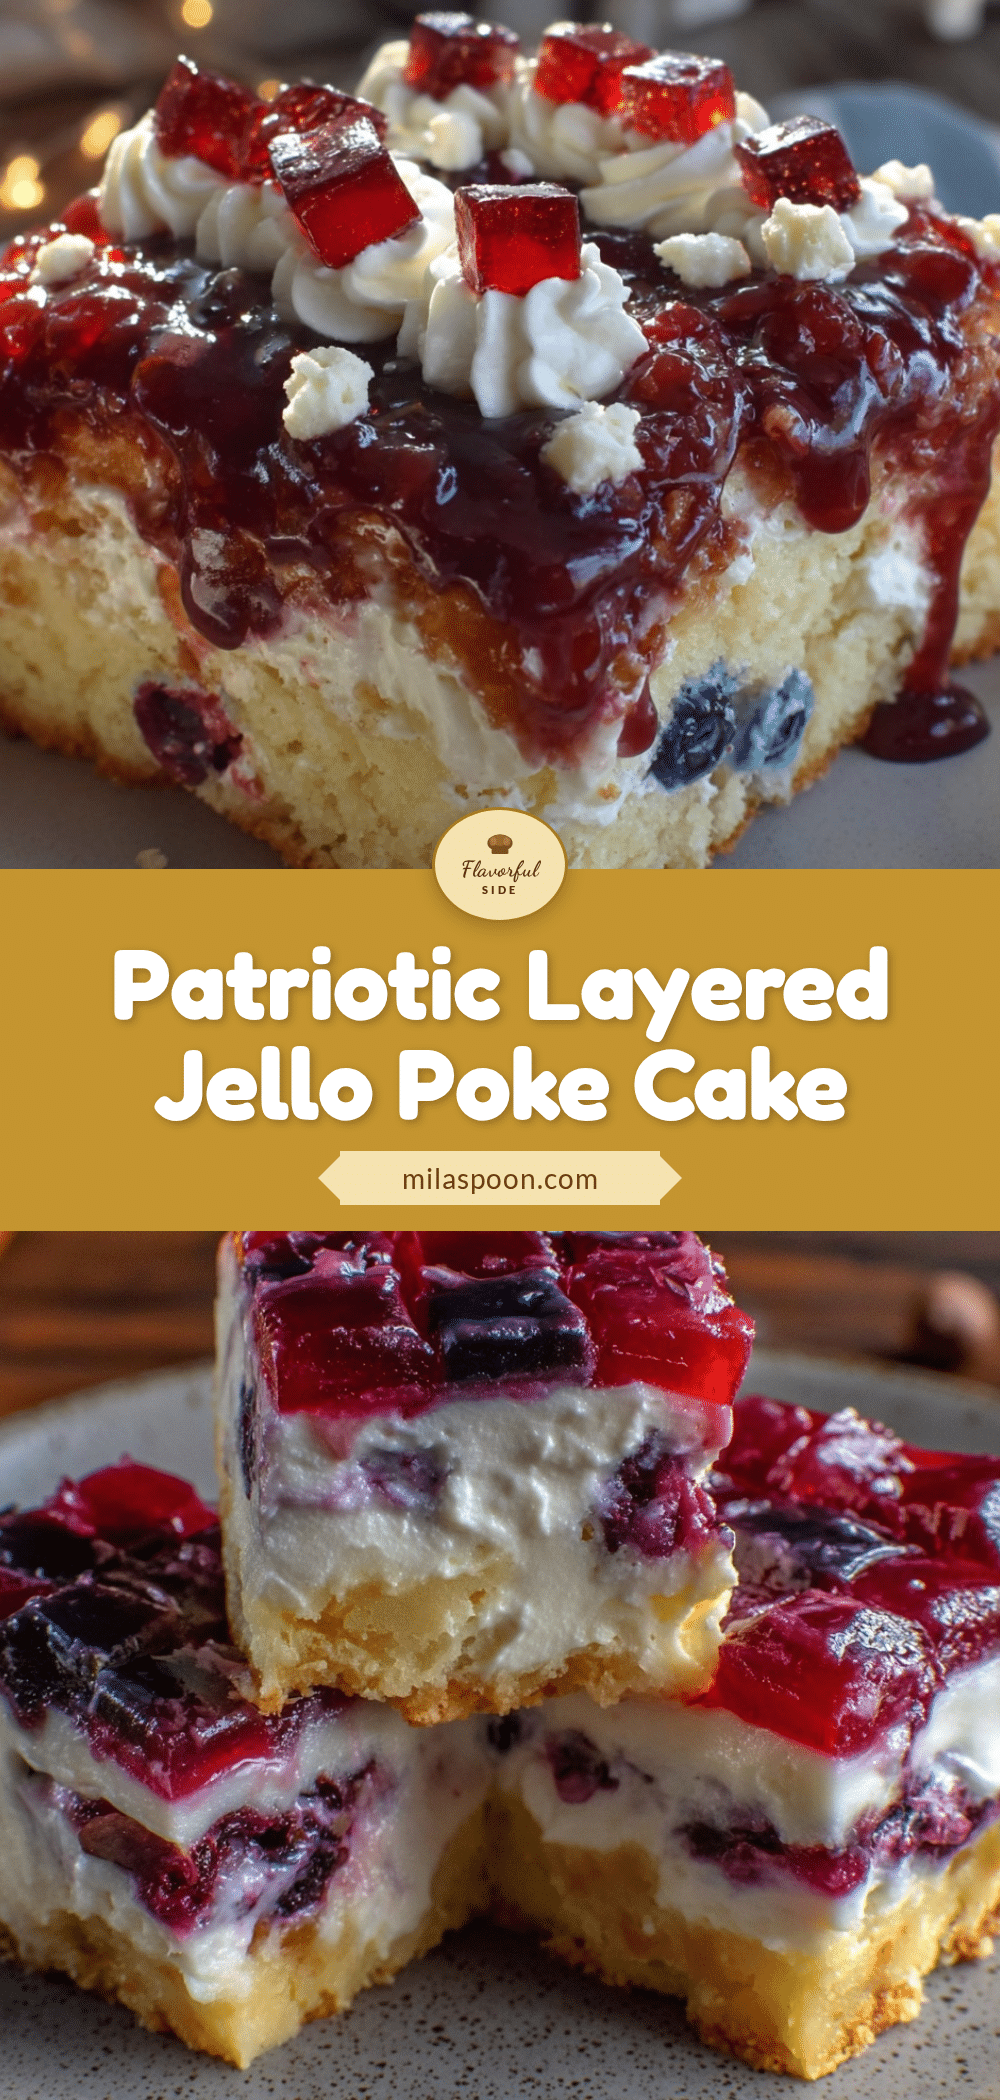
Perfect Layered American Flag Jello Poke Cake
A vibrant and moist patriotic dessert featuring layered red, white, and blue jello soaked into a tender white cake, topped with whipped cream. Perfect for celebrations like Independence Day.
- Prep Time: 15 minutes
- Cook Time: 35 minutes
- Total Time: 3 hours 50 minutes
- Yield: 12 servings 1x
- Category: Dessert
- Cuisine: American
Ingredients
- 1 box white cake mix (plus ingredients called for on the box, usually eggs, oil, and water)
- 1 cup sour cream
- 1 package (3 oz) red cherry gelatin
- 1 package (3 oz) blue raspberry gelatin
- 1 package (3 oz) unflavored gelatin
- 2 cups boiling water (divided for dissolving gelatin)
- 1 cup cold water
- 1 cup sweetened condensed milk
- 2 cups heavy whipping cream
- 1/4 cup powdered sugar
- 1 teaspoon vanilla extract
- Optional: fresh blueberries and small strawberries for topping
Instructions
- Preheat oven to 350°F (175°C). Prepare the white cake mix according to package instructions, adding 1 cup sour cream for extra moisture.
- Pour batter into a greased 9×13-inch baking pan and bake for 30-35 minutes or until a toothpick inserted comes out clean. Let cool completely, about 1 hour.
- Using a toothpick or fork, gently poke holes all over the cooled cake about 1 inch apart, deep enough to reach the bottom but not break the cake.
- Dissolve red cherry gelatin in 1 cup boiling water. Stir until dissolved, cool slightly for 5 minutes, then pour evenly over one-third of the cake holes. Refrigerate for 20 minutes to set.
- Dissolve unflavored gelatin in 1/2 cup boiling water. Stir in 1 cup sweetened condensed milk and 1/2 cup cold water. Mix well and pour over the middle third of the cake. Chill for 20 minutes.
- Dissolve blue raspberry gelatin in 1 cup boiling water. Cool for 5 minutes and pour over the final third of the cake. Refrigerate and chill for at least 2 hours until fully set.
- In a cold bowl, whip 2 cups heavy cream with 1/4 cup powdered sugar and 1 teaspoon vanilla extract until stiff peaks form.
- Spread whipped cream evenly over the chilled cake.
- Optional: Decorate with fresh blueberries and small strawberries or pipe stars with remaining whipped cream to mimic the flag’s stars.
Notes
Do not rush the jello setting between layers to avoid colors mixing and becoming muddy. Use a gentle hand when spreading the whipped topping to keep the flag pattern intact. For dairy-free topping, substitute heavy cream with whipped coconut cream. Use gluten-free cake mix for gluten-sensitive guests.
Nutrition
- Serving Size: 1 slice (1/12th of c
- Calories: 275
- Sugar: 28
- Sodium: 320
- Fat: 14
- Saturated Fat: 8
- Carbohydrates: 34
- Protein: 3
Keywords: jello poke cake, patriotic dessert, American flag cake, Fourth of July dessert, easy layered cake, red white and blue dessert


