Love this? Save it for later!
Share the inspiration with your friends
The summer of 2018 was unlike any other for me. I was helping out at a local community picnic—think kids running wild, the smell of charcoal grills, and that unmistakable hum of summer fun. Amidst the chaos, my neighbor, Mrs. Patel, pulled me aside with a suspiciously heavy tart box. She winked, “Try this, but don’t tell anyone where it came from.” I wasn’t prepared for the burst of creamy, sweet, and tangy flavors, all wrapped up in a festive red, white, and blue cheesecake flag tart. Honestly, it felt like the Fourth of July itself had come alive in a bite.
Now, you know that feeling when a dessert is just so good, you want to keep sneaking slices even though you promised to save it? That’s exactly what happened. I left the picnic with a sticky hand from berry juice, a slightly cracked tart crust (because I was too eager with the first slice), and a new summer tradition in my back pocket. This cheesecake tart isn’t just dessert—it’s a celebration on a plate, perfect for easy summer gatherings, backyard barbecues, or those last-minute potlucks when you want to impress but keep things simple.
Maybe you’ve been there, searching for that one patriotic dessert that’s as fun to make as it is to eat, without the fuss of juggling multiple dishes. Well, this Perfect Red White and Blue Cheesecake Flag Tart is your answer. Let me tell you, it’s a crowd-pleaser with a creamy, dreamy filling and a pop of fresh berries that scream summer. Plus, it looks stunning on any table—no fancy decorating skills required.
So, whether you’re planning a casual weekend get-together or want a showstopper for your Independence Day feast, this tart is ready to become your go-to. And if you’re anything like me, once you try it, you’ll find yourself making it every summer, too.
Why You’ll Love This Recipe
After countless tests and berry-stained kitchen counters, here’s why this Red White and Blue Cheesecake Flag Tart has earned a permanent spot in my recipe box:
- Quick & Easy: The whole tart comes together in about an hour, including baking and cooling. Perfect for those last-minute summer celebrations when you want something impressive but fuss-free.
- Simple Ingredients: No need to hunt down specialty items. Most are pantry staples or easy-to-find fresh produce, making this recipe super accessible.
- Perfect for Summer Occasions: Whether it’s a Fourth of July party, Memorial Day, or a casual weekend BBQ, the patriotic colors and creamy texture hit the spot every time.
- Crowd-Pleaser: Kids love the sweet creaminess, and adults appreciate the tartness from fresh berries. It’s a dessert that brings everyone together.
- Unbelievably Delicious: The combination of a buttery crust, silky cheesecake filling, and vibrant berry topping creates a texture and flavor balance that’s pure summer magic.
What really sets this tart apart? I blend a touch of vanilla and lemon zest into the cheesecake filling, giving it a subtle brightness that cuts through the richness. Plus, arranging the berries in a flag pattern is easier than you think—and honestly, it’s a fun little project that makes the tart look like a work of art without the stress.
Trust me, this isn’t just another berry cheesecake. It’s a recipe that’s been tested by friends, family, and a few picky neighbors who now ask for it every summer. And if you’re looking for a dessert that’s both pretty and packed with flavor, this tart will make you close your eyes after the first bite—and maybe even sneak a second slice before anyone’s watching.
What Ingredients You Will Need
This recipe uses simple, wholesome ingredients to deliver bold flavor and satisfying texture without the fuss. Most of these are kitchen basics, with the fresh berries bringing the star power.
- For the crust:
- 1 ½ cups (150g) graham cracker crumbs (I prefer Honey Maid for that perfect crunch)
- 6 tablespoons (85g) unsalted butter, melted (adds richness and holds the crust together)
- 2 tablespoons granulated sugar (balances the buttery flavor)
- For the cheesecake filling:
- 16 oz (450g) cream cheese, softened (use full-fat for best creaminess)
- ½ cup (100g) granulated sugar
- 1 teaspoon pure vanilla extract (I love Nielsen-Massey for its depth)
- 1 tablespoon fresh lemon zest (adds a bright, fresh note)
- 2 large eggs, room temperature
- ⅓ cup (80ml) sour cream (for tang and smooth texture)
- For the topping:
- 1 cup fresh strawberries, sliced (the “red” of the flag)
- 1 cup fresh blueberries (the “blue” of the flag)
- ½ cup fresh raspberries (optional, for extra red pops)
- 2 tablespoons apricot jam, warmed (to brush over berries for shine)
Ingredient Tips: When choosing berries, go for firm, ripe ones without bruises. If fresh berries aren’t in season, frozen ones can work—just thaw and drain well.
Substitutions: Use gluten-free graham crackers or almond flour for a gluten-free crust. Swap sour cream with plain Greek yogurt if desired. For a dairy-free version, try vegan cream cheese alternatives along with coconut yogurt.
Equipment Needed
- 9-inch (23cm) tart pan with removable bottom – makes releasing the tart easier and keeps edges neat
- Mixing bowls – one for crust, one for filling
- Electric mixer or stand mixer – to beat cream cheese smooth without lumps
- Measuring cups and spoons – for precise ingredient amounts
- Spatula – to scrape down sides and fold ingredients gently
- Small saucepan or microwave-safe bowl – to warm apricot jam for glazing
- Sharp knife – for slicing berries neatly
If you don’t have a tart pan, a 9-inch springform pan will work, though the edges won’t be as decorative. For mixing, a hand mixer is perfectly fine, but a stand mixer does save some arm power during the cream cheese beating step. One thing I learned is to make sure your cream cheese is fully softened—cold cream cheese makes for a lumpy filling and unhappy baker.
Preparation Method
- Preheat your oven: Set it to 350°F (175°C). This ensures a steady baking temperature once your tart is ready to go in.
- Make the crust: In a bowl, combine 1 ½ cups graham cracker crumbs, 6 tablespoons melted butter, and 2 tablespoons sugar. Stir until the mixture looks like wet sand and holds together if pressed.
- Press crust into the pan: Transfer the crumb mixture to your tart pan. Use the back of a spoon or your fingers to press it evenly across the bottom and slightly up the sides, about ¼-inch thick. Don’t forget to press firmly so it stays intact after baking.
- Bake crust: Place in the oven for 8-10 minutes until golden and fragrant. This pre-baking step helps avoid a soggy crust later. Let it cool completely before filling.
- Prepare the filling: In a large bowl, beat the softened cream cheese with ½ cup sugar until smooth and creamy—no lumps! Add 1 teaspoon vanilla extract and 1 tablespoon lemon zest, mixing gently.
- Add eggs: Crack in two large eggs one at a time, mixing on low to prevent overbeating. Overmixing can cause cracks later, so just blend until combined.
- Stir in sour cream: Fold in ⅓ cup sour cream for extra creaminess and tang.
- Pour filling over crust: Carefully spread the cheesecake mixture over the cooled crust, smoothing the top with a spatula.
- Bake the tart: Place back in the oven and bake for 35-40 minutes until the edges are set but the center still jiggles slightly. Avoid opening the oven door during baking to keep the surface smooth.
- Cool and chill: Let the tart cool on a wire rack for about an hour, then transfer to the fridge for at least 3 hours or overnight. This step is key for the filling to firm up perfectly.
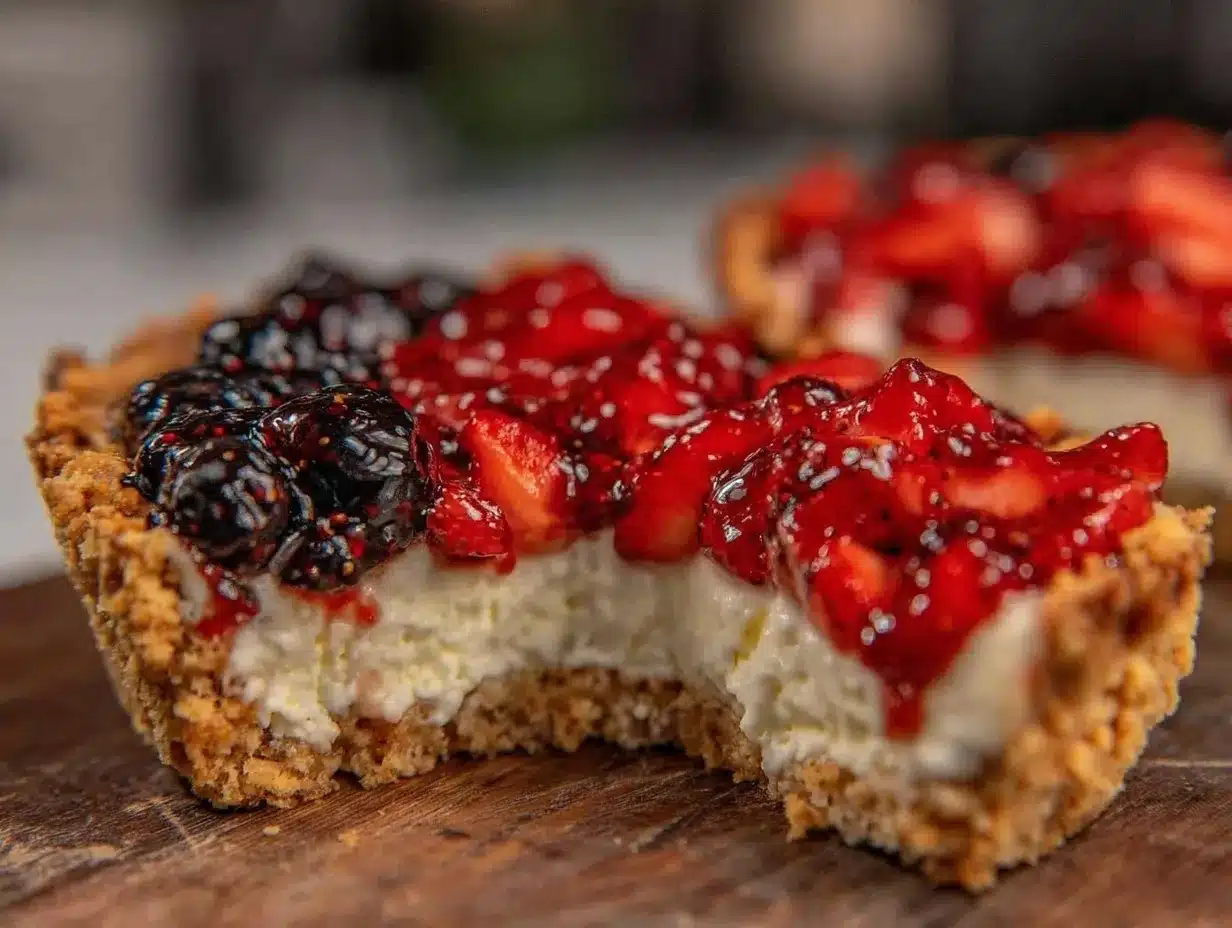
- Arrange berries: Once chilled, arrange sliced strawberries in stripes for the red stripes of the flag and blueberries clustered in the corner to mimic the stars. Use raspberries to replace or accentuate if you like.
- Glaze the berries: Warm 2 tablespoons apricot jam until runny and brush lightly over the berries for a glossy finish.
- Serve: Slice carefully with a sharp knife dipped in hot water for neat pieces, and enjoy your summer celebration masterpiece!
Cooking Tips & Techniques
Honestly, making this cheesecake tart was a journey of trial and error (and a bit of berry juice on the counter). Here are some tips that saved me a headache or two:
- Softened cream cheese is a must: I once tried rushing this step, and lumps ruined the filling texture. Leave it out at room temp for at least 30 minutes or microwave in short bursts.
- Don’t overbeat the eggs: Overmixing can trap air, causing cracks or a spongy texture. Mix just until combined.
- Use room temperature eggs: They blend more smoothly into the filling, giving a creamier result.
- Press crust firmly: A loosely packed crust crumbles when slicing. I press it down like I’m making a firm cookie base.
- Cooling is critical: Sudden temperature changes can crack the cheesecake. Let it cool gradually before chilling.
- Glazing the berries: If you skip this step, the berries can dry out or lose their shine quickly.
- Multitasking idea: While the crust bakes, prep your filling and slice berries to save time.
Variations & Adaptations
This tart is pretty flexible, so here are some ways to make it your own or suit different needs:
- Dairy-Free Version: Use vegan cream cheese and coconut yogurt instead of sour cream. Swap butter for coconut oil in the crust.
- Seasonal Fruit Twist: In fall, swap berries for sliced apples and drizzle with cinnamon glaze for a cozy flag-inspired tart.
- Chocolate Crust: Add 2 tablespoons cocoa powder to the crust mix for a rich chocolate base that pairs well with berries.
- Low-Sugar Option: Use a sugar substitute like erythritol and sugar-free jam for glazing.
- Personal Favorite Variation: I once added a thin layer of lemon curd between crust and cheesecake filling for an extra zing. It’s a game-changer if you love citrus.
Serving & Storage Suggestions
This tart is best served chilled, right from the fridge, so the creamy filling holds firm and the berries stay fresh. I like to slice it into neat wedges and pair it with a cold glass of iced tea or a sparkling lemonade for that summery vibe.
If you’re hosting a party, arrange the tart on a festive platter with a few extra berries scattered around for garnish. It’s a definite conversation starter.
To store, cover the tart with plastic wrap or place it in an airtight container in the fridge. It keeps well for up to 4 days, and honestly, it tastes even better after a day as the flavors meld together.
For freezing, wrap tightly and freeze for up to 2 months. Thaw overnight in the fridge before serving. Avoid freezing the fresh berries topping—add those fresh after thawing for best texture.
Nutritional Information & Benefits
This cheesecake tart offers a balanced treat with protein from cream cheese and antioxidants from fresh berries. Here’s an estimate per slice (assuming 12 slices):
| Calories | Fat | Carbohydrates | Protein |
|---|---|---|---|
| 320 kcal | 22g | 28g | 6g |
The fresh berries add vitamin C and fiber, helping balance the richness. Using full-fat cream cheese gives a satisfying mouthfeel, and lemon zest adds a touch of vitamin C and a refreshing flavor.
This tart is naturally gluten-free if you use gluten-free graham crackers, making it a nice option for those with sensitivities. Just watch out for allergies to dairy or eggs and adapt accordingly.
Conclusion
If you’re searching for a show-stopping yet uncomplicated dessert for your summer celebrations, the Perfect Red White and Blue Cheesecake Flag Tart is the answer. It combines creamy cheesecake, buttery crust, and fresh berries in a way that’s both festive and delicious.
Feel free to tweak the berries or experiment with the crust to suit your taste—after all, great recipes are meant to be personalized. I love this tart because it brings a little joy and color to every gathering, and honestly, it makes me look forward to summer all year long.
Give it a try, and when you do, come back and share your berry flag masterpiece or any twists you tried. I’d love to hear how it became part of your celebrations!
Here’s to sweet, simple summer moments with friends and family.
FAQs
Can I make this cheesecake tart ahead of time?
Yes! It actually tastes better after chilling overnight. Just store it covered in the fridge and add the fresh berries before serving.
What if I don’t have a tart pan?
A 9-inch springform pan works fine. The edges won’t be as decorative, but the taste will be just as amazing.
Can I use frozen berries for the topping?
You can, but thaw and drain them well to avoid excess moisture making the tart soggy. Fresh berries are best for presentation and texture.
How do I prevent cracks in the cheesecake filling?
Don’t overbeat the eggs, bake at the right temperature, and avoid opening the oven door during baking. Cooling gradually before chilling also helps.
Is this tart gluten-free?
It can be! Just use gluten-free graham crackers or almond flour for the crust to make this recipe gluten-free friendly.
Pin This Recipe!
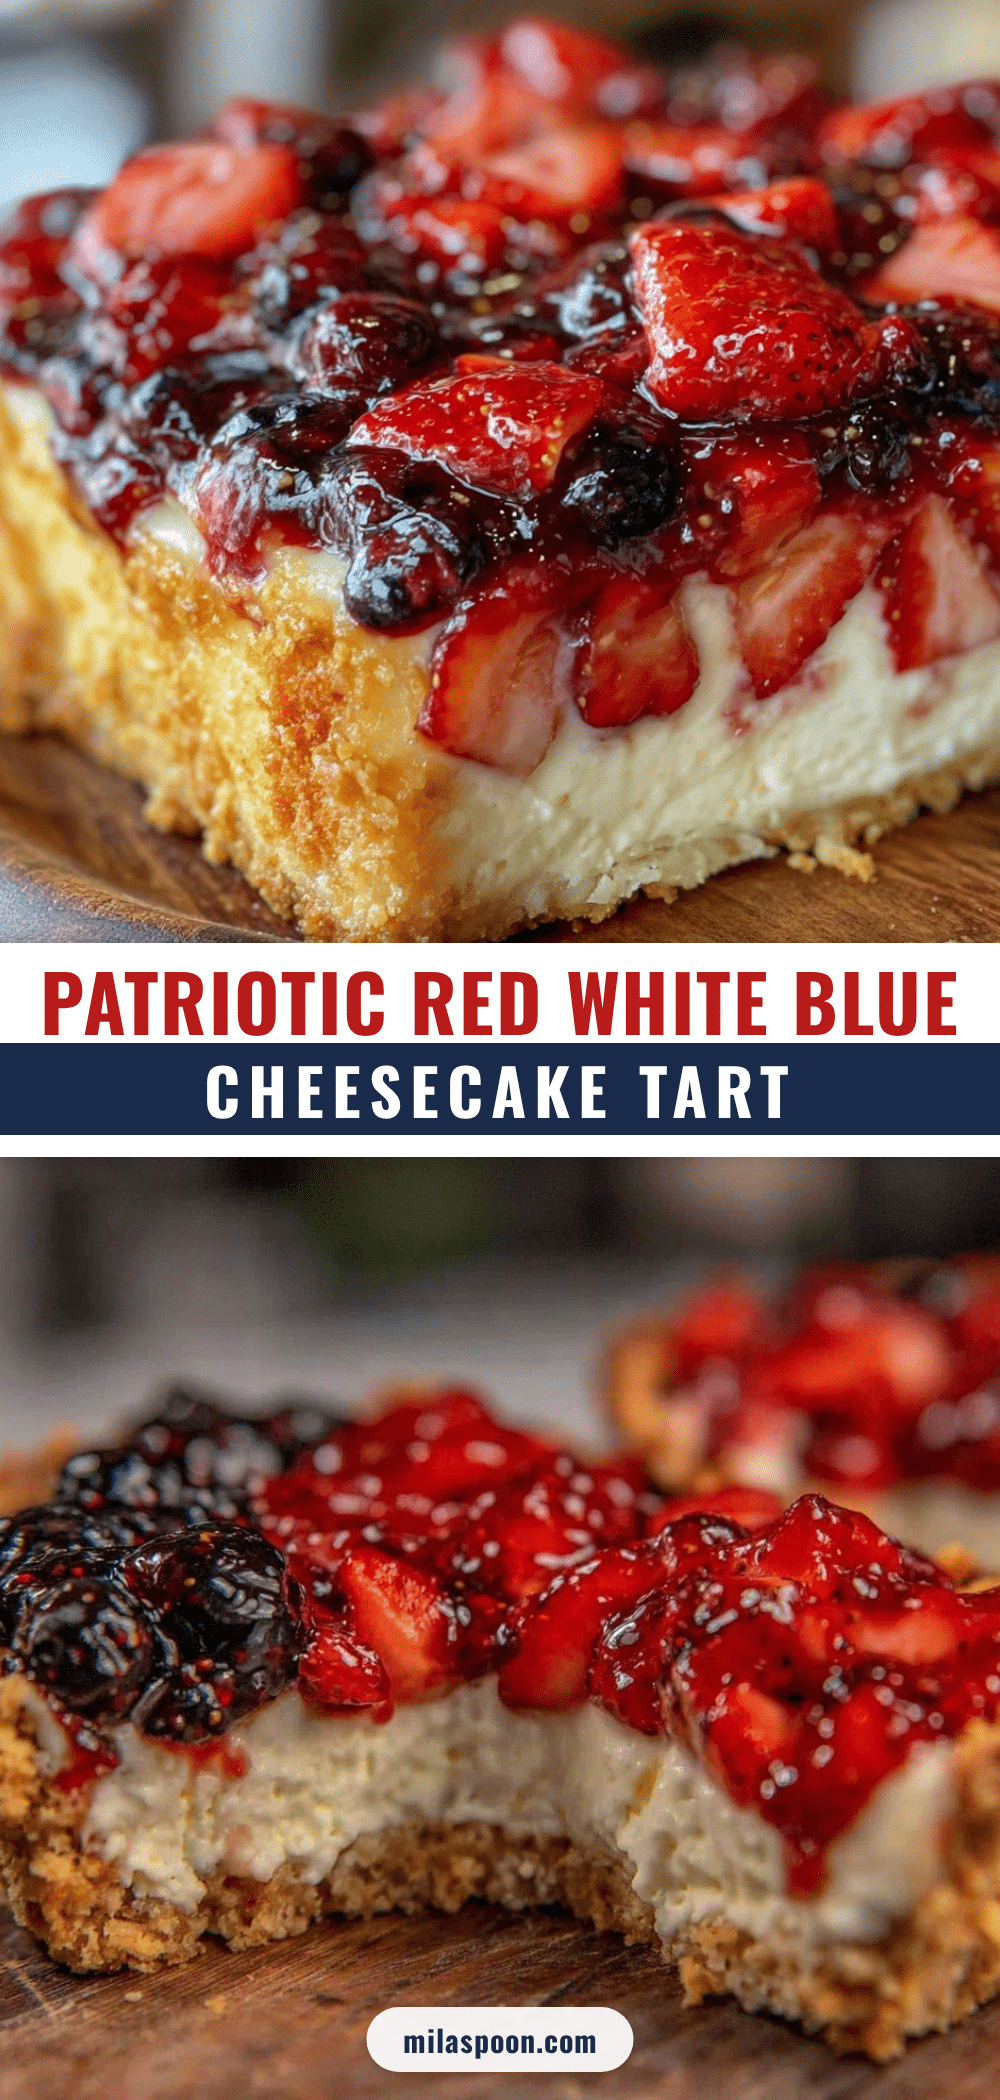
Perfect Red White and Blue Cheesecake Flag Tart
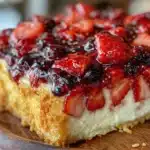
A creamy, dreamy cheesecake tart topped with fresh berries arranged in a patriotic flag pattern, perfect for summer celebrations and easy to make with simple ingredients.
- Prep Time: 20 minutes
- Cook Time: 45 minutes
- Total Time: 4 hours 5 minutes
- Yield: 12 servings 1x
- Category: Dessert
- Cuisine: American
Ingredients
- 1 ½ cups (150g) graham cracker crumbs
- 6 tablespoons (85g) unsalted butter, melted
- 2 tablespoons granulated sugar
- 16 oz (450g) cream cheese, softened
- ½ cup (100g) granulated sugar
- 1 teaspoon pure vanilla extract
- 1 tablespoon fresh lemon zest
- 2 large eggs, room temperature
- ⅓ cup (80ml) sour cream
- 1 cup fresh strawberries, sliced
- 1 cup fresh blueberries
- ½ cup fresh raspberries (optional)
- 2 tablespoons apricot jam, warmed
Instructions
- Preheat your oven to 350°F (175°C).
- In a bowl, combine graham cracker crumbs, melted butter, and sugar. Stir until mixture resembles wet sand and holds together when pressed.
- Press the crust mixture evenly into the bottom and slightly up the sides of a 9-inch tart pan, about ¼-inch thick.
- Bake the crust for 8-10 minutes until golden and fragrant. Let cool completely.
- In a large bowl, beat softened cream cheese with sugar until smooth and creamy.
- Add vanilla extract and lemon zest, mixing gently.
- Add eggs one at a time, mixing on low speed until combined.
- Fold in sour cream gently.
- Pour the cheesecake filling over the cooled crust and smooth the top.
- Bake the tart for 35-40 minutes until edges are set but center jiggles slightly. Avoid opening the oven door during baking.
- Cool the tart on a wire rack for about an hour, then chill in the fridge for at least 3 hours or overnight.
- Arrange sliced strawberries in stripes and blueberries clustered in the corner to mimic a flag. Use raspberries to accentuate if desired.
- Warm apricot jam until runny and brush lightly over the berries for a glossy finish.
- Slice carefully with a sharp knife dipped in hot water and serve chilled.
Notes
Use softened cream cheese to avoid lumps. Do not overbeat eggs to prevent cracks. Press crust firmly to avoid crumbling. Cool tart gradually before chilling. Glaze berries for shine and freshness. Frozen berries can be used if thawed and drained well. For gluten-free, use gluten-free graham crackers or almond flour. Dairy-free options include vegan cream cheese and coconut yogurt.
Nutrition
- Serving Size: 1 slice (1/12 of tar
- Calories: 320
- Fat: 22
- Carbohydrates: 28
- Protein: 6
Keywords: cheesecake tart, summer dessert, patriotic dessert, Fourth of July, berry tart, easy cheesecake, red white and blue dessert