Love this? Save it for later!
Share the inspiration with your friends
I had this whole plan for a perfectly neat, elegantly decorated Halloween dessert. Something with precise piping and maybe some edible glitter. It took about ten minutes of wrestling with a piping bag full of black frosting for that idea to fall apart completely. The cookie cake, however, came out perfect. That first bite of soft, buttery chocolate cookie with a crisp edge, while I sat there with black frosting smeared across my knuckles, was a quiet victory. This Best Black Cat Halloween Cookie Cake is proof that the best recipes are often the ones that don’t go according to plan.
It’s a giant, shareable chocolate chip cookie shaped like a cat, decorated simply so anyone can do it. Honestly, it’s the kind of dessert that makes people smile before they even taste it. And when they do taste it? The soft center and slightly crisp edges do all the talking. I made this for a small get-together, and it vanished faster than any fancy plated dessert I’ve ever attempted. It’s become my go-to for a spooky but not scary Halloween treat, and I have a feeling it’ll become yours, too.
Why You’ll Love This Recipe
This isn’t just another cookie recipe. It’s a centerpiece that’s deceptively simple to pull off. After testing this a few times (and, let’s be honest, eating a lot of test cookies), here’s why it works so well.
- Easy & Fun: No complicated decorating skills required. If you can press cookie dough into a pan, you can make this cat. The decorating is forgiving and actually enjoyable.
- Simple Ingredients: You probably have everything you need in your pantry right now. No fancy extracts or specialty flours—just good, basic baking staples.
- Perfect for Halloween Parties: It’s a conversation starter and a dessert all in one. Way easier than making a batch of 30 individual cookies, and way more impressive.
- Crowd-Pleaser: Kids and adults alike go crazy for it. It’s familiar chocolate chip cookie flavor in a fun, shareable form. Everyone gets a piece of the cat.
- Unbelievably Delicious: The texture is spot on—chewy in the middle, golden and slightly crisp around the edges. It’s everything you want in a chocolate chip cookie, just supersized.
What makes this version different from other cookie cakes is the technique. We’re using melted butter (not softened) for that perfect chewy texture without needing a mixer. It’s a one-bowl wonder that comes together in minutes. And the shape? It’s designed to be forgiving. A wonky ear just adds character. This isn’t about perfection—it’s about making something delicious and a little bit spooky. It’s the kind of treat that makes you feel like a kid again, closing your eyes after that first warm bite of chocolate and sugar. Perfect for a Halloween movie night or a classroom party, it turns a simple cookie into something memorable.
What Ingredients You Will Need
This recipe uses simple, wholesome ingredients to deliver that classic cookie flavor and satisfying texture. Most of these are pantry staples, which makes this a great last-minute Halloween project.
For the Cookie Cake Base:
- Unsalted butter, melted (1 cup / 2 sticks / 226g): Melting the butter is the key to a chewy cookie. It coats the flour proteins differently than creamed butter, resulting in a denser, fudgier texture. I always use unsalted so I can control the salt level.
- Light brown sugar, packed (1 cup / 200g): Brown sugar brings moisture and a deep, molasses-like flavor that makes the cookie soft and chewy. Don’t skimp on the packing!
- Granulated sugar (½ cup / 100g): This adds a bit of crispness to the edges and balances the brown sugar’s richness.
- Large egg (1): The egg provides structure and richness. Make sure it’s at room temperature so it emulsifies smoothly with the melted butter.
- Vanilla extract (2 teaspoons): Pure vanilla extract makes a difference. It rounds out the chocolate flavor and adds warmth. I’m a fan of Nielsen-Massey, but any good brand works.
- All-purpose flour (2 cups + 2 tablespoons / 270g): Spoon and level your flour! Scooping directly from the bag packs it down, leading to a dry, crumbly cookie. The extra 2 tablespoons ensure a soft, thick cookie cake.
- Baking soda (1 teaspoon): This helps the cookie spread just enough and gives it a tender crumb.
- Salt (½ teaspoon): Don’t skip the salt. It balances the sweetness and enhances the chocolate flavor. I use fine sea salt.
- Semi-sweet chocolate chips (1 ½ cups / 270g): I prefer semi-sweet for a balanced flavor that isn’t too sugary. Feel free to use dark chocolate or milk chocolate chips depending on your taste. (adds classic chocolate flavor)
For the Black Cat Decorating:
- Powdered sugar (1 cup / 120g): The base for our simple glaze.
- Milk (2-3 tablespoons): Use this to thin the glaze to the perfect piping consistency.
- Black food coloring (gel): Gel food coloring is a must. Liquid coloring will thin out your glaze too much and result in a pale, watery gray. I recommend Americolor Super Black for a true, deep black.
- White candy melts or white chocolate chips (¼ cup): For the eyes. You could also use a white frosting pen for ease.
- Orange candy melts or M&M’s (optional): For a little Halloween flair, like a collar or a spooky background detail.
Equipment Needed
You don’t need a lot of fancy tools for this one, which is part of its charm.
- 11×7-inch or 9×13-inch baking pan: An 11×7 pan gives a thicker, softer cookie cake. A 9×13 will be slightly thinner and a bit crispier. Both work great.
- Parchment paper: Absolutely essential for easy removal. Line the pan with a sling of parchment paper.
- Large mixing bowl and whisk: For the wet ingredients.
- Rubber spatula: For folding in the flour and chocolate chips without overmixing.
- Piping bags or small zip-top bags: For the black and white glaze. Snip a tiny corner off the bag for a small piping tip.
- Small microwave-safe bowls: For melting the candy melts and making the glaze.
Preparation Method
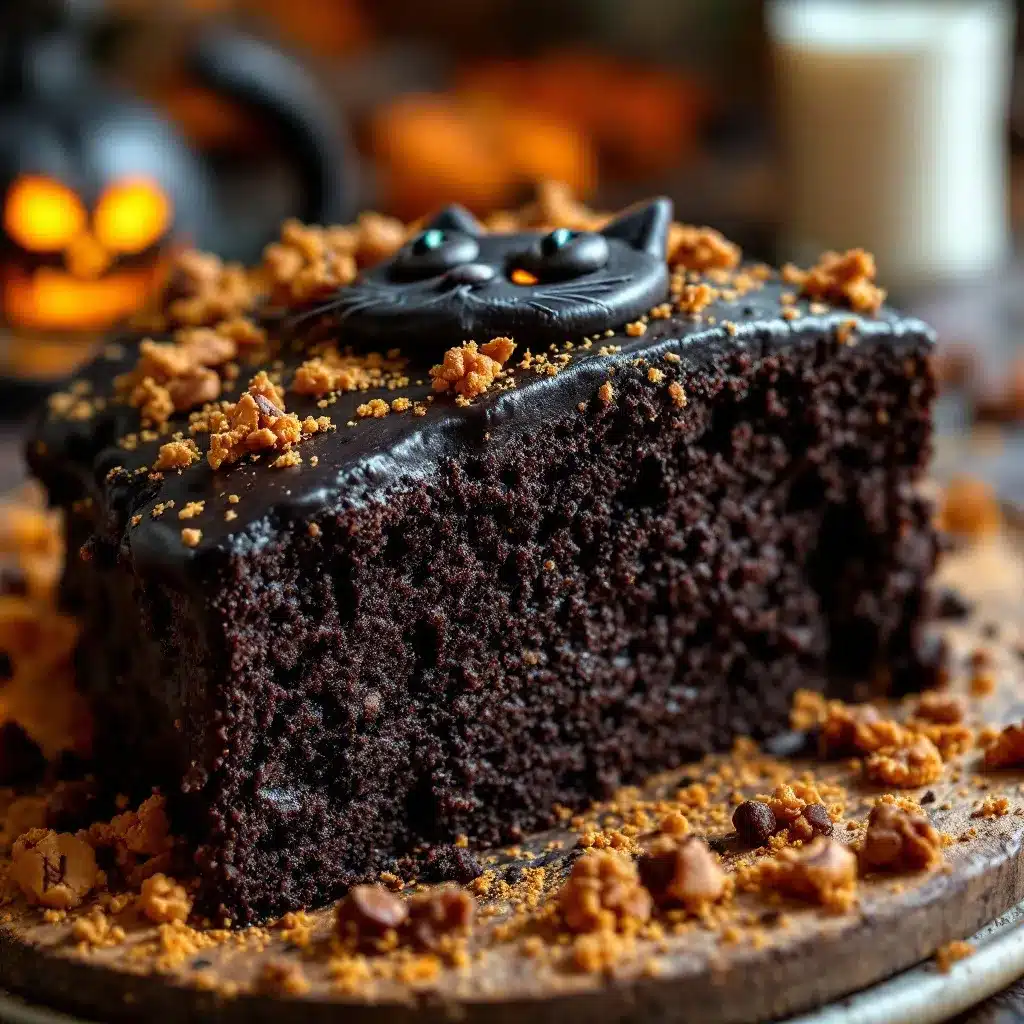
Let’s get baking. This comes together fast, so preheat your oven to 350°F (175°C) first. Line your chosen baking pan with parchment paper, leaving some overhang on two opposite sides. This creates a sling to lift the cookie cake out later.
- Make the cookie dough: In a large bowl, whisk together the melted butter, packed brown sugar, and granulated sugar until smooth and well combined. It should look like a thick, shiny paste. Whisk in the room temperature egg and vanilla extract until the mixture is smooth and glossy.
- Add the dry ingredients: Sprinkle the flour, baking soda, and salt over the wet ingredients. Use a rubber spatula to fold everything together gently. Stop as soon as you no longer see streaks of flour. Overmixing will make the cookie tough. Fold in the semi-sweet chocolate chips until they’re evenly distributed.
- Shape the cat: Transfer the cookie dough to your prepared pan. Don’t just dump it in the middle. Use your spatula or lightly dampened fingers to press the dough evenly into the pan. Now, to make the cat shape: form two small, pointed triangles on the top edge of the dough for the ears. Press them firmly so they hold their shape. The dough should be in an even layer, about ½ inch thick.
- Bake the cookie cake: Bake at 350°F (175°C) for 18-22 minutes. For an 11×7 pan, start checking at 18 minutes. For a 9×13 pan, check at 15 minutes. The edges should be golden brown and set, but the center will still look soft and slightly puffy. A toothpick inserted in the center should come out with a few moist crumbs, not wet batter. Personal tip: I always pull it out when the center looks just slightly underdone. It continues to bake in the hot pan as it cools, giving you that perfect soft center.
- Cool completely: Let the cookie cake cool in the pan on a wire rack for at least 30 minutes. Then, using the parchment sling, lift it out onto the wire rack to cool completely. This is crucial! If you try to decorate a warm cookie cake, the glaze will melt and run right off.
- Make the black glaze: In a small bowl, whisk together the powdered sugar and 2 tablespoons of milk. Add the black gel food coloring. Start with a small amount (like ⅛ teaspoon) and add more until you reach your desired shade of black. The glaze should be thick but pipeable. If it’s too thick, add another ½ teaspoon of milk.
- Decorate the cat: Transfer the black glaze to a piping bag or a small zip-top bag and snip a tiny corner. Pipe two pointed ears, a nose, and a mouth. Don’t stress about making it perfect—a slightly messy face is part of the Halloween charm. For the eyes, melt the white candy melts in a microwave-safe bowl in 20-second bursts, stirring in between. Transfer to another small bag, snip the corner, and pipe two small circles for eyes. While the white is still wet, you can add a tiny dot of black glaze for the pupils if you want.
- Set the glaze: Let the decorated cookie cake sit for about 30 minutes for the glaze to set. Then you can slice it and serve!
Cooking Tips & Techniques
I’ve had my share of cookie cake mishaps. Here are the lessons I learned the hard way so you don’t have to.
- Don’t overbake. This is the number one rule. A cookie cake continues to bake from the residual heat of the pan. Pull it out when the center still looks a little soft and puffy. It will set into a perfectly chewy texture as it cools. Overbaking leads to a dry, crumbly cookie cake.
- Use a kitchen scale for the flour. I know, it’s an extra step. But measuring flour by volume (cups) is notoriously inconsistent. Using a scale (270g for this recipe) guarantees success every single time. If you don’t have a scale, spoon the flour into your measuring cup and level it off with a knife. Never scoop directly from the bag.
- Chill the dough if you have time. Chilling the shaped dough in the pan for 15-20 minutes before baking will help prevent the cookie from spreading too much and losing its cat shape. It’s not strictly necessary, but it gives you cleaner edges.
- Work with a cool cookie. Patience is key for decorating. If the cookie cake is even slightly warm, your black glaze will turn into a puddle. Let it cool completely on a wire rack. I usually make the cookie cake a day ahead and decorate it the next day.
Variations & Adaptations
This recipe is a great base to play with. Here are a few ways to make it your own.
- Spooky White Chocolate: Swap the semi-sweet chocolate chips for white chocolate chips. Then use orange and black gel coloring to make a pumpkin-spice themed cat or a ghostly white cat with dark eyes.
- Gluten-Free Version: Substitute the all-purpose flour with a 1:1 gluten-free baking blend that contains xanthan gum (like King Arthur’s Measure for Measure). The texture will be slightly more tender, but it’s still delicious.
- Add Some Spice: For a fall twist, add 1 teaspoon of cinnamon, ½ teaspoon of nutmeg, and ¼ teaspoon of cloves to the flour mixture. It gives the cookie a warm, chai-like flavor that pairs beautifully with the chocolate. You could even use homemade spiced peach butter as a dip on the side for a truly unique combination.
- Different Chip Options: Use a mix of chocolate chips, peanut butter chips, or butterscotch chips. A combination of milk chocolate and dark chocolate chunks is my personal favorite for a more gourmet feel.
- Make it a “Monster” Cookie Cake: Skip the cat shape and just press the dough into a round or square pan. Decorate it like a monster with green or purple frosting, candy eyes, and pretzel stick arms.
Serving & Storage Suggestions
This cookie cake is best served at room temperature. It’s wonderful on its own, but a glass of cold milk or a scoop of vanilla bean ice cream takes it over the top.
- Serving: Slice the cat into rectangles or triangles. It’s a rustic, shareable dessert, so don’t worry about perfect slices. It’s perfect for a Halloween party, a movie night, or even a fun classroom treat.
- Storage: Store any leftover cookie cake in an airtight container at room temperature for up to 3 days. The texture will stay soft and chewy. If you’ve decorated it, store it in a single layer or with a piece of parchment paper between layers to prevent the glaze from smudging.
- Freezing: You can freeze the undecorated, baked cookie cake for up to 3 months. Wrap it tightly in plastic wrap and then foil. Thaw it at room temperature before decorating and serving. The glaze is best applied fresh.
- Flavor Development: Honestly, this cookie cake tastes even better the next day. The flavors meld together, and the texture becomes even more perfectly chewy. It’s a great make-ahead dessert for a party.
Nutritional Information & Benefits
Let’s be real—this is a treat, not a health food. But that doesn’t mean it can’t fit into a balanced lifestyle. The nutritional information below is an estimate for one serving of the cookie cake (assuming 12 servings), without the glaze.
| Nutrient | Amount Per Serving (approx.) |
|---|---|
| Calories | 380 |
| Fat | 20g |
| Carbohydrates | 48g |
| Protein | 5g |
| Sugar | 30g |
Dark chocolate contains antioxidants called flavonoids, which can be beneficial for heart health. The butter provides a source of vitamin A and healthy fats. The simple sugars provide quick energy—perfect for a post-trick-or-treating sugar rush. For a slightly lighter option, you could try using whole wheat pastry flour for half of the all-purpose flour, which adds a bit of fiber. This dessert is a wonderful way to celebrate a fun holiday without overcomplicating things. It’s about joy and a little bit of indulgence.
Conclusion
This Best Black Cat Halloween Cookie Cake is more than just a dessert; it’s an experience. It’s the kind of recipe that brings people together, makes them laugh, and satisfies that deep craving for something sweet and nostalgic. It’s forgiving, fun, and absolutely delicious. Whether you’re a seasoned baker or someone who rarely steps foot in the kitchen, you can make this cat. I love it because it feels like a little piece of Halloween magic that anyone can create. Don’t be afraid to make the face a little wonky or add your own special touch—that’s what makes it yours.
I’d love to see your spooky creations! Leave a comment below and tell me how your black cat turned out, or share a photo on Pinterest. And if you’re looking for more easy, crowd-pleasing treats, you might also enjoy these easy chocolate-covered pretzel rods for another no-fuss Halloween snack. Happy baking, and have a wonderfully spooky season!
Frequently Asked Questions
Can I use a different type of chocolate?
Absolutely! Milk chocolate, dark chocolate, or even white chocolate chips all work great in this recipe. Just keep in mind that the sweetness level will change. If you use milk chocolate chips, you might want to reduce the granulated sugar by a tablespoon or two.
My cookie cake spread too much. What happened?
This usually happens if the butter was too warm or the dough wasn’t chilled. Make sure your melted butter has cooled slightly before adding it to the sugar and egg. Chilling the shaped dough in the pan for 15-20 minutes before baking will also help it hold its shape better.
Can I make this cookie cake ahead of time?
Yes, you can! Bake the cookie cake, let it cool completely, and store it in an airtight container at room temperature for up to two days before decorating. You can also freeze the undecorated, baked cookie cake for up to three months. Just thaw it at room temperature before adding the glaze.
How do I get the black glaze to be a true black color?
You need to use gel food coloring. Liquid food coloring will thin out your glaze and give you a pale, grayish color. Start with a small amount of black gel and add more until you reach your desired shade. A little goes a long way, so add it slowly.
Can I use a different pan size?
Yes, this recipe is flexible. An 11×7-inch pan gives a thicker cookie cake, while a 9×13-inch pan will be slightly thinner and crispier. You can even use a round 9-inch cake pan. Just adjust the baking time accordingly—start checking at 15 minutes for a thinner cookie cake.
Pin This Recipe!
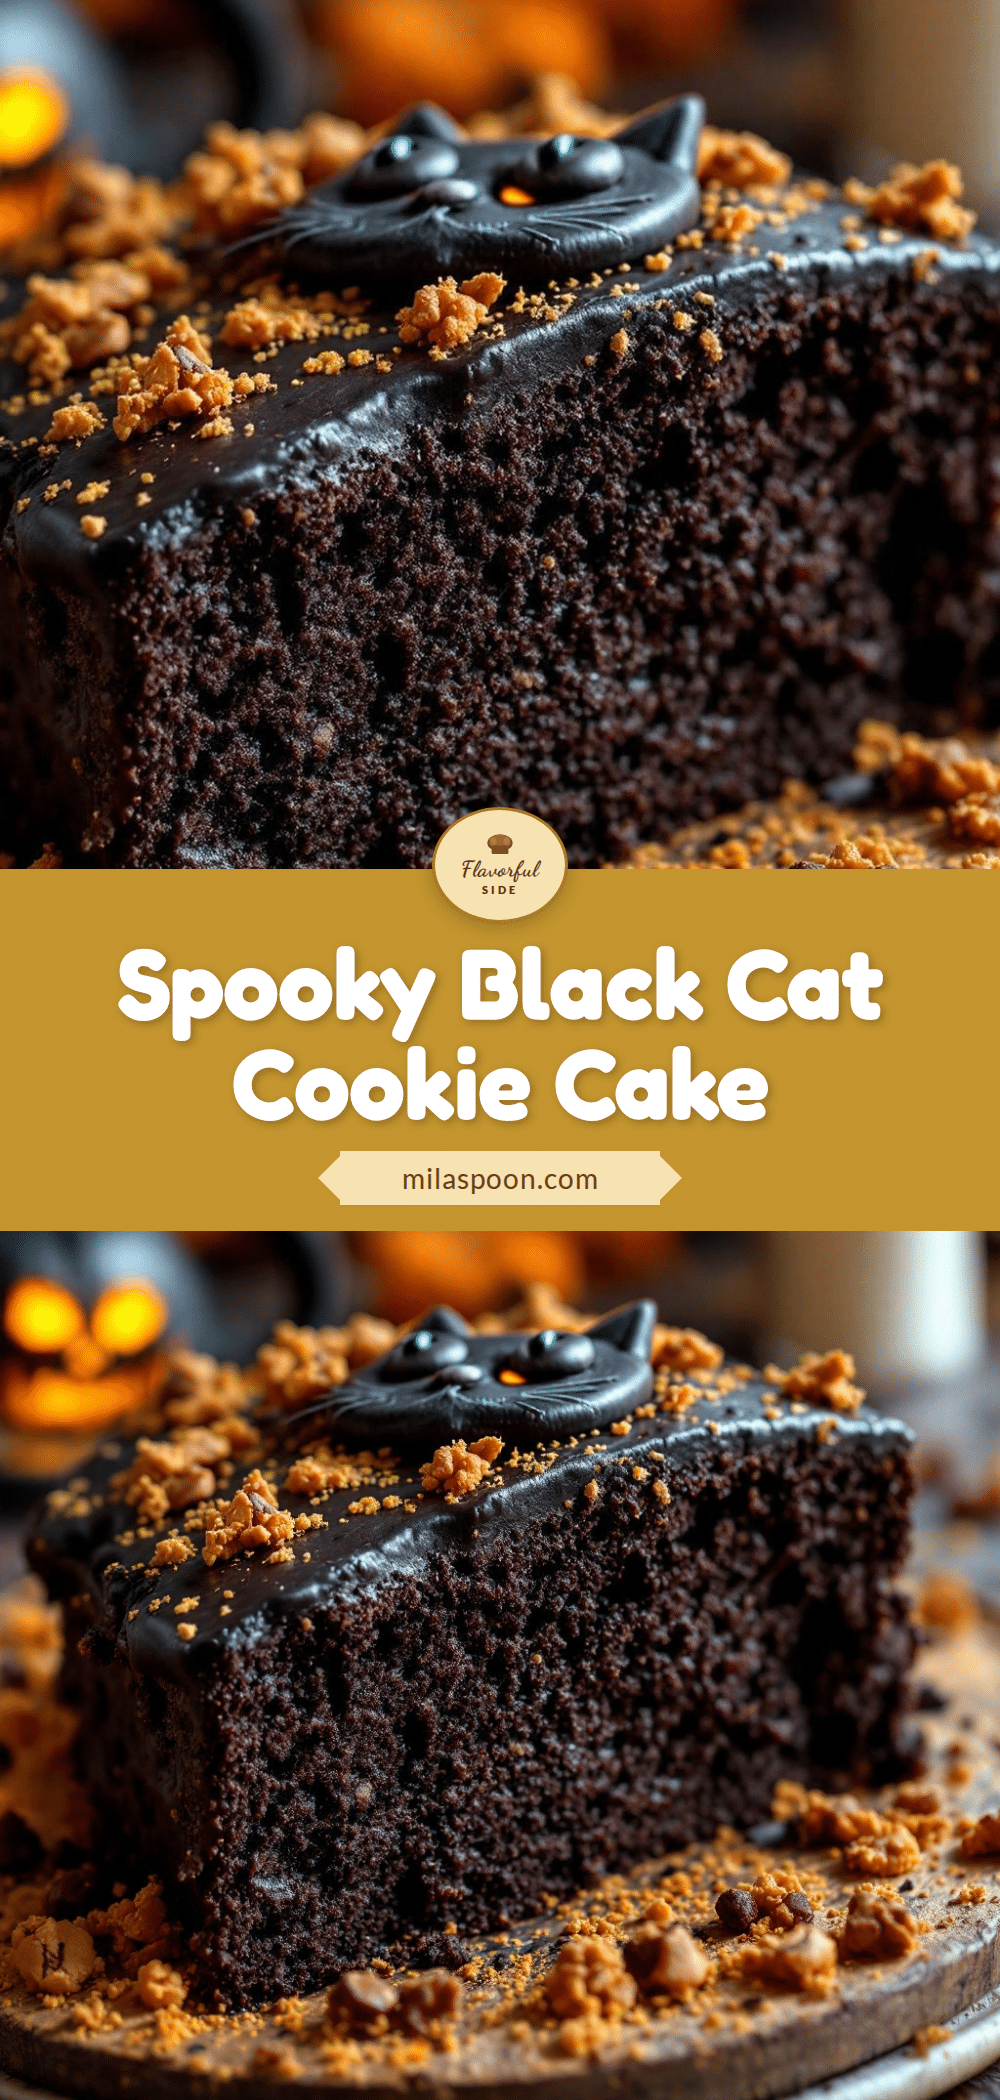
Best Black Cat Halloween Cookie Cake: Easy Spooky Dessert
A giant, shareable chocolate chip cookie shaped like a cat, decorated simply so anyone can do it. It’s a spooky but not scary Halloween treat with a soft center and slightly crisp edges.
- Prep Time: 15 minutes
- Cook Time: 20 minutes
- Total Time: 35 minutes
- Yield: 12 servings 1x
- Category: Dessert
- Cuisine: American
Ingredients
- 1 cup (2 sticks / 226g) unsalted butter, melted
- 1 cup (200g) light brown sugar, packed
- ½ cup (100g) granulated sugar
- 1 large egg, room temperature
- 2 teaspoons vanilla extract
- 2 cups + 2 tablespoons (270g) all-purpose flour
- 1 teaspoon baking soda
- ½ teaspoon salt
- 1 ½ cups (270g) semi-sweet chocolate chips
- 1 cup (120g) powdered sugar
- 2–3 tablespoons milk
- Black gel food coloring
- ¼ cup white candy melts or white chocolate chips
- Orange candy melts or M&M’s (optional)
Instructions
- Preheat oven to 350°F (175°C). Line an 11×7-inch or 9×13-inch baking pan with parchment paper, leaving overhang on two sides.
- In a large bowl, whisk together melted butter, brown sugar, and granulated sugar until smooth and shiny. Whisk in egg and vanilla extract until glossy.
- Sprinkle flour, baking soda, and salt over the wet ingredients. Fold gently with a rubber spatula until just combined. Fold in chocolate chips.
- Transfer dough to prepared pan. Press evenly into pan, forming two pointed triangles on the top edge for ears. Dough should be about ½ inch thick.
- Bake for 18-22 minutes (11×7 pan) or 15-18 minutes (9×13 pan), until edges are golden and center is soft and slightly puffy. Cool in pan on wire rack for 30 minutes, then lift out and cool completely.
- For glaze: Whisk powdered sugar with 2 tablespoons milk. Add black gel food coloring until desired shade is reached. Add more milk if needed for piping consistency.
- Transfer black glaze to a piping bag or zip-top bag with a tiny corner snipped. Pipe ears, nose, and mouth on cooled cookie cake.
- Melt white candy melts in 20-second bursts in the microwave. Transfer to a bag, snip corner, and pipe two small circles for eyes. Optionally add black pupil dots.
- Let glaze set for 30 minutes before slicing and serving.
Notes
Don’t overbake; the center should look slightly underdone as it continues to bake in the pan. Use a kitchen scale for flour for best results. Chilling the shaped dough for 15-20 minutes before baking helps maintain the cat shape. Cool completely before decorating to prevent glaze from melting.
Nutrition
- Serving Size: 1 slice (1/12 of coo
- Calories: 380
- Sugar: 30
- Sodium: 220
- Fat: 20
- Saturated Fat: 12
- Carbohydrates: 48
- Fiber: 2
- Protein: 5
Keywords: Halloween cookie cake, black cat cookie, chocolate chip cookie cake, spooky dessert, easy Halloween treat


