Love this? Save it for later!
Share the inspiration with your friends
That first cold, creamy bite — the kind that makes you pause mid-chip and just close your eyes for a second — still takes me straight to my sister’s cramped apartment kitchen seven years ago. She was trying to convince me that Greek yogurt could do anything sour cream could do, and honestly? I was skeptical. We were standing over this massive glass pie plate, layering refried beans and seasoned meat and a mountain of shredded lettuce, and she just swapped in this thick, tangy yogurt for the usual sour cream layer. I remember watching her spread it, thinking it looked a little too white, a little too healthy for what was supposed to be a proper game-day dip.
But then we dug in. And that first scoop with a warm, salty tortilla chip? Let’s just say I ate my words along with about half the plate. The yogurt didn’t just work — it made the whole thing feel lighter, brighter, somehow more satisfying without that heavy, greasy feeling you sometimes get. (You know the one.)
This creamy 7-layer Greek yogurt taco dip has become my absolute go-to for pretty much any gathering that calls for something shareable. It’s the kind of recipe that disappears fast, and people always ask for it. The secret is really in that yogurt layer — it adds this incredible tanginess that cuts through the richness of the beans and cheese, and it makes the whole dip feel fresh instead of heavy. I’ve tweaked and tested this version more times than I can count, and I genuinely think it’s the best way to make a classic layered dip work for real life.
So whether you’re feeding a crowd on Super Bowl Sunday, bringing something to a potluck, or just want a solid snack that feels a little bit indulgent but also, you know, has protein — this one’s for you. It’s simple, it’s forgiving, and it’s exactly the kind of recipe that makes you look like you tried harder than you actually did.
Why You’ll Love This Recipe
I’ve made this creamy 7-layer Greek yogurt taco dip for everything from casual Netflix nights to full-blown parties, and it never fails. Here’s why I keep coming back to it, and why I think you will too:
- Quick & Easy: You can have this dip on the table in about 20 minutes, no cooking required (except browning the meat if you’re using it). It’s perfect for those last-minute “I need to bring something” moments.
- Simple Ingredients: Everything on the list is something you can find at a regular grocery store. No specialty items, no weird health food aisle hunts. You probably already have half of these in your fridge.
- Perfect for Gatherings: This dip was basically made for game days, potlucks, barbecues, and holiday appetizer spreads. It travels well, it looks impressive in a clear dish, and it feeds a crowd without breaking the bank.
- Crowd-Pleaser: I’ve served this to picky eaters, health-conscious friends, and serious foodies, and every single time the bowl comes back empty. The Greek yogurt trick wins people over every time.
- Unbelievably Delicious: The combination of creamy, tangy, spicy, crunchy, and cool all in one bite? That’s the magic of a good layered dip. And the yogurt layer adds a tangy freshness that makes it next-level.
What really sets this recipe apart from the usual versions is that Greek yogurt swap. It’s not just a healthier alternative — it genuinely tastes better. The yogurt’s natural tanginess complements the taco seasoning and the salsa in a way that sour cream just doesn’t. Plus, it adds a boost of protein that makes this dip feel a little more substantial. I’ve tested this with full-fat, 2%, and even nonfat Greek yogurt, and they all work beautifully — just go with whatever you usually have on hand.
This is the kind of recipe that makes you look like a hero with almost zero effort. And honestly? That’s my favorite kind of recipe.
What Ingredients You Will Need
This creamy 7-layer Greek yogurt taco dip uses simple, wholesome ingredients that come together to create something truly special. Most of these are pantry staples or items you’d grab on a regular grocery run. Here’s what you need, layer by layer:
For The Base Layers:
- 1 can (16 oz) refried beans — I prefer traditional refried beans, but black refried beans work great too. Look for a brand without lard if that matters to you. (I like Amy’s or Ortega for consistent texture.)
- 1 lb ground beef or ground turkey — You can also use shredded chicken or leave it out entirely for a vegetarian version. I usually go with 85/15 ground beef for the best flavor.
- 1 packet (1 oz) taco seasoning — Or about 3 tablespoons of homemade taco seasoning if you prefer to control the sodium. I use store-bought in a pinch, but homemade is honestly better.
- 1/3 cup water — For cooking the seasoned meat.
For The Creamy Yogurt Layer:
- 1 1/2 cups plain Greek yogurt — Full-fat gives the richest texture, but 2% works perfectly fine. I recommend Fage or Chobani for thickness. Do not use nonfat here — it can get watery as it sits.
- 1/2 cup sour cream — Yes, both. The combination of Greek yogurt and a little sour cream gives you the perfect tangy, creamy texture without being too heavy or too thin.
- 1/2 teaspoon garlic powder — Adds a subtle savory note.
- 1/4 teaspoon salt — Just a pinch to bring out the flavors.
For The Taco Layer:
- 1 cup your favorite salsa — Use a medium or mild salsa depending on your heat preference. I like a chunky restaurant-style salsa for texture. Drain it slightly if it’s very watery to avoid a soggy dip.
- 1 cup shredded Mexican blend cheese — Or a mix of cheddar and Monterey Jack. Shred it yourself from a block if you have time — it melts and tastes much better than pre-shredded (which has anti-caking agents).
For The Toppings:
- 1 cup shredded lettuce — Iceberg or romaine works best for that classic crunch. Pat it dry with paper towels after washing to keep the dip from getting watery.
- 1/2 cup diced tomatoes — Roma tomatoes are great because they’re less watery. Remove the seeds if you’re feeling ambitious.
- 1/2 cup sliced black olives — Canned is fine, just drain them well.
- 1/4 cup sliced green onions — Both white and green parts for color and mild onion flavor.
- 1/4 cup chopped fresh cilantro — Optional but highly recommended if you’re a cilantro person. (If you’re not, just leave it out.)
- 1 fresh jalapeño, sliced — For heat and color. Remove the seeds if you want less spice.
For Serving:
- Tortilla chips — I like thick, restaurant-style chips that can handle a heavy scoop without breaking. Scoop-shaped chips are ideal for catching all the layers.
Equipment Needed
You don’t need any fancy equipment for this creamy 7-layer Greek yogurt taco dip, which is part of why I love it. Here’s what you’ll need:
- Large skillet or frying pan — For browning the ground meat. A 10 or 12-inch skillet works perfectly.
- 9×13-inch glass or ceramic dish — A clear dish is ideal because you can see all the beautiful layers. A pie plate or even a large shallow bowl works too.
- Mixing bowls — One small bowl for the yogurt mixture, and maybe another for mixing the seasoned meat.
- Spatula or offset spatula — For spreading each layer evenly. A regular rubber spatula works fine.
- Cutting board and sharp knife — For dicing tomatoes, slicing olives, and chopping cilantro and green onions.
- Measuring cups and spoons — For getting the portions right, though honestly, this recipe is very forgiving.
- Paper towels — For patting the lettuce and tomatoes dry. This step matters more than you think!
If you don’t have a 9×13 dish, you can use a large pie plate, a shallow serving bowl, or even a rimmed baking sheet. The key is having enough surface area to create distinct, visible layers. I’ve made this in a round casserole dish before, and it worked great — just adjust the layering to fit the shape.
Preparation Method
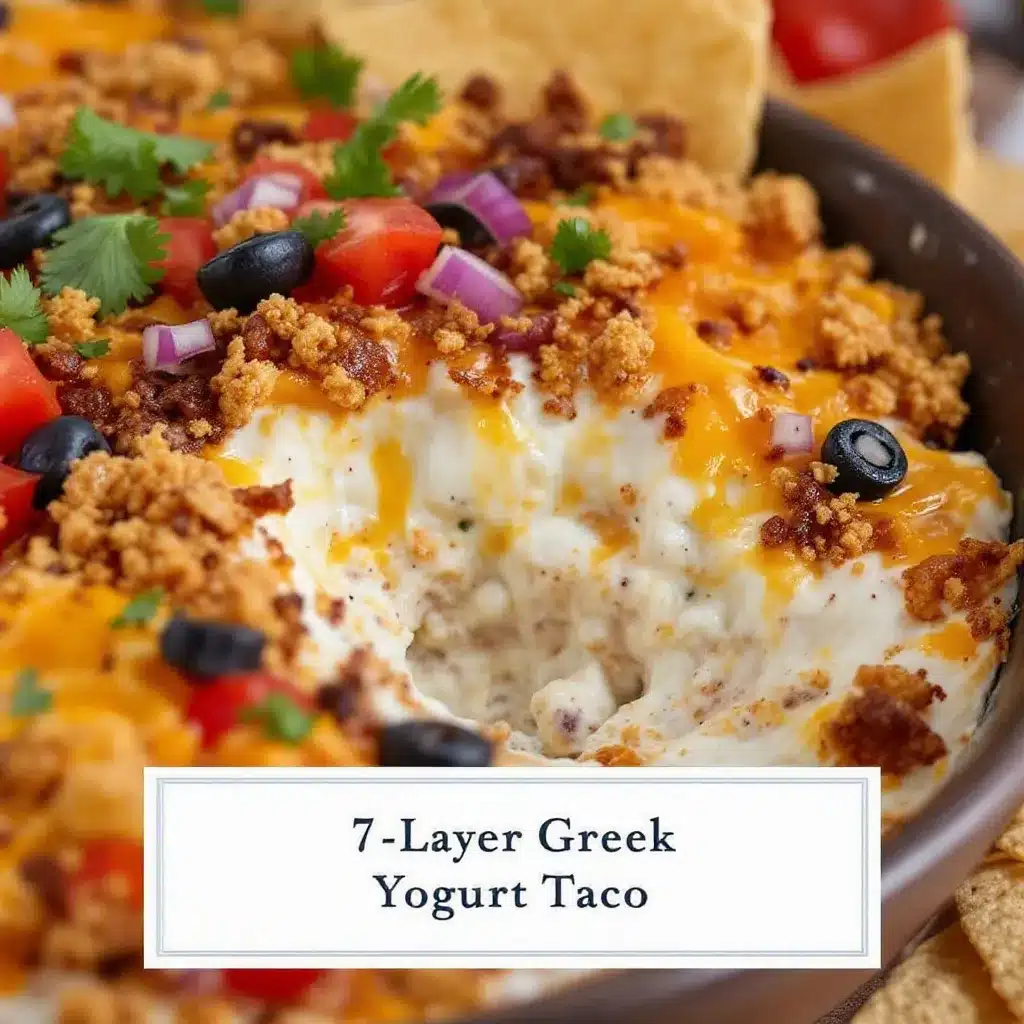
Let me walk you through this creamy 7-layer Greek yogurt taco dip step by step. It’s really straightforward, but I’ll share the little tricks I’ve learned along the way to make sure every layer is perfect.
- Cook the seasoned meat. Heat your large skillet over medium-high heat. Add the ground beef or turkey and cook, breaking it up with a wooden spoon, until it’s browned and no longer pink — about 6-8 minutes. Drain off any excess fat (I usually tilt the pan and spoon it out, leaving about a tablespoon for flavor). Reduce the heat to low, add the taco seasoning and 1/3 cup water, and stir to combine. Let it simmer for 2-3 minutes until the liquid thickens slightly. Remove from heat and let it cool for about 5 minutes. You don’t want hot meat melting your other layers!
- Prepare the yogurt layer. While the meat cools, mix the Greek yogurt, sour cream, garlic powder, and salt in a small bowl. Stir until smooth and well combined. Taste it — you should get a nice tangy, savory flavor. Set aside.
- Spread the refried beans. Spoon the refried beans into your serving dish and spread them into an even layer using a spatula. If the beans are thick and hard to spread, microwave them for 20-30 seconds first to loosen them up. This is your foundation layer, so make sure it covers the bottom evenly.
- Add the seasoned meat. Spoon the cooled taco meat over the bean layer and spread it evenly. Try not to disturb the beans underneath too much. If the meat has clumped together, break it up with your fingers or the spatula before spreading.
- Spread the yogurt mixture. Dollop the Greek yogurt mixture over the meat layer and gently spread it into an even layer. This is the trickiest part — go slowly and use a light touch to avoid mixing it with the meat below. Starting from the center and working outward helps.
- Add the salsa. Spoon the salsa over the yogurt layer and spread it gently. If your salsa is very chunky, you might need to spread the chunks around a bit. Try to leave a little border of the yogurt layer visible around the edges for visual appeal.
- Sprinkle the cheese. Evenly distribute the shredded cheese over the salsa layer. Don’t press it down — just let it sit on top. This creates a nice barrier between the wetter salsa and the toppings.
- Layer the toppings. Start with the shredded lettuce, spreading it evenly. Then add the diced tomatoes, sliced black olives, green onions, and fresh cilantro in that order. Arrange the jalapeño slices on top for a pop of color (and heat, if you’re into that).
- Chill before serving. Cover the dish with plastic wrap and refrigerate for at least 30 minutes before serving. This step is crucial — it lets the layers set and the flavors meld together. I actually prefer making this a few hours ahead or even the night before. The dip gets better as it sits.
- Serve and enjoy. Remove from the fridge about 10 minutes before serving to take the chill off. Serve with sturdy tortilla chips and watch it disappear.
One thing I’ve learned the hard way: don’t skip the chilling step. I once served this right after assembling it, and the layers slid around like a wobbly Jell-O. Giving it time in the fridge helps everything set up nicely so you get a clean scoop with every bite.
Cooking Tips & Techniques
Over the years, I’ve made this creamy 7-layer Greek yogurt taco dip more times than I can count, and I’ve picked up a few tricks that make a real difference. Here are my best tips:
Drain your ingredients. This is probably the most important tip I can give you. Wet ingredients = watery dip. Drain your salsa slightly, pat your lettuce and tomatoes dry with paper towels, and make sure your olives are well-drained. Nobody wants a soggy chip situation.
Let the meat cool completely. I know it’s tempting to just layer everything while it’s hot, but warm meat will make the yogurt layer separate and get runny. Give it at least 5-10 minutes to cool down. I sometimes spread it on a plate to speed up the process.
Use full-fat Greek yogurt. I’ve tested this with nonfat and low-fat versions, and they just don’t hold up as well. The full-fat yogurt (or even 2%) gives you a thicker, creamier layer that doesn’t get watery as the dip sits. Trust me on this one.
Layer with intention. The order of layers matters. Putting the cheese directly on top of the salsa creates a barrier that keeps the wet salsa from soaking into the crunchy toppings. And putting the yogurt layer between the meat and the salsa means the tanginess hits right in the middle of each bite.
Make it ahead. This dip actually tastes better after a few hours in the fridge. The flavors meld together, and the layers set up beautifully. I often make it the morning of a party and just pull it out when guests arrive. It’s a huge time-saver.
Use a clear dish. I know this sounds shallow, but part of the appeal of a layered dip is seeing all those beautiful stripes. A glass or clear plastic dish makes it look so much more appetizing. Plus, it’s fun to watch people strategize which layers to scoop up.
Don’t overdo the lettuce. It’s tempting to pile on the lettuce for volume, but too much can make the dip feel more like a salad. A thin, even layer is all you need for that perfect crunch without overwhelming the other flavors.
I once made the mistake of using pre-shredded cheese from a bag, and it just didn’t melt into the dip the same way. Shredding your own cheese from a block takes an extra two minutes, but the texture difference is noticeable. Plus, it doesn’t have those anti-caking agents that can make the dip feel a little gritty.
Variations & Adaptations
One of the best things about this creamy 7-layer Greek yogurt taco dip is how adaptable it is. Here are some of my favorite variations:
Vegetarian Version: Skip the meat entirely and add a layer of seasoned black beans or pinto beans instead. You can also add a layer of corn — either canned (drained) or fire-roasted frozen corn that’s been thawed. I’ve made this for vegetarian friends and they always go back for seconds.
Spicy Version: If you like heat, use hot salsa, add a layer of pickled jalapeños, and mix some cayenne pepper or chipotle powder into the yogurt layer. You can also use pepper jack cheese instead of Mexican blend for an extra kick.
Guacamole Layer: For an extra layer of goodness, add a layer of guacamole between the yogurt mixture and the salsa. Just make sure the guacamole is well-mixed with lime juice to prevent browning. This turns the 7-layer dip into an 8-layer dip, and honestly, nobody’s complaining.
Low-Carb/Keto Version: Skip the refried beans and use a layer of seasoned ground beef or cauliflower rice instead. Serve with pork rinds or cucumber slices instead of tortilla chips. The yogurt layer fits perfectly into a low-carb lifestyle.
Dairy-Free Version: Use a dairy-free yogurt alternative (coconut or soy-based) and dairy-free cheese shreds. I’ve tested this with a plain unsweetened coconut yogurt, and while the texture is slightly different, it still works beautifully. Just make sure to squeeze any excess liquid out of the yogurt first.
Chicken Taco Dip: Swap the ground beef for shredded rotisserie chicken mixed with taco seasoning. It’s a great way to use up leftover chicken, and it gives the dip a completely different texture. I love this version for summer gatherings.
My personal favorite variation? I add a thin layer of crunchy Asian sesame cucumber noodle salad on top of the lettuce for an unexpected crunch and a pop of freshness. It sounds weird, but the tangy sesame dressing actually complements the taco flavors beautifully. Don’t knock it till you’ve tried it!
Serving & Storage Suggestions
This creamy 7-layer Greek yogurt taco dip is best served cold or at room temperature, straight from the fridge. Here’s how to make the most of it:
Serving Temperature: I like to pull the dip out of the fridge about 10-15 minutes before serving. This takes the edge off the chill without letting it get warm. The layers hold up best when they’re still cool but not ice-cold.
Presentation: Serve it in the same dish you assembled it in — the layers are part of the appeal! I like to place it on a large platter surrounded by tortilla chips. You can also set out small bowls of extra salsa, sour cream, and sliced jalapeños for people to customize their scoops.
Complementary Dishes: This dip pairs beautifully with flavorful chicken burrito bowls for a full taco night spread. It also goes great with crispy hatch chili cheddar cornbread skillet for a fun twist on game day snacks.
Storage: Cover the dish tightly with plastic wrap or transfer leftovers to an airtight container. The dip will keep in the refrigerator for up to 3 days. The lettuce might get a little wilted, but the flavors will actually be even better the next day.
Reheating: Honestly, this dip is best enjoyed cold or at room temperature. If you want to serve it warm, you can microwave individual portions for 20-30 seconds, but the yogurt layer might separate a bit. I prefer to just enjoy it cold — it’s like a taco salad in dip form.
Flavor Development: The flavors really meld together after a few hours in the fridge. I actually prefer this dip on day two, when the taco seasoning has had time to infuse the yogurt layer and everything tastes more cohesive. Just refresh the lettuce and tomatoes before serving if you’re making it ahead.
Nutritional Information & Benefits
This creamy 7-layer Greek yogurt taco dip is one of those rare recipes that feels indulgent but actually has some solid nutritional perks. Here’s a rough breakdown per serving (about 1/8 of the recipe):
- Calories: Approximately 280-320
- Protein: 18-22 grams (thanks to the Greek yogurt and meat)
- Fat: 16-20 grams (depending on the meat and cheese you use)
- Carbohydrates: 14-18 grams
- Fiber: 4-6 grams (from the beans and veggies)
- Calcium: About 20% of your daily needs
The Greek yogurt is the real star here nutritionally. It’s packed with protein, probiotics for gut health, and calcium for strong bones. Compared to traditional sour cream, it has about half the calories and significantly more protein. Plus, the beans add fiber and plant-based protein, while the veggies contribute vitamins and antioxidants.
Dietary Considerations: This recipe can easily be made gluten-free (just check your taco seasoning packet) and can be adapted for vegetarian, low-carb, and dairy-free diets as mentioned in the variations section. It’s naturally nut-free and egg-free.
Potential Allergens: Dairy (from the yogurt, sour cream, and cheese) is the main allergen. The recipe is free of common allergens like nuts, soy, and eggs.
I love that this dip lets me feel good about what I’m eating while still satisfying that craving for something creamy, crunchy, and completely delicious. It’s the kind of recipe that proves healthy eating doesn’t have to be boring.
Conclusion
This creamy 7-layer Greek yogurt taco dip has become my secret weapon for every gathering, and I have a feeling it’s about to become yours too. It’s the kind of recipe that looks impressive, tastes incredible, and takes almost no real effort — my absolute favorite combination.
The beauty of this dip is that it’s completely customizable. Make it as spicy or as mild as you like, load it up with extra veggies, or keep it classic. The Greek yogurt swap is the game-changer that makes it work for everything from casual weeknight snacks to party spreads. And honestly? It’s so good that people won’t even realize it’s a little healthier.
I’d love to hear how this turns out for you! Drop a comment below and let me know what variations you tried, or tag me in your photos if you share them online. Did you add an extra layer? Swap in a different protein? I’m always looking for new ideas to try.
So go ahead — grab your favorite dish, gather your ingredients, and make this dip. Whether it’s for game day, a potluck, or just because you deserve a good snack, I promise it’ll be the first thing to disappear. Happy dipping!
Frequently Asked Questions
Can I make this creamy 7-layer Greek yogurt taco dip ahead of time?
Absolutely! In fact, I recommend it. You can assemble the entire dip up to 24 hours in advance and keep it covered in the refrigerator. Just add the lettuce, tomatoes, and other fresh toppings right before serving to keep them crisp. The flavors actually get better as the dip sits.
Can I use nonfat Greek yogurt instead of full-fat?
You can, but I don’t recommend it. Nonfat Greek yogurt tends to be thinner and can release water as it sits, making your dip watery. If you’re watching calories, 2% Greek yogurt is a much better compromise. It’s still thick and creamy but has fewer calories than full-fat.
How do I keep the layers from getting soggy?
The key is moisture management. Pat your lettuce and tomatoes completely dry with paper towels before adding them. Drain your salsa slightly if it’s very watery. And make sure your meat has cooled completely before layering — hot meat creates steam that can make the yogurt layer separate. These small steps make a big difference.
Can I freeze this dip?
I don’t recommend freezing this dip. The Greek yogurt, sour cream, and fresh vegetables don’t freeze well at all. The texture will become watery and grainy after thawing. This dip is best enjoyed fresh or within a few days of making it. If you need to make it way ahead, I’d suggest prepping the components separately and assembling them fresh.
What can I serve with this dip besides tortilla chips?
So many options! You can serve it with crunchy vegetable sticks like bell peppers, cucumber rounds, or carrot sticks for a lower-carb option. It’s also great with pita chips, pretzel chips, or even spread on tacos or chicken burrito bowls. I’ve even used it as a topping for baked potatoes — trust me, it works.
Pin This Recipe!
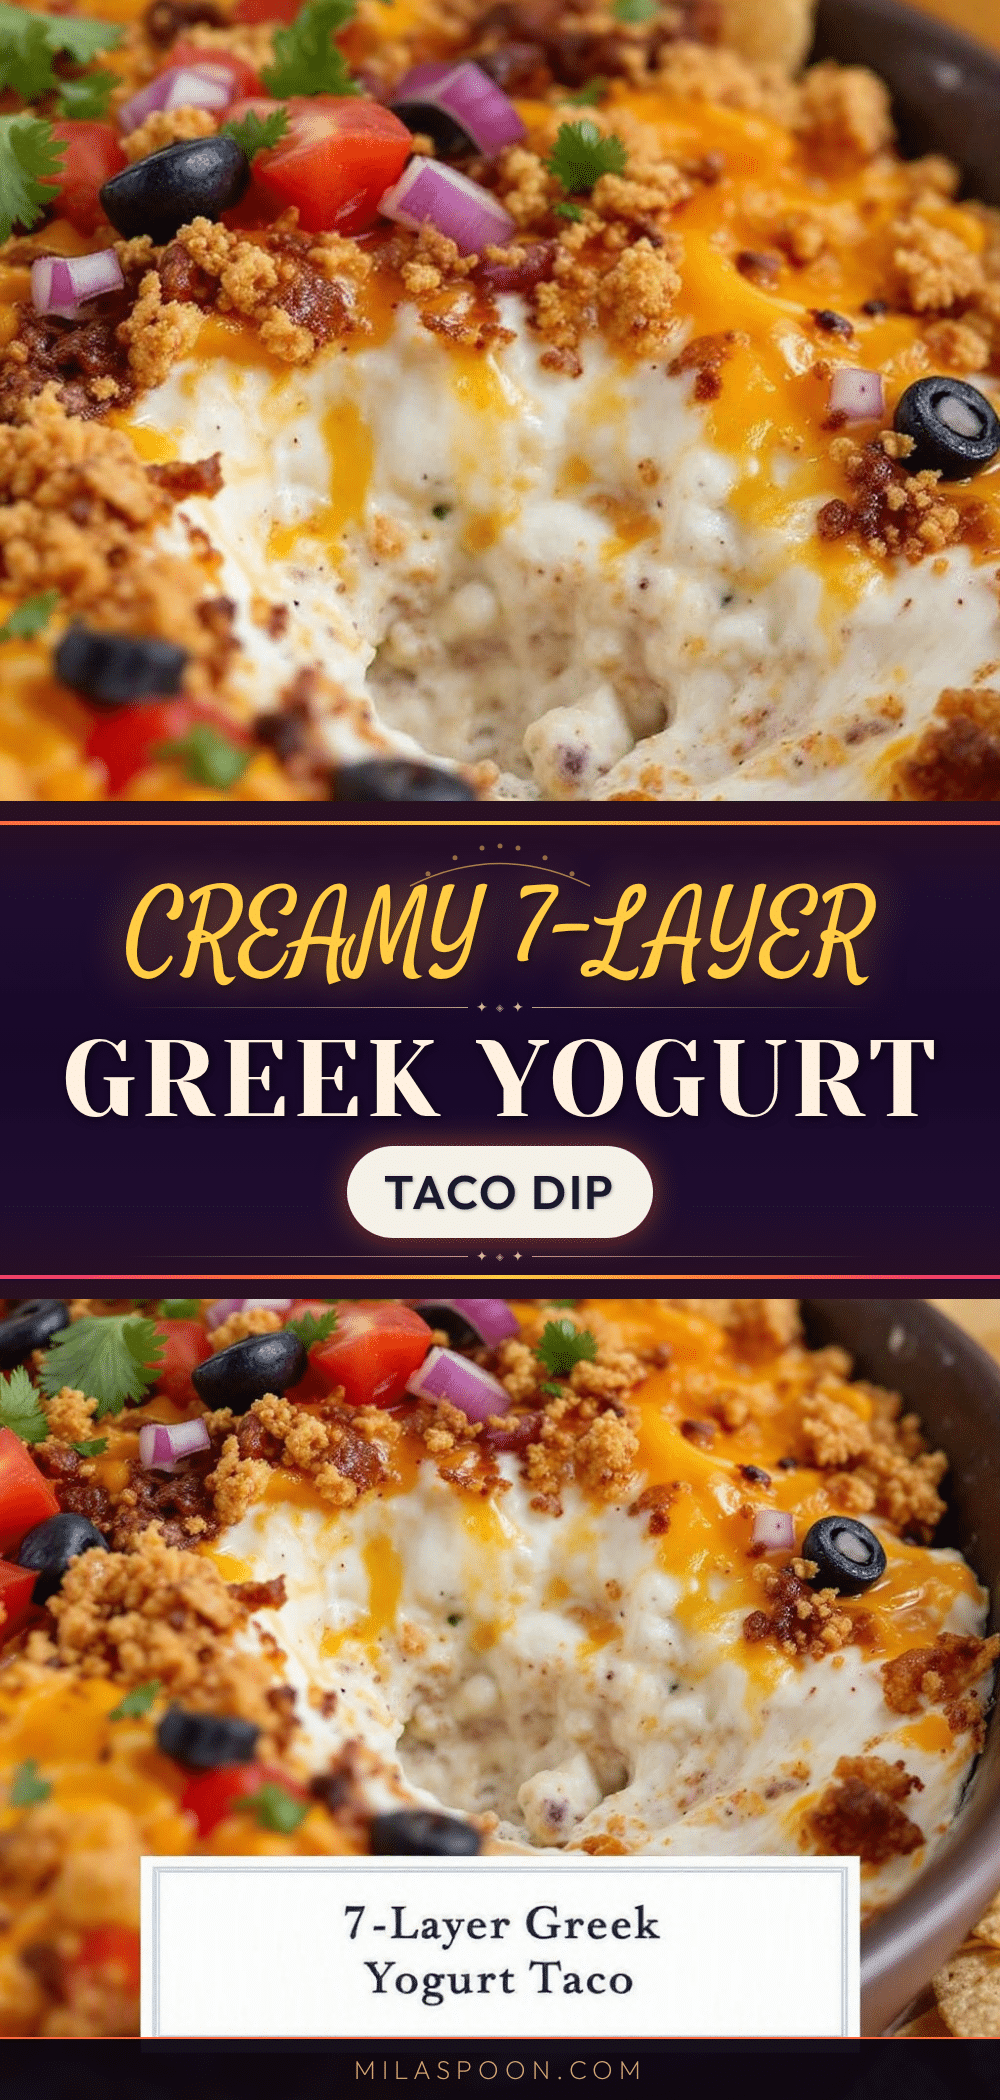
Creamy 7-Layer Greek Yogurt Taco Dip

A lighter, tangier take on the classic layered dip, featuring Greek yogurt instead of sour cream for a creamy, protein-packed appetizer that’s perfect for game days, potlucks, and gatherings.
- Prep Time: 20 minutes
- Cook Time: 10 minutes
- Total Time: 30 minutes (plus 30 minutes chilling)
- Yield: 8 servings 1x
- Category: Appetizer
- Cuisine: Mexican-American
Ingredients
- 1 can (16 oz) refried beans
- 1 lb ground beef or ground turkey
- 1 packet (1 oz) taco seasoning
- 1/3 cup water
- 1 1/2 cups plain Greek yogurt (full-fat or 2%)
- 1/2 cup sour cream
- 1/2 teaspoon garlic powder
- 1/4 teaspoon salt
- 1 cup your favorite salsa (drained if watery)
- 1 cup shredded Mexican blend cheese (or cheddar/Monterey Jack)
- 1 cup shredded lettuce (iceberg or romaine, patted dry)
- 1/2 cup diced tomatoes (Roma, seeds removed)
- 1/2 cup sliced black olives (drained)
- 1/4 cup sliced green onions
- 1/4 cup chopped fresh cilantro (optional)
- 1 fresh jalapeño, sliced (optional)
- Tortilla chips for serving
Instructions
- Cook the seasoned meat: Heat a large skillet over medium-high heat. Add ground beef or turkey and cook, breaking it up, until browned (6-8 minutes). Drain excess fat. Reduce heat to low, add taco seasoning and 1/3 cup water, stir, and simmer 2-3 minutes until thickened. Remove from heat and let cool 5 minutes.
- Prepare the yogurt layer: In a small bowl, mix Greek yogurt, sour cream, garlic powder, and salt until smooth. Set aside.
- Spread the refried beans: Spoon refried beans into a 9×13-inch dish and spread into an even layer. If thick, microwave 20-30 seconds first.
- Add the seasoned meat: Spoon cooled taco meat over the beans and spread evenly.
- Spread the yogurt mixture: Dollop the yogurt mixture over the meat and gently spread into an even layer.
- Add the salsa: Spoon salsa over the yogurt layer and spread gently, leaving a border of yogurt visible.
- Sprinkle the cheese: Evenly distribute shredded cheese over the salsa.
- Layer the toppings: Spread shredded lettuce, then diced tomatoes, sliced black olives, green onions, and cilantro. Arrange jalapeño slices on top.
- Chill before serving: Cover and refrigerate at least 30 minutes (or up to 24 hours) to let layers set.
- Serve: Remove from fridge 10 minutes before serving. Serve with tortilla chips.
Notes
For best results, use full-fat Greek yogurt to prevent wateriness. Drain salsa, lettuce, and tomatoes well to avoid a soggy dip. Let meat cool completely before layering. The dip tastes even better after a few hours in the fridge. Can be made vegetarian by omitting meat and adding seasoned black beans or corn.
Nutrition
- Serving Size: 1/8 of recipe
- Calories: 300
- Sugar: 4
- Sodium: 650
- Fat: 18
- Saturated Fat: 8
- Carbohydrates: 16
- Fiber: 5
- Protein: 20
Keywords: 7-layer dip, Greek yogurt taco dip, layered dip, game day appetizer, healthy taco dip, easy appetizer, party dip


