Love this? Save it for later!
Share the inspiration with your friends
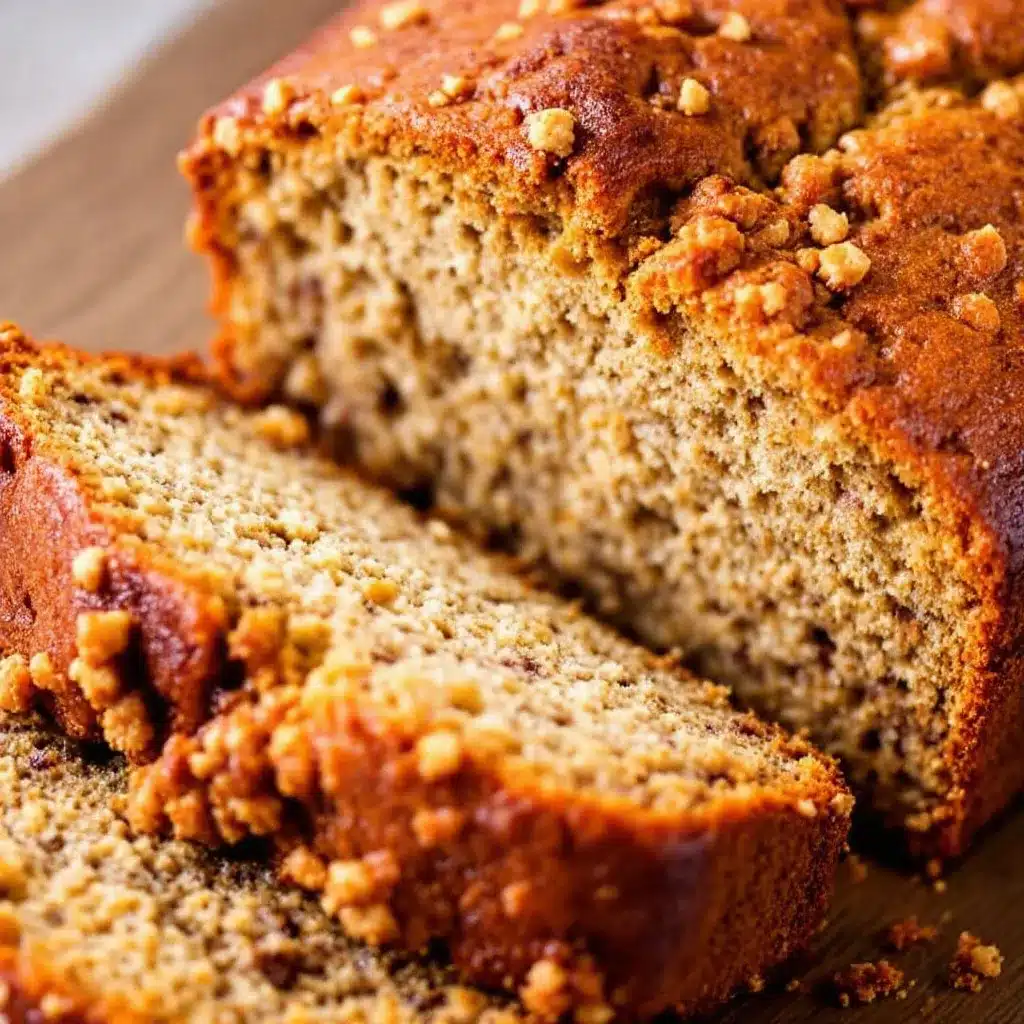
The crackly top is the whole point. That thin, sugar-crusted shell that shatters under the pressure of your knife, giving way to a soft, tender crumb beneath — that’s what I made this easy one-bowl banana bread for. Everything else is secondary.
I know, I know. Banana bread is supposed to be about the moistness, the banana flavor, the way it fills your kitchen with that sweet, almost caramelized scent. And sure, this one has all of that. But let me tell you — the first time I pulled a loaf out of the oven and saw that mahogany-colored dome, slightly cracked in the center with a glossy, sugar-studded surface, I actually gasped. It was that pretty.
Here’s the thing about this easy one-bowl banana bread recipe — it doesn’t need a mixer, a stand mixer, or even a whisk if you’re being honest about it. A fork works. A spatula works. Your hands would probably work, though I haven’t tested that (yet). The whole point is simplicity without sacrificing that bakery-style finish. And honestly? The less you fuss with the batter, the better the texture turns out.
I stumbled into this recipe on a rainy Tuesday afternoon when my bananas had gone from “perfectly ripe” to “please do something with me before I attract fruit flies.” My mixer was buried under a stack of cookbooks (don’t ask), and I just couldn’t be bothered. So I grabbed a bowl, a fork, and decided to see what happened. What happened was the best banana bread I’d ever made. That accidental discovery stuck, and now it’s the only way I make it.
So if you’ve been searching for that one banana bread recipe that actually delivers on the crackly top promise — the one that tastes like you spent hours fussing when you really just spent ten minutes stirring — this is it. Trust me on this one.
Why You’ll Love This Recipe
This isn’t just another banana bread recipe floating around the internet. After testing this version at least a dozen times (and eating way more banana bread than any one person probably should), here’s what makes it stand out:
- No Mixer Required : You don’t need a stand mixer, hand mixer, or anything electric. Just a bowl and something to stir with. Perfect for lazy mornings or when your kitchen equipment is buried somewhere.
- Simple Pantry Ingredients : Butter, sugar, eggs, flour, baking soda, salt, and bananas. That’s it. No buttermilk, no sour cream, no weird specialty flours. Chances are you have everything right now.
- Perfect for Busy Weekdays : From start to oven in about 10 minutes. While it bakes, you can clean up the kitchen, answer emails, or just sit down and enjoy the smell.
- That Crackly Top Everyone Talks About : The secret is in the sugar and the way you handle (or don’t handle) the batter. I’ll explain below, but trust me — it works.
- Always a Crowd-Pleaser : I’ve brought this to brunches, potlucks, and casual get-togethers, and it disappears every single time. Kids love it, adults love it, and nobody guesses it came together in one bowl.
What makes this recipe different from the dozens of other banana bread recipes out there? It’s the texture. Most one-bowl recipes sacrifice structure for convenience, giving you a dense, gummy loaf that barely rises. This one? It rises beautifully, stays moist for days, and develops that signature crackly crust that makes banana bread feel special. It’s comfort food at its finest — simple, satisfying, and somehow exactly what you needed.
Honestly, this is the kind of recipe that makes you close your eyes after the first bite. It’s that good.
What Ingredients You Will Need
This recipe uses simple, wholesome ingredients to deliver bold banana flavor and that perfect tender-yet-structured crumb. Here’s everything you’ll need, plus a few notes from my testing kitchen:
For the Banana Bread
- 3 large ripe bananas (about 1 ½ cups mashed) — The riper, the better. Look for bananas with plenty of brown spots, almost completely black. They’re sweeter and easier to mash. If your bananas aren’t ripe enough, you can roast them in a 300°F oven for 15-20 minutes until soft.
- ½ cup (1 stick) unsalted butter, melted — I prefer unsalted so I can control the salt level. If you only have salted butter, just reduce the added salt to ¼ teaspoon. Let the butter cool slightly before mixing so it doesn’t cook the eggs.
- ¾ cup granulated sugar — This gives the crackly top its structure. Don’t reduce it too much or you’ll lose that signature crust. You can substitute coconut sugar for a deeper flavor, but the top won’t be as crunchy.
- 2 large eggs, room temperature — Room temperature eggs blend more evenly into the batter. If you forgot to take them out, place them in a bowl of warm water for 5 minutes.
- 1 teaspoon vanilla extract — Pure vanilla extract makes a difference here. I prefer Nielsen-Massey, but any good quality brand works.
- 1 ½ cups all-purpose flour — Spoon and level your flour for best results. Scooping directly from the bag packs too much flour into the cup and makes the bread dense.
- 1 teaspoon baking soda — Make sure your baking soda is fresh. Test it by dropping a little into vinegar — it should fizz immediately.
- ½ teaspoon salt — Fine sea salt or table salt works best. If using kosher salt, increase to ¾ teaspoon.
Optional Add-Ins
- ½ cup chocolate chips — Semi-sweet or dark chocolate chips pair beautifully with the banana flavor. Toss them in a tablespoon of flour before adding to prevent sinking.
- ½ cup chopped walnuts or pecans — Toast them first for extra flavor. Spread on a baking sheet at 350°F for 5-7 minutes.
- 1 tablespoon cinnamon — Adds warmth and depth. I sometimes add this when I’m craving a spiced version.
- Turbinado sugar for sprinkling — That extra crunch on top? This is the secret. A generous sprinkle before baking transforms the crust.
For a twist on this basic formula, you might also enjoy my cinnamon chip zucchini banana bread — it uses the same one-bowl method but adds shredded zucchini and cinnamon chips for extra moisture and flavor.
Equipment Needed
One of the best things about this recipe is how little equipment it requires. Here’s what you’ll need:
- Large mixing bowl — Any bowl works, but a wide, shallow bowl makes mashing and mixing easier. I use a ceramic mixing bowl that’s about 3 quarts.
- Fork or potato masher — For mashing the bananas. A fork works perfectly fine, but a potato masher speeds things up.
- Wooden spoon or rubber spatula — For mixing the batter. A rubber spatula is great for scraping the sides.
- 9×5-inch loaf pan — Standard size. If you use an 8×4-inch pan, your bread will be taller and可能需要增加5-10分钟烘烤时间. Glass or ceramic pans work too, but metal gives the best browning.
- Parchment paper — Not strictly necessary, but it makes lifting the bread out of the pan so much easier. Leave a 2-inch overhang on the long sides.
- Cooling rack — For cooling the bread properly. If you don’t have one, you can balance the pan on its side to allow air circulation.
- Measuring cups and spoons — For accuracy. I recommend using dry measuring cups for flour and sugar, and liquid measuring cups for the melted butter.
That’s genuinely it. No mixer attachments, no special pans, no complicated gadgets. If you’ve got a bowl and a fork, you’re in business.
Preparation Method
Let me walk you through this step by step. Trust the process — especially the part where you think you’re over-mixing or under-mixing. I’ve made every mistake so you don’t have to.
- Preheat your oven to 350°F (175°C) and position a rack in the center. While it heats, line your 9×5-inch loaf pan with parchment paper, leaving overhang on the two long sides. Lightly spray the exposed ends with non-stick spray.
- Mash the bananas in your large mixing bowl using a fork or potato masher. You want them mostly smooth with a few small lumps — that’s where the texture comes from. Aim for about 1 ½ cups of mashed banana. If you have extra, save it for smoothies.
- Add the melted butter to the mashed bananas and stir until combined. The butter should be warm but not hot — you don’t want to scramble the eggs later. Stir until you see a smooth, slightly shiny mixture.
- Add the sugar and stir vigorously for about 30 seconds. This helps dissolve the sugar into the wet ingredients and starts building that crackly top. You’ll notice the mixture becomes slightly lighter in color.
- Add the eggs and vanilla one at a time, stirring well after each addition. The batter should look smooth and glossy at this point. If it looks curdled, your butter was too warm — don’t panic, it’ll still bake fine.
- Add the dry ingredients — flour, baking soda, and salt — directly on top of the wet mixture. Here’s the important part: stir just until no streaks of flour remain. About 10 to 12 strokes with your spatula. A few small lumps are totally fine. Over-mixing develops gluten and makes your banana bread tough, and nobody wants that.
- Fold in any add-ins if you’re using them (chocolate chips, nuts, etc.). Use a gentle folding motion — lift the batter from the bottom and fold over the top. Again, just until evenly distributed.
- Pour the batter into your prepared loaf pan and spread it evenly. The batter will be thick — that’s normal. Use your spatula to smooth the top.
- Sprinkle generously with turbinado sugar if you want that extra-crunchy crust. Don’t skip this step — it’s what makes the top crackle.
- Bake for 50 to 60 minutes, or until a toothpick inserted in the center comes out clean or with a few moist crumbs. If the top is browning too quickly (around the 40-minute mark), tent loosely with aluminum foil.
- Cool in the pan on a wire rack for 15 minutes. Then use the parchment overhang to lift the bread out and transfer it to the rack to cool completely. I know it’s tempting to slice into it warm, but letting it cool fully (at least 1 hour) gives the crumb time to set properly.
Sensory cues to watch for : The batter should be thick and scoopable, not runny. When you pour it into the pan, it should hold its shape slightly. The loaf will be done when the top is deeply golden brown, cracked in the center, and the kitchen smells like banana caramel.
If you love recipes that come together this easily, you’ll also enjoy my easy skillet peach crisp — it uses the same minimal-effort approach for a completely different kind of dessert.
Cooking Tips & Techniques
After making this banana bread more times than I can count (and definitely more than my waistline appreciates), here are the tips that actually matter:
Don’t over-mix the batter. This is the number one mistake I see. Stir just until the flour disappears. Over-mixing develops gluten, which gives you a tough, rubbery loaf instead of a tender, fluffy one. A few streaks of flour are better than a perfectly smooth batter.
Use really ripe bananas. I mean almost black. Green or yellow bananas don’t have enough sugar or moisture to give you that intense banana flavor and soft texture. If your bananas aren’t ripe enough, you can speed things up by baking them at 300°F for 15-20 minutes until they’re soft and fragrant.
Weigh your ingredients if possible. Flour is notoriously inconsistent when measured by volume. One cup can range from 120 grams to 150 grams depending on how you scoop. For this recipe, 180 grams of all-purpose flour gives perfect results every time.
Let it cool completely. I learned this the hard way after slicing into warm banana bread and watching it crumble apart. The structure needs time to set. At least one hour on the cooling rack. I know it’s hard, but your patience will be rewarded.
Make a double batch. This banana bread freezes beautifully. I often make two loaves at once — one for now, one for later. Wrap the cooled loaf tightly in plastic wrap, then foil, and freeze for up to 3 months.
Use the parchment paper trick. Seriously, just do it. It makes cleanup so much easier and prevents the bread from sticking to the pan. Plus, you can lift the entire loaf out without flipping it over and risking a broken top.
One thing I’ve learned from my own failures: if your banana bread sinks in the middle, it’s usually because the batter was too wet or the oven temperature was too low. Make sure your bananas aren’t overly large (3 medium-large is perfect) and check your oven with an independent thermometer. Ovens lie more than you’d think.
Variations & Adaptations
This basic recipe is incredibly versatile. Here are some of my favorite ways to change it up:
Chocolate Chip Banana Bread — Add ½ cup semi-sweet chocolate chips to the batter before baking. For an extra touch, sprinkle a few more on top before the turbinado sugar. The chocolate melts into pockets of richness throughout the loaf.
Vegan Banana Bread — Substitute the butter with melted coconut oil or vegan butter, and replace each egg with a flax egg (1 tablespoon ground flaxseed + 3 tablespoons water, let sit for 5 minutes). The texture will be slightly denser but still delicious.
Gluten-Free Banana Bread — Use a 1:1 gluten-free flour blend that contains xanthan gum. Cup4Cup and King Arthur both work well. Don’t over-mix, as gluten-free batters can get gummy if overworked.
Spiced Banana Bread — Add 1 teaspoon cinnamon, ½ teaspoon nutmeg, and ¼ teaspoon cloves to the dry ingredients. This version is especially cozy in the fall and pairs beautifully with a cup of chai.
Nutty Banana Bread — Fold in ½ cup toasted walnuts or pecans. Toast them first at 350°F for 5-7 minutes to bring out their oils and flavor. I sometimes add both chocolate chips and walnuts — the combination is unbeatable.
Banana Muffins — Divide the batter among a 12-cup muffin tin lined with paper cups. Bake at 350°F for 18-22 minutes. Perfect for grab-and-go breakfasts or lunchbox treats.
For another great way to use up ripe bananas, try my cozy glazed zucchini cookies — they use a similar one-bowl approach but with a completely different flavor profile.
Serving & Storage Suggestions
This banana bread is at its absolute best served slightly warm, about 30 minutes after it comes out of the oven. The butter is still soft, the top is still crackly, and the banana flavor is at its peak. Slice it thick — about 1-inch slices — and serve it plain or with a pat of salted butter.
For a more indulgent experience, try it toasted. Slice the cooled bread, pop it in the toaster or under the broiler for a minute or two, and spread with butter or cream cheese. The toasting brings out the caramelized banana flavor and gives the edges a nice crunch.
This banana bread also pairs beautifully with coffee, tea, or a cold glass of milk. It’s equally at home on a brunch table, as an after-school snack, or as a midnight treat eaten straight from the cutting board (no judgment here).
Storage : Keep the bread wrapped tightly in plastic wrap or in an airtight container at room temperature for up to 4 days. The crackly top will soften after day one, but the bread stays moist and delicious.
Freezing : Wrap the completely cooled loaf in plastic wrap, then a layer of foil, and freeze for up to 3 months. To thaw, leave it on the counter overnight, or slice it while frozen and toast individual slices. You can also freeze individual slices in zip-top bags for easy grab-and-go portions.
Reheating : Warm individual slices in the microwave for 15-20 seconds, or toast them for a crispier exterior. For a whole loaf, wrap in foil and warm in a 300°F oven for 10-15 minutes.
One thing I love about this bread is how the flavors develop over time. Day two is actually my favorite — the banana flavor deepens and the texture becomes even more tender. If you can resist eating it all on day one, you’re in for a treat.
Nutritional Information & Benefits
Here’s the approximate nutritional breakdown for one slice (based on 10 slices per loaf, without add-ins):
| Nutrient | Amount per Slice |
|---|---|
| Calories | 245 |
| Total Fat | 10g |
| Saturated Fat | 6g |
| Cholesterol | 55mg |
| Sodium | 250mg |
| Total Carbohydrates | 36g |
| Dietary Fiber | 1.5g |
| Sugars | 18g |
| Protein | 3.5g |
| Potassium | 180mg |
Bananas are a great source of potassium, vitamin B6, and vitamin C. They also provide natural sweetness, which means you can use less refined sugar than in many other baked goods. The eggs add protein and help create that tender crumb, while the butter provides richness and flavor.
If you’re watching your sugar intake, you can reduce the granulated sugar to ½ cup without significantly affecting the texture. The bananas provide enough sweetness to carry the bread. For a lower-fat option, substitute half the butter with unsweetened applesauce — the texture will be slightly more cake-like but still delicious.
This recipe contains gluten, dairy, and eggs. For allergen-friendly versions, see the variations section above.
Conclusion
This easy one-bowl banana bread is the kind of recipe that becomes a staple — the one you make on rainy afternoons, the one you bring to brunches, the one you text to friends when they ask for something simple and delicious. It requires almost no effort, uses ingredients you probably already have, and delivers that perfect crackly top that makes banana bread feel special.
The best part? You can make it your own. Add chocolate chips, throw in some nuts, spice it up with cinnamon — it’s forgiving enough to handle whatever you throw at it. And because it comes together in one bowl with no mixer, cleanup is practically nonexistent.
I’d love to hear how yours turns out. Did you add something unexpected? Did the crackly top live up to the hype? Drop a comment below or tag me in your photos — I genuinely love seeing these loaves come to life in other people’s kitchens.
Happy baking, friend. You’ve got this.
Frequently Asked Questions
Can I use frozen bananas for this recipe?
Absolutely! Thaw them completely, then drain off any excess liquid before mashing. Frozen bananas are actually sweeter than fresh ones, which makes the bread even more flavorful.
Why did my banana bread sink in the middle?
This usually happens when the batter is too wet or the oven temperature is too low. Make sure your bananas aren’t overly large, and check your oven temperature with an independent thermometer. Also, avoid opening the oven door during the first 30 minutes of baking.
Can I make this recipe gluten-free?
Yes! Use a 1:1 gluten-free flour blend that contains xanthan gum. I’ve had great results with King Arthur and Cup4Cup. Don’t over-mix the batter, as gluten-free flours can get gummy.
How do I get an extra crackly top?
The secret is two-fold: stir the sugar into the wet ingredients vigorously for about 30 seconds, and sprinkle turbinado sugar generously on top before baking. The sugar creates that crust that cracks as the bread rises.
Can I double this recipe?
Definitely. Double all ingredients and bake in two separate loaf pans. You can also bake one now and freeze the other for later. The baking time stays the same for each loaf.
Pin This Recipe!
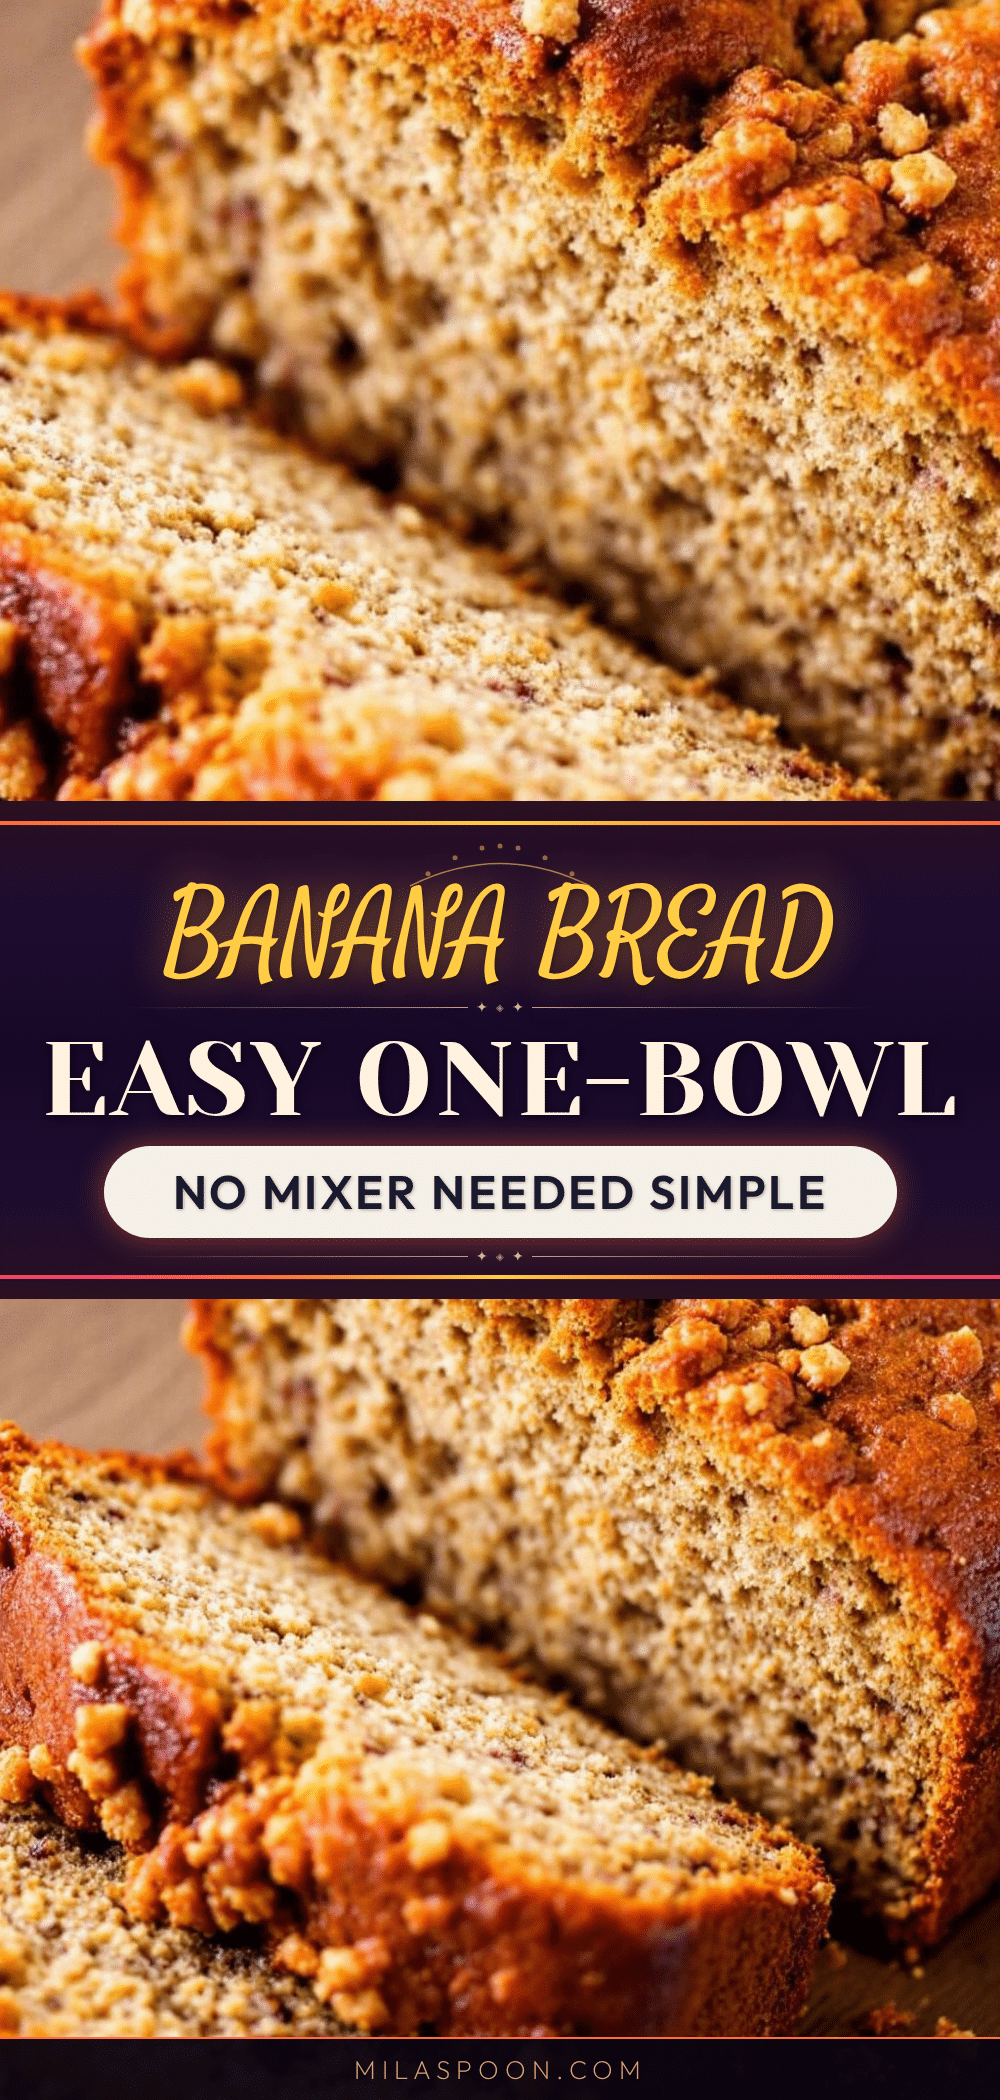
Easy One-Bowl Banana Bread: Best Homemade Recipe
This easy one-bowl banana bread delivers a perfect crackly top and tender crumb with minimal effort. No mixer required, just a bowl and a fork for a bakery-style loaf every time.
- Prep Time: 10 minutes
- Cook Time: 55 minutes
- Total Time: 1 hour 5 minutes
- Yield: 10 servings 1x
- Category: Dessert
- Cuisine: American
Ingredients
- 3 large ripe bananas (about 1 ½ cups mashed)
- ½ cup (1 stick) unsalted butter, melted
- ¾ cup granulated sugar
- 2 large eggs, room temperature
- 1 teaspoon vanilla extract
- 1 ½ cups all-purpose flour
- 1 teaspoon baking soda
- ½ teaspoon salt
- Optional: ½ cup chocolate chips
- Optional: ½ cup chopped walnuts or pecans
- Optional: 1 tablespoon cinnamon
- Optional: Turbinado sugar for sprinkling
Instructions
- Preheat oven to 350°F (175°C). Line a 9×5-inch loaf pan with parchment paper, leaving overhang on the long sides. Lightly spray exposed ends with non-stick spray.
- Mash bananas in a large mixing bowl with a fork or potato masher until mostly smooth with a few small lumps (about 1 ½ cups).
- Add melted butter to mashed bananas and stir until combined and slightly shiny.
- Add sugar and stir vigorously for about 30 seconds until mixture lightens slightly.
- Add eggs and vanilla one at a time, stirring well after each addition until smooth and glossy.
- Add flour, baking soda, and salt on top of wet mixture. Stir just until no streaks of flour remain (10-12 strokes). Do not over-mix.
- Fold in any add-ins (chocolate chips, nuts, etc.) gently until evenly distributed.
- Pour batter into prepared loaf pan and spread evenly. Sprinkle generously with turbinado sugar if desired.
- Bake for 50-60 minutes, until a toothpick inserted in the center comes out clean or with a few moist crumbs. Tent with foil if top browns too quickly.
- Cool in pan on a wire rack for 15 minutes, then lift out using parchment overhang and cool completely on rack (at least 1 hour) before slicing.
Notes
Use very ripe (almost black) bananas for best flavor. Do not over-mix the batter to avoid tough bread. Let cool completely before slicing for best texture. Bread keeps at room temperature for up to 4 days or frozen for up to 3 months.
Nutrition
- Serving Size: 1 slice
- Calories: 245
- Sugar: 18
- Sodium: 250
- Fat: 10
- Saturated Fat: 6
- Carbohydrates: 36
- Fiber: 1.5
- Protein: 3.5
Keywords: banana bread, easy banana bread, one-bowl banana bread, homemade banana bread, crackly top banana bread


