Love this? Save it for later!
Share the inspiration with your friends
Introduction
That moment when you realize you’ve got just a handful of strawberries left, and the craving for something sweet hits hard—well, that’s how this quick small-batch strawberry vanilla bean jam came to be my go-to. Honestly, it started as a bit of an experiment on a random Tuesday evening. I wasn’t in the mood for a big kitchen project, but I wanted that fresh fruit goodness spread on toast without the usual fuss or waiting days for it to set.
I pulled out a lonely vanilla bean from the fridge, wondering if it could rescue this tiny stash of berries. Turns out, a little patience and that fragrant bean transformed a handful of strawberries into something that felt like a special treat. No giant pots of boiling fruit, no endless waiting—just a swift, simple jam that tastes like summer wrapped in a jar.
It’s funny how sometimes the simplest ideas, born out of “what do I have on hand?” moments, end up sticking with you. This recipe is perfect when you want homemade jam but don’t want to commit to huge batches or complicated steps. It’s a quiet kind of joy that sneaks up on you, and that’s why I keep coming back to it even when I have a fridge full of other options.
So, if you’ve got a craving for fresh homemade jam that’s bursting with strawberry sweetness and a hint of warm vanilla, this recipe will feel like exactly what you needed without any extra hassle.
Why You’ll Love This Recipe
After testing this recipe multiple times (yes, sometimes twice in one week), I’ve come to appreciate its straightforwardness and charm. Here’s why it’s a keeper:
- Quick & Easy: Ready in under 30 minutes, making it ideal for a last-minute breakfast upgrade or a spontaneous snack.
- Simple Ingredients: Uses just a handful of staples you probably already have—fresh strawberries, sugar, lemon juice, and a vanilla bean.
- Perfect for Small Batches: No need to make gallons of jam that you might not finish. This recipe makes just enough for a few mornings of joy.
- Crowd-Pleaser: Whether it’s spread on warm toast or dolloped over yogurt, it always gets nods of approval from friends and family.
- Unbelievably Delicious: The natural sweetness of strawberries meets the subtle richness of vanilla bean, creating a flavor combo that’s cozy and fresh at once.
This isn’t your typical jam recipe that relies on store-bought pectin or preservatives. Instead, the vanilla bean adds a layer of complex aroma that makes every spoonful feel a little indulgent. Plus, it’s forgiving—if your strawberries aren’t perfectly ripe, the lemon juice brightens everything up.
Honestly, it’s the kind of homemade jam that makes you pause, close your eyes, and savor the moment. You could say it’s a breakfast game-changer—comfort food with a twist that’s fast enough to fit into even the busiest mornings. And if you’re curious about pairing it, I often reach for something sweet like the mini lemon blueberry cheesecakes I whipped up recently, which balance this jam’s fruity notes beautifully.
What Ingredients You Will Need
This recipe keeps things simple, leaning on fresh, wholesome ingredients that pack a flavorful punch without fuss. Here’s the rundown of what you’ll need:
- Fresh Strawberries (about 1 pound / 450 grams, hulled and quartered) – ripe but firm strawberries work best to keep some texture.
- Granulated Sugar (½ cup / 100 grams) – balances the tartness without overpowering the fruit’s natural flavor.
- Lemon Juice (2 tablespoons / 30 ml, freshly squeezed) – adds brightness and helps the jam set.
- Vanilla Bean (1 whole bean, split and seeds scraped) – this is the secret star that brings warmth and subtle sweetness. If you don’t have a bean, pure vanilla extract (1 teaspoon) works too, but the bean is worth the effort.
Many times, I’ve used organic strawberries for the sweetest flavor and least pesticide residue. If you’re short on fresh berries, frozen strawberries can work in a pinch—the jam might be a bit juicier, so just cook it down a little longer.
For sugar, I tend to stick with organic cane sugar or raw sugar brands because they add a mild molasses note that pairs well with vanilla. If you want a less sweet option, you can reduce the sugar a bit, but keep in mind it affects both flavor and preservation.
And if you’re curious about swapping lemon juice, lime juice can give an interesting twist, but it’s definitely a different flavor profile. For a dairy-free, refined sugar-free version, experimenting with coconut sugar and a bit more lemon might work—but I haven’t tested that extensively yet.
Equipment Needed
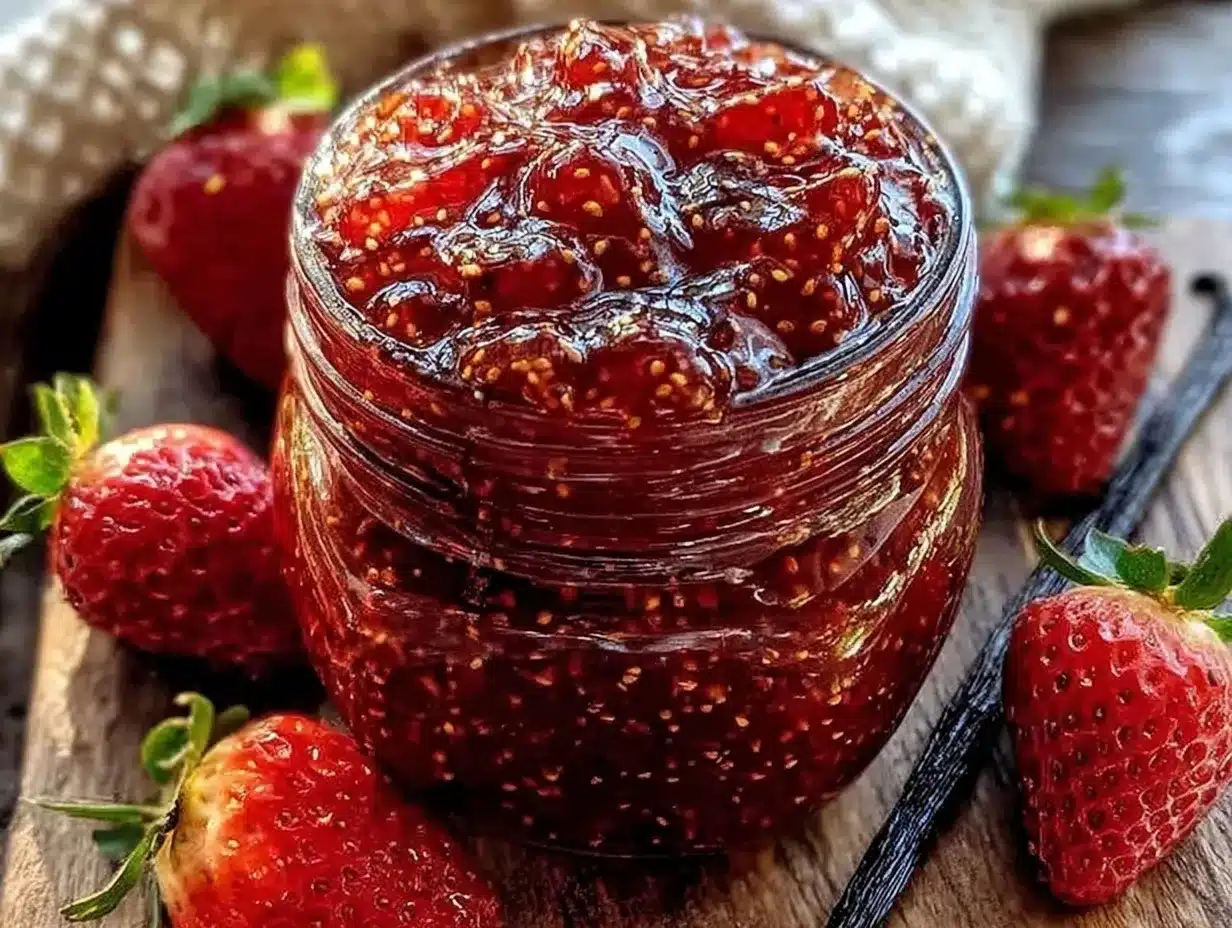
Good news: you don’t need fancy gadgets to make this jam. Here’s what I use, and some alternatives if you’re working with a minimal kitchen setup:
- Medium-sized saucepan: A sturdy pan with a heavy bottom helps prevent the jam from scorching during cooking.
- Spoon or spatula: For stirring—the kind that won’t melt if the jam gets hot.
- Sharp knife: To split the vanilla bean and hull the strawberries.
- Measuring cups and spoons: Accurate measurements make a difference in sweet-tart balance.
- Glass jar or small container: For storing the jam once it’s cooled. Mason jars are perfect because they seal tightly, but any clean container with a lid works well.
If you don’t have a vanilla bean scraper, the back of your knife or a small spoon works just fine for scooping out the seeds. Also, I keep a small mesh sieve handy when I want to strain out any seeds for a smoother jam texture—though I usually leave them in because it feels more homemade that way.
For budget-friendly tips, using a non-stick pan can make cleanup easier, but stainless steel works well too as long as you keep stirring. And if you want to make this jam regularly, investing in a small digital kitchen scale can help with ingredient consistency.
Preparation Method
- Prep Your Strawberries: Rinse the strawberries under cold water, then gently hull and quarter them to roughly uniform pieces. This helps them cook evenly. (5 minutes)
- Split the Vanilla Bean: Using a sharp knife, carefully slice the vanilla bean lengthwise. Scrape out the tiny seeds with the knife’s edge or a small spoon. Set both seeds and pod aside. (2 minutes)
- Combine Ingredients in Saucepan: Place the strawberries, sugar, lemon juice, vanilla seeds, and the scraped pod into a medium saucepan. Give it a gentle stir to combine. (2 minutes)
- Cook the Jam: Heat the mixture over medium heat until it begins to bubble gently, stirring frequently to prevent sticking. Once bubbling, reduce heat to low and simmer. Use a wooden spoon or spatula to mash the strawberries slightly as they soften. (15-20 minutes)
- Check Consistency: The jam should thicken and coat the back of a spoon. To test, dip a spoon and run your finger through the coating—if it holds a clear line, it’s ready. If it’s too runny, simmer a bit longer, stirring regularly. (5 minutes)
- Remove the Vanilla Pod: After cooking, fish out the vanilla pod and discard it. This prevents any bitter notes from developing. (1 minute)
- Cool and Store: Let the jam cool at room temperature for about 20 minutes, then transfer it to a clean jar. Seal and refrigerate. The jam will thicken a bit more as it cools. (20 minutes)
Pro tip: Keep stirring gently during simmering to avoid scorching and to help the jam thicken evenly. If you notice foam forming, skim it off with a spoon to keep your jam clear and shiny.
If you want a smoother consistency, you can blend the jam lightly with an immersion blender after cooking, but I usually prefer it chunky, honestly.
Cooking Tips & Techniques
Making small-batch jam might seem straightforward, but a few little tricks make a big difference:
- Don’t rush the simmer: Letting the jam bubble gently instead of boiling furiously helps preserve that fresh strawberry flavor without turning it bitter.
- Use fresh lemon juice: Bottled lemon juice doesn’t have the same acidity or brightness, which can affect both flavor and jam setting.
- Keep stirring: Small batches can scorch easily, especially with natural sugars, so stay close and stir frequently.
- Vanilla bean patience: Leaving the vanilla pod in during simmering slowly infuses the jam, but don’t leave it too long after cooking to avoid bitterness.
- Test the set: If you’re unsure about consistency, chill a small spoonful on a plate for a few minutes. It’s a quick way to see how it will hold up.
One time, I got impatient and cranked the heat to speed things along—let’s just say the jam ended up tasting a little “caramelized” in a not-so-good way. Lesson learned: slow and steady wins the jam race.
Also, multitasking works well here. While the jam simmers, I often prep toast or even whip up a quick batch of pancakes—like the fluffy ones I featured on mila spoon. That way, breakfast is ready to go when the jam is.
Variations & Adaptations
Though this strawberry vanilla bean jam is wonderful as is, there are plenty of ways to tweak it depending on your mood or dietary needs:
- Berry Mix-Up: Substitute half the strawberries with raspberries or blueberries for a mixed berry jam that’s just as vibrant.
- Low-Sugar Version: Reduce sugar to ⅓ cup (65 grams) and add a teaspoon of chia seeds at the end to help thicken naturally.
- Vegan & Refined Sugar-Free: Use coconut sugar or maple syrup instead of granulated sugar, and skip the vanilla bean in favor of almond extract for a nutty twist.
- Spiced Jam: Add a pinch of cinnamon or a few crushed cardamom pods during cooking for a warming flavor variation.
- Microwave Method: For a super quick fix, combine all ingredients in a microwave-safe bowl and cook in 2-minute bursts, stirring in between, until thickened.
I once tried adding a splash of balsamic vinegar to the mix, which added a subtle tanginess that paired beautifully with creamy ricotta on toast. Definitely one of those happy accidents worth repeating.
Serving & Storage Suggestions
This jam is best enjoyed fresh and slightly chilled. Spread it thick on warm buttered toast, swirl it into your morning yogurt, or spoon it over pancakes or waffles.
If you want to get fancy, serve it alongside soft cheeses or as a topping for desserts like panna cotta or cheesecake. It also makes a charming gift when jarred and decorated simply.
Store your jam in the refrigerator where it will keep for up to two weeks. For longer storage, freezing in small portions works well too—just thaw overnight in the fridge before enjoying.
Reheat gently if you prefer it warm; a quick zap in the microwave or a gentle warm bath will do. Keep in mind that the flavor actually deepens over the first few days as the vanilla and lemon notes meld.
If you want to try a lovely pairing, this jam complements the fresh, tangy flavors in recipes like the mini lemon blueberry cheesecakes beautifully, adding that strawberry warmth without overpowering.
Nutritional Information & Benefits
A typical serving (about 2 tablespoons or 30 grams) of this jam contains roughly:
| Calories | 50 |
|---|---|
| Carbohydrates | 13 grams |
| Sugar | 11 grams (natural and added) |
| Fiber | 1 gram |
| Vitamin C | 15% of daily value |
The strawberries provide antioxidants and vitamin C, which support immune health. The lemon juice adds a bit of extra vitamin C and aids digestion. Using real vanilla bean means no artificial flavorings, just pure, natural goodness.
This recipe is naturally gluten-free and can be adapted easily for vegan diets by adjusting the sugar type. Just keep in mind the sugar content if you’re watching intake; reducing sugar will affect preservation but not the flavor entirely.
Conclusion
This quick small-batch strawberry vanilla bean jam is exactly the kind of recipe that feels like a secret weapon in the kitchen. It’s simple, fast, and packs a punch of fresh fruity flavor that turns everyday breakfasts or snacks into something special.
What I love most is how flexible it is—you can tweak it to suit your taste, experiment with different berries, or keep it classic and straightforward. It’s a recipe that invites you to play a little but never overwhelms.
If you try it, I’d love to hear how you made it your own or what you paired it with. Whether you’re spreading it on toast or folding it into a dessert, this jam is ready to make those moments a little sweeter.
Here’s to quick, homemade delights that bring a bit of sunshine to your table.
Frequently Asked Questions
How long will this small-batch jam keep in the fridge?
Stored in a sealed container, it will last about two weeks refrigerated. For longer storage, freeze in small portions.
Can I use frozen strawberries instead of fresh?
Yes, frozen strawberries work well but may release more liquid. Cook the jam a bit longer to reach the right thickness.
What if I don’t have a vanilla bean? Can I use vanilla extract?
Absolutely. Use 1 teaspoon of pure vanilla extract added near the end of cooking for a similar flavor, though the depth won’t be quite the same.
Is it possible to make this jam without added sugar?
You can reduce the sugar, but it will affect the texture and preservation. Adding chia seeds can help thicken the jam naturally if you lower the sugar.
Can I make this jam in larger batches?
Yes, but cooking times will increase. It’s designed for small batches to keep things quick and manageable, but doubling or tripling the ingredients is doable with some extra simmering time.
Pin This Recipe!
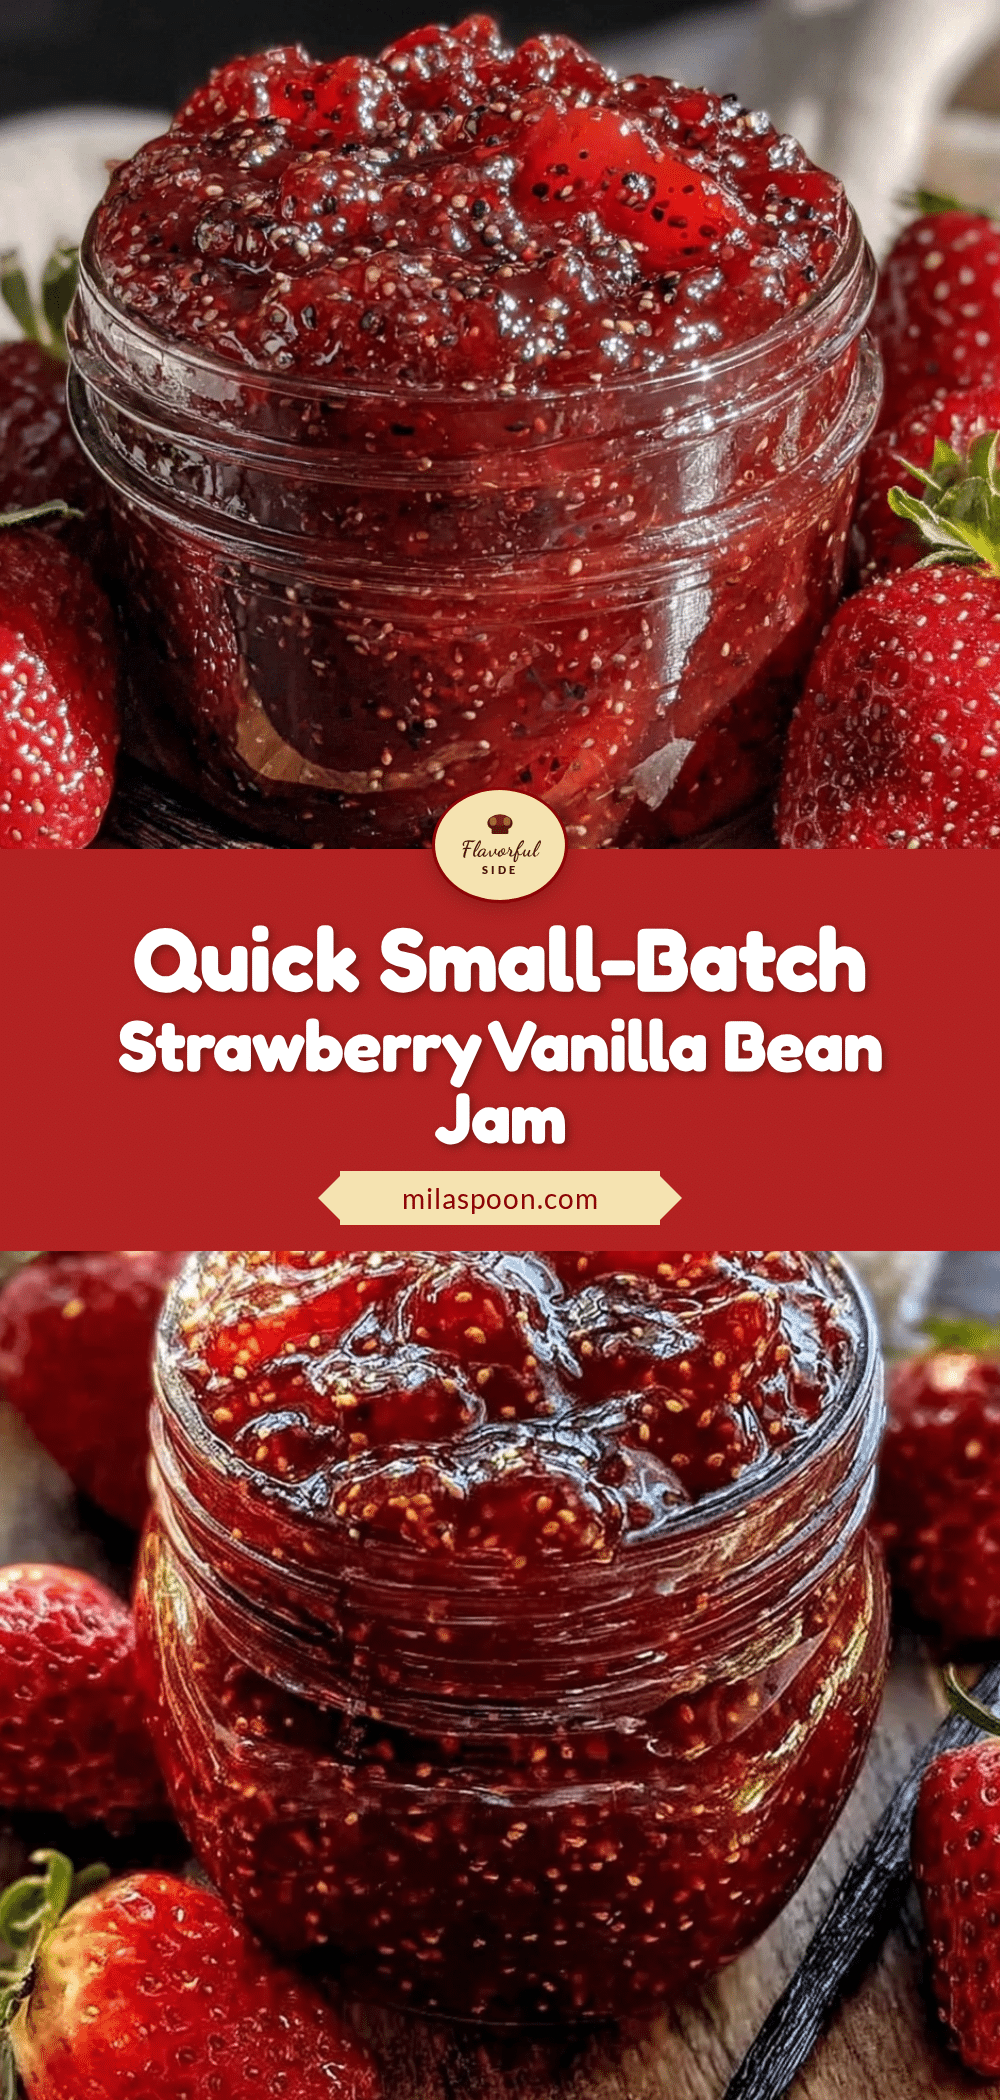
Quick Small-Batch Strawberry Vanilla Bean Jam
A fast and easy homemade jam recipe using fresh strawberries and a vanilla bean, perfect for small batches and ready in under 30 minutes.
- Prep Time: 9 minutes
- Cook Time: 20-25 minutes
- Total Time: 29-34 minutes
- Yield: About 1 cup (8 servings, 2 tablespoons each) 1x
- Category: Condiment
- Cuisine: American
Ingredients
- 1 pound (450 grams) fresh strawberries, hulled and quartered
- ½ cup (100 grams) granulated sugar
- 2 tablespoons (30 ml) freshly squeezed lemon juice
- 1 whole vanilla bean, split and seeds scraped (or 1 teaspoon pure vanilla extract as substitute)
Instructions
- Rinse the strawberries under cold water, then gently hull and quarter them to roughly uniform pieces. (5 minutes)
- Using a sharp knife, carefully slice the vanilla bean lengthwise. Scrape out the tiny seeds with the knife’s edge or a small spoon. Set both seeds and pod aside. (2 minutes)
- Place the strawberries, sugar, lemon juice, vanilla seeds, and the scraped pod into a medium saucepan. Stir gently to combine. (2 minutes)
- Heat the mixture over medium heat until it begins to bubble gently, stirring frequently to prevent sticking. Once bubbling, reduce heat to low and simmer. Mash the strawberries slightly as they soften. (15-20 minutes)
- Check the consistency by dipping a spoon and running your finger through the coating—if it holds a clear line, it’s ready. If too runny, simmer longer, stirring regularly. (5 minutes)
- Remove the vanilla pod and discard it to prevent bitterness. (1 minute)
- Let the jam cool at room temperature for about 20 minutes, then transfer to a clean jar. Seal and refrigerate. The jam will thicken as it cools. (20 minutes)
Notes
Keep stirring gently during simmering to avoid scorching. Skim off foam if it forms for a clearer jam. For smoother jam, blend lightly after cooking. Vanilla extract can substitute the vanilla bean but with less depth. Frozen strawberries can be used but may require longer cooking.
Nutrition
- Serving Size: 2 tablespoons (30 gr
- Calories: 50
- Sugar: 11
- Carbohydrates: 13
- Fiber: 1
Keywords: strawberry jam, vanilla bean jam, small-batch jam, homemade jam, quick jam recipe, easy jam, breakfast spread


